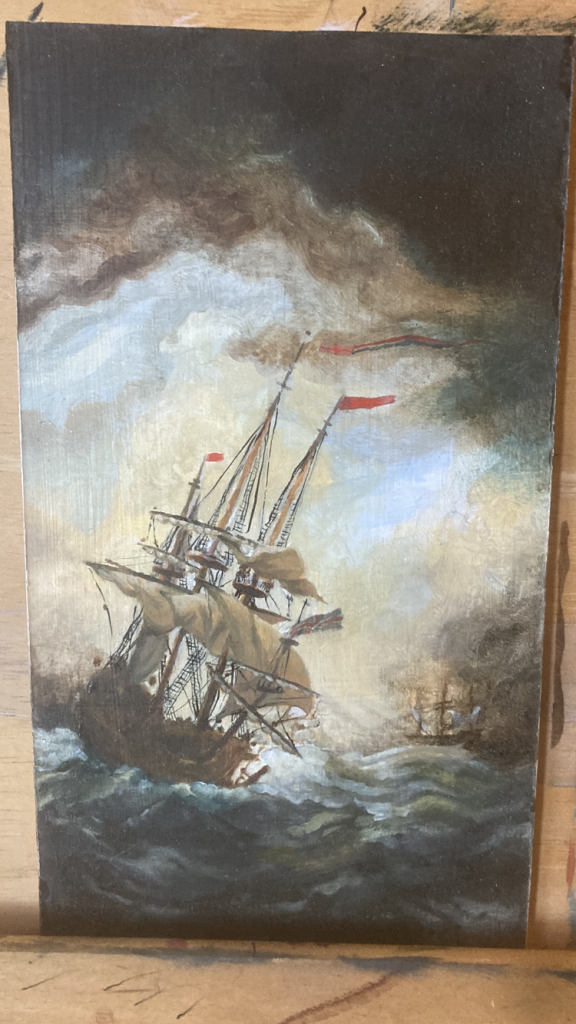
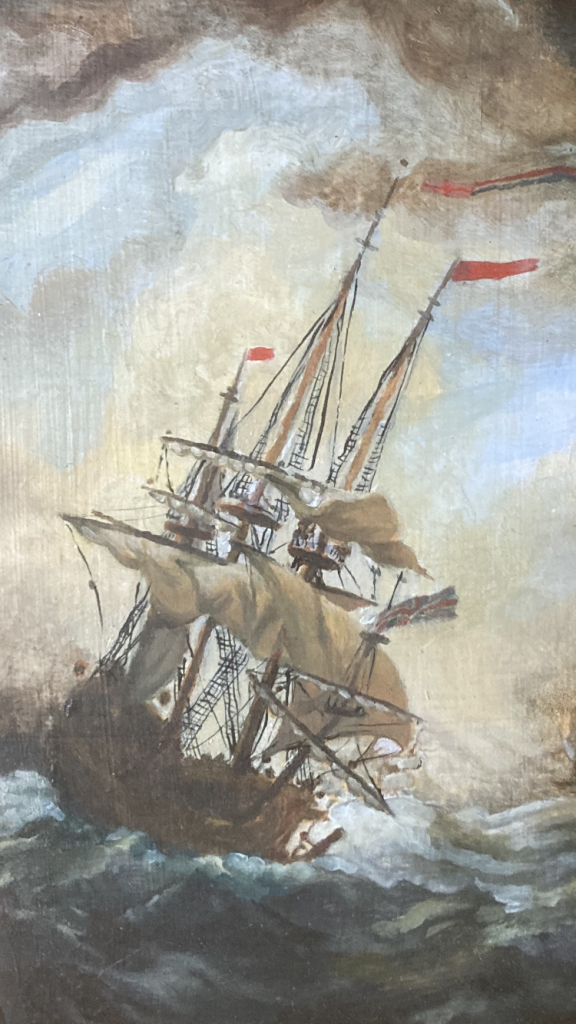
I ordered some rigger brushes from Amazon. They arrived, and I had a crack at the rigging on this Van Der Velde copy. It’s harder to do than I’d hoped. And they’re a bit too messy and sharp/dark. So they’ll need ‘knocking back’ a bit.
Hmmm!?
I had a few practice goes. And then jumped in. I suppose I’ll get better the more I do? Meanwhile, there’s more to be done, before I try and beaten it up and soften it all a bit.
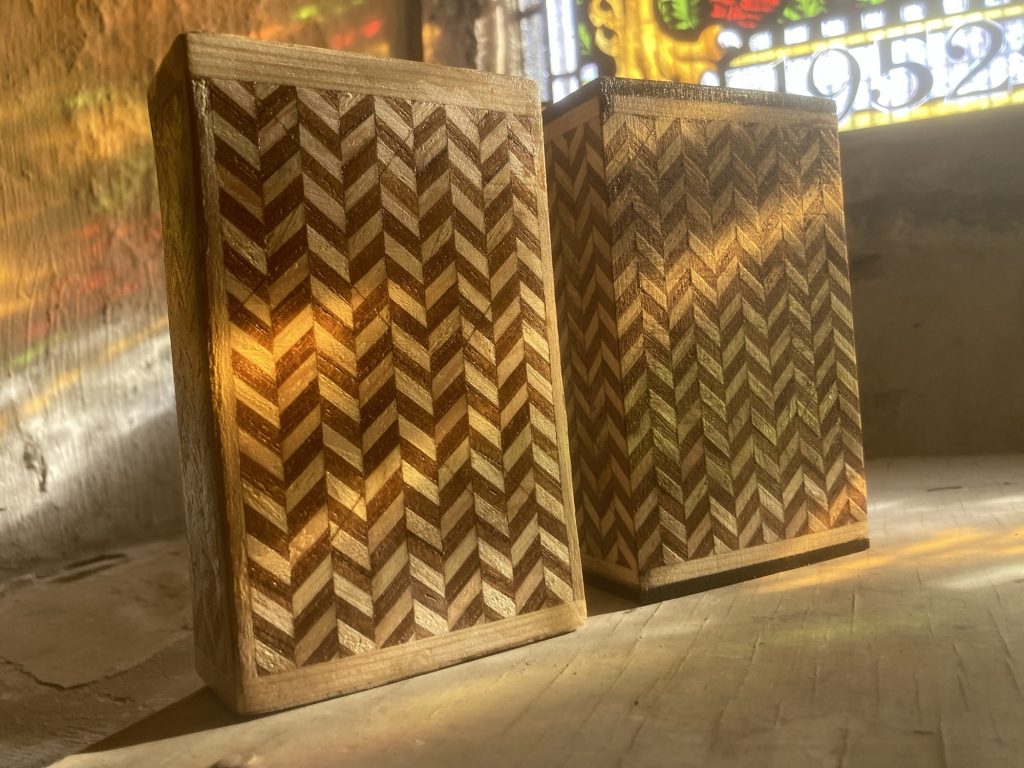
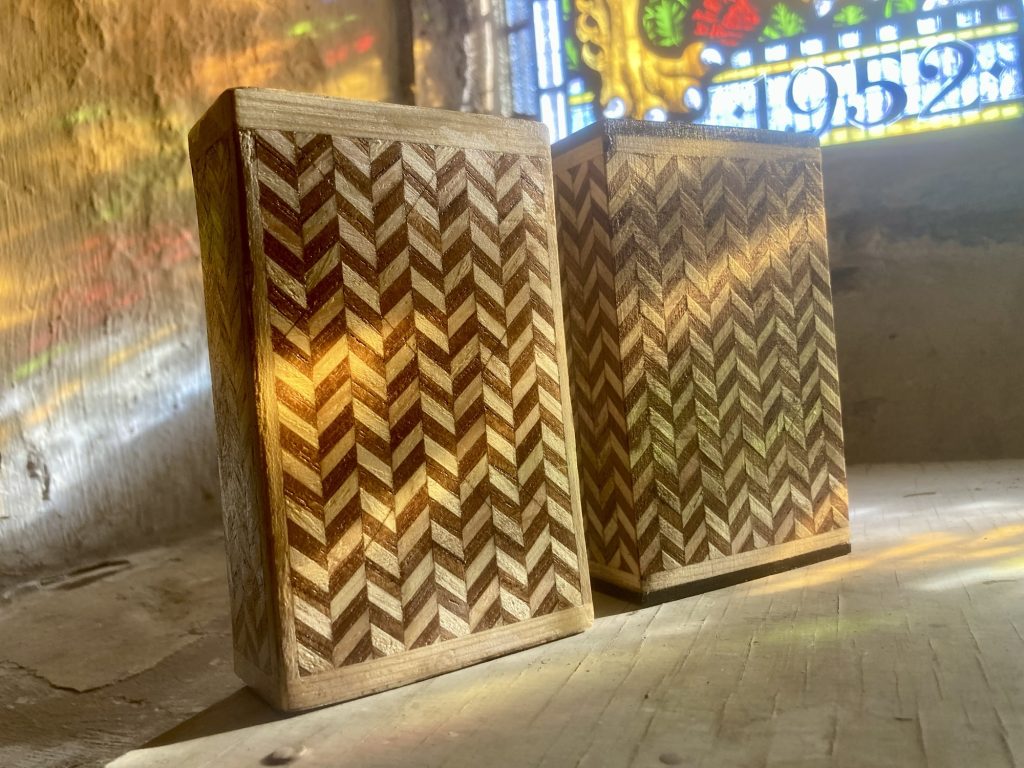
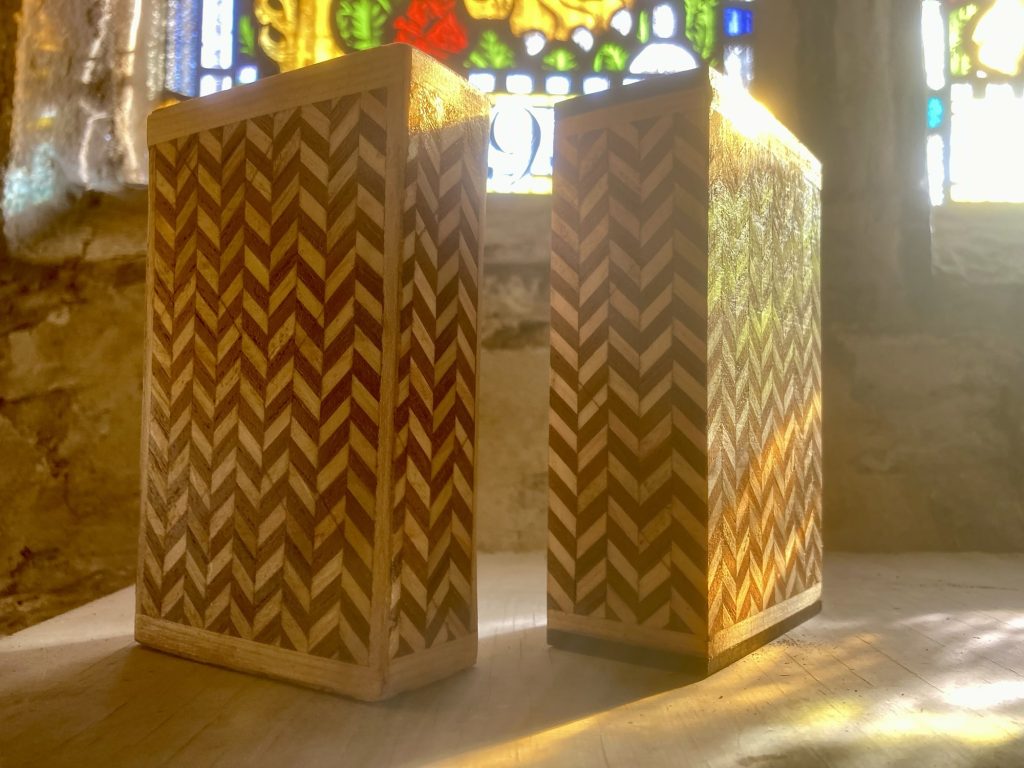
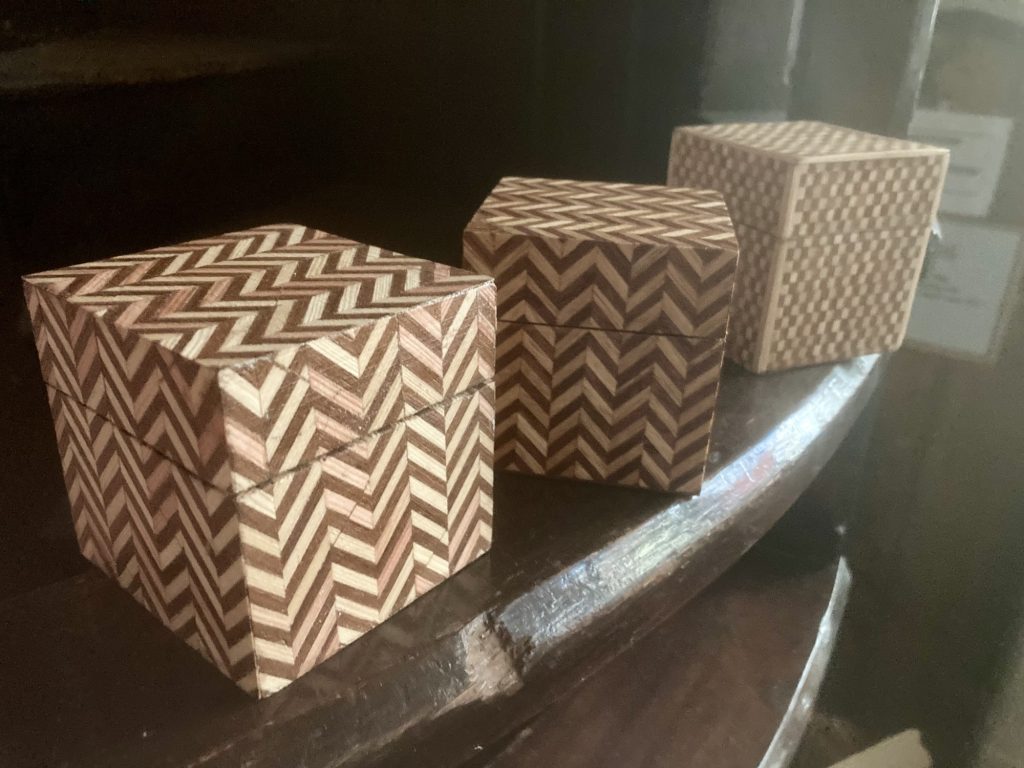
I took a bunch of my boxes out n’ about with me, recently. And took all the photos on this post (except for the single one below, showing prices), at St Edmund’s, in Downham Market.
So far I’ve sold – I think? – seven, and given away one as a gift.
The very lovely Tita, at Outrageous Vintage, (at 23-24 Market Place, in the courtyard of the Rose and Crown Hotel, Wisbech), has taken seven boxes. I do hope she sells them!
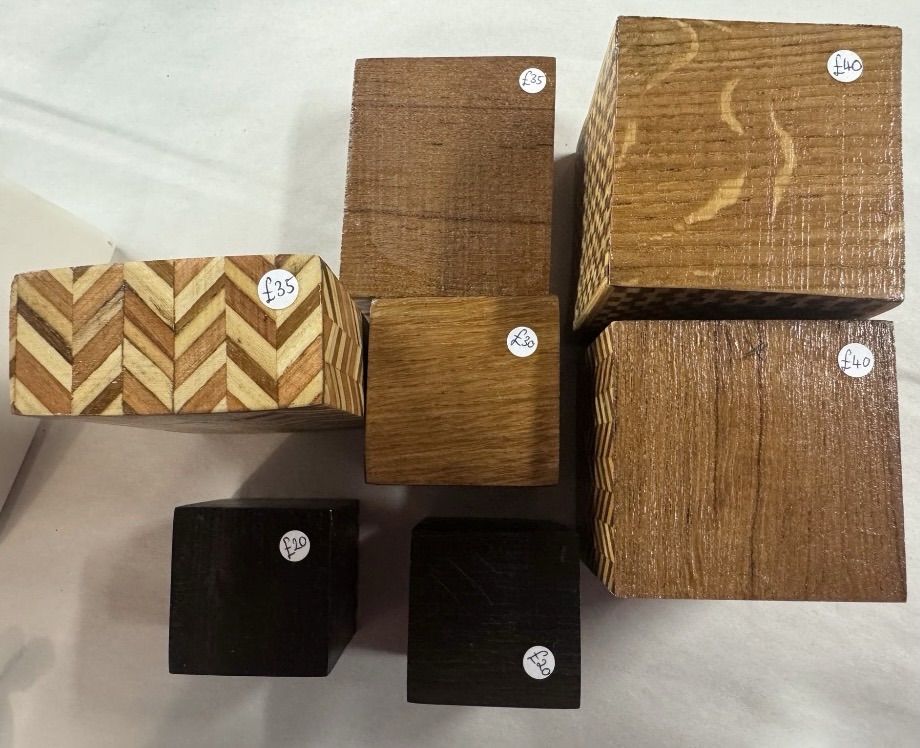
Priced to sell.*
*Slightly underpriced, in relation to what I usually ask for them. On the advice of Tita, in the interest of making sales.Oh, and the prices are on the bottom of the boxes.
This leaves me with about another seven ‘market ready’ boxes at present (so a total of around twenty one made, so far), and a number more in the pipeline.
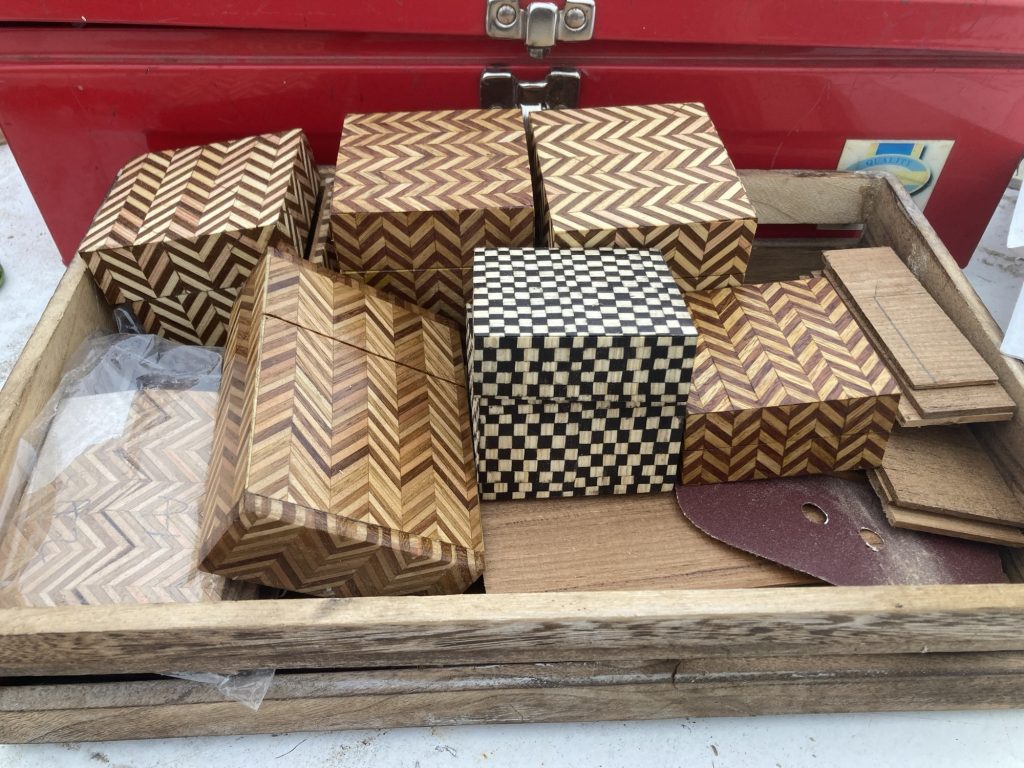
For this post, here’s a few little galleries of recent work:
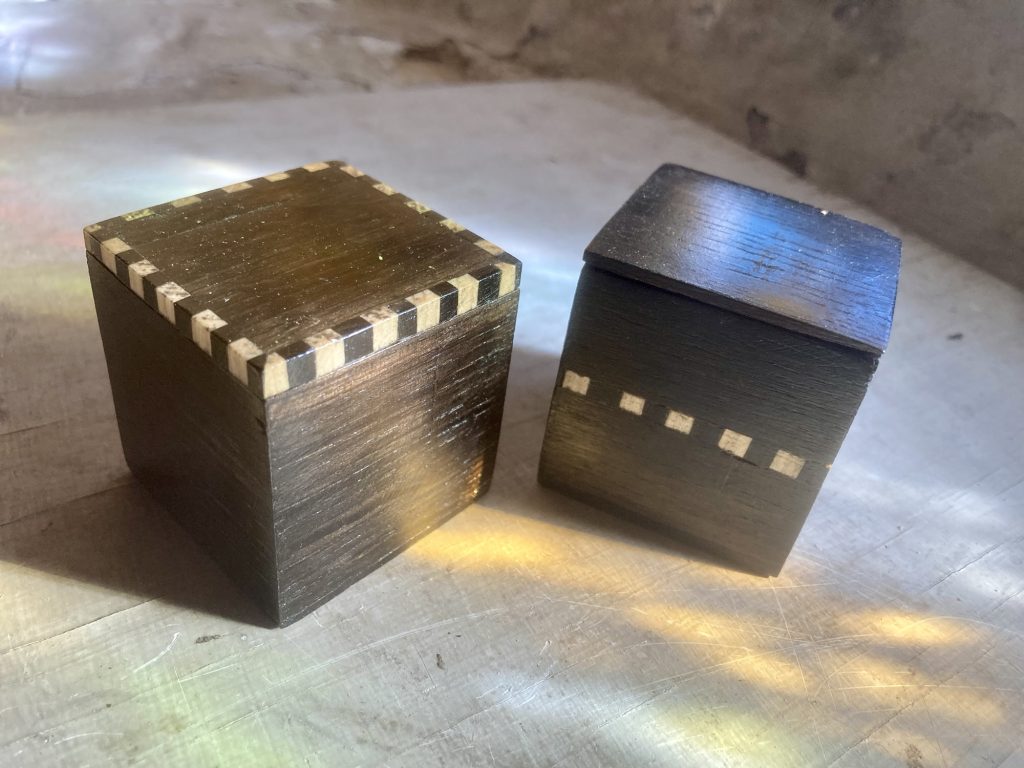
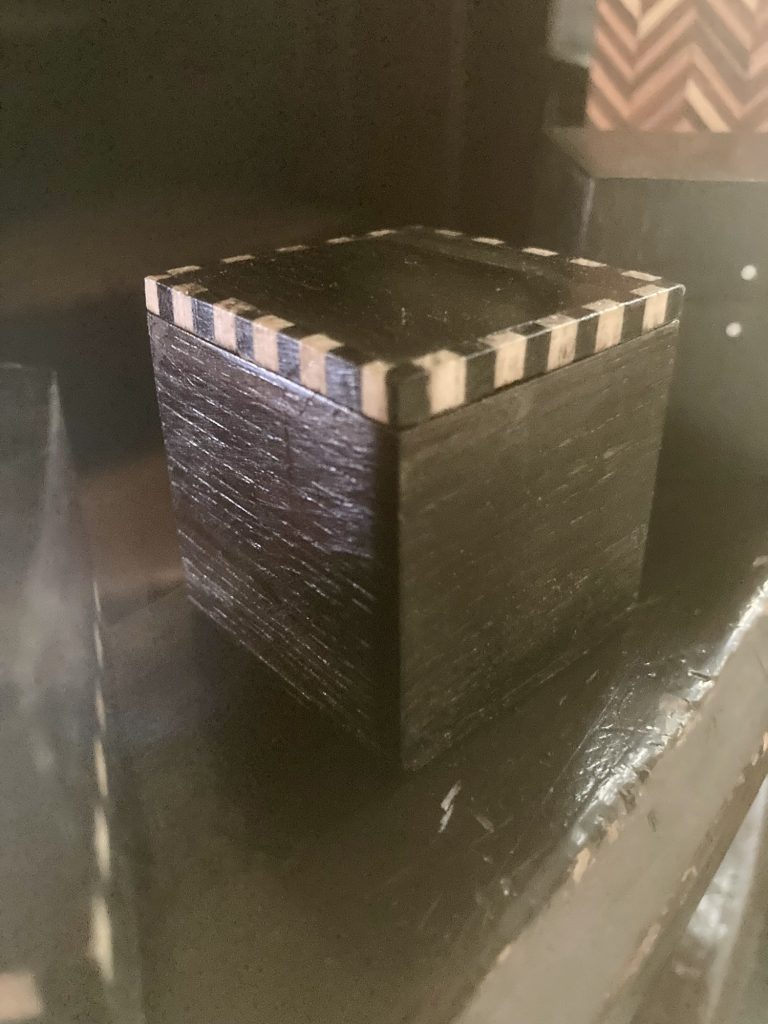
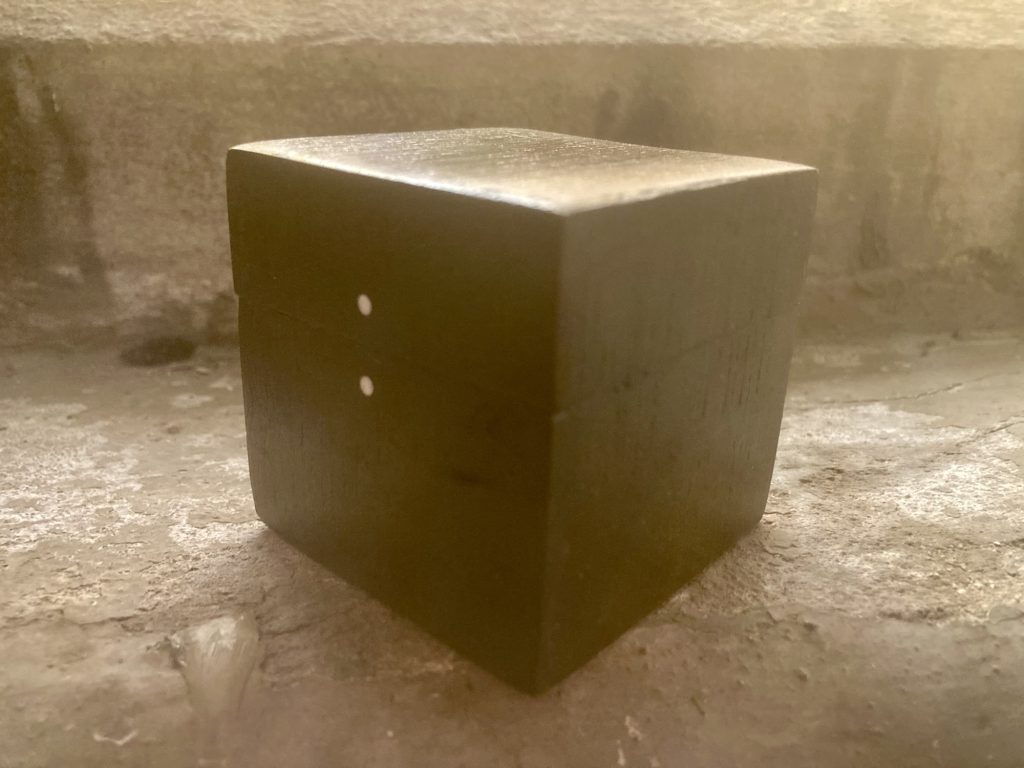
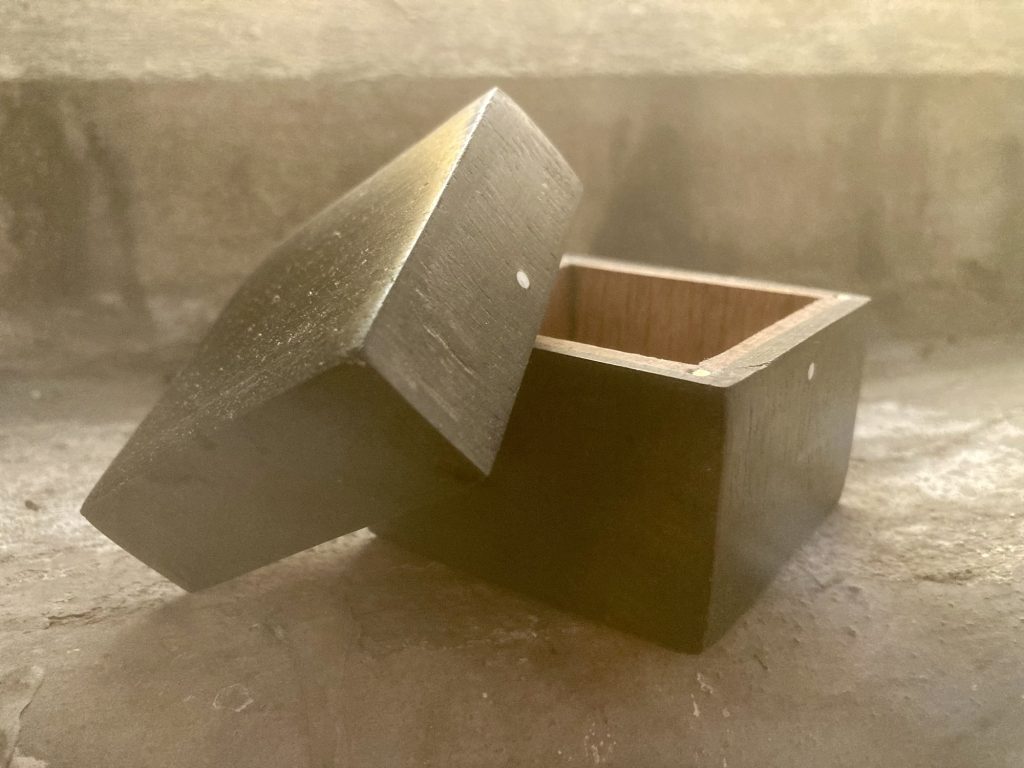
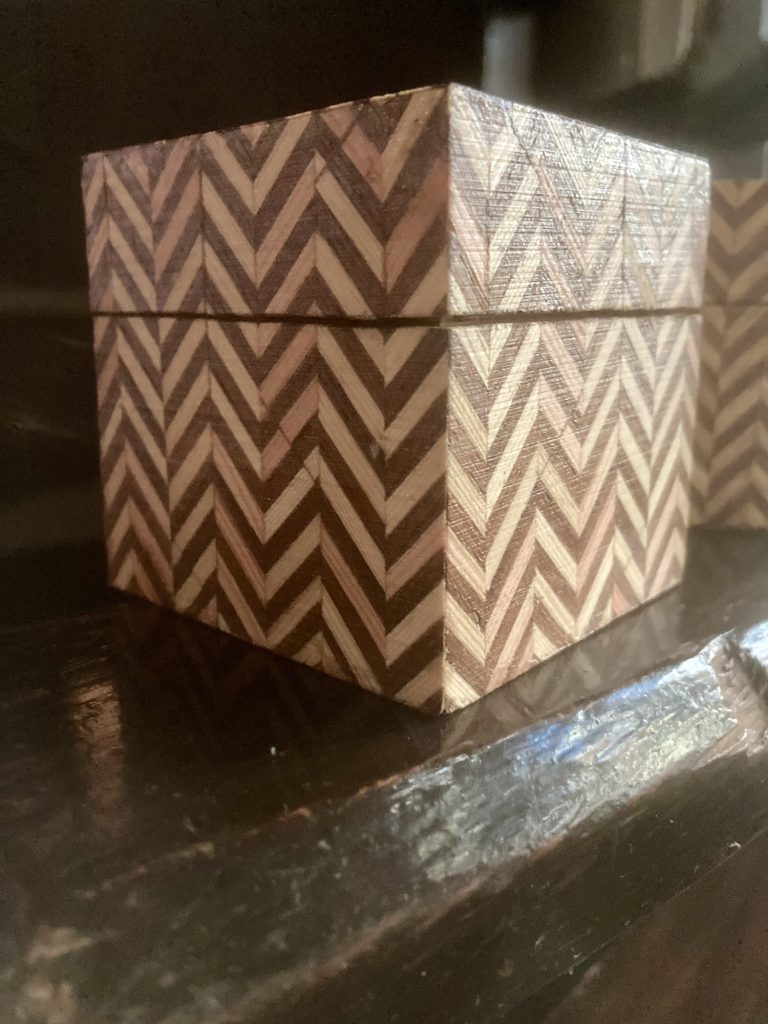
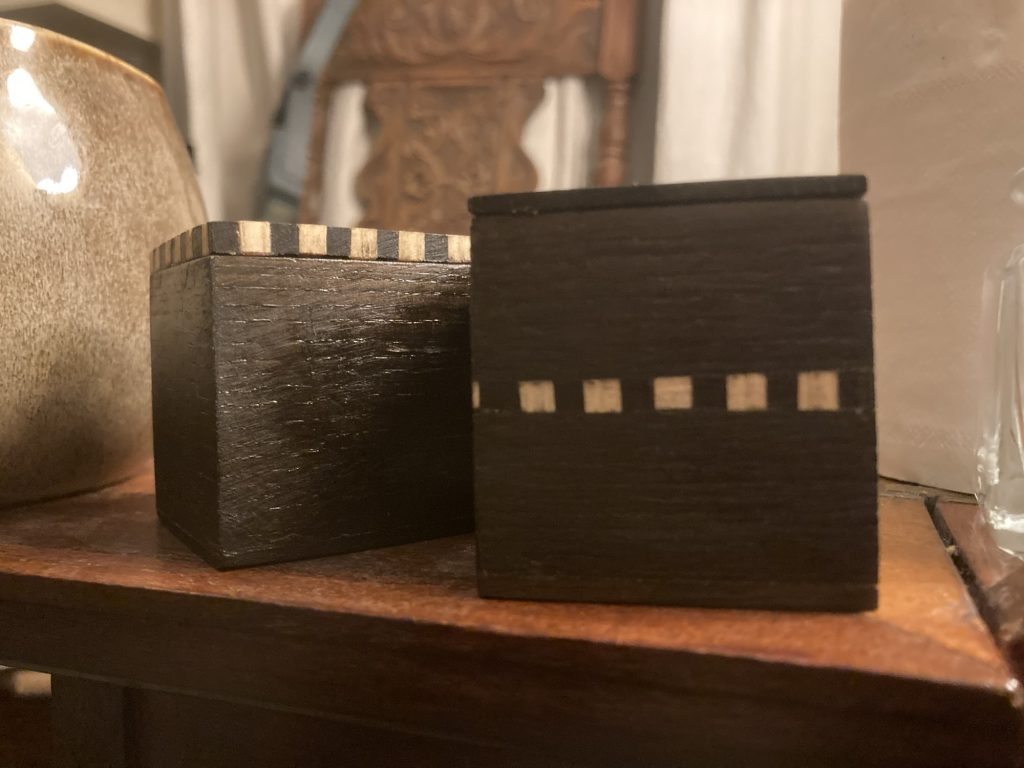
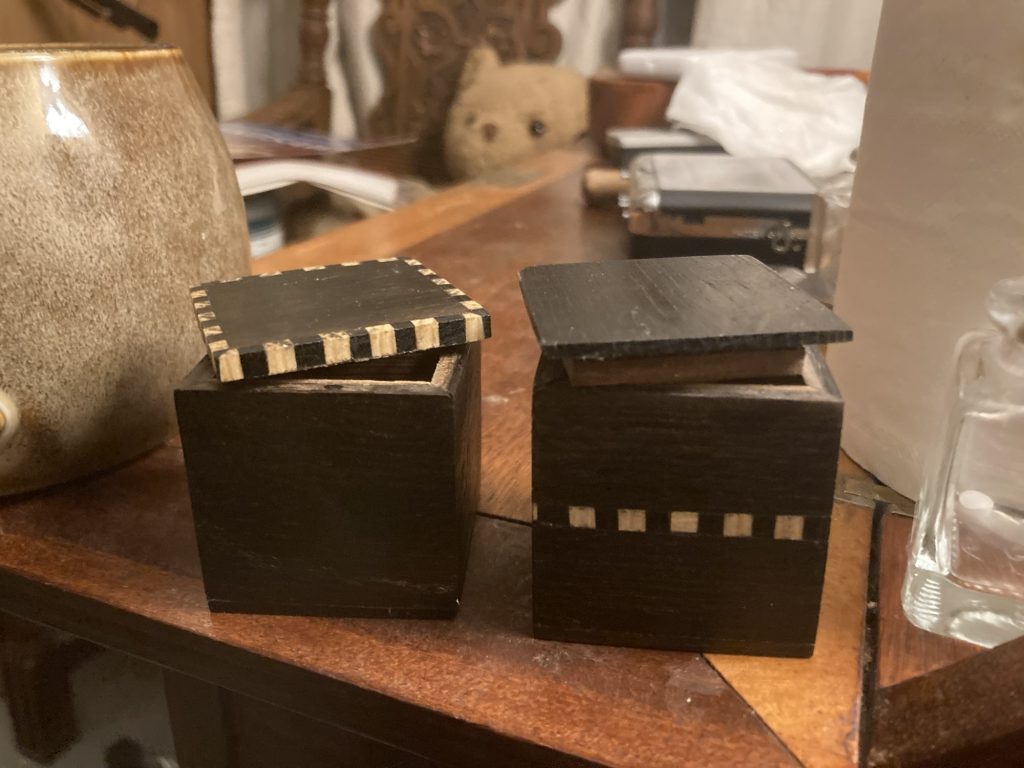
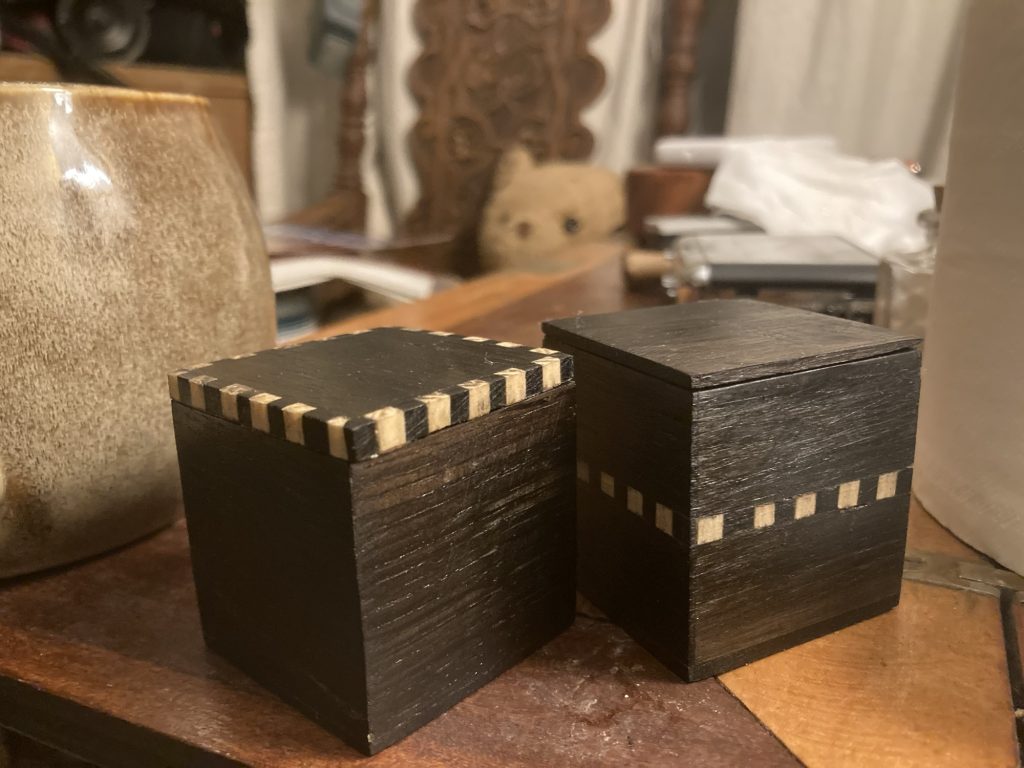
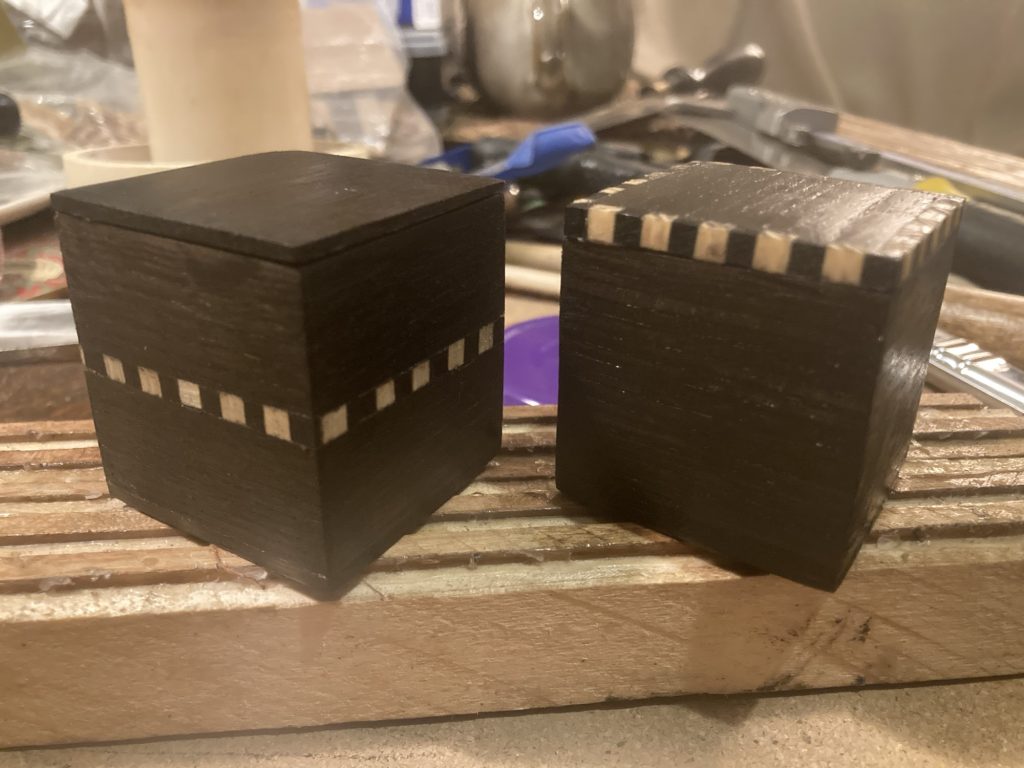
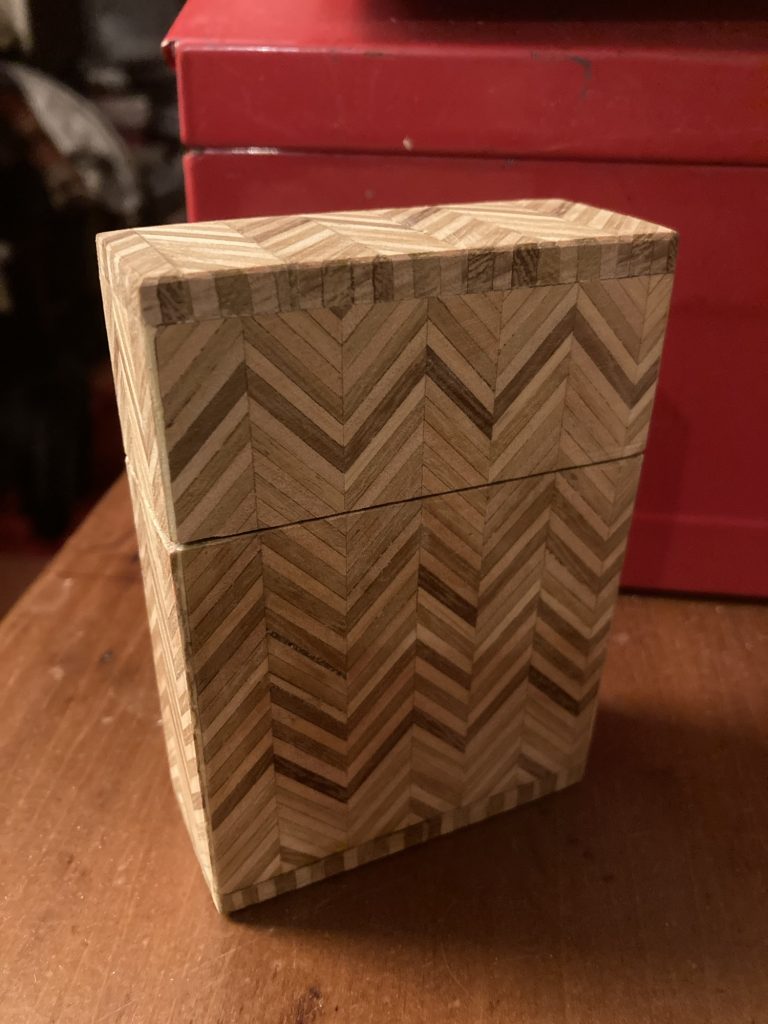
The above, and immediately below, are my three all, or near-all bog-oak boxes. These cute little trinket boxes are on the wee side. I adore bog oak! So rich, dark, and ancient!
The one below is a personal favourite. Annoyingly, it’s not come out as well in the pics as it does ‘in the flesh’. I love the dark stark simplicity, and the two tiny orientation ‘pips’.
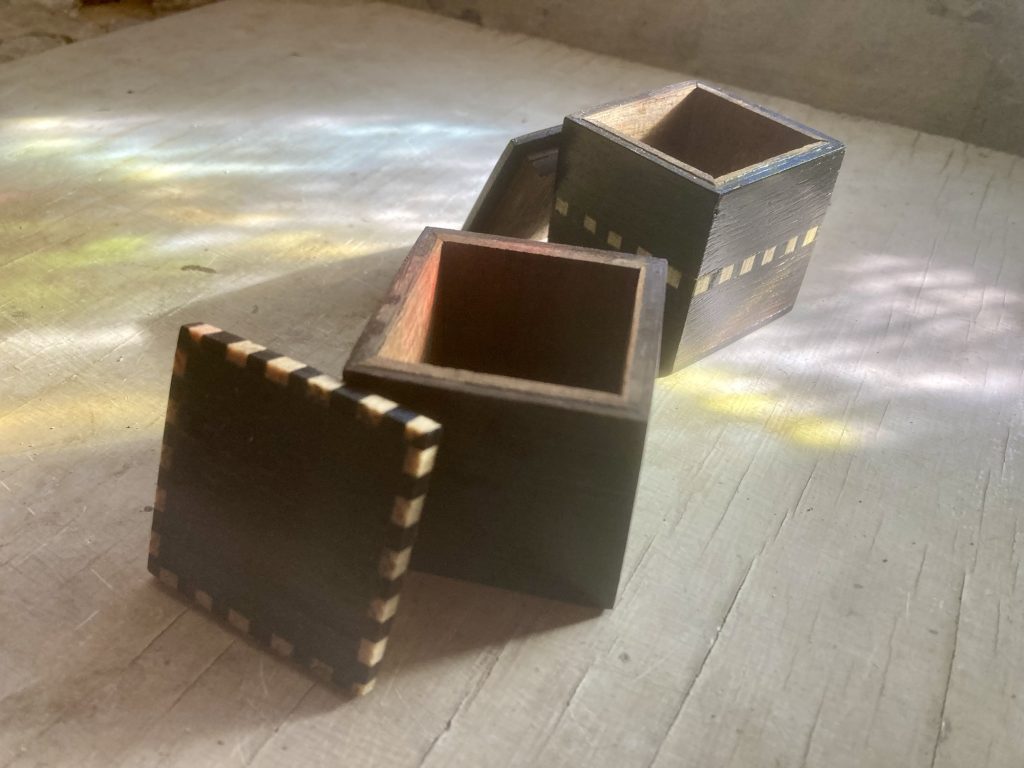
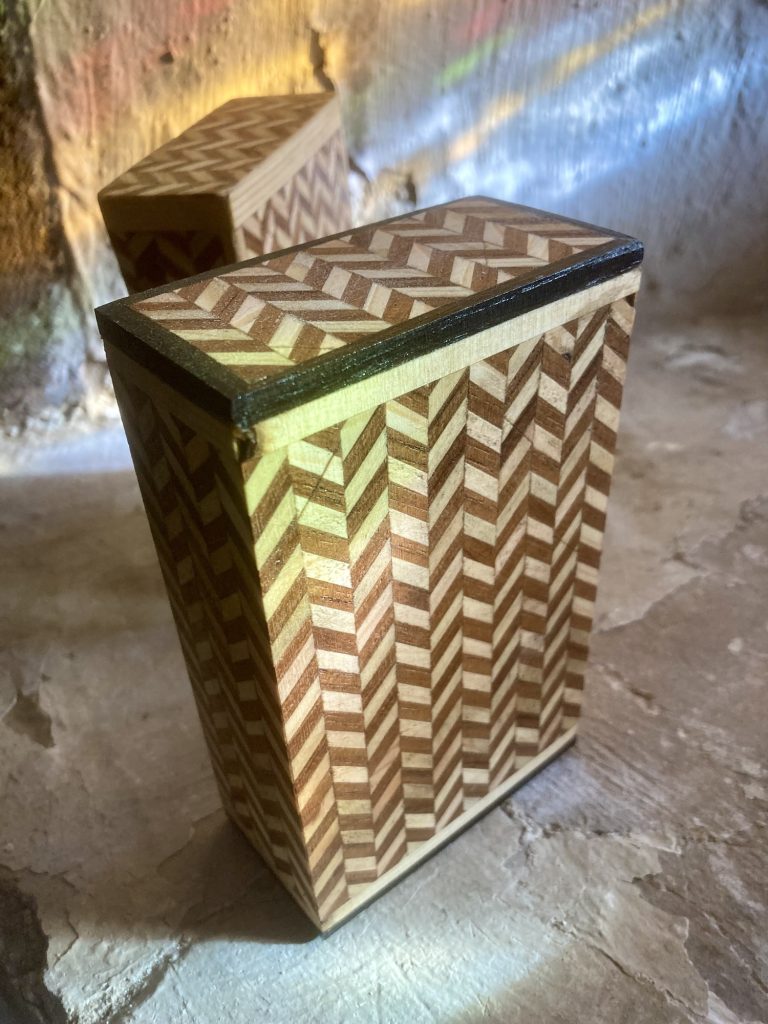
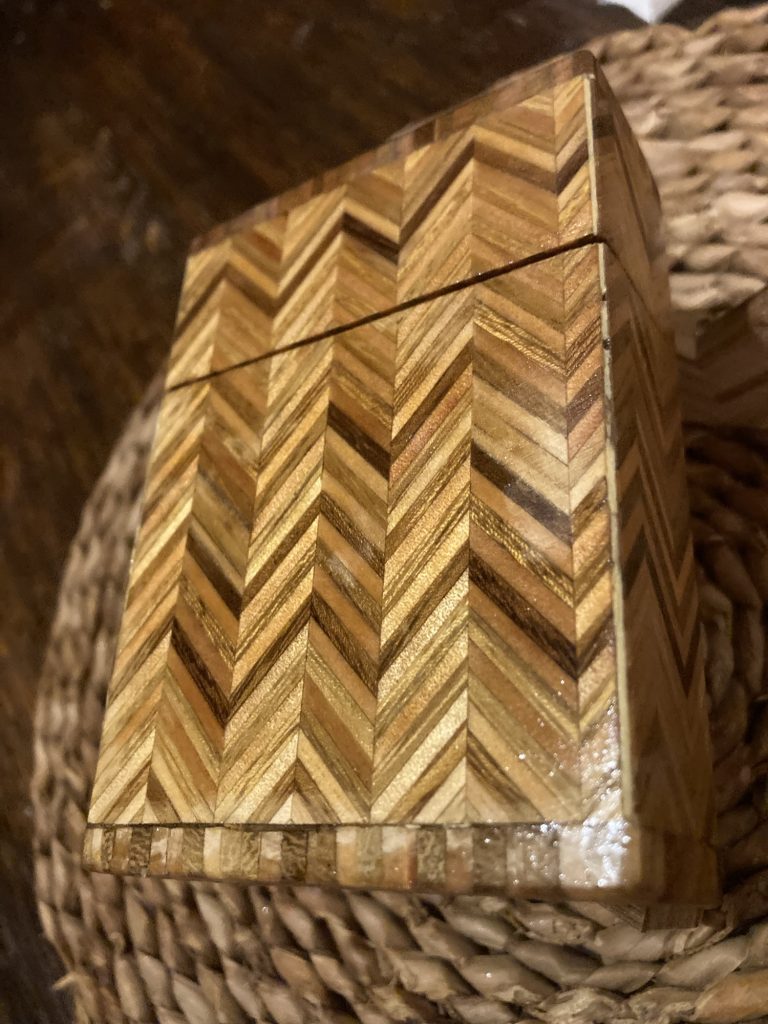
The two boxes below are very much like the first such box I made (a card-holder). And could carry old fashioned cigarettes, or all manner of things. But I guess they’re kind of most obviously playing-card or cigarette-box looking creations.
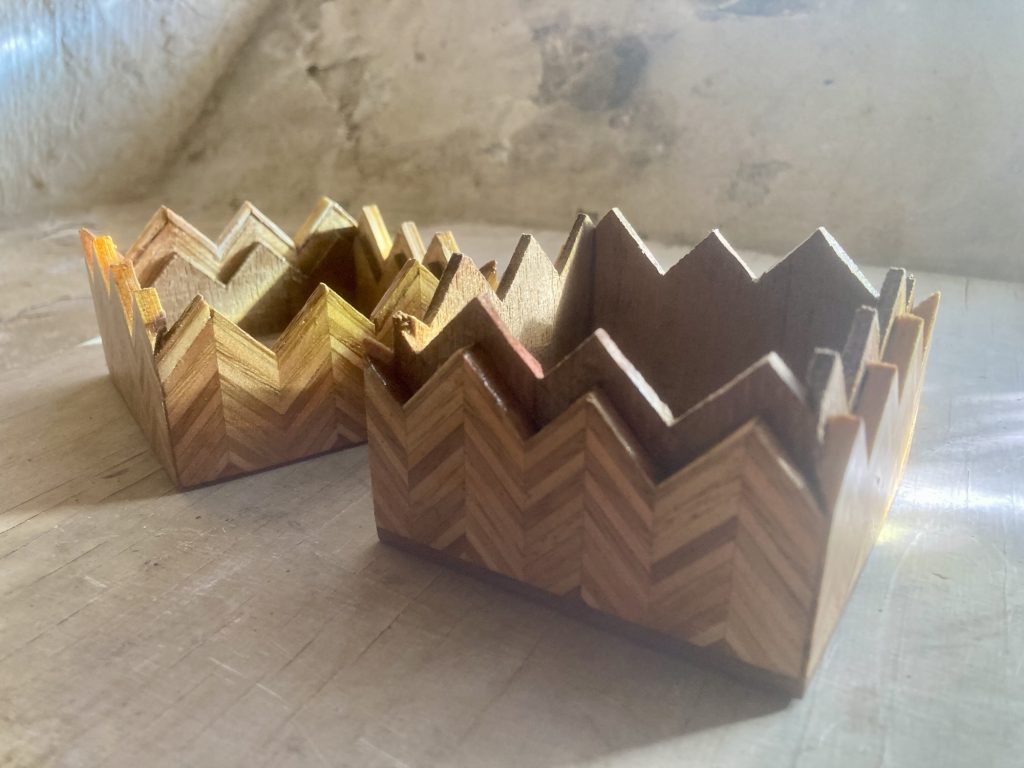
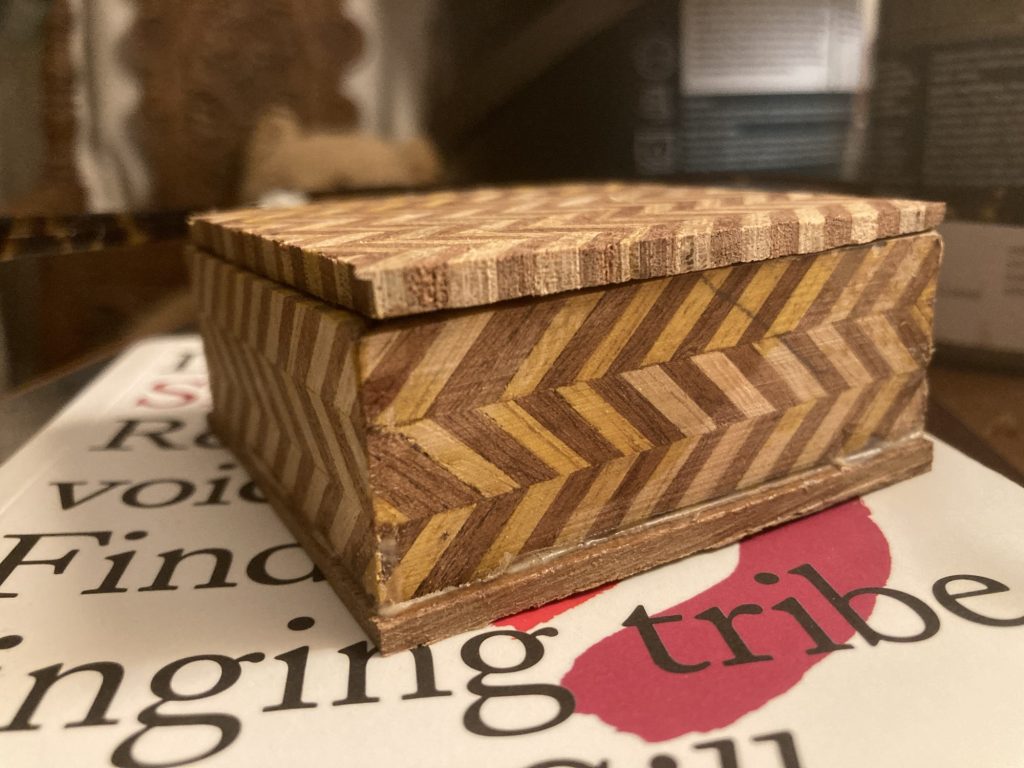
This one is another personal favourite. Made with jagged leftovers that I was loathe to bin! This one is a bit dearer than any of the others. They all represent a lot of time and effort, this one particularly so.
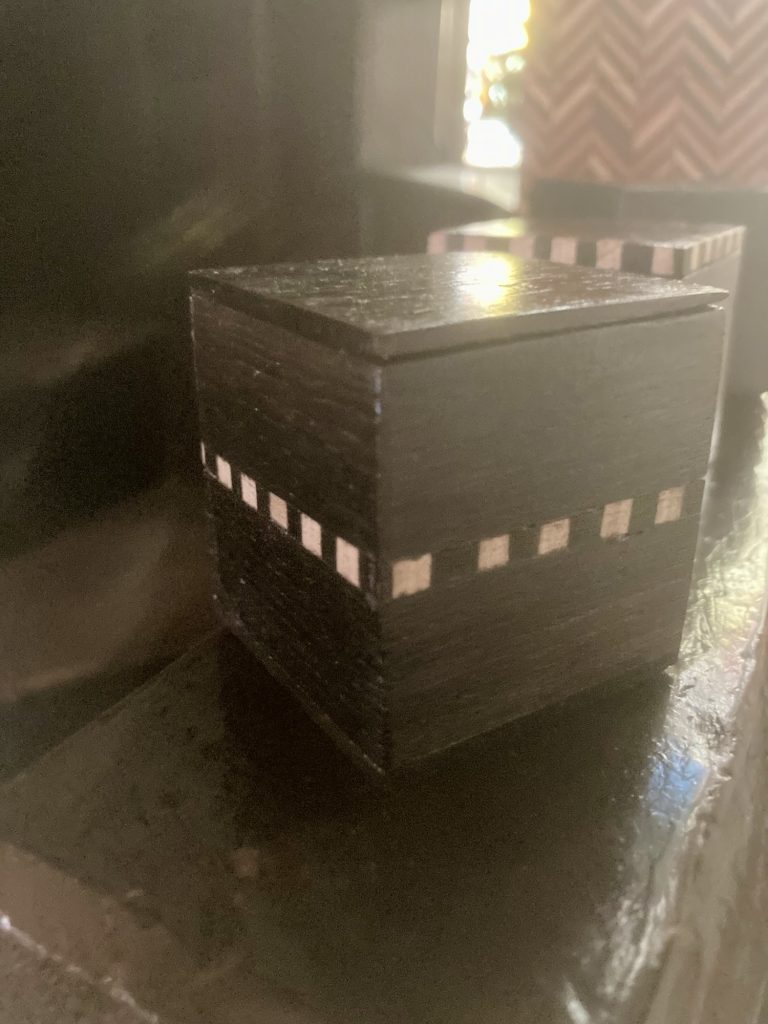
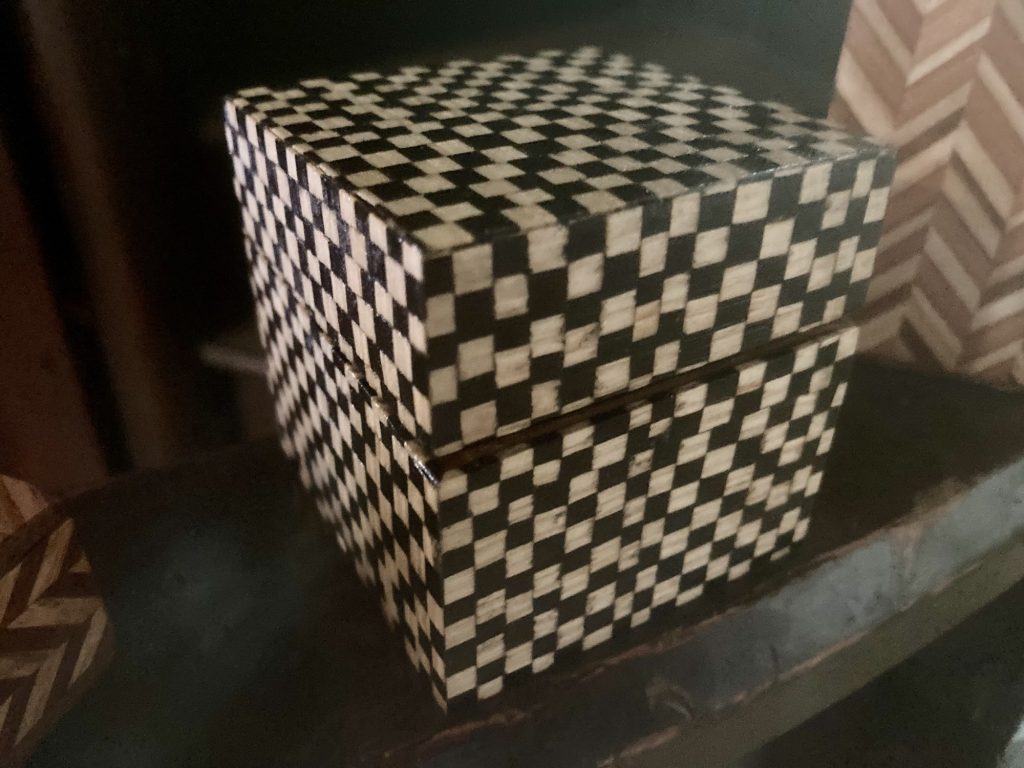
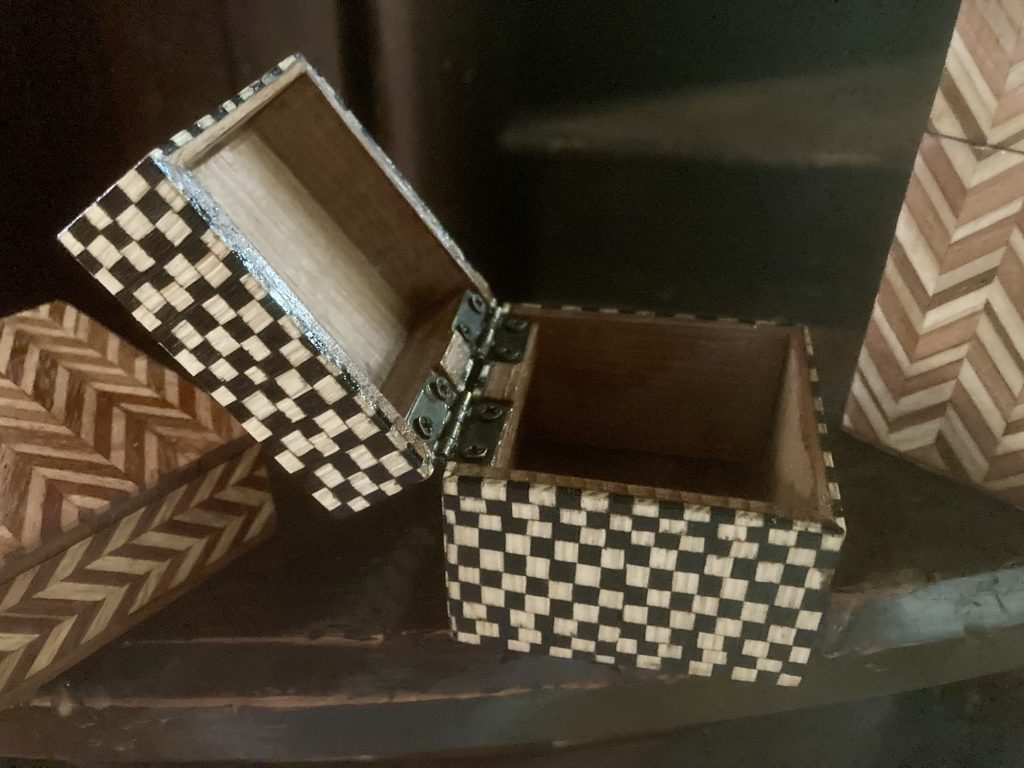
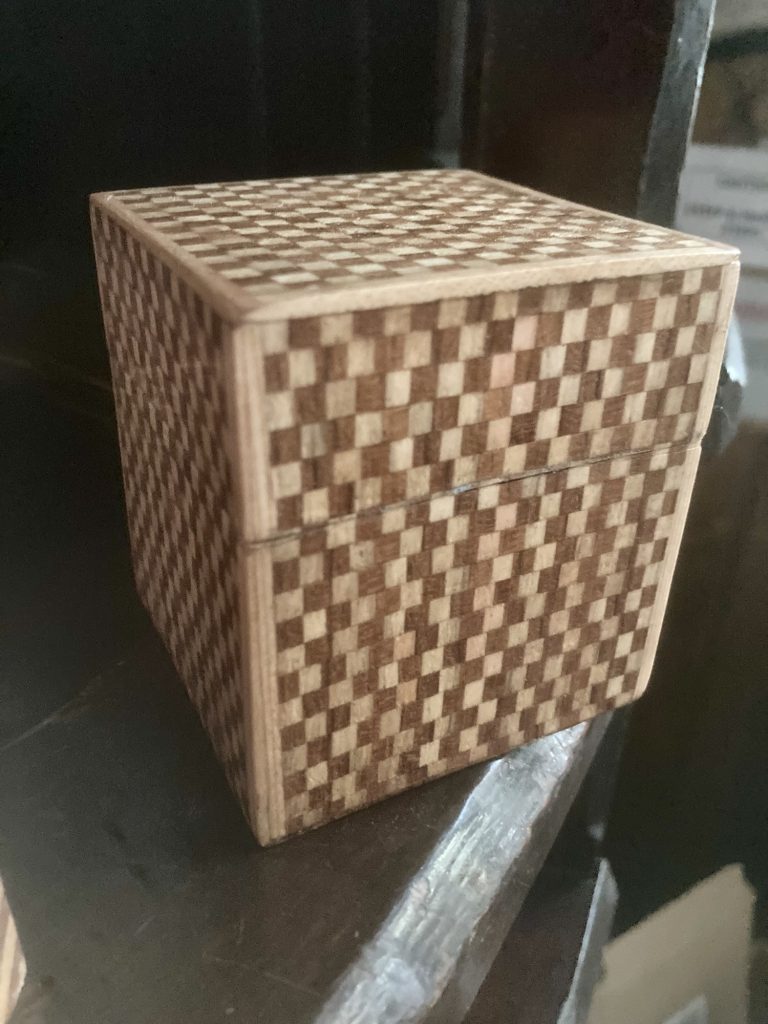
I’m also very keen on this different chequerboard style. I’ve done one in bog oak and pine (already sold), and another in a lighter/browner combo. I want to do a lot more in this vein. This is among the more time-consuming designs to execute. And can vary dramatically in terms of precision (which I love; it’s part of the handmade aesthetic/charm!).
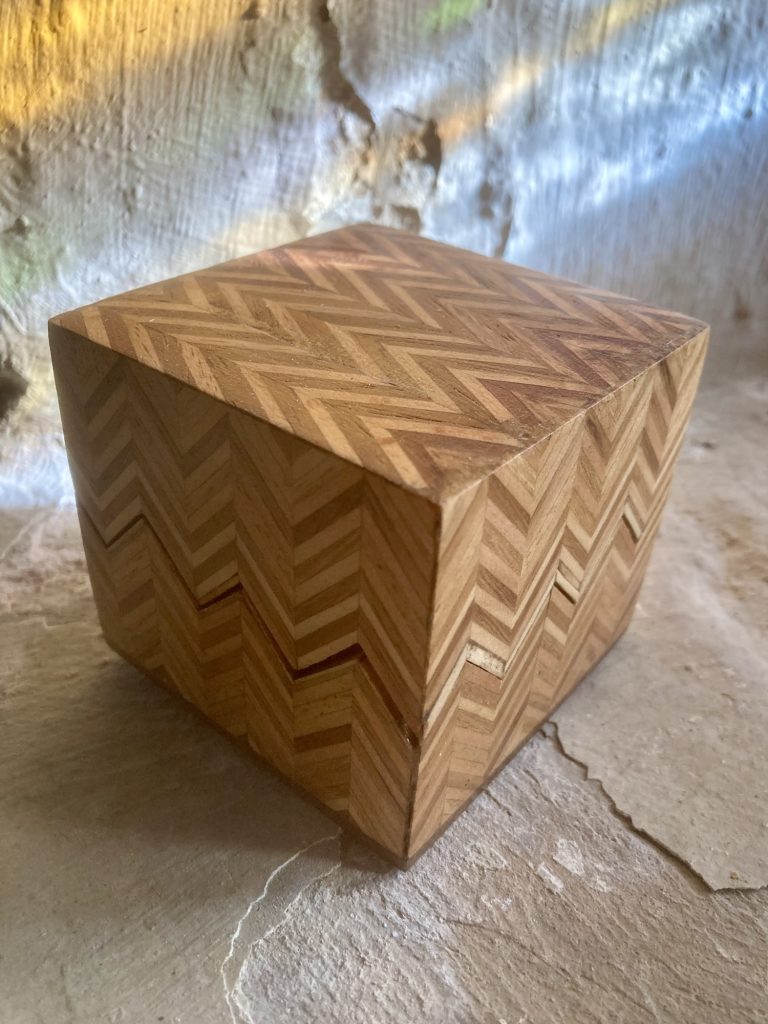
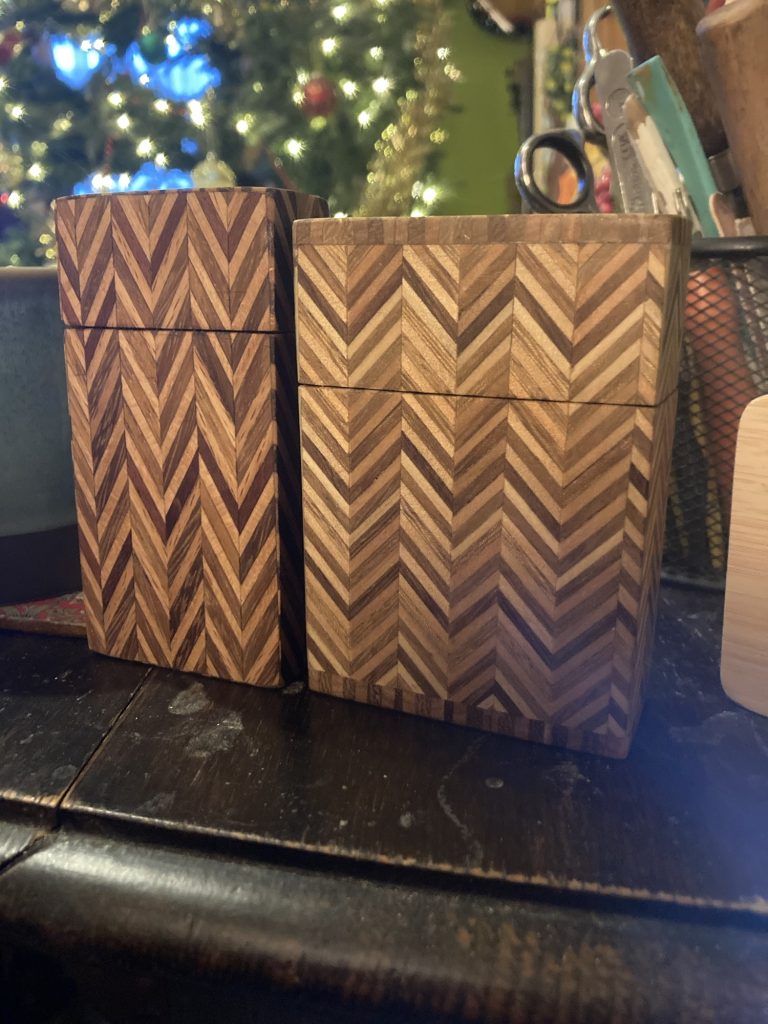
And these last examples are kind of my bog-standard – but not bog-oak – medium-sized box style.
I’ve long loved bog-oak. And finally I’ve made a few things using it. These latest little ones are really quite tiny.
The effort involved in producing these, if it lead to me pricing the results by hours spent? Well, these tiny wee boxes would be pretty damn expensive!
I’ve been really getting into my box making. And, to my surprise and delight, they’re proving quite popular.
I initially made this one, for a pack of standard sized playing cards:
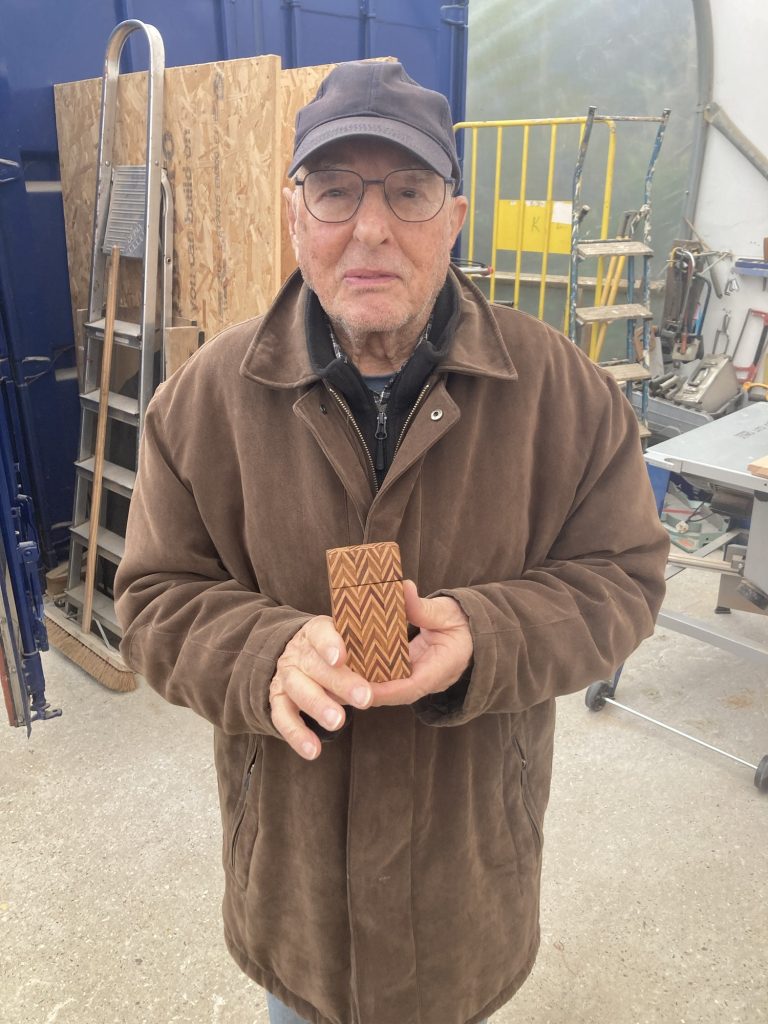
A pal at Shedders, Walter, liked it so much he commissioned one as a Xmas gift for his daughter. My first commission/sale!
Walter, with his commissioned box.Walter’s at left; original at right.Note contrasting inner veneers.
More recently our pal Patrick has asked me to make him a plectrum box, in this style. I did that immediately upon his ‘commissioning’ me. I’m really chuffed with the results.
Pat’s plectrum box.
So that’s now two commissions/sales! And, amazingly, I have two more in the pipeline. The first two were guys: Walter and Pat. The second are gals: Ali and Sadie!
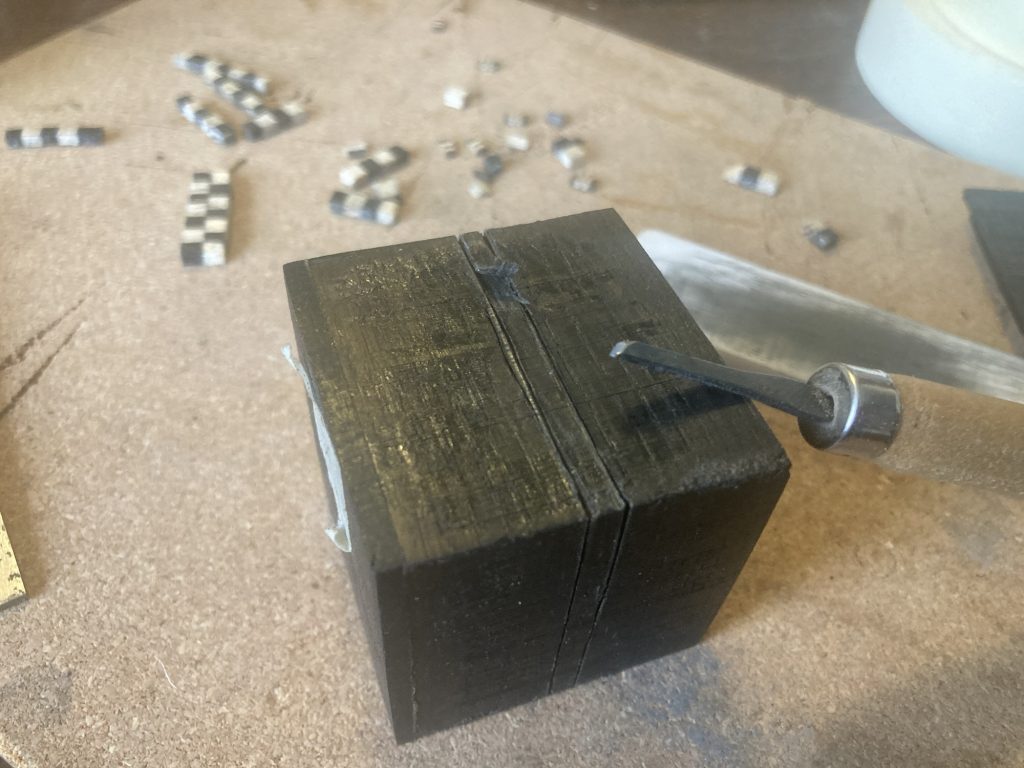
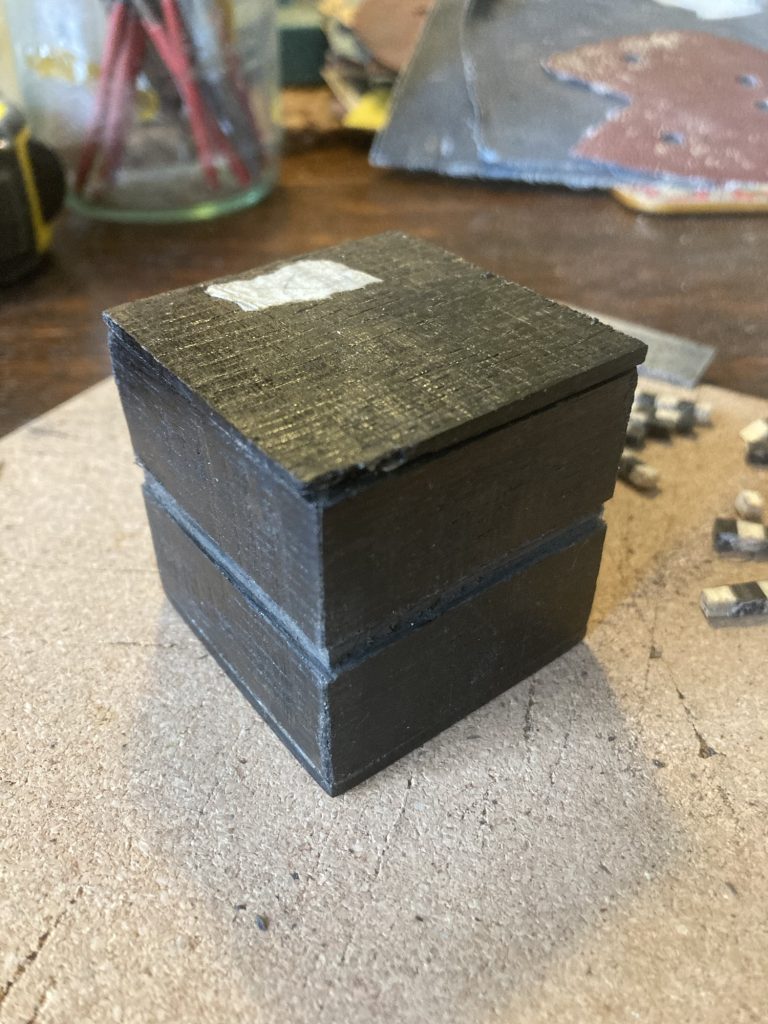
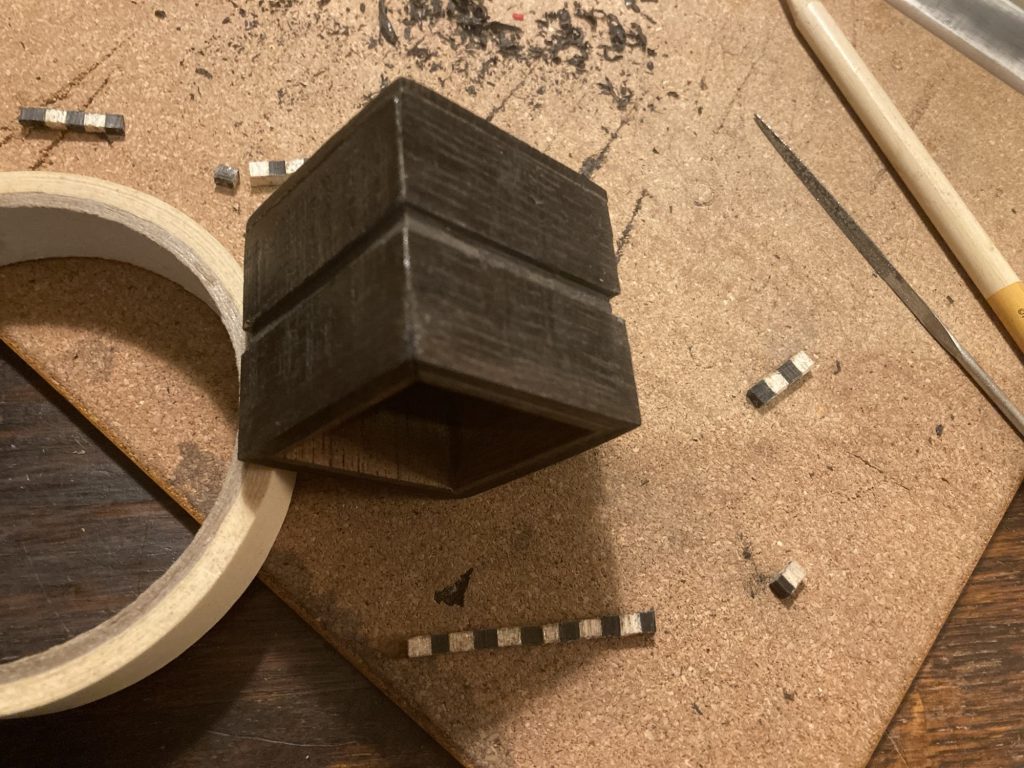
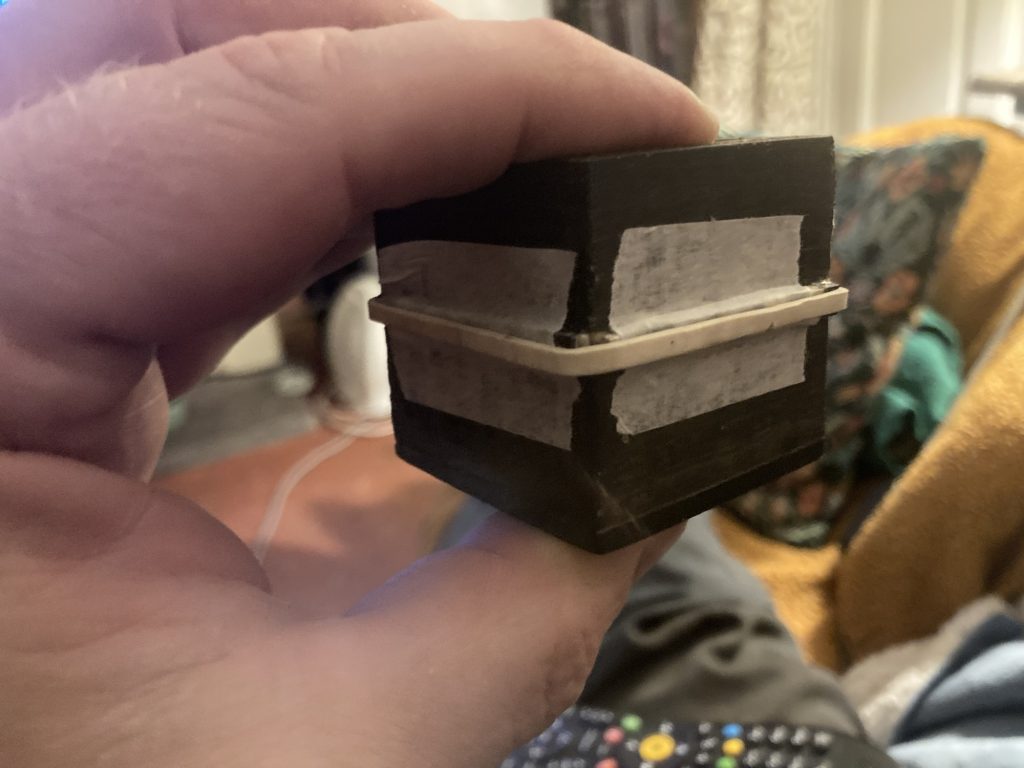
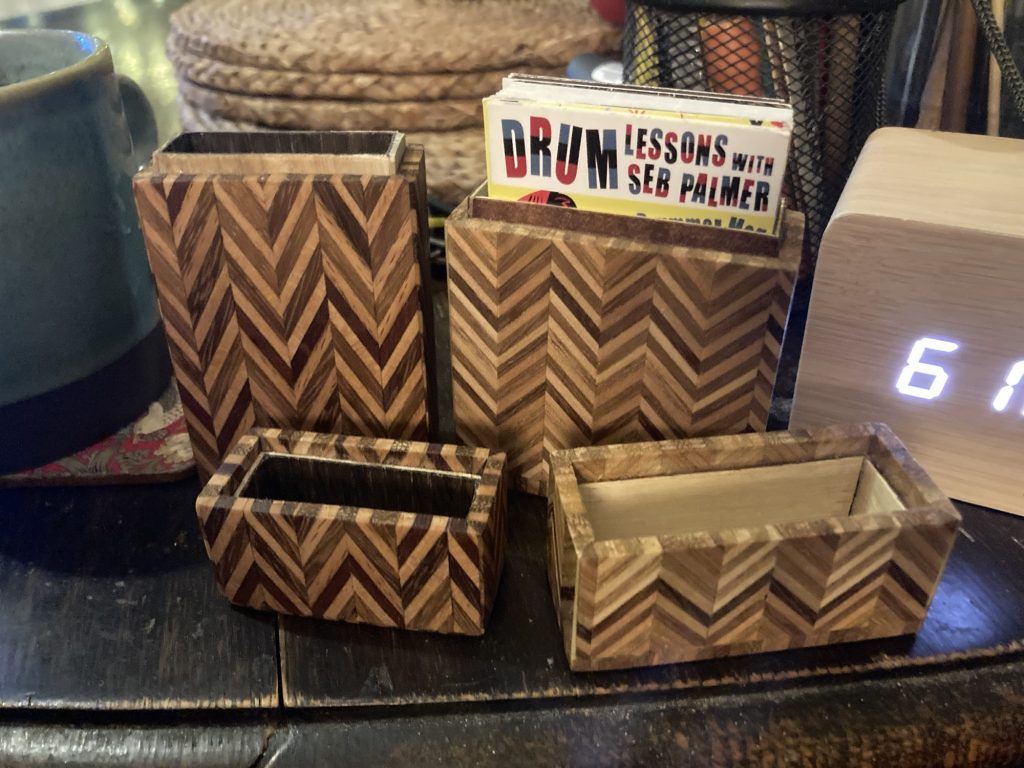
I’ve been using up the remainders and off-cuts from previous box making projects in the last few days, to make a few smaller boxes, some quite like Pat’s plectrum box. Others a bit different.
Another small WIP box.*
In this latter category are my first boxes using more of my much beloved bog oak. This stuff – for which I must thank fellow Shedder Clem – is quite interesting, different, and indeed harder to work with.
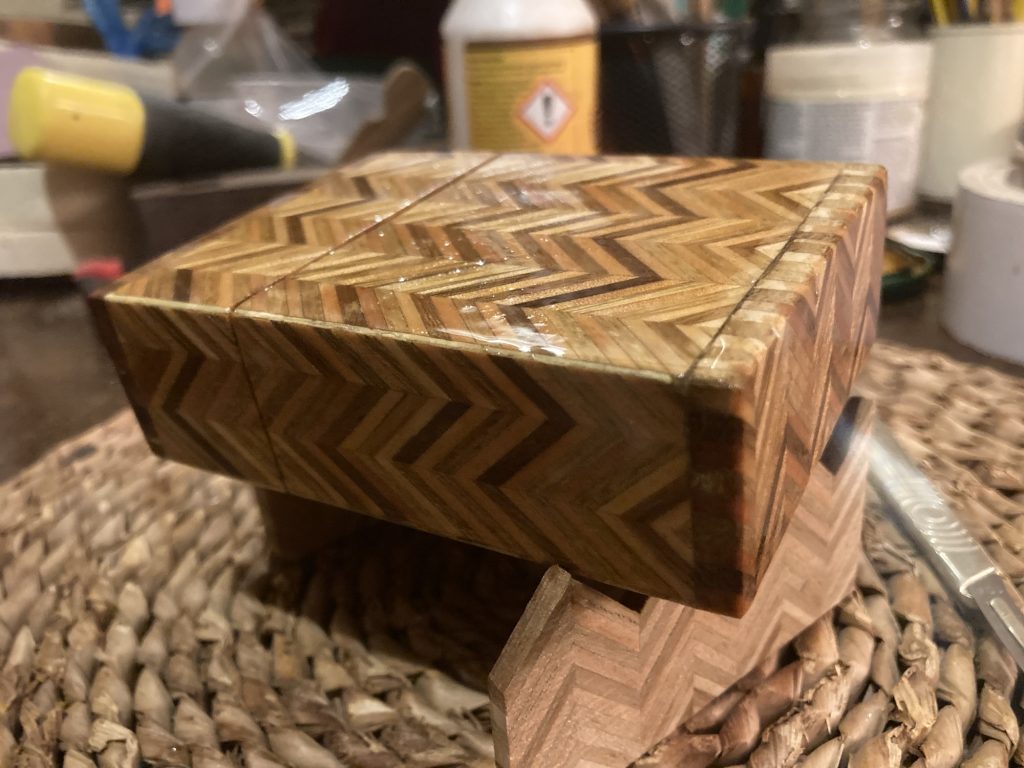
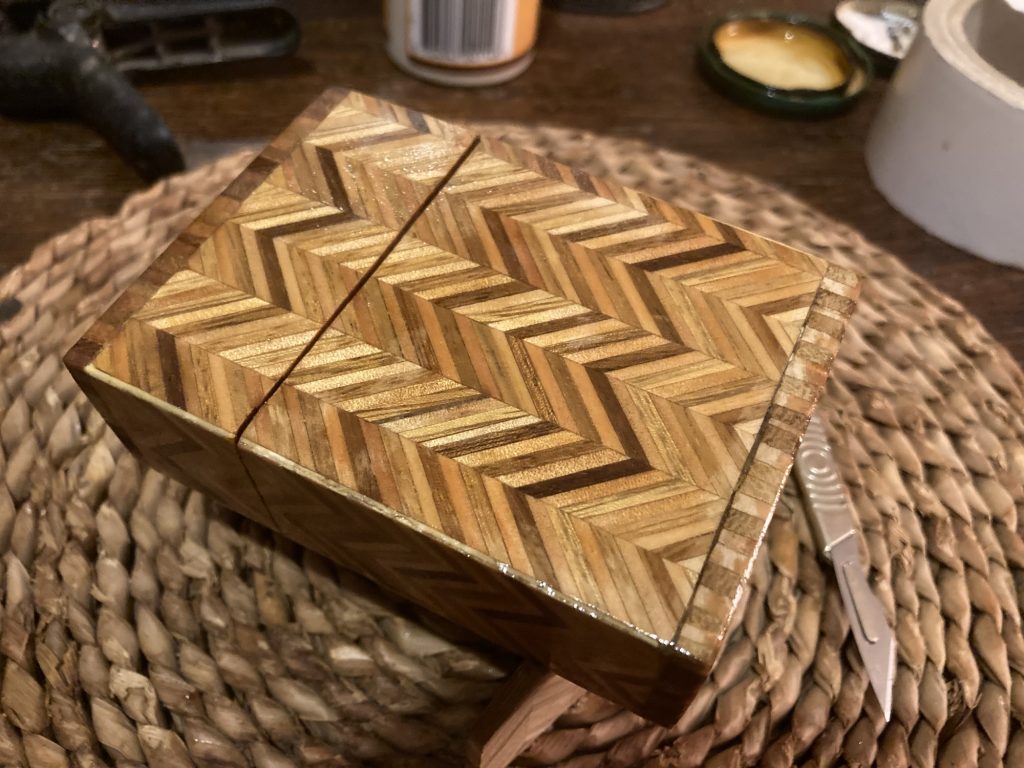
*As the keen eyed may spot, this little ‘un has several key changes in design: the herringbones are oriented horizontally, not vertically (more like road sign chevrons); the lid and base are ‘butt jointed’, or aligned horizontally.
It’s time I did something with this stuff. It was just an experiment. But I kind of like it. It’s also the first thing I’ve made using bog-oak, a timber I’ve been wanting to use for aeons.
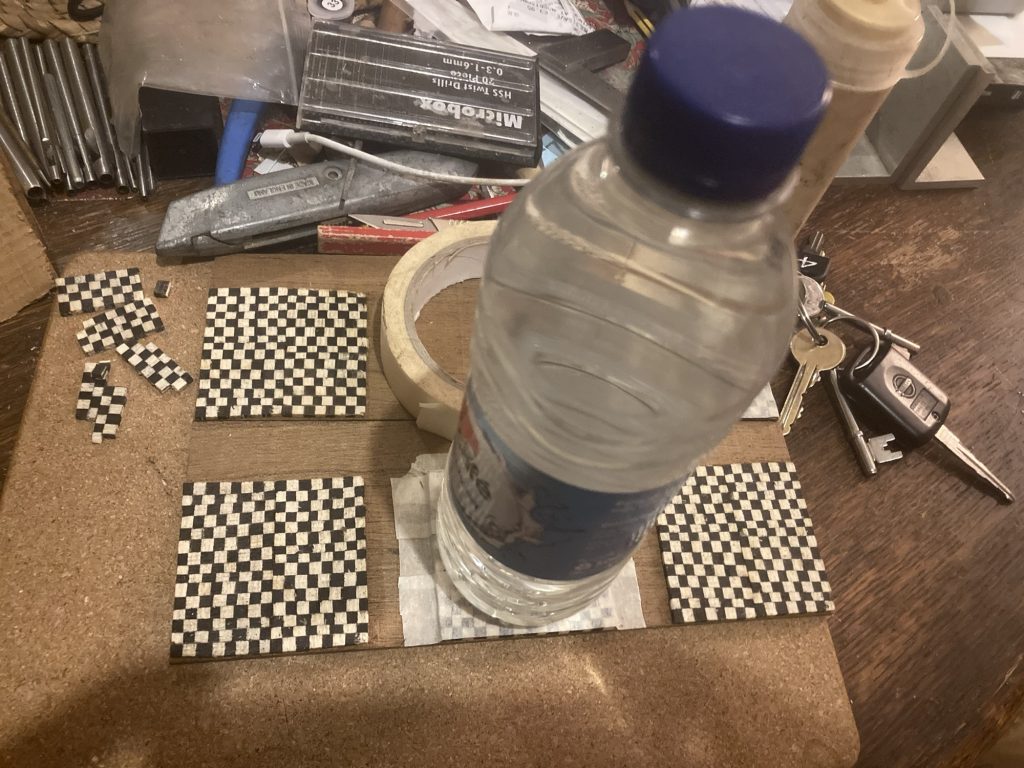
Starting to form an idea.
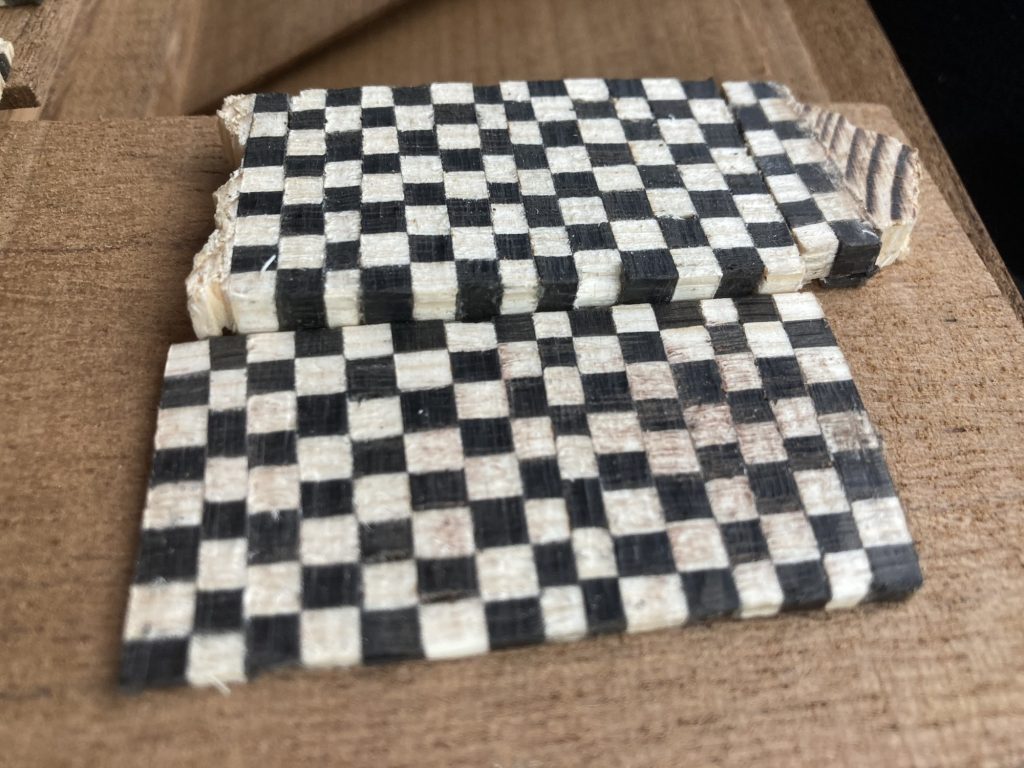
Laying out the bits I have, as pictured above, gave me an idea. I’ve got enough of this pattern to make a small near square box. With the pattern on all faces except the bottom. That’s fine.
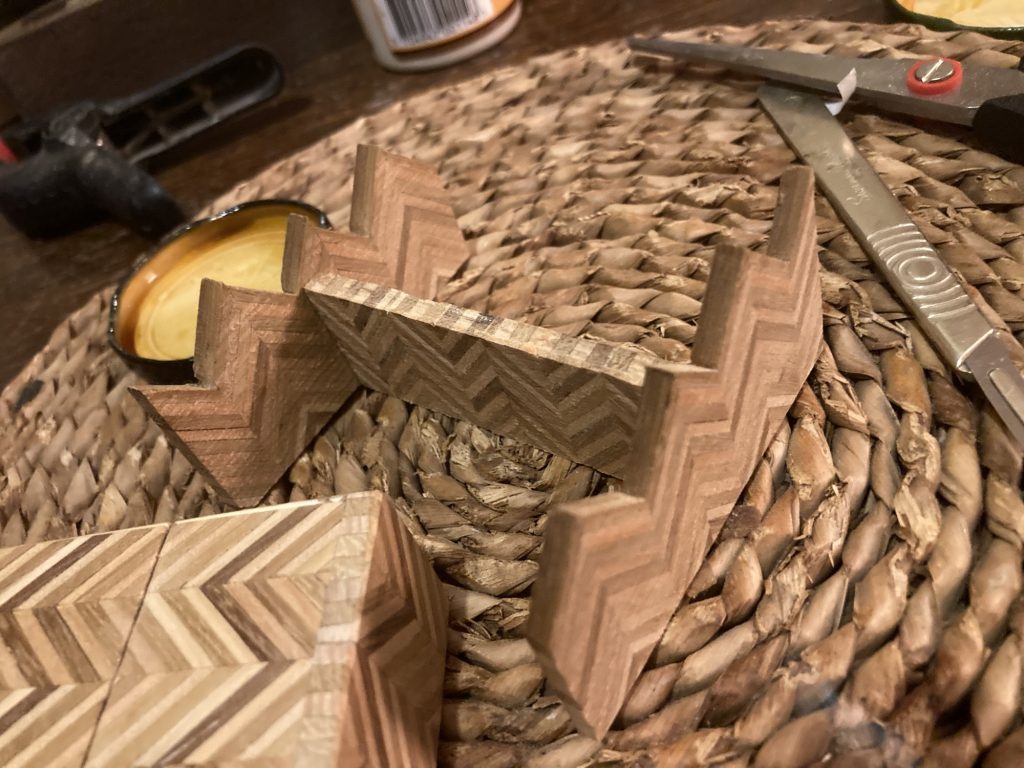
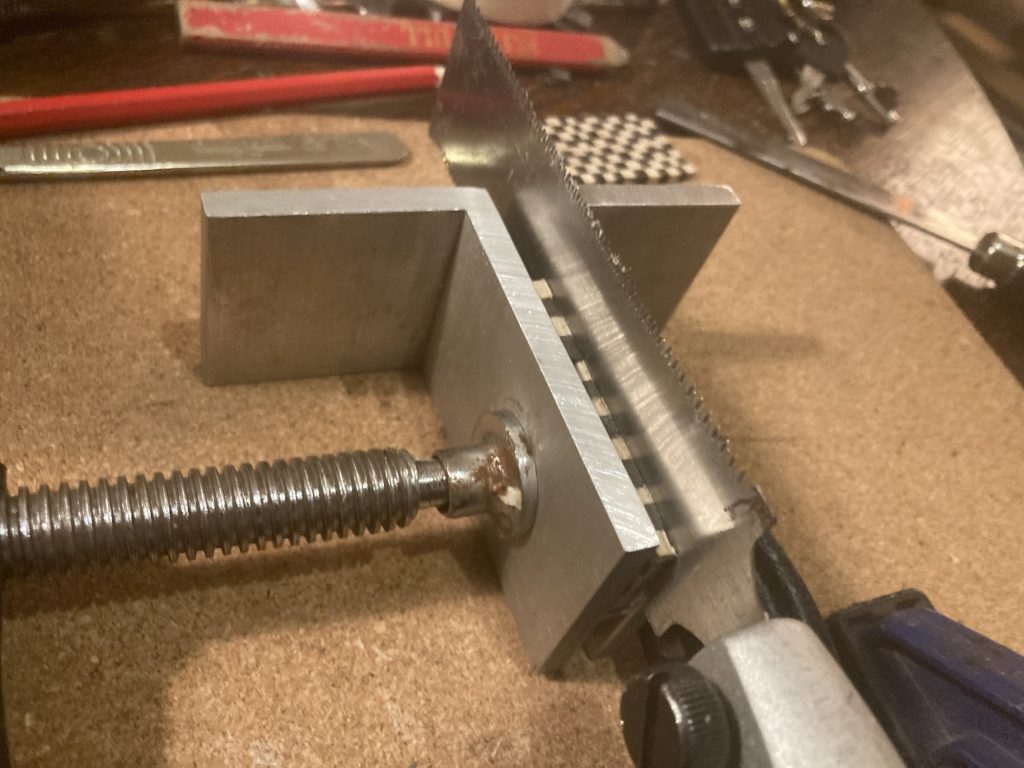
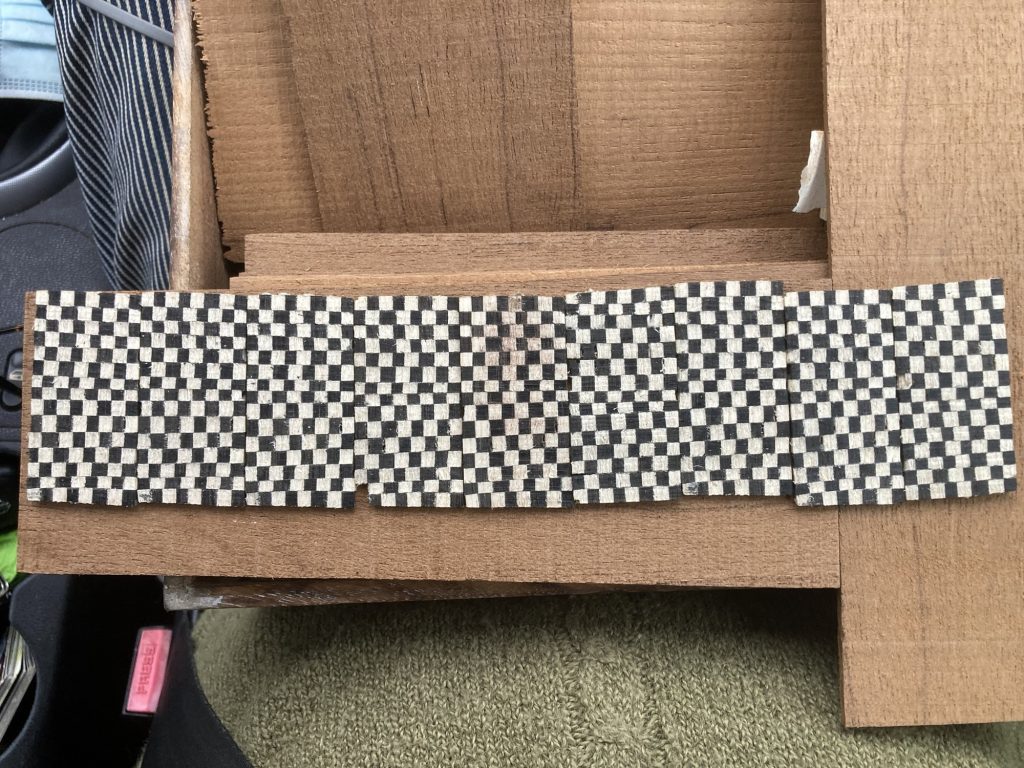
The eagle-eyed may spot that one slice was considerably thicker than the others. So I set up a jig – see above – to allow me to slice it in two.
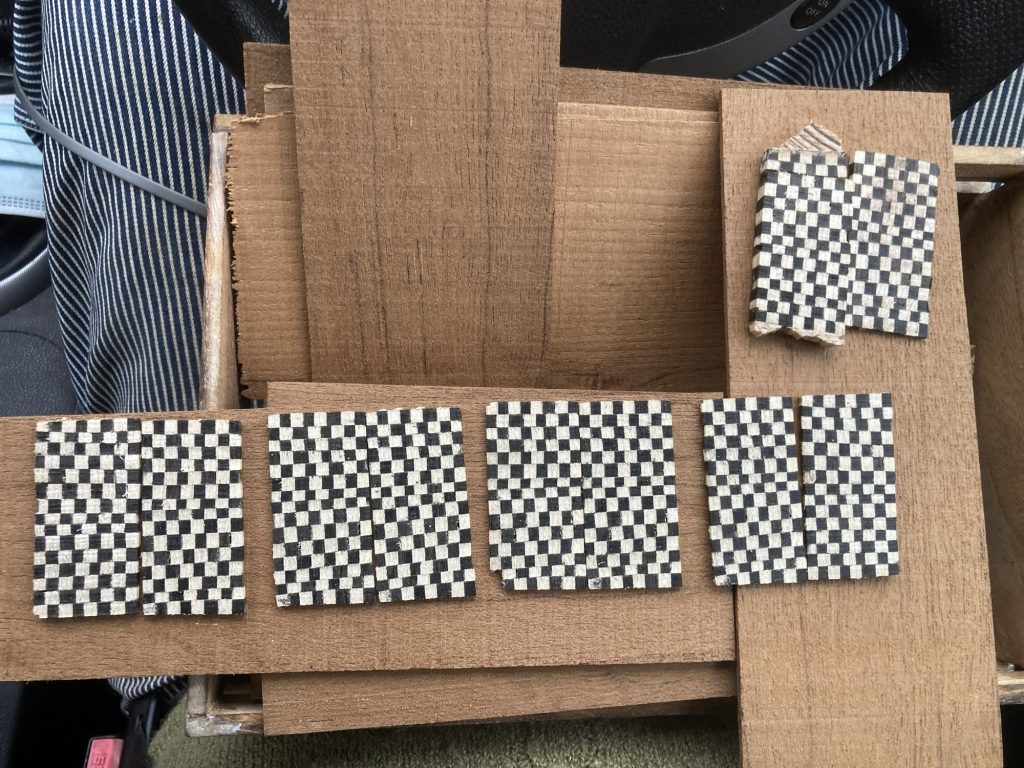
In total I now have five, roughly square, pieces of this pattern. Each made from two smaller rectangles, glued (onto new veneer backers) side by side.
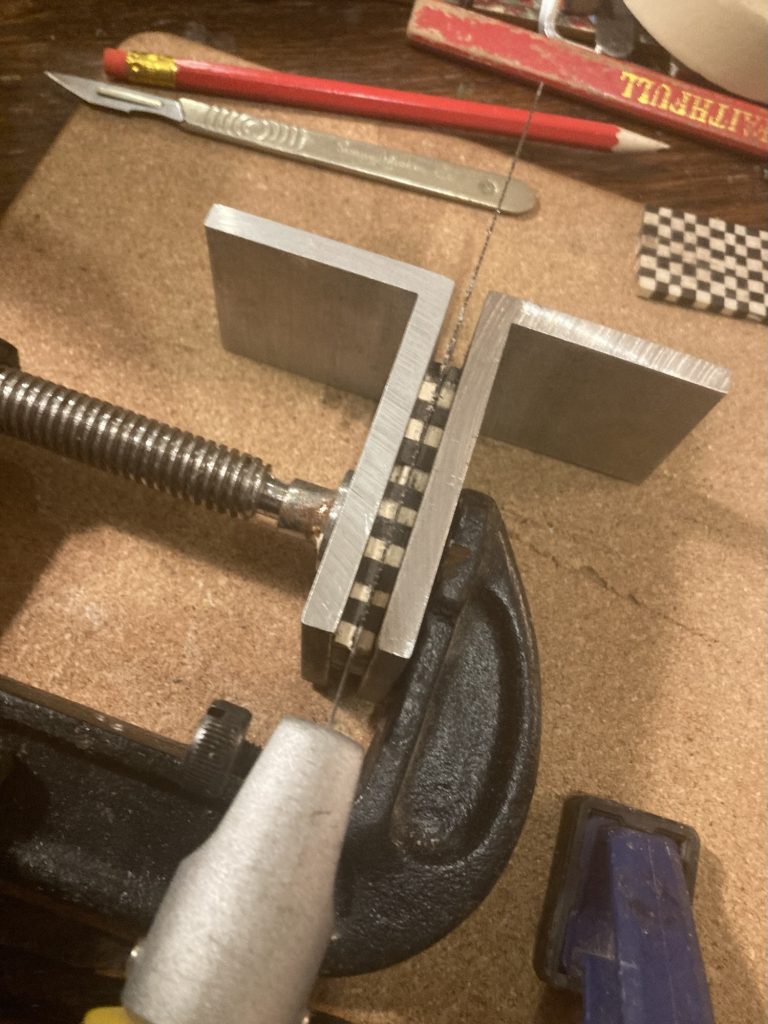
Final chunk gluing.
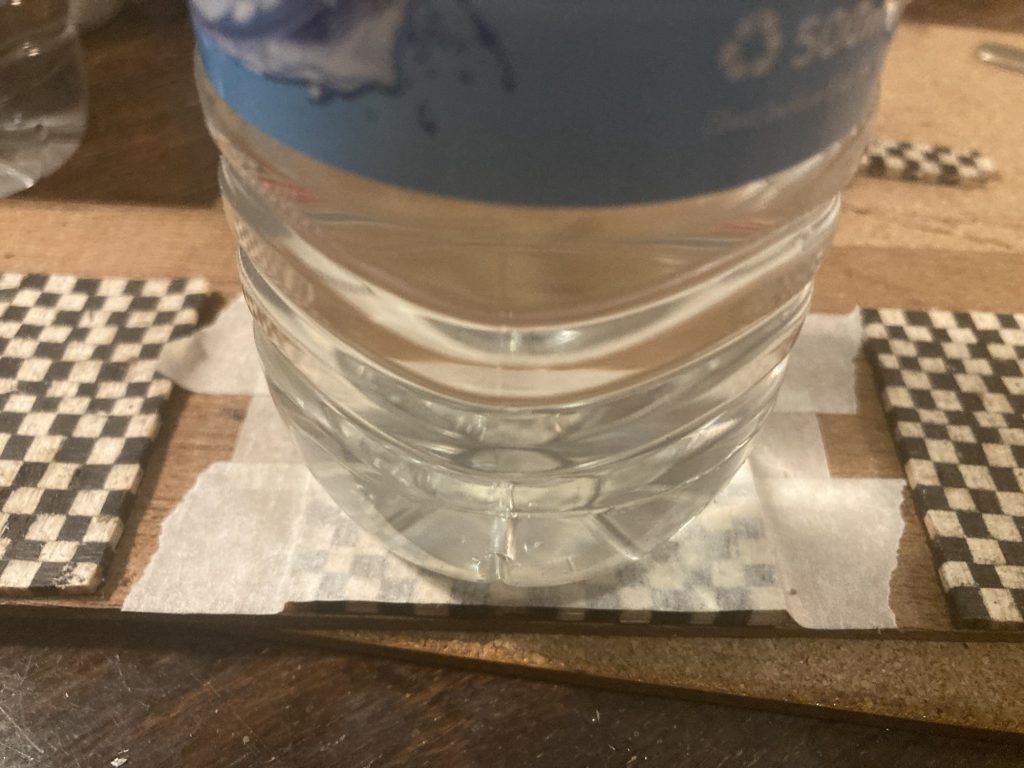
There were a few missing bits, here and there. Particularly in the fifth and final piece. So I got bits from the leftovers, and filled in any gaps. and plopped a bottle over the final section, to keep it down a the glue sets.
I’d like to do a much better neater and more accurate version of this pattern, some time soon. But the kooky irregularity of this lot is, I think, its charm.
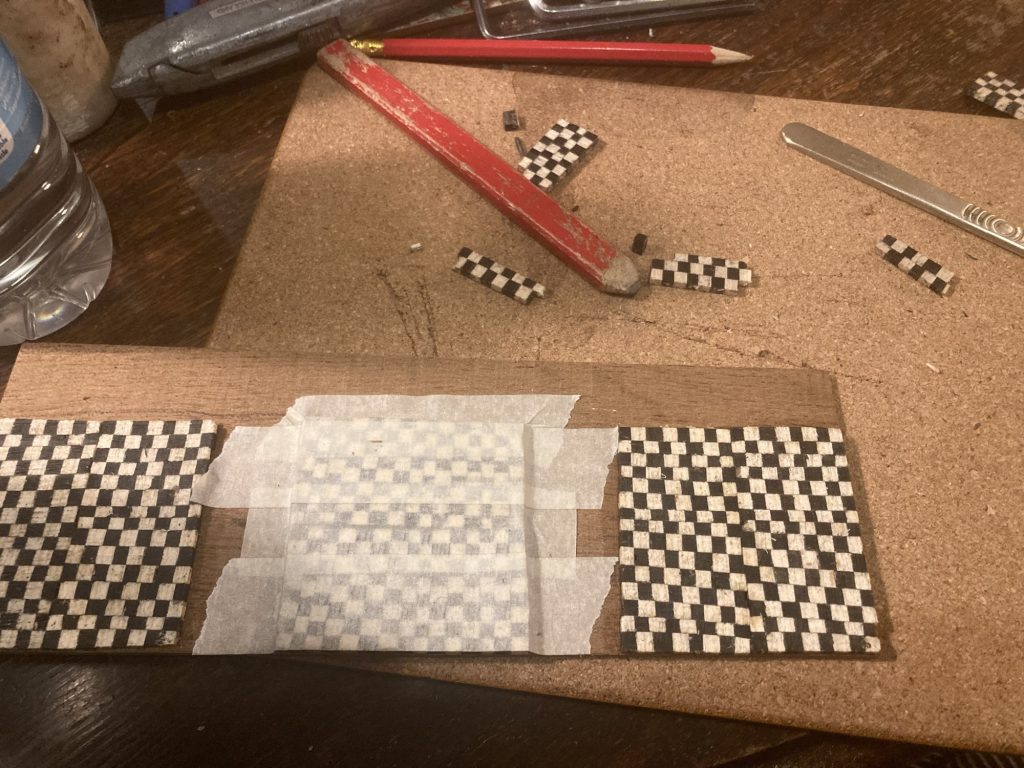
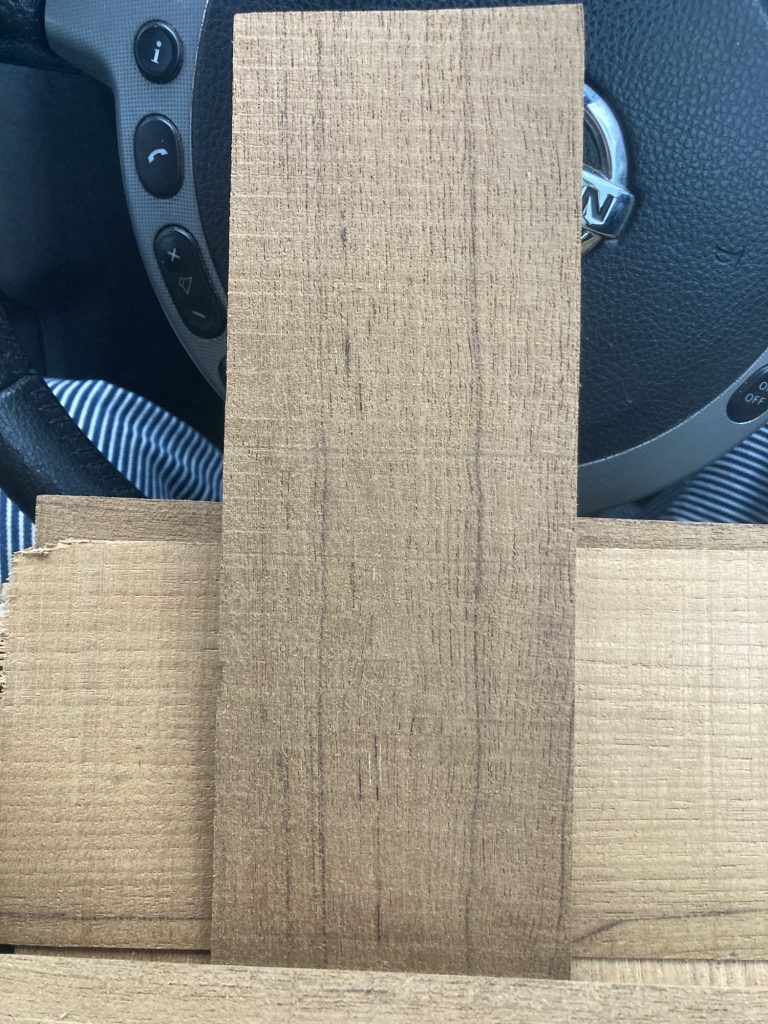
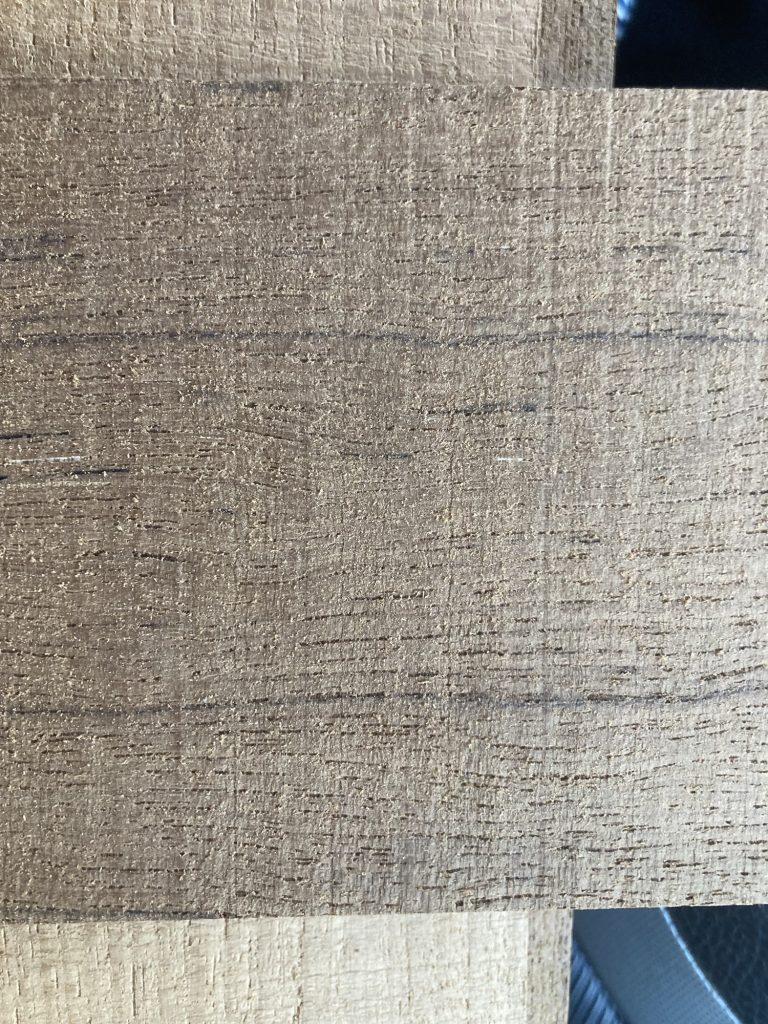
The above images show a different pattern I recently tried out, using bog-oak and plain pine. Today I also cut a whole load of plain single-wood veneers.
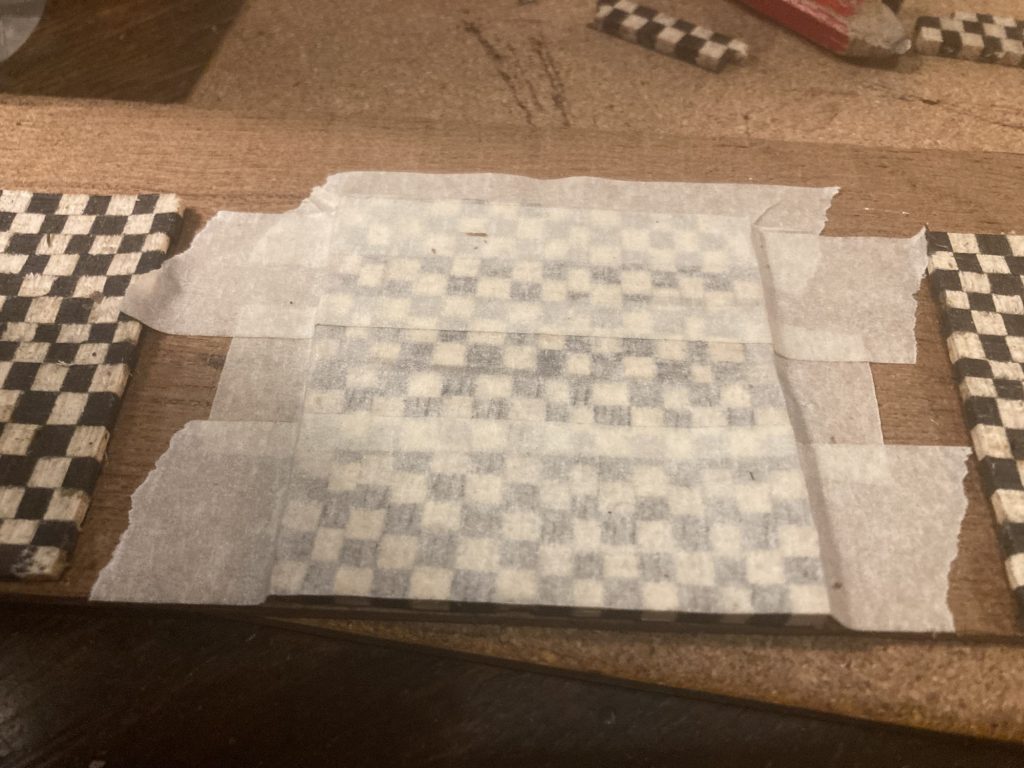
What wood is this?
This wood – I don’t know what timber it is – is for gluing to the back of the patterned veneers. To strengthen them. And to give an appropriate thickness for box building.
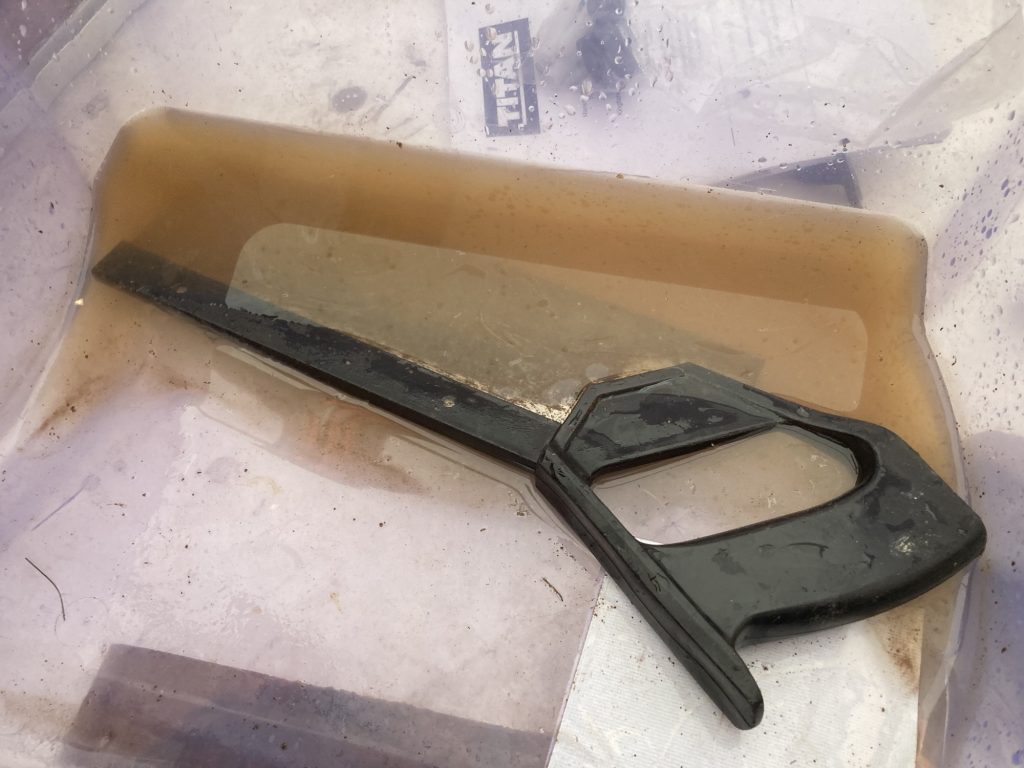
I also restored a couple of tools for Shedders. We’ve just been given a boxful of stuff. Much of it needing cleaning/restoration. I was basically getting rid of rust.
Also did a saw:
Soaking the rust.
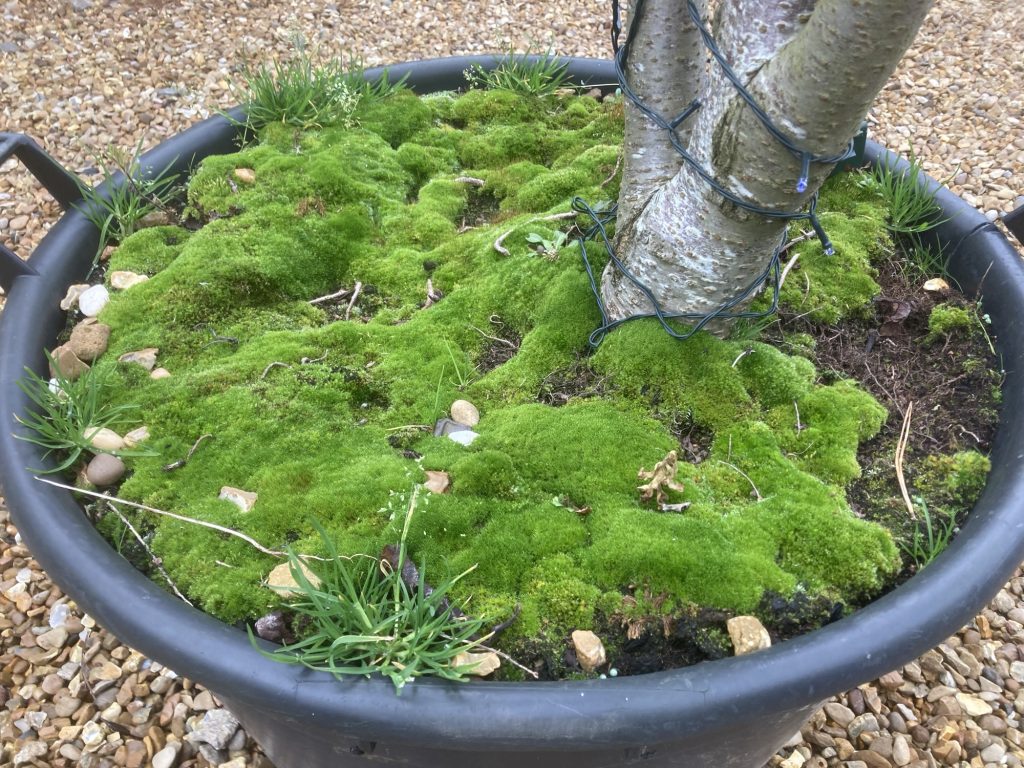
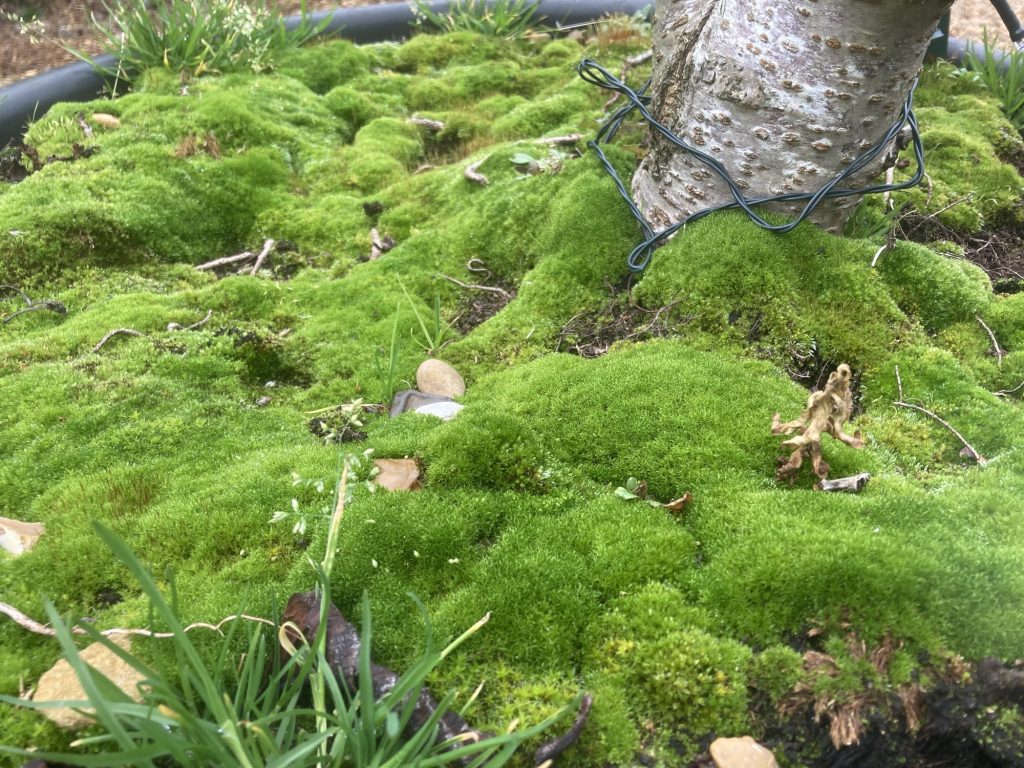
Incredible mosses, in a planter at The Secret Garden.
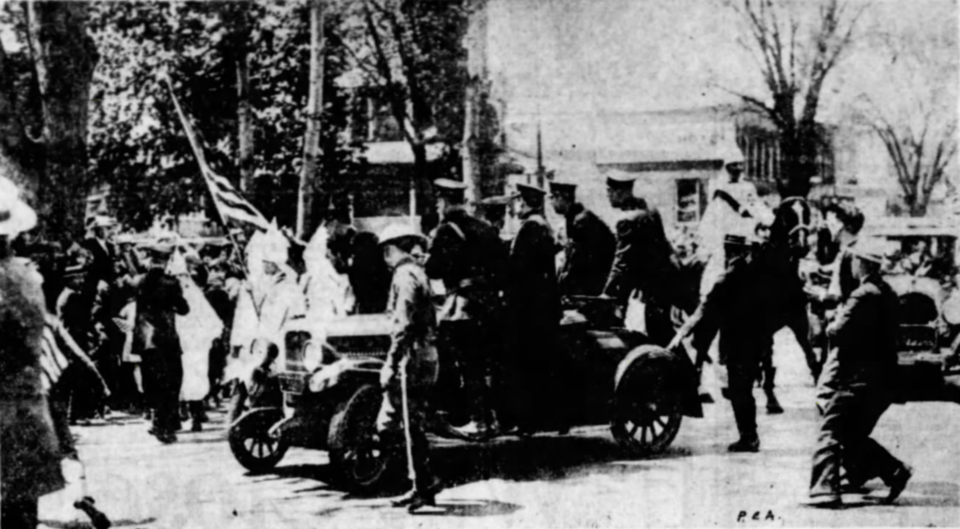
The above photo was taken at an event at which Donald Trump’s German grandfather – Friedrich ‘Fred’ Trump – was arrested, for ‘refusing to disperse’, whilst attending a KKK rally, in Queens, NY, 1927.
Grandfather Trump’s son, also Fred Trump, was a chip off the old block, being sued by NY authorities over his racist treatment of black tenants, as a NY landlord.
And now we have Donald, pursuing openly and avowedly racist goals, as POTUS. He repeats lies about crime and immigration that pretty much all studies of the actual subject categorically refute.
pic
I’ve read online that there are those saying boycotting the US hosting the World Cup is dumb and hypocritical. After all, we didn’t boycott the World Cup when Saudi held it.
Well, there is a valid pint to be addressed here. But my conclusion is totally different. Just because a crime was committed, but you failed to report it, act on it, or prose it it, doesn’t mean that, by logical extension and former precedent you are duty bound to never report further future crimes. That way lies madness, and the collapse of civilisation.
Okay, the works at large failed to exercise proper ethical and political judgment on numerous occasions in history, such as Germany hosting the 1933 Olympics, or… well, there are plenty of other potential examples.
So, following (?)’s ‘logic’, we simply throw out hands up, roll-over, and key dictators and other tyrants continue fucking everyone they fancy over? Er… NO! Maybe we could and should learn from our past mistakes.
Pic
Having said this, what is the best way to respond? I think boycotting the World Cup is a no-briber, personally. FIFA very foolishly gave DT a fake peace prize recently. They’ve earned a massive slap, for that alone.
But I don’t think we should be aiming to destroy the US economy, by selling all our US bonds/stocks, etc. In almost all conflicts between states/nations, it’s the little folk who pay dearest. That’s another mistake we need to stop making.
This awful scenario is the work of so called elites. The rich and powerful of disaster capitalism. Those who profit from the ruthless and systematic exploitation of others. They should be made to suffer, not Joe Public.
Well, not all of Joe Public. The MAGA segment really needs education and enlightenment, and maybe some punishment.