
This is a terrific book. And I’m really enjoying reading it.
I started this review whilst still in the first third of the text. I did so because I don’t want to forget to mention some of the key concepts Ian Morris uses: eg ‘caging’ and ‘lucky latitudes’. These two are actually deeply interwoven: the caging occurs within (roughly) the lucky latitudes.
I have to be frank, and admit I don’t actually like either term (rather as I dislike Ian Kershaw’s very University-thesis sounding ‘working towards the Führer’, in his huge Hitler biog). But these descriptors do fit. So that’s got to remain a very minor (almost aesthetic?) quibble.
The broad arcs – makes one think of a sword being swiug, very apt! – of his arguments seem to me, eminently reasonable. Indeed, I remember starting to think along these lines myself, years before encountering them explicitly stated, thanks to my ongoing exposure to and interest in evolutionary theory and military history.
There’s also a prescience to what he’s talking about, as modern ‘democracies’ currently struggle with resurgent fascist tendencies, etc… [took a break, at this point]
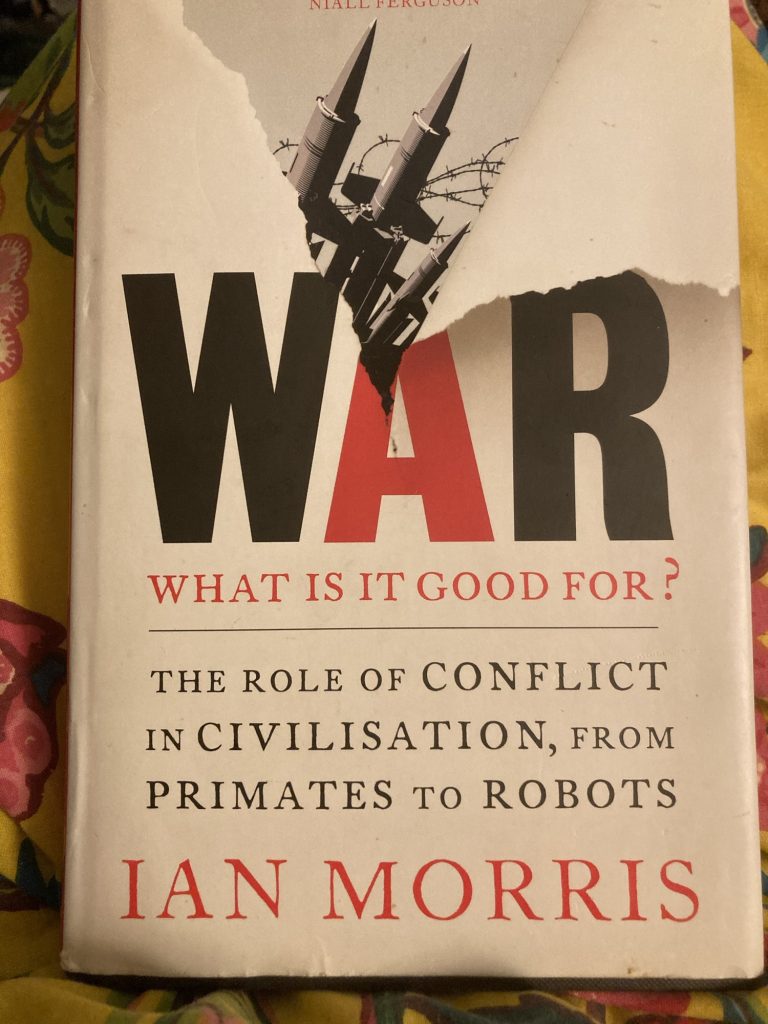
I’m coming back to writing this review at about 70% of the way through the main body of text. It seems appropriate to resume at this point, as I want to note that the book’s subtitle ‘from primates to robots’ seemed rather odd at first. As the book starts (after the intro) in Ancient Roman times.
It’s only at this 70% point that Morris zips back, 3.8 billion years, to pre-cellular ‘blobs’, quickly sketching an entire evolutionary arc, whilst considering the balance between cooperation and conflict. This chapter – Red in Tooth Claw – introduces some mathematical ideas, inc. game theory, and is fascinating.
After a book that’s over two-thirds chronological, from Rome to post WWII, the sudden and massive jump back in time is followed by a sudden jump forward, to the Cold War, nuclear deterrence, the ‘pacifist’s dilemma’ (more game theory) and the collapse of the Soviet Union.
I have to confess that this is where – particularly in the chapter Last Best Hope – certain strands of Morris’ thinking start to trouble me more than just a little… particularly in relation to the idea of America as the new and liberal/democratic ’Globocop’.
His flights of fortune-telling fantasy – as he summarises likely Sino-American conflict outcomes – strike me as scarily akin to the solemn celebrations of one of the authors and experts he quotes (I forget exactly who), prior to WWI, and Chamberlain, pre WWII, with his ‘peace in our time’! Predictions of this sort can be embarrassingly wide of the mark.
This book was written before Trump’s second disastrous destabilising term as POTUS. Someone needs to bring home to Trump that ‘Globocops… pay huge reputational costs for brutalising the innocent’, as Morris puts it.
A fascinating and thought-provoking book. Well worth reading.