HOME: Malfunctioning Gas Hob Ignition

World’s best most exciting photo… ever!

Oh, but when it rains, it doth pour, eh? Today our gas hob suddenly decided to start clicking constantly, which I suppose is a continual triggering of the ignition(s)?

Sometimes all four hobs were sparking continually, sometimes one or another. But the clicking was, more or less, constant, from around midday or lunchtime, till now (9pm)

Of course I first tried solving it myself. This has happened once before. On that occasion I switched off everything (electric and gas*), and cleaned all the hobs. Cleaning can involve liquids, and liquids can short the spark circuitry! But I got everything as dry as I could. And, lo! Everything worked just fine.

* Or so I thought! Turns out I only knew how to switch the gas off for the hobs. The fuse on the main fuse board only switches off the oven and grill, not the hobs! More on this shortly.

Did the same this time, albeit ultimately spending much, much, much more time cleaning, but no dice. No change whatsoever! Clicking and firing continued unabated. Every now and again it’d lessen or stop. Only to start all over again.

World’s most thrilling video… awesome!

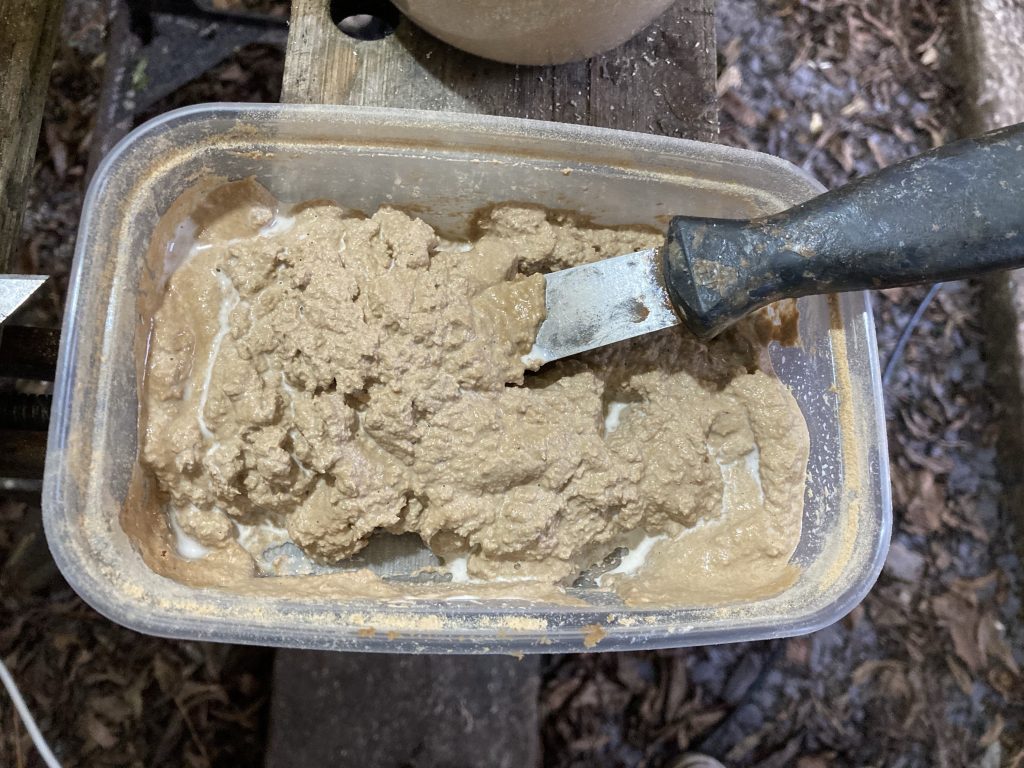
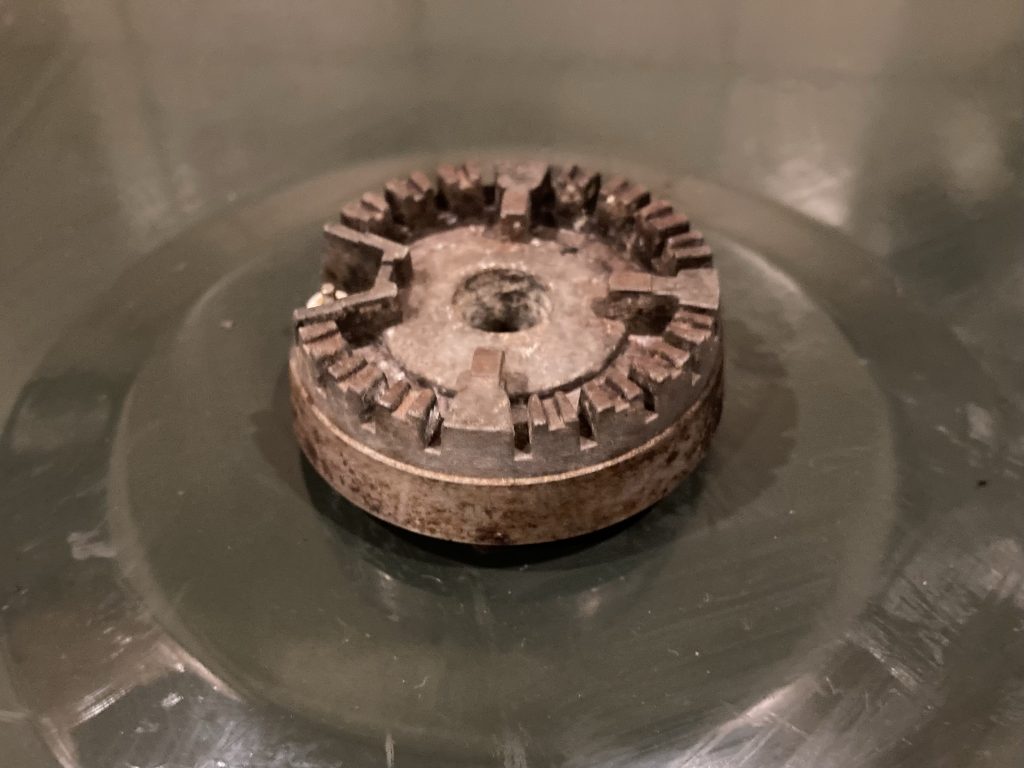
Anyway, having gone back and forth, Googling the issue, and trying very hard to really clean out all the parts – the hobs comprise three components, plus the little (ceramic?) ignition ‘nipples’ – hoping it all might eventually dry out or summat, and stop firing, it was all to no avail.

I called a Gas Safe engineer at about 8.30pm. He arrived around 9.20pm. He determined we had no gas leaks. He also helped me identify the correct power socket for the hobs. I thought I’d done so. But apparently not. Whatever it was I’d found, it was the wrong power outlet!

Once the right power source had been identified, it became apparent that it did (the other lead/wall socket didn’t) have a switch. Mercifully, when this was flipped, the eternal and infernal clicking finally stopped.

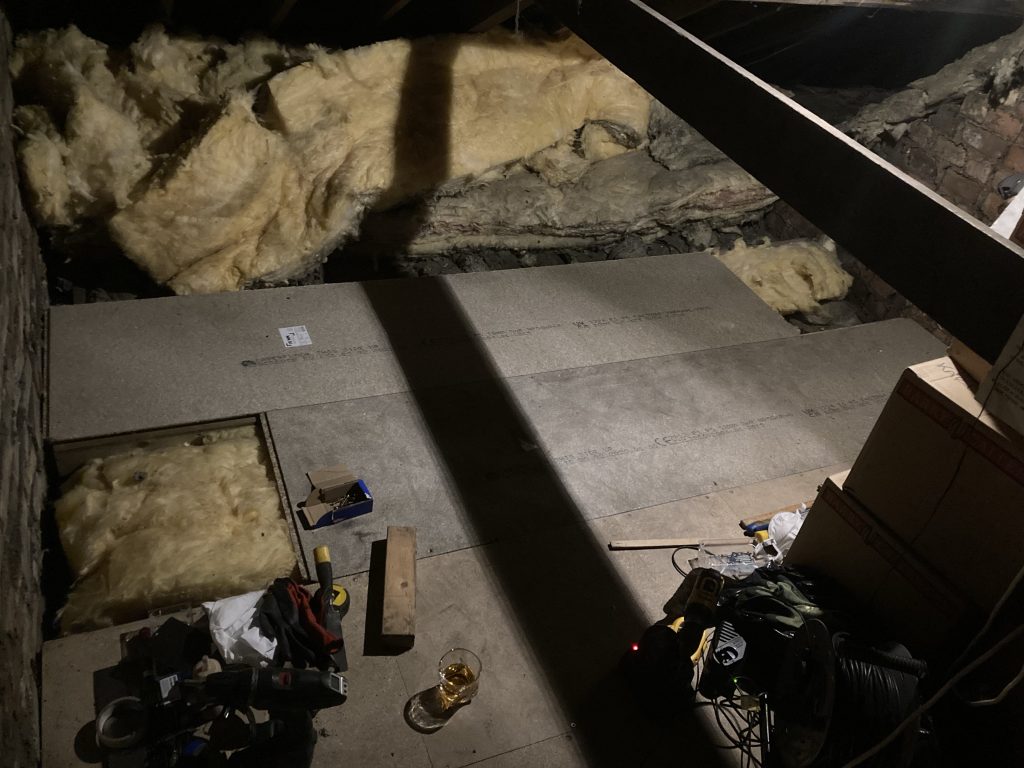
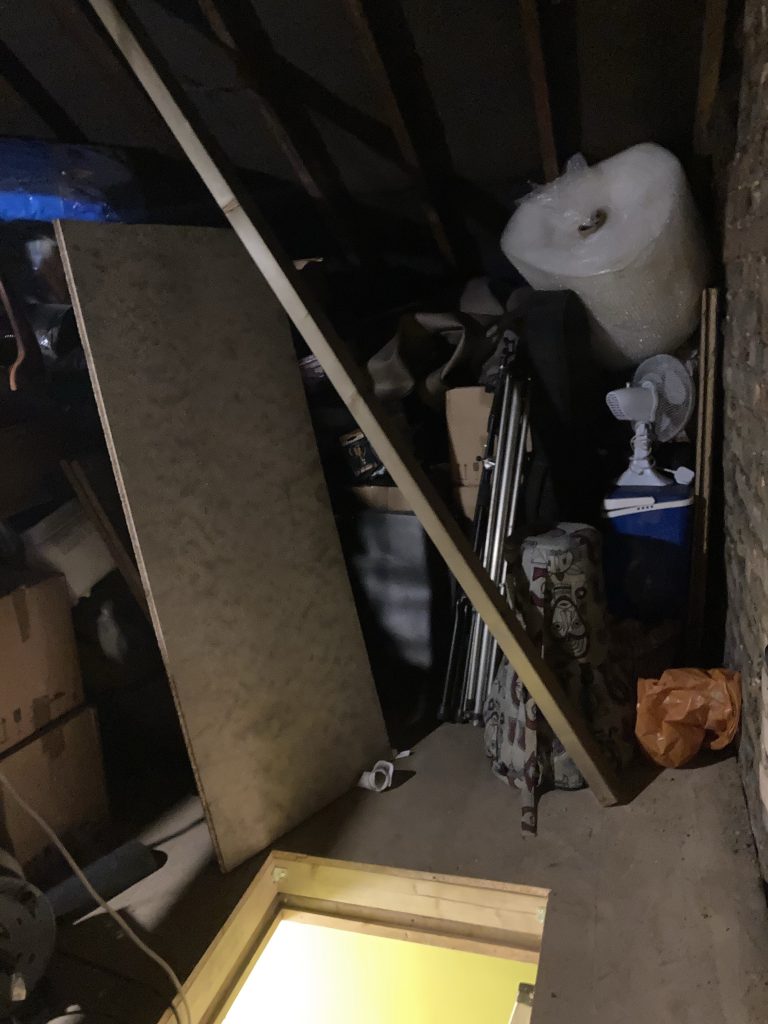
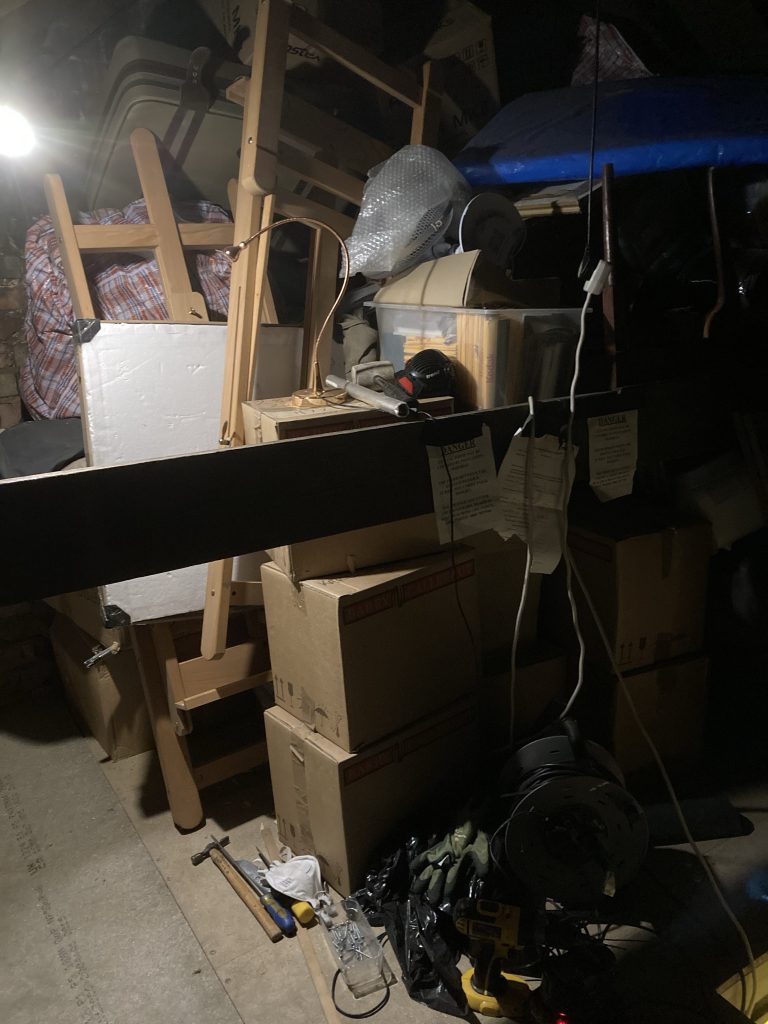
I have strong memories of recently packing away another four-hob cooker top. I think with a view to eventually installing it in our mooted Hobbit Hole guest accommodation? I tried to locate that today. But failed! We have way too much stuff, and way too little storage, so most of our stuff is in a cluttered state of disarray.

I wonder, should I find it, would it even fit?

HOME/DiY: Grey Shed Door #3?

It’s Sunday, and I got up very late. Midday! I sold a couple of 200W LED lights to a guy calling himself ‘Danny Fury’. I didn’t get anything like their real full value. But we need to thin down our clutter. I got £60 for the pair.

I’ve also been moving stuff from the grey shed (shed #3!) into the big green shed (#4!). And then I finally got around to what is, I think, my third (or poss even fourth?) attempt at hanging a door on shed #3. I’ve come to realise that this entire shed must be a leaning-to-the-right parallelogram!

Head foreman Chester checks my work!

The door itself is cut pretty durn square. And the horizontal cladding is pretty durn horizontal. And yet the door seems to lean right, which is most evident at the top and bottom. What this should teach me is to take more care when erecting such structures, to keep all the main members running as straight, true and square as I possibly can.

Anyway, with a much more satisfactory door in place than heretofore (the previous door just kept failing to pieces!), next I’ll be adding a door-handle and locks.

A lovely blaze!

Today was nice enough to eat our lunch outside. Which we did. Plus we had our first fire of the year. Something about fire is so primal! As Tom Waits once sang, ‘all Hallowe’en orange and chim-e-ny red’!

HOME/DiY: Loft Update

[pic]

Well, several days ago now – ‘twas ‘pon the Sunday last, I do believe? – I finally finished the loft flooring work.

I first put a middle section of board up there three, four, or poss’ more years ago. That was a chequerboard affair of small tile like boards.

Pic

And then, ages later, I did what I’ll call the right or back side, roughly doubling the available floor space. This latest bout has seen me do the left or front side, tripling the original floor area.

There’s still loads to be done up there: partitioning us off from the neighbours (at present) contiguous loft space; fitting electrics, so there’s proper lighting up there; poss’ even turning the resultant space into a proper walled (& insulated room)?

Pic

And quite apart from any of those further shenanigans, there’s the by no means small matter of tidying up all the crap that we have up there, so as we know what we have, and, if need be, can get at it. At present, like everywhere else in our home, it’s a godawful mess!

MiSC: Childminding at Hannah’s

Sofi making her pizza base.

For a while now Teresa and I have being doing alternate weekends looking after Hannah’s girls, our nieces, Ali and Sofi.

Sofi with her completed ‘za!

This weekend is a first, inasmuch as I’m looking after the girls on my own. Teresa decided to stay home and do homey stuff.

Ready for the oven… (pizza, not I!)
My little ‘za, in’t oven.

Hannah and the girls were having home-made pizzas. Even though I’d already had a lovely curry, with couscous, at home earlier, I had to have some home made pizza!

Pizza base, tomato sauce, chorizo and cheddar.

Ali disappeared off to her room for a video call, with her friend Ash, who now lives in New Zealand. Hannah, Sofi and I watched Austin Powers, International Man of Mystery. So silly! Mike Myers’ pastiche/homage to the ‘60s (transplanted to the ‘90s) is fab, baby!

So silly, but so funny.
Kind of ironic, given Burt’s passing only yesterday!

HOME/DiY: More Loft Flooring

Such rubbish pics!

Last Tuesday I managed to do a bunch of home and DIY stuff. In addition to what I’ve pictured here (very poorly, alas), in the loft, I also shifted some shelving units and 90% of our fairly big DVD collection, downstairs in the lounge.

I did the latter in order to shift the two sofas towards the back end of the house, and thereby allow the new mid-room partitioning curtains to hang better. Before one of them was getting hung up on ‘my’ sofa (the ultra tatty sofa-bed, which is now covered in a curtain throw).

Notching a section of beam.

Having done that, I then had to move masses of rather heavy boxes, full of books and magazines, etc, from one side of the loft to the other, in order to access the front. Once that was done – exhausting in itself – I could lay the beams and boards for an additional two runs of chipboard floor panels, as pictured below.

Two small sub-sections needed to finish.

Two pics up is a short notched section of transverse beam. The beams that these beams rest on aren’t all level. The notches mean the boards should sit flat. I didn’t bother to do this on the very last beam. So there may be a bit of twisting in the final board.

The above photo, that shows the two boards in place, with square-ish gaps either end, is how I left things at days’ end. The nearer of the two new boards is screwed down. The farther one isn’t; I need to get the final piece of the the first one in place, before I can attach the final run of boards.

Hoping to get that done tomorrow!

So much stuff!

The final two pics show, albeit not very well/clearly, the sheer mounds of crap we have up in the attic. Once the flooring up there is complete I can start to actually rationalise and tidy all the stuff up there.

The large piece of timber that bisects the image below is the central horizontal roof tie-beam. If we want to make this attic space into a usable room, that’ll have to go!

Note the obtrusive tie-beam.

Speaking of long wooden boards that had to go, I had to borrow a pry bar from Sean, at #72, to get a very rudimentary transverse beam (it had an unfinished outside-edge-of-the-log curved cross-section!) up and out of the way, in order the place the final transverse 2”x4” supporting beam.

Doing this kind of stuff up in our attic is filthy work. I had to wear gloves and a mask, due to all the dust, soot and dirt. This then plays havoc with my vision, fogging up my glasses. And on the topic of glasses, observant readers might spot a dram o’ whisky in one photo. Working man’s fuel, I guess?

HOME/DiY: Fixing Teresa’s Jugs (chortle)

Dang-nab it!

This rather nice jug was one of the many ‘free for review’ items we got under the Amazon Vine scheme, which I took part in for a number of years.

At least it’s a single and very clean break.

My time on Amazon Vine appears to have ended. And this jug also appears to have reached a demise of sorts. Fortunately it’s a single and very clean break. Quite a rare occurrence!

Really ought to have pictured the actual mix!

Teresa was insistent that I fix this. So a free jug is now costing me roughly £5, which is what the Araldite epoxy cost. I mixed a good amount of that up, applied it liberally to the break line, and – as they say on TV – ‘wallah’!

Not too bad.

The pieces went together again very nicely. My only issue was removing the excess epoxy which didst leaketh from the seam. I wound up trying warm soapy water, tissues, and plain ol’ fingers. It’s far from conservationist levels. But hopefully it’ll do the trick, repair wise. And if you don’t look too closely, the damage is nigh on invisible.

The crack is just discernible.

I ought to have worn gloves when mixing and using this epoxy. And I’d liked to have known what if anything would act as a solvent, for cleaning away the excess. I did look into it online. But in such a cursory way that I just ended winging it.

Still, all told, not too shabby. Another small but (hopefully?) relatively rewarding little home fix.

HOME/DiY: Bog Standard…

Simple but satisfying.

I just replaced our loo seat. The old faux-mahogany one was never good. It looked cheap and nasty. And eventually it fell apart. I’ve no idea how long this one will last. But it’s better made, was easier to install, looks much nicer, and wasn’t too expensive. So I’m crap-happy!

HOME/DiY: Shed Roof, Getting Felt On

Not an exciting pic. But a pleasing outcome.

After what seems an aeon, I’ve finally had a coincidence of time and suitable weather, and been able to get the roofing felt on.

As usual, nothing in the line of DIY is totally straightforward. I had one old roll of felt, and one new one. The old one was in a poor state, along one edge, kind of adhering to itself as I unrolled it. This caused the sheet to have a very tattered and ragged edge; fortunately along the outer side. But I was able to cover a whole strip nonetheless.

Getting the felt sheets in place.

The other roll did another two strips, with the three sufficing to cover the whole roof. I had to pop out for more roofing tacks, as I my old supply finally ran out. In the end I didn’t use the plastic sheeting. That helped keep the OSB board dry.I

had kind of wanted to have a plastic membrane under the felt. But it was too wet and dirty. So I opted not to use it. I’ll keep it, for possible future usage.

Hammer and tacks…

We also have the corrugated roofing sheets that came with the shed. The original roof! I didn’t want to just use that, as the shed was, in its previous incarnation, very damp, cold and drafty. It’s now much more hermetically enclosed.

There’s still a broken window and bit of open wall panelling to sort out. The biggest remaining jobs are putting in a floor and running electricity down the length of the garden, to supply this new workspace.

The current view from ‘up on the roof’.

I’ve spent quite a bit of time on the roof of this shed lately. I had to add the strips along the longer sides. I also added home made wood filling paste to all the joints where there was any air between boards.

Staying safe up there meant not walking in the middle of the boards, but instead sticking to the supported wall areas. I’ve had to sweep a lot of leaves, twigs, and – eugh! – guano, off the roof. I guess I’ll have to do so occasionally. If I don’t it’ll really build up.

Still clamped, even after tacking down.

I’m not 100% sure how I’ll finish the undersides of the felt, and attach it to the OSB boards. Plus I need to add a bit more cladding around the area where my new roof meets the walls. So there’s still plenty to do!

I’m also unsure as to exactly how I’ll do the floor. But that’s a job for the new year! I’d like to get the broken window and the gap in the cladding sorted. But I’m very happy to have got the roofing felt on… at last!

HOME/DiY: Shed #4, Roofing…

Eagle eyes may note the join…

A continuing saga

Grabbing whatever moments I can – when we’re both at home and the weather’s ok, a rare combo of late – I get a little time here and there to progress work on the shed roof.

I recently extended the longer edges, which previously didn’t project over the walls. This was to make sure rain would run off, not down/through the structure. I didn’t do the best or prettiest job.

Mixing wood filler paste.
Mmm… yummy!

So today I mixed a paste of wood dust, wood glue, and a little water, and filled in the seams where boards didn’t meet quite as flush as we’d have liked. Hopefully this bodge will suffice to keep the pieces together, and stop water passing through?

Filling quacks…

What a rubbish photo the above is! My excuse is that I was more concerned with getting the job done than photographing the work in progress.

It’s good to be chipping away at what is a reasonably large job, and gradually getting nearer to completion. I hope I can get the roofing felt on before the snow arrives!

HOME/DiY: Further Shed Roof Work

I like the shadows!

Whenever there’s been a brief interlude without rain (not often lately!) and I’ve been home/free, I’ve grabbed the opportunity to make progress – even in tiny little incremental steps – on the shed roof.

The four panels that I used to do the roof were more than adequate lengthwise, giving enough coverage to project at each end (front and back, I suppose?). But the 8 foot length boards were only just big enough to reach across the width of the roof.

New projecting strips added on the ‘south face’.

Also, the shed was a bit out of square. So once the roofing boards were up and in place, they didn’t present straight/flush edges along the longer axis of the whole roof.

This meant I had to trim them, to get a straight line. And then somehow add long strips. Fortunately the off it’s from the front and back were just enough for the job. I had to cut them in half lengthwise. Bit of a faff!

But I did it. And on one day last week – Tuesday perhaps? – I did the higher side. And today I did the lower side. It wasn’t easy! And I didn’t do a perfect job. Far, far from it!

The inside view, under the new roof.

But hopefully it’s adequate? At least now the roof project out over the shed walls on every face. I’ll prob’ want to mix some sawdust and wood-glue filler, and fill some of the gaps between panels. And I’ve tried to find screws long enough to go through the whole width of the add-on boards.

Anyway, a couple more small steps towards getting the shed shop shape, and ready to move all my tools out of the previous workshop. The latter will become our art studio. With room to paint. A small etching press, and – if I can get it working – a kiln!

So much to do!