HOME & GARDEN/HEALTH & WELLBEiNG: Bad/Good Friday!?

Out in the garden. Lovely day!

Phew! What a bonkers day. I had another meltdown today. Outright panick is starting to kick in, occasionally. Not good!

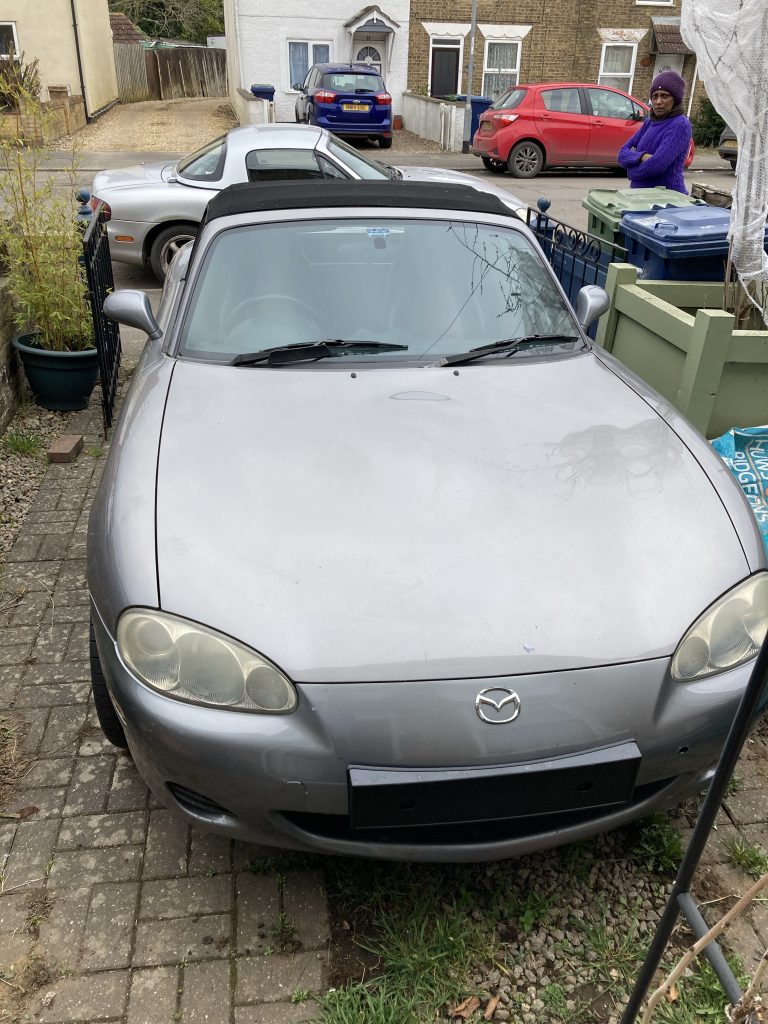
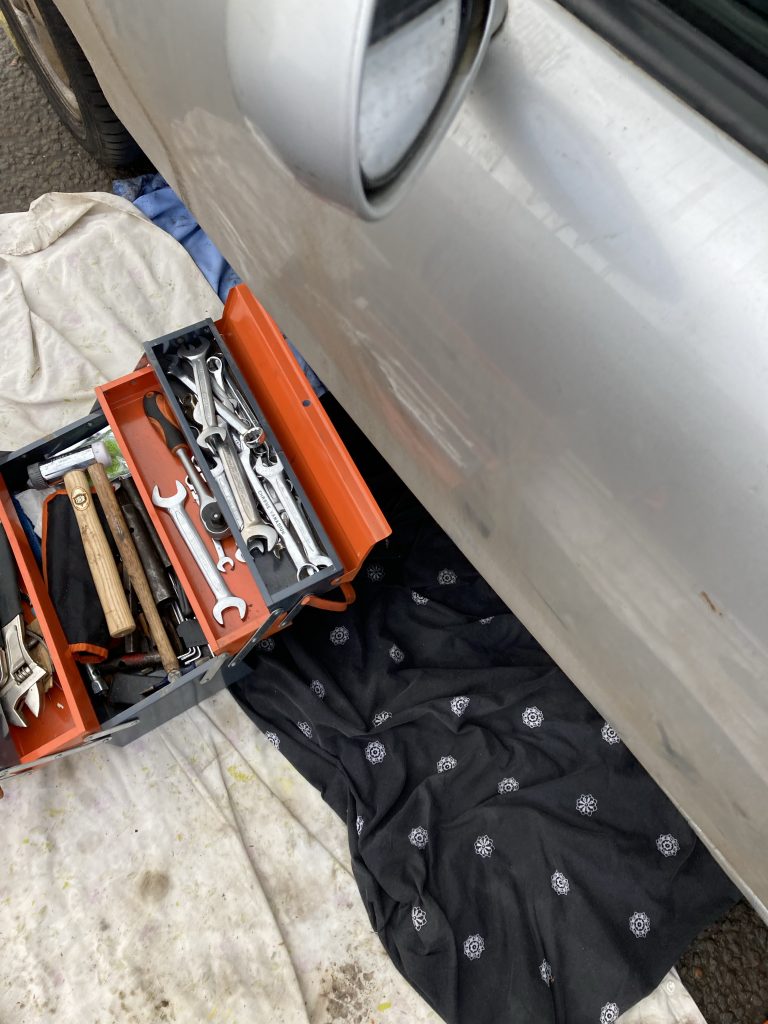
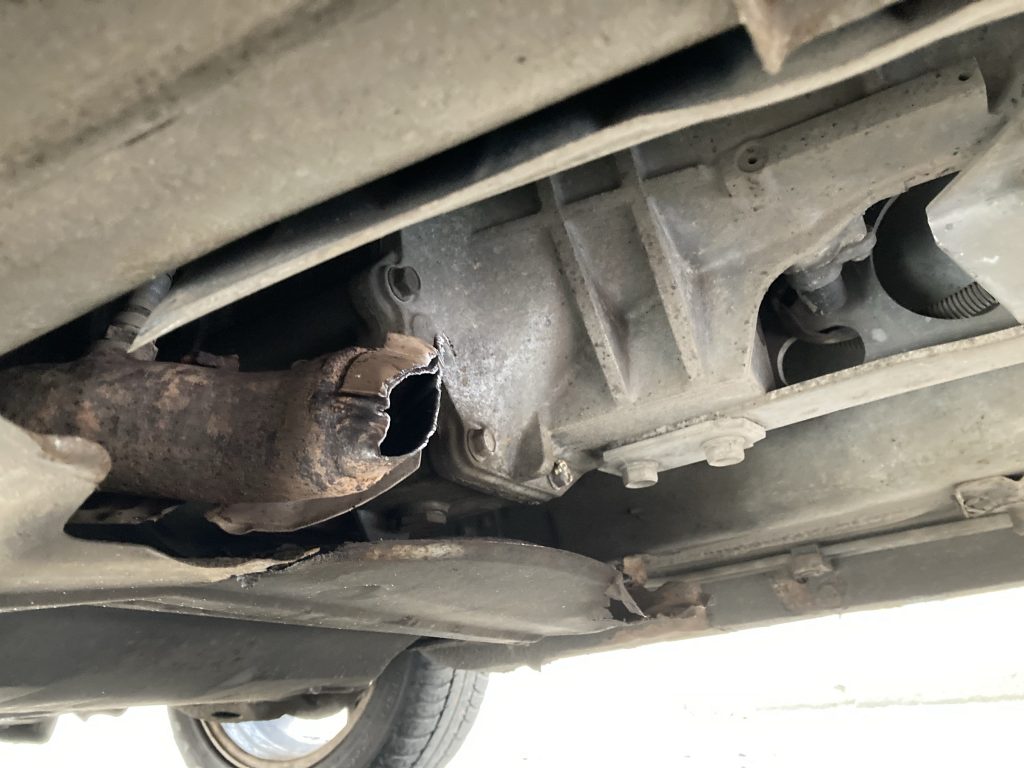
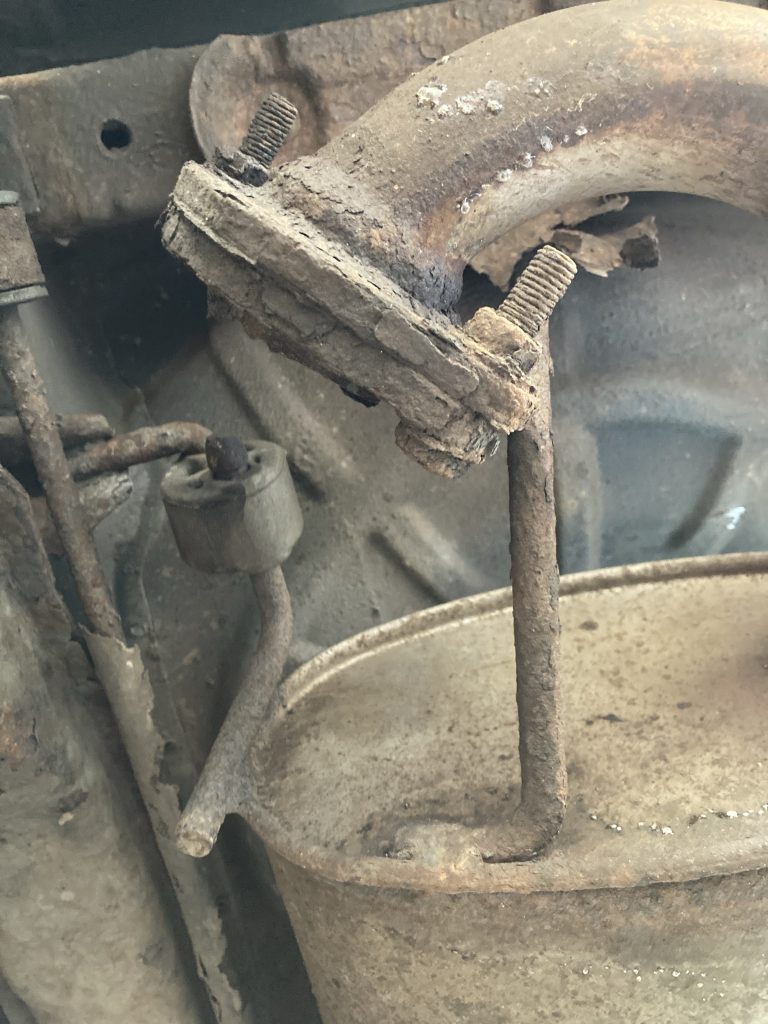
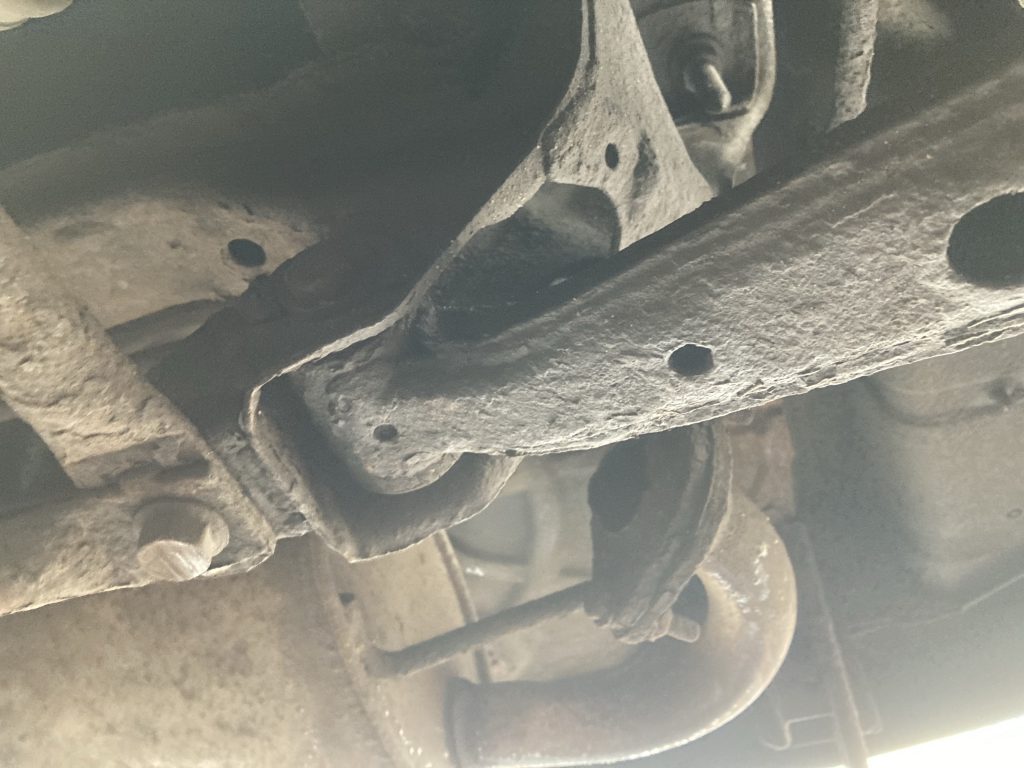
A brief break from home and ‘my shit’ seems a basic medical necessity to me, right now. But our one night away, that we’ve been looking for’ard to for a while (to join in the celebrations of Teresa’s cousin’s wedding), Monday/Tuesday next week, has – like all our other forlorn attempts at holidays in the last four-plus years – fallen through. This time due to not having a road legal car available.

Quite aside from the crap that’s at the root of recent depressions, meltdowns and whatnot, the trip away issues are enough right now to send me über the edge. But sadly communications with my mum have been less than ideal for some time. And, on occasion recently, have gotten worse.

Ouch! Two very sore toes…

This last development, in a series of straws that have been conspiring to break this camel’s back, really knocked the stuffing out of me. And today that, and the failure to find a way to get to this wedding – plus everything else, frankly – just got to be too much.

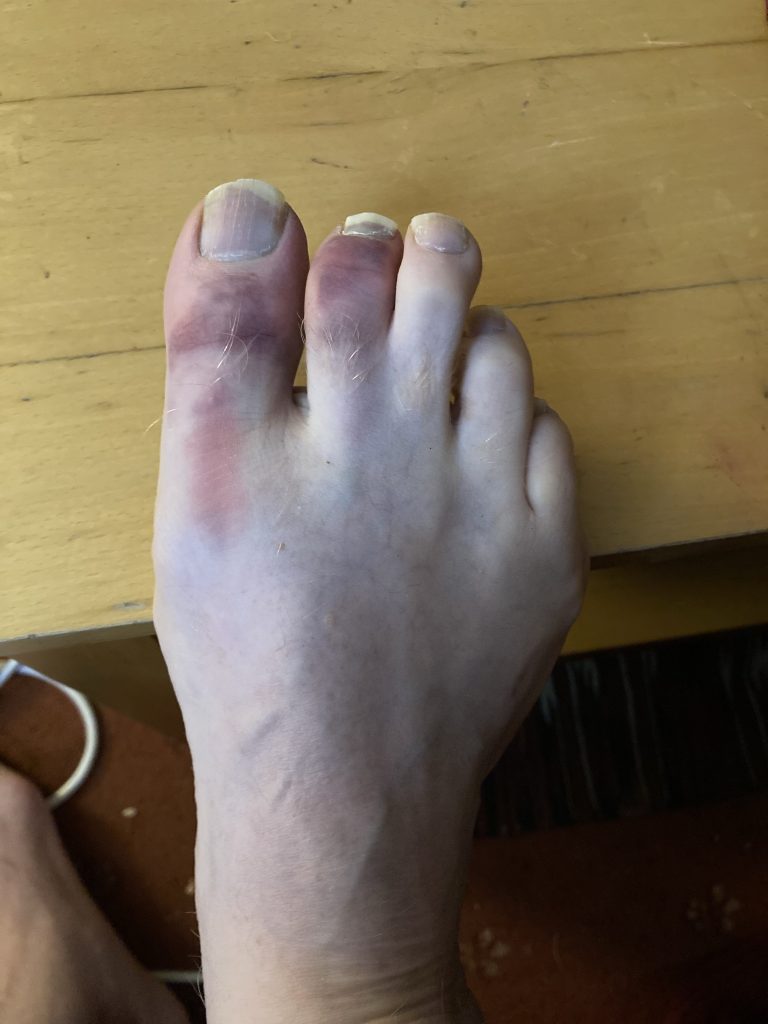
So I had a bit of meltdown! Shouting, or rather screaming, as loud as I could, and hurling stuff around. Oh dear! In fact I’ve injured my right foot. Something I only realised much later, when having a bath: ‘Oh, right… that’s why my right foot has been feeling a bit odd all day!?’ I must’ve kicked something quite hard!

Perhaps my recent minor dalliance with Tears For Fears, via Scary Pockets sublime reworking of Everybody Wants A Gladstone Bag, has a deeper meaning for me? They were big into Papa Panov, or whatever his name was (Janov?), the Primal Scream dude. Hence Shout:

Well, having vented a bit, and despite all the shizzle not going away, Teresa and I got a fair amount done. We were originally due to be at Hannah’s today. Whilst we’ve loved and will miss looking after Ali and Sofi – Hannah starts a new job soon, with different hours – being at home this time was actually good from several perspectives, including the vantage point of just getting stuff done.

Utterly against my wishes, we’re preparing to let our spare room. Because needs must. It has functioned mostly as a dumping ground in recent years. Occasionally I’ve done some model-making type hobby stuff in there. But now we’re clearing it out, tarting it up. And, hopefully (!?)* we’ll be generating income with it soon.

* The irony here being that I really don’t to be sharing our home with strangers. But as already stated, needs must.

In order to blitz the guest or blue room clean – numerous previous attempts had failed! – I had to basically do a mega-dump (chortle!), out of it, and into any space nearby. Which meant dumping tons of stuff on the bed, in our bedroom. The blue room is still full of stuff that needs removing before we can think of letting it.

We put up some art, and a mirror.

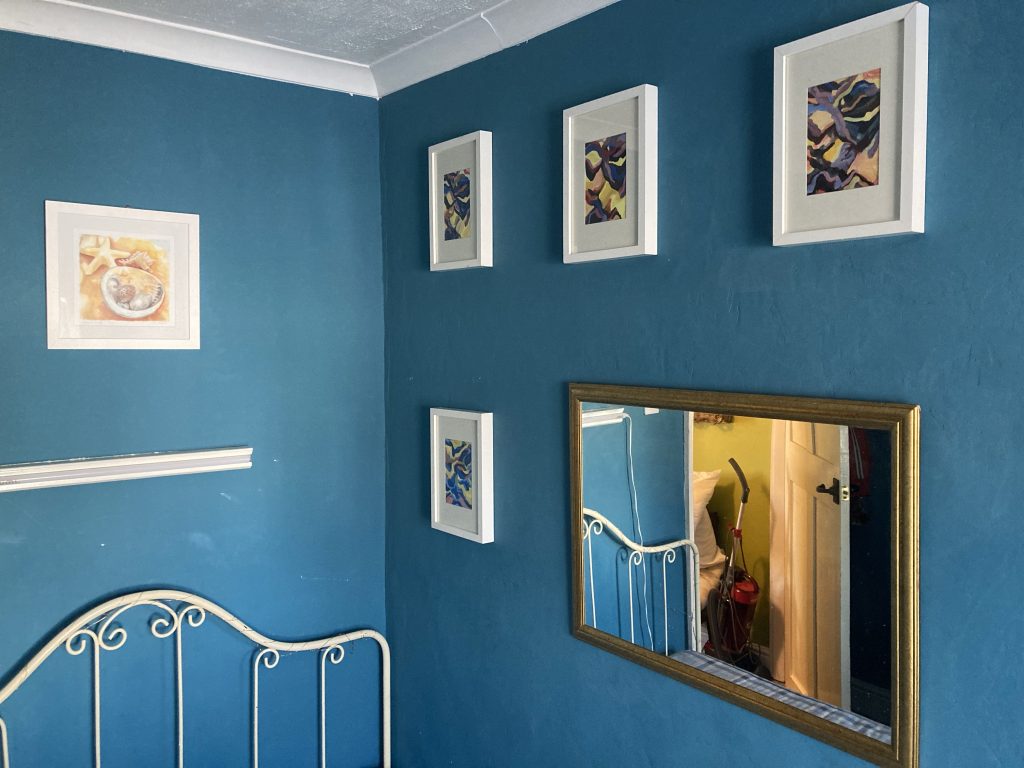
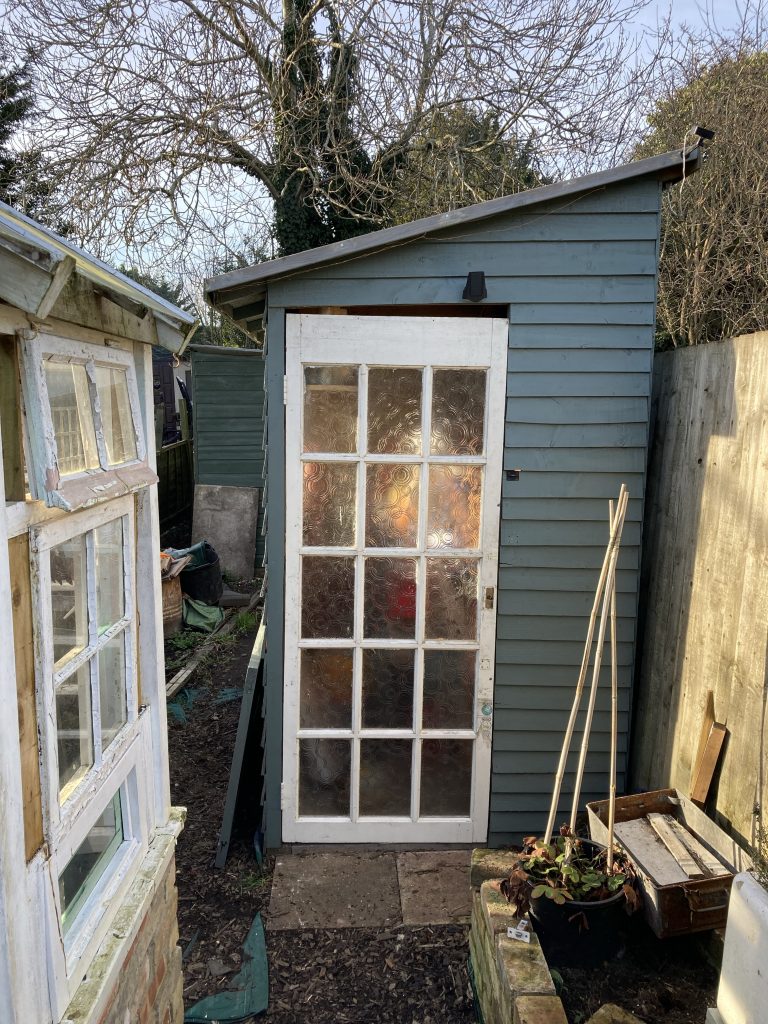
Anyway, we got a lot of stuff out of the blue room, and a good deal of that either up in’t loft, or elsewhere. A fairly large chunk of art related gubbins is migrating towards the ‘new’ art-studio.

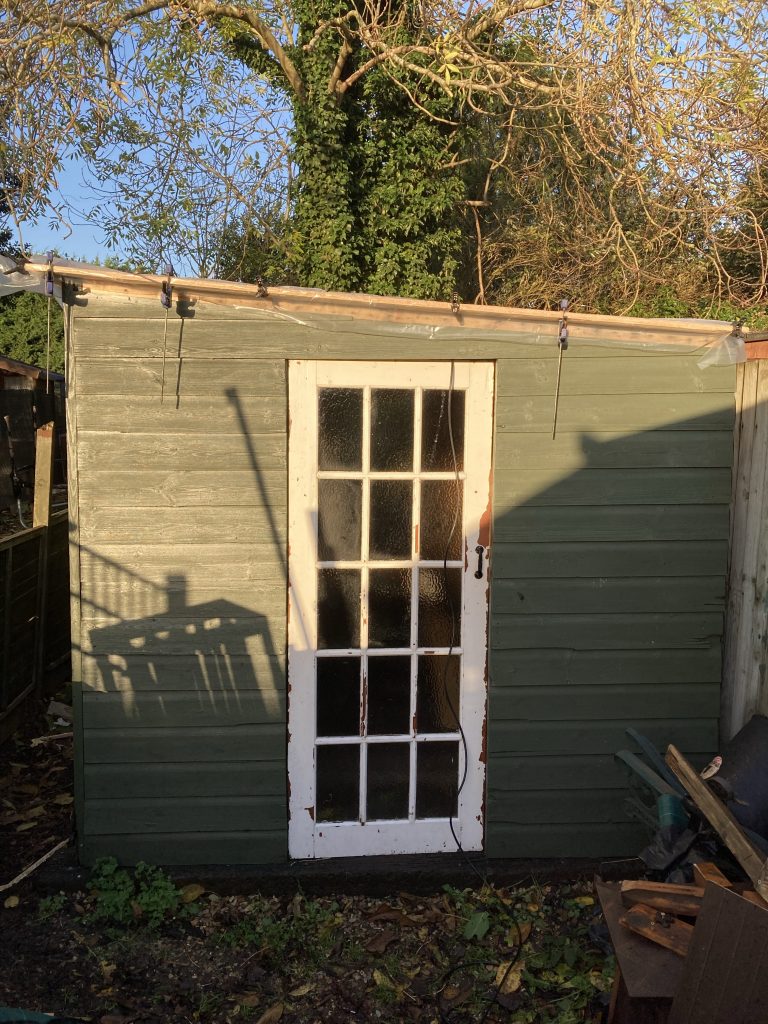
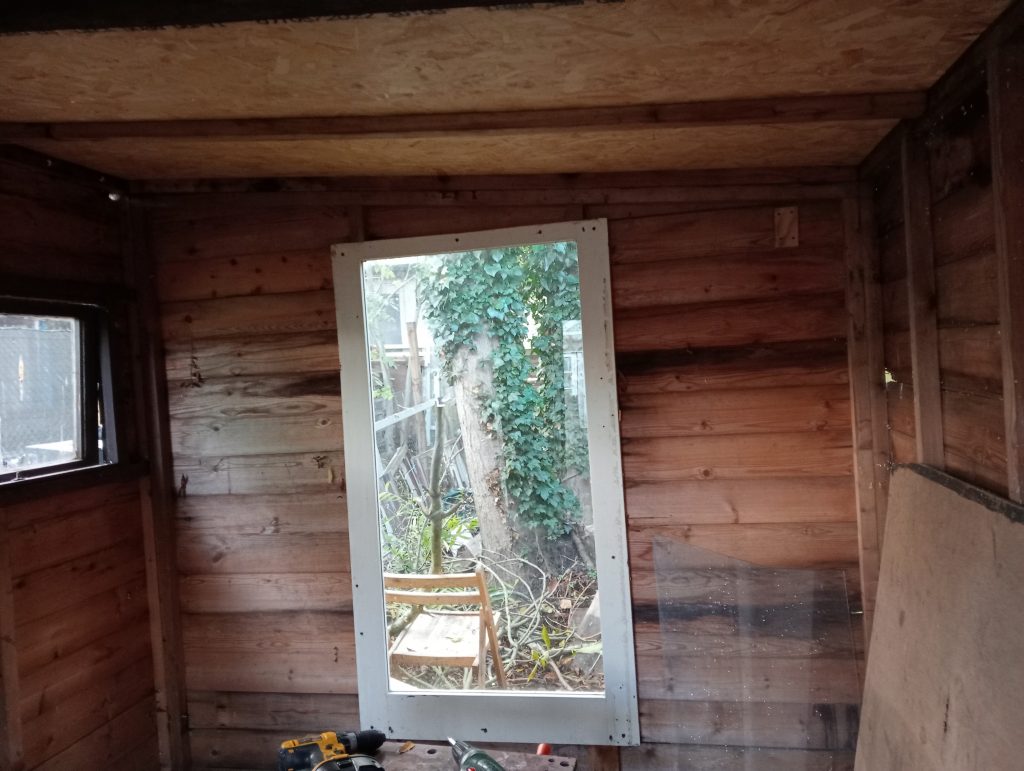
This latter is in fact the old shed/workshop. And it’s humongously cluttered, and in flux, as stuff is moved out, in turn, to the newer bigger workshop.

Teresa n’ Chester enjoy quality time, dans le jardin.

CAR: New Old MX5!

I recently got back in touch with a friend, Melanie de Smith, who I hadn’t seen for several decades. We found each other via another mutual friend, on Facebook, How they know each other I’m yet to find out.

Mel and I have now met a few times. The first time was at Amy Ellis’ last birthday party. And it there that we discovered we both have MX5s, of similar style and vintage. Hers is 19 years old, and has done about 110k, mine is 20, and has clocked up over 190k!

They’re neither of them in tip-top shape. Mine has the ubiquitous rust issues. Hers has those as well, although (poss’?) to a lesser degree, and, she tells me, needs a new clutch soon. Judging from how it drives, she probably needs rear brake callipers as well.

And, rather tragically, both our cars have had the CATs stolen in the last 6-12 months! I only just had mine (and most of the exhaust) replaced! The idea is, with the two MX5s, I might just get one that’s a runner. And keep the other for spares. Or poss even a project re-build?

Southbound platform at March Station.

I took the train from March to Cambridge, and then a bus, from the rail station to Cavendish Avenue, where Mel and her car are/were. I always feel a bit like tourist when I’m on public transport!

View from March rail station foot-bridge.
Nice shadows!

That was all yesterday. Today I fitted a new number plate holder. Mel had broken the old one, in a bump. I also gave the car a light partial wash, in the muckiest areas. Just to spruce her up a bit! Need to get her declared SORN now.

HOME/DiY: Grey Shed Door #3?

It’s Sunday, and I got up very late. Midday! I sold a couple of 200W LED lights to a guy calling himself ‘Danny Fury’. I didn’t get anything like their real full value. But we need to thin down our clutter. I got £60 for the pair.

I’ve also been moving stuff from the grey shed (shed #3!) into the big green shed (#4!). And then I finally got around to what is, I think, my third (or poss even fourth?) attempt at hanging a door on shed #3. I’ve come to realise that this entire shed must be a leaning-to-the-right parallelogram!

Head foreman Chester checks my work!

The door itself is cut pretty durn square. And the horizontal cladding is pretty durn horizontal. And yet the door seems to lean right, which is most evident at the top and bottom. What this should teach me is to take more care when erecting such structures, to keep all the main members running as straight, true and square as I possibly can.

Anyway, with a much more satisfactory door in place than heretofore (the previous door just kept failing to pieces!), next I’ll be adding a door-handle and locks.

A lovely blaze!

Today was nice enough to eat our lunch outside. Which we did. Plus we had our first fire of the year. Something about fire is so primal! As Tom Waits once sang, ‘all Hallowe’en orange and chim-e-ny red’!

HOME/DiY: Fixing Teresa’s Jugs (chortle)

Dang-nab it!

This rather nice jug was one of the many ‘free for review’ items we got under the Amazon Vine scheme, which I took part in for a number of years.

At least it’s a single and very clean break.

My time on Amazon Vine appears to have ended. And this jug also appears to have reached a demise of sorts. Fortunately it’s a single and very clean break. Quite a rare occurrence!

Really ought to have pictured the actual mix!

Teresa was insistent that I fix this. So a free jug is now costing me roughly £5, which is what the Araldite epoxy cost. I mixed a good amount of that up, applied it liberally to the break line, and – as they say on TV – ‘wallah’!

Not too bad.

The pieces went together again very nicely. My only issue was removing the excess epoxy which didst leaketh from the seam. I wound up trying warm soapy water, tissues, and plain ol’ fingers. It’s far from conservationist levels. But hopefully it’ll do the trick, repair wise. And if you don’t look too closely, the damage is nigh on invisible.

The crack is just discernible.

I ought to have worn gloves when mixing and using this epoxy. And I’d liked to have known what if anything would act as a solvent, for cleaning away the excess. I did look into it online. But in such a cursory way that I just ended winging it.

Still, all told, not too shabby. Another small but (hopefully?) relatively rewarding little home fix.

CAR: More Exhaustion…

Clamped up ready for cutting…

In readiness for the work that needs doing on the MX5 exhaust system, I’ve chopped out the section with the oxygen sensor attached. I did try to take the sensor off/out. But it’s seized solid!

The section I need, with attached sensor.

Apparently the garages that do this sort of thing can undo such tightly seized joints. I hope so! I certainly can’t. But at least now I can transport the parts more easily.

Got all the parts on order – for Monday, they tell me – from bofiracing.co.uk, and scheduled to go straight in for fitting at fourpawracing.co.uk, either Monday or Tuesday.

CAR: Thievery & Exhuastion

[thievery vid… need to find!]

Some while ago our neighbour alerted me to some footage he’d caught on his home security videos, showing some villains fiddling with several cars on our street, inc. mine!

Rear view; exhaust attached by sensor lead!

At the time we’d concluded – and confirmed with a neighbour further down the road – that these miscreants were thieving catalytic converters. One of the neighbours further down the road had actually arrived home as the bastards were leaving his front drive.

Look how the thieves cut/compressed the pipe!

They were so quickly down and back up again by my car that I assumed they’d decided against bothering to try and take mine. I was wrong! But it took a while for the issue to develop; gradually my exhaust system grew noisier and noisier.

It turns out that some cunts do this ‘professionally’, and use a tool called the jaws of life* (or something like that?) to snip through pipes and noiselessly remove CATs.

Sheets and tools in the road, trying to disconnect the sensor.

Anyway, as I got into my car today, to go to do a delivery route for Amazon, the whole exhaust system was roaring and rattling like an emphysemic dragon. I barely got 10 yards, and had to stop, get out, and look under the car. Almost all of the exhaust between where it exits the engine bay, and the box at the rear of the car, was hanging loose.

The engine side of the ‘snip’.
The rear of the car, and the other break.

Even worse, it transpired that it was solely connected to the car by the wiring of a lambda oxygen sensor. After several hours spent getting the car up on jacks, with thoughts of zip-tying it back in place, which didn’t work, I tried to remove the sensor, where it joins the exhaust.

Second view of the rear break.

But that was seized solid; so, no dice! It then became a question of finding out how to disconnect the other end of the sensor wiring. This, it turned out, disappeared up into the bodywork of the car. It took a lot of hard work, both on the car and researching online, to finally crack that conundrum.

And all of this in very cold, muddy, drizzly conditions, with the car protruding several feet into a busy road. Gaaargh!!! I had to cancel the Amazon delivery shift, and forego any lunch. And I spent literally three or four hours doing all this. It’s the sort of thing one ought to be able to do in minutes if, A) one knows the anatomy of the vehicle intimately, and B) has the right tools.

The clip end of the sensor cable. Inaccessible!

Once I’d finally and mercifully got the damaged and broken section of exhaust off, I stuck it in the passenger side of the car. Doing all of this did teach me more about the motor. And I took the photos that illustrate this post, which I sent to various MX5 parts folk, and potential repair garages.

A YouTuber’s vid’ located the sensor clip junction, inside the passenger side interior.

It was thanks to the photographic evidence that I learned my CAT definitely had been stolen. The most damning and conclusive evidence was how the exhaust had clearly been snipped, and compressed, just around where the CAT ought to have been.

So not only do I have to replace 80% of the exhaust assembly. I also have to get a new catalytic converter. I got some quotes on parts and work. And it’s a nightmare, frankly. Because, as ever, I’m stone broke.

Finally! Unclipped. Allowing exhaust removal.

Still, in the past we’ve always battled through and found a way, even if – as with the cam-belt episode – I had to do the sourcing, buying and fitting of everything myself. This time I can’t see myself doing the installation. Partly this is due to the time of year; having to try and do such work out in the front drive or the main road? It’s just too cold and wet!

The exhaust, sat in the passenger side.

* As used by fire crews to rescue passengers trapped in crash-damaged vehicles.

PS – This is the YouTube video that enabled me to finally locate and uncouple the sensor:

HOME/DiY: Shed Roof, Getting Felt On

Not an exciting pic. But a pleasing outcome.

After what seems an aeon, I’ve finally had a coincidence of time and suitable weather, and been able to get the roofing felt on.

As usual, nothing in the line of DIY is totally straightforward. I had one old roll of felt, and one new one. The old one was in a poor state, along one edge, kind of adhering to itself as I unrolled it. This caused the sheet to have a very tattered and ragged edge; fortunately along the outer side. But I was able to cover a whole strip nonetheless.

Getting the felt sheets in place.

The other roll did another two strips, with the three sufficing to cover the whole roof. I had to pop out for more roofing tacks, as I my old supply finally ran out. In the end I didn’t use the plastic sheeting. That helped keep the OSB board dry.I

had kind of wanted to have a plastic membrane under the felt. But it was too wet and dirty. So I opted not to use it. I’ll keep it, for possible future usage.

Hammer and tacks…

We also have the corrugated roofing sheets that came with the shed. The original roof! I didn’t want to just use that, as the shed was, in its previous incarnation, very damp, cold and drafty. It’s now much more hermetically enclosed.

There’s still a broken window and bit of open wall panelling to sort out. The biggest remaining jobs are putting in a floor and running electricity down the length of the garden, to supply this new workspace.

The current view from ‘up on the roof’.

I’ve spent quite a bit of time on the roof of this shed lately. I had to add the strips along the longer sides. I also added home made wood filling paste to all the joints where there was any air between boards.

Staying safe up there meant not walking in the middle of the boards, but instead sticking to the supported wall areas. I’ve had to sweep a lot of leaves, twigs, and – eugh! – guano, off the roof. I guess I’ll have to do so occasionally. If I don’t it’ll really build up.

Still clamped, even after tacking down.

I’m not 100% sure how I’ll finish the undersides of the felt, and attach it to the OSB boards. Plus I need to add a bit more cladding around the area where my new roof meets the walls. So there’s still plenty to do!

I’m also unsure as to exactly how I’ll do the floor. But that’s a job for the new year! I’d like to get the broken window and the gap in the cladding sorted. But I’m very happy to have got the roofing felt on… at last!

HOME/DiY: Shed #4, Roofing…

Eagle eyes may note the join…

A continuing saga

Grabbing whatever moments I can – when we’re both at home and the weather’s ok, a rare combo of late – I get a little time here and there to progress work on the shed roof.

I recently extended the longer edges, which previously didn’t project over the walls. This was to make sure rain would run off, not down/through the structure. I didn’t do the best or prettiest job.

Mixing wood filler paste.
Mmm… yummy!

So today I mixed a paste of wood dust, wood glue, and a little water, and filled in the seams where boards didn’t meet quite as flush as we’d have liked. Hopefully this bodge will suffice to keep the pieces together, and stop water passing through?

Filling quacks…

What a rubbish photo the above is! My excuse is that I was more concerned with getting the job done than photographing the work in progress.

It’s good to be chipping away at what is a reasonably large job, and gradually getting nearer to completion. I hope I can get the roofing felt on before the snow arrives!

HOME/DiY: Further Shed Roof Work

I like the shadows!

Whenever there’s been a brief interlude without rain (not often lately!) and I’ve been home/free, I’ve grabbed the opportunity to make progress – even in tiny little incremental steps – on the shed roof.

The four panels that I used to do the roof were more than adequate lengthwise, giving enough coverage to project at each end (front and back, I suppose?). But the 8 foot length boards were only just big enough to reach across the width of the roof.

New projecting strips added on the ‘south face’.

Also, the shed was a bit out of square. So once the roofing boards were up and in place, they didn’t present straight/flush edges along the longer axis of the whole roof.

This meant I had to trim them, to get a straight line. And then somehow add long strips. Fortunately the off it’s from the front and back were just enough for the job. I had to cut them in half lengthwise. Bit of a faff!

But I did it. And on one day last week – Tuesday perhaps? – I did the higher side. And today I did the lower side. It wasn’t easy! And I didn’t do a perfect job. Far, far from it!

The inside view, under the new roof.

But hopefully it’s adequate? At least now the roof project out over the shed walls on every face. I’ll prob’ want to mix some sawdust and wood-glue filler, and fill some of the gaps between panels. And I’ve tried to find screws long enough to go through the whole width of the add-on boards.

Anyway, a couple more small steps towards getting the shed shop shape, and ready to move all my tools out of the previous workshop. The latter will become our art studio. With room to paint. A small etching press, and – if I can get it working – a kiln!

So much to do!

HOME/DiY: Shed Roof, Day 2

Teresa snapped me, atop the roof.

So, yesterday (Saturday) I got three of the four roof panels up. Today I did the fourth and final board. Although I don’t think it rained last night, it was foggy and wet this morning. All the boards already on the roof were affected; softened (and therefore more flexible), with areas where some individual strands were buckled from soaking up water. Not good!

Today, Sunday, I not only got the final panel in place, but also bought some very cheap plastic sheeting, from Boyes, as a temporary moisture barrier. I hope it’ll keep the boards safe over tonight. Then tomorrow I can collect some better thicker stuff from Screwfix in Peterborough – which I bought at the March Screwfix (but too late to collect from their Peterborough branch, where they had stock) – and attach it properly.

Striking a pose with my ‘Samurai’ saw!

Then there’ll be a layer of roofing felt. And then on top of that, the corrugated metal roofing which was the sheds original roof. 18mm OSB3, plastic sheet, felt, and a metal roof. That ought to do the job!

Whilst up on the new roof I had to continually brush off fallen leaves and twigs. So I took the opportunity to remove some dead wood and trim back the bits of tree branches that threatened to ‘ave somebody’s bloomin’ eye out’.

Teresa’s pic of the interior.