HOME: Malfunctioning Gas Hob Ignition

World’s best most exciting photo… ever!

Oh, but when it rains, it doth pour, eh? Today our gas hob suddenly decided to start clicking constantly, which I suppose is a continual triggering of the ignition(s)?

Sometimes all four hobs were sparking continually, sometimes one or another. But the clicking was, more or less, constant, from around midday or lunchtime, till now (9pm)

Of course I first tried solving it myself. This has happened once before. On that occasion I switched off everything (electric and gas*), and cleaned all the hobs. Cleaning can involve liquids, and liquids can short the spark circuitry! But I got everything as dry as I could. And, lo! Everything worked just fine.

* Or so I thought! Turns out I only knew how to switch the gas off for the hobs. The fuse on the main fuse board only switches off the oven and grill, not the hobs! More on this shortly.

Did the same this time, albeit ultimately spending much, much, much more time cleaning, but no dice. No change whatsoever! Clicking and firing continued unabated. Every now and again it’d lessen or stop. Only to start all over again.

World’s most thrilling video… awesome!

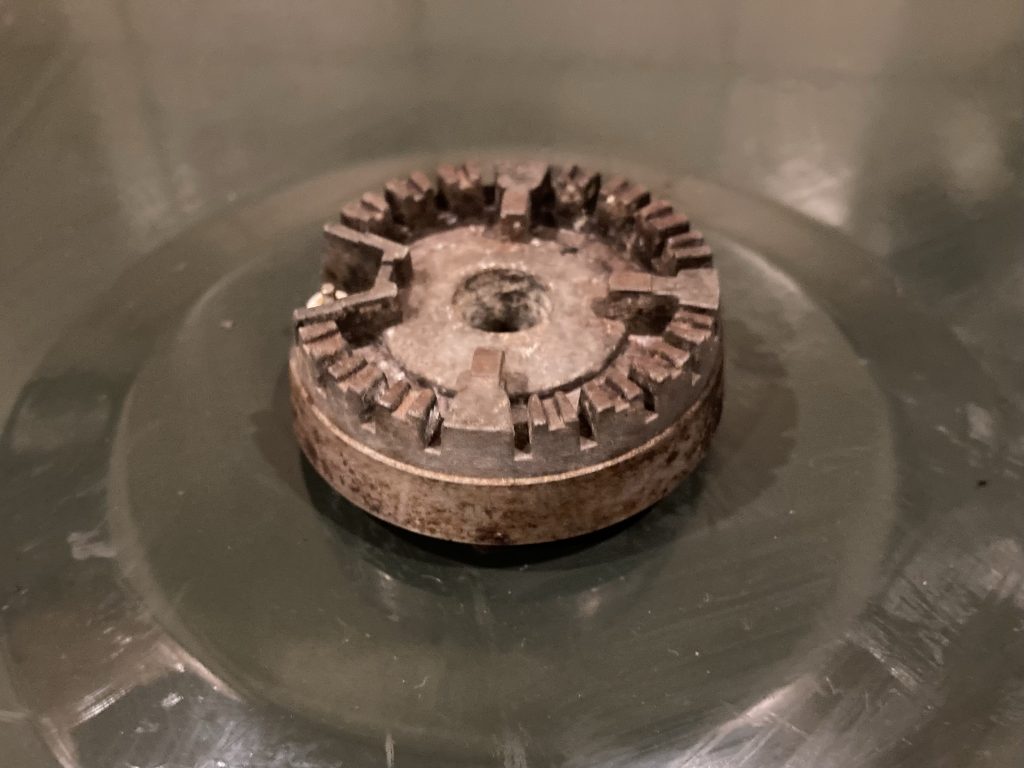
Anyway, having gone back and forth, Googling the issue, and trying very hard to really clean out all the parts – the hobs comprise three components, plus the little (ceramic?) ignition ‘nipples’ – hoping it all might eventually dry out or summat, and stop firing, it was all to no avail.

I called a Gas Safe engineer at about 8.30pm. He arrived around 9.20pm. He determined we had no gas leaks. He also helped me identify the correct power socket for the hobs. I thought I’d done so. But apparently not. Whatever it was I’d found, it was the wrong power outlet!

Once the right power source had been identified, it became apparent that it did (the other lead/wall socket didn’t) have a switch. Mercifully, when this was flipped, the eternal and infernal clicking finally stopped.

I have strong memories of recently packing away another four-hob cooker top. I think with a view to eventually installing it in our mooted Hobbit Hole guest accommodation? I tried to locate that today. But failed! We have way too much stuff, and way too little storage, so most of our stuff is in a cluttered state of disarray.

I wonder, should I find it, would it even fit?

HOME & GARDEN: Daffodils

Not the greatest pictures, perhaps…

On the way home from Hannah’s we stopped in at Season’s Garden Centre. A new business that’s recently appeared (after years of watching construction and wondering what was coming!), between Chatteris and Somersham.

But they do at least show some intent!

I bought five daffodil bulb sets. Every year as the daffodils come out I long for more at home, in our garden. And slowly I’ve been adding to our meagre stock. But it seems to be taking forever!

My attempts with umbellifers, or cow parsley type plants, are faring even worse! Only the stuff nature plants flourishes. The two seed sets I’ve bought have yielded naught, alas.

These King Alfred are, I think, a bit bigger.

I got four sets of cheaper generic narcissi, and one of a larger more expensive King Alfred variety. There are probably a similar quantity of pre-established daff’s in this particular border.

These are amongst the few from previous years.

We don’t know what the little purple multi-flowers are. We’ll have to Google image search ‘em, I guess. Which Teresa has just done… grape hyacinths, apparently! Or muscari armeniacum!

I planted five new bulb sets today.

Believe it or not this long thin flower bed has actually already been weeded a couple of times since xmas! Still haven’t mowed any lawn. Reckon I’ll wait till it gets a bit warmer first. Mind, it’s warmer outside right now than it is inside our home!

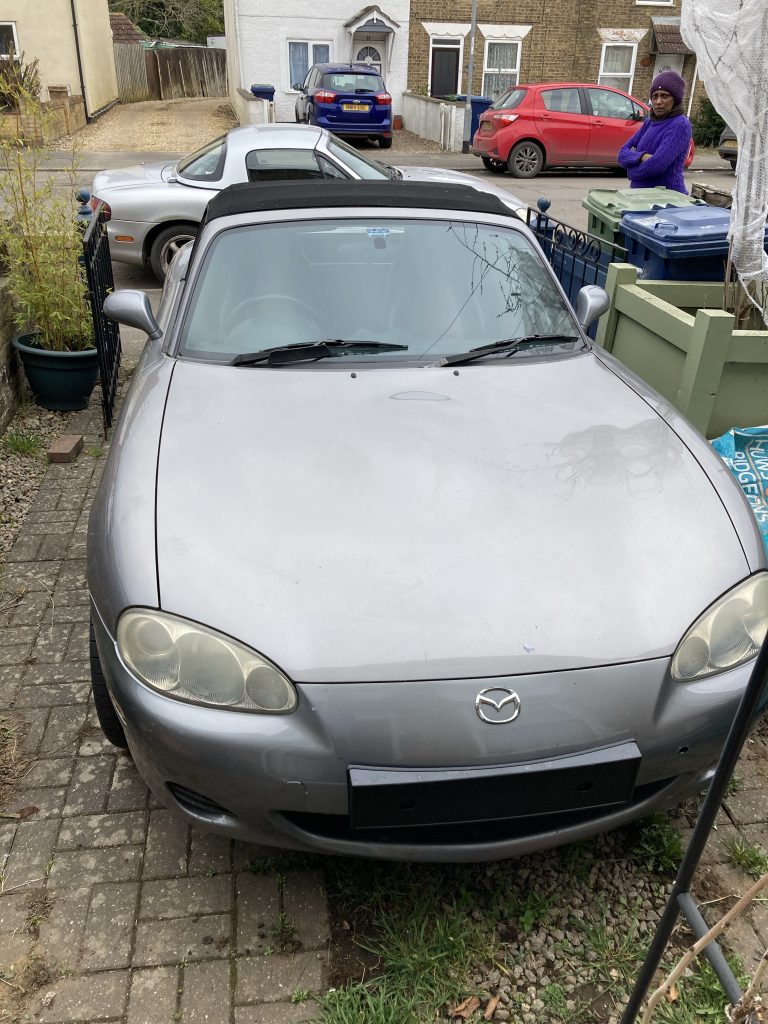
CAR: New Old MX5!

I recently got back in touch with a friend, Melanie de Smith, who I hadn’t seen for several decades. We found each other via another mutual friend, on Facebook, How they know each other I’m yet to find out.

Mel and I have now met a few times. The first time was at Amy Ellis’ last birthday party. And it there that we discovered we both have MX5s, of similar style and vintage. Hers is 19 years old, and has done about 110k, mine is 20, and has clocked up over 190k!

They’re neither of them in tip-top shape. Mine has the ubiquitous rust issues. Hers has those as well, although (poss’?) to a lesser degree, and, she tells me, needs a new clutch soon. Judging from how it drives, she probably needs rear brake callipers as well.

And, rather tragically, both our cars have had the CATs stolen in the last 6-12 months! I only just had mine (and most of the exhaust) replaced! The idea is, with the two MX5s, I might just get one that’s a runner. And keep the other for spares. Or poss even a project re-build?

Southbound platform at March Station.

I took the train from March to Cambridge, and then a bus, from the rail station to Cavendish Avenue, where Mel and her car are/were. I always feel a bit like tourist when I’m on public transport!

View from March rail station foot-bridge.
Nice shadows!

That was all yesterday. Today I fitted a new number plate holder. Mel had broken the old one, in a bump. I also gave the car a light partial wash, in the muckiest areas. Just to spruce her up a bit! Need to get her declared SORN now.

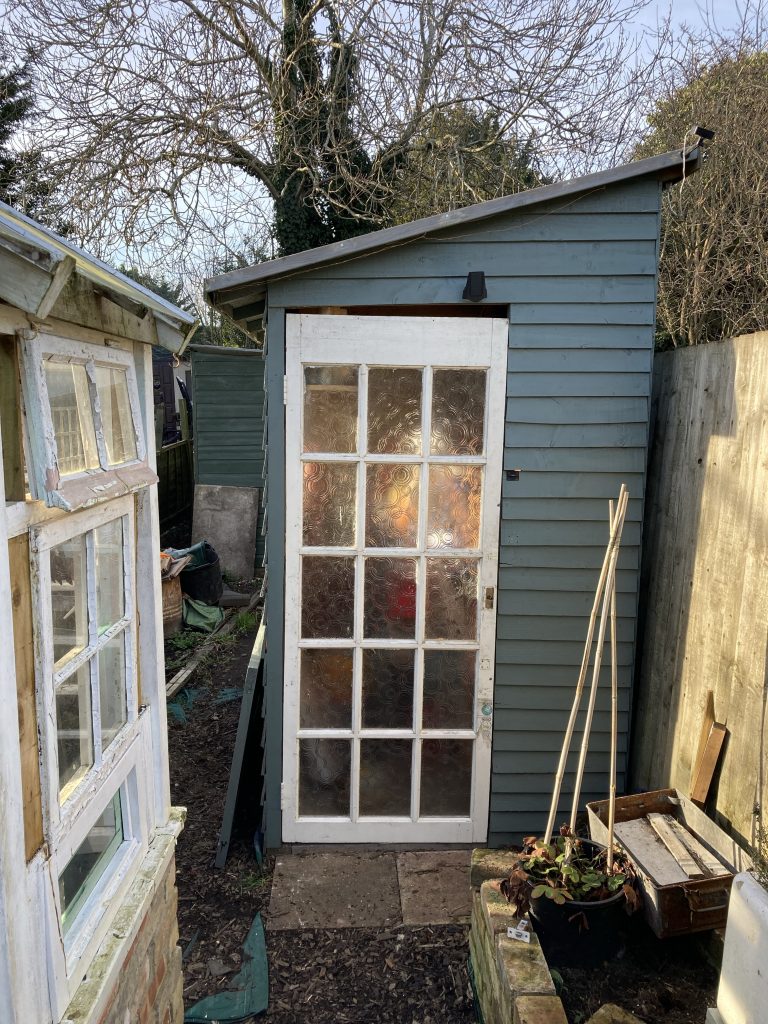
HOME/DiY: Grey Shed Door #3?

It’s Sunday, and I got up very late. Midday! I sold a couple of 200W LED lights to a guy calling himself ‘Danny Fury’. I didn’t get anything like their real full value. But we need to thin down our clutter. I got £60 for the pair.

I’ve also been moving stuff from the grey shed (shed #3!) into the big green shed (#4!). And then I finally got around to what is, I think, my third (or poss even fourth?) attempt at hanging a door on shed #3. I’ve come to realise that this entire shed must be a leaning-to-the-right parallelogram!

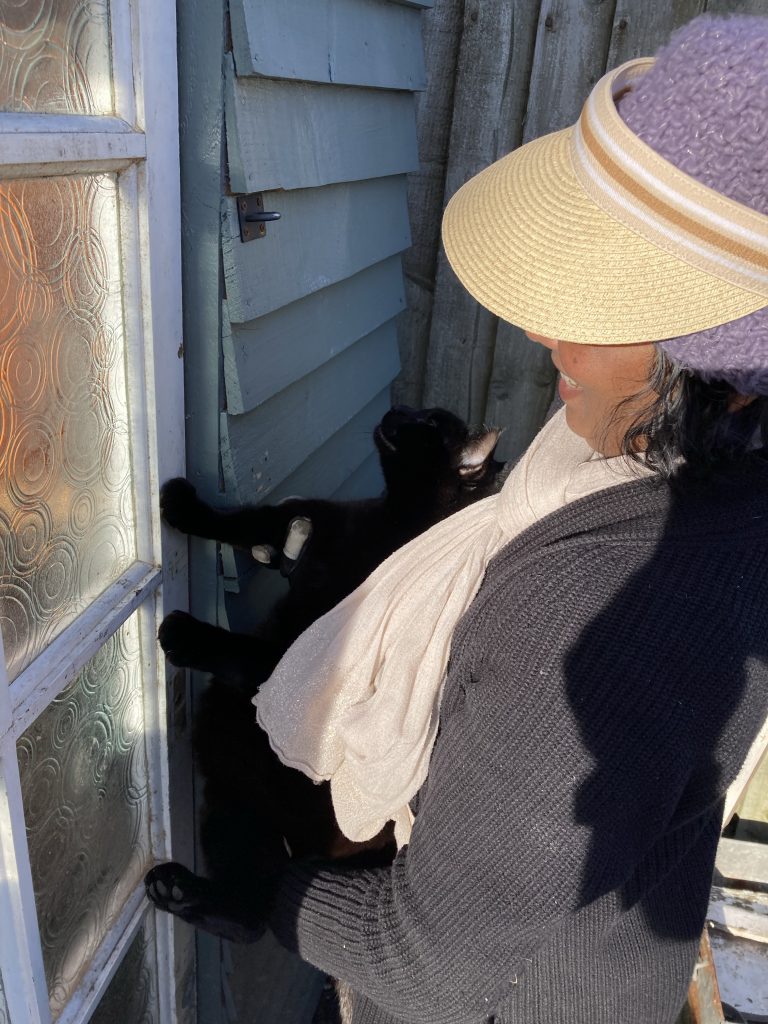
Head foreman Chester checks my work!

The door itself is cut pretty durn square. And the horizontal cladding is pretty durn horizontal. And yet the door seems to lean right, which is most evident at the top and bottom. What this should teach me is to take more care when erecting such structures, to keep all the main members running as straight, true and square as I possibly can.

Anyway, with a much more satisfactory door in place than heretofore (the previous door just kept failing to pieces!), next I’ll be adding a door-handle and locks.

A lovely blaze!

Today was nice enough to eat our lunch outside. Which we did. Plus we had our first fire of the year. Something about fire is so primal! As Tom Waits once sang, ‘all Hallowe’en orange and chim-e-ny red’!

HOME/DiY: Loft Update

[pic]

Well, several days ago now – ‘twas ‘pon the Sunday last, I do believe? – I finally finished the loft flooring work.

I first put a middle section of board up there three, four, or poss’ more years ago. That was a chequerboard affair of small tile like boards.

Pic

And then, ages later, I did what I’ll call the right or back side, roughly doubling the available floor space. This latest bout has seen me do the left or front side, tripling the original floor area.

There’s still loads to be done up there: partitioning us off from the neighbours (at present) contiguous loft space; fitting electrics, so there’s proper lighting up there; poss’ even turning the resultant space into a proper walled (& insulated room)?

Pic

And quite apart from any of those further shenanigans, there’s the by no means small matter of tidying up all the crap that we have up there, so as we know what we have, and, if need be, can get at it. At present, like everywhere else in our home, it’s a godawful mess!

HOME/DiY: More Loft Flooring

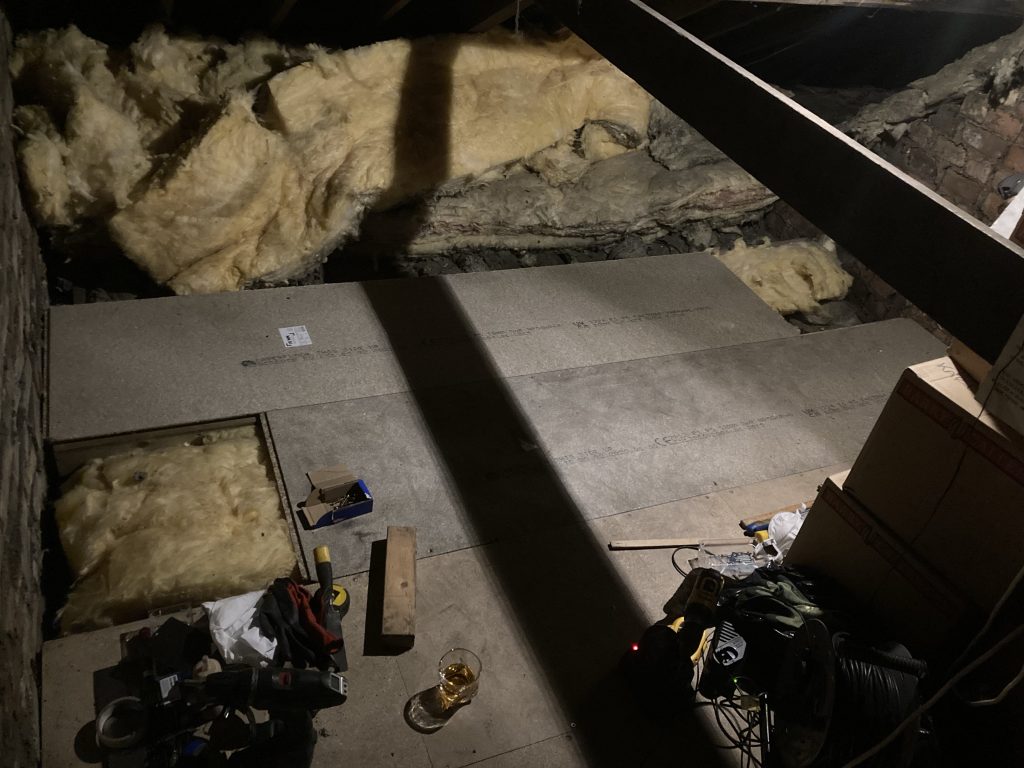
Such rubbish pics!

Last Tuesday I managed to do a bunch of home and DIY stuff. In addition to what I’ve pictured here (very poorly, alas), in the loft, I also shifted some shelving units and 90% of our fairly big DVD collection, downstairs in the lounge.

I did the latter in order to shift the two sofas towards the back end of the house, and thereby allow the new mid-room partitioning curtains to hang better. Before one of them was getting hung up on ‘my’ sofa (the ultra tatty sofa-bed, which is now covered in a curtain throw).

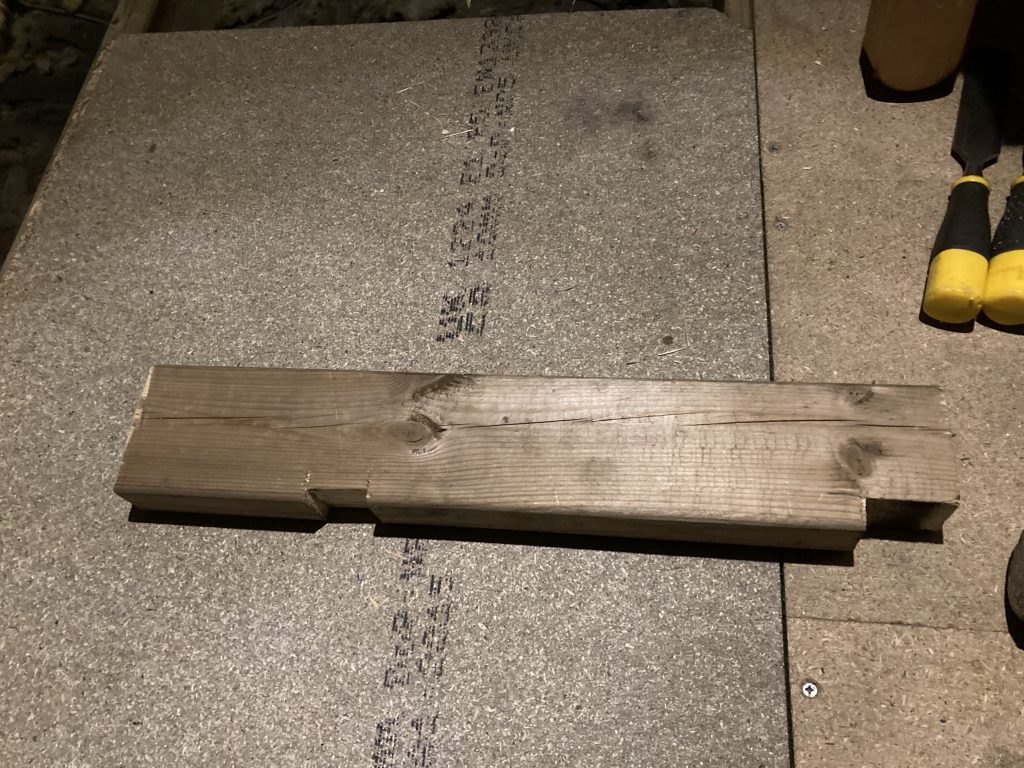
Notching a section of beam.

Having done that, I then had to move masses of rather heavy boxes, full of books and magazines, etc, from one side of the loft to the other, in order to access the front. Once that was done – exhausting in itself – I could lay the beams and boards for an additional two runs of chipboard floor panels, as pictured below.

Two small sub-sections needed to finish.

Two pics up is a short notched section of transverse beam. The beams that these beams rest on aren’t all level. The notches mean the boards should sit flat. I didn’t bother to do this on the very last beam. So there may be a bit of twisting in the final board.

The above photo, that shows the two boards in place, with square-ish gaps either end, is how I left things at days’ end. The nearer of the two new boards is screwed down. The farther one isn’t; I need to get the final piece of the the first one in place, before I can attach the final run of boards.

Hoping to get that done tomorrow!

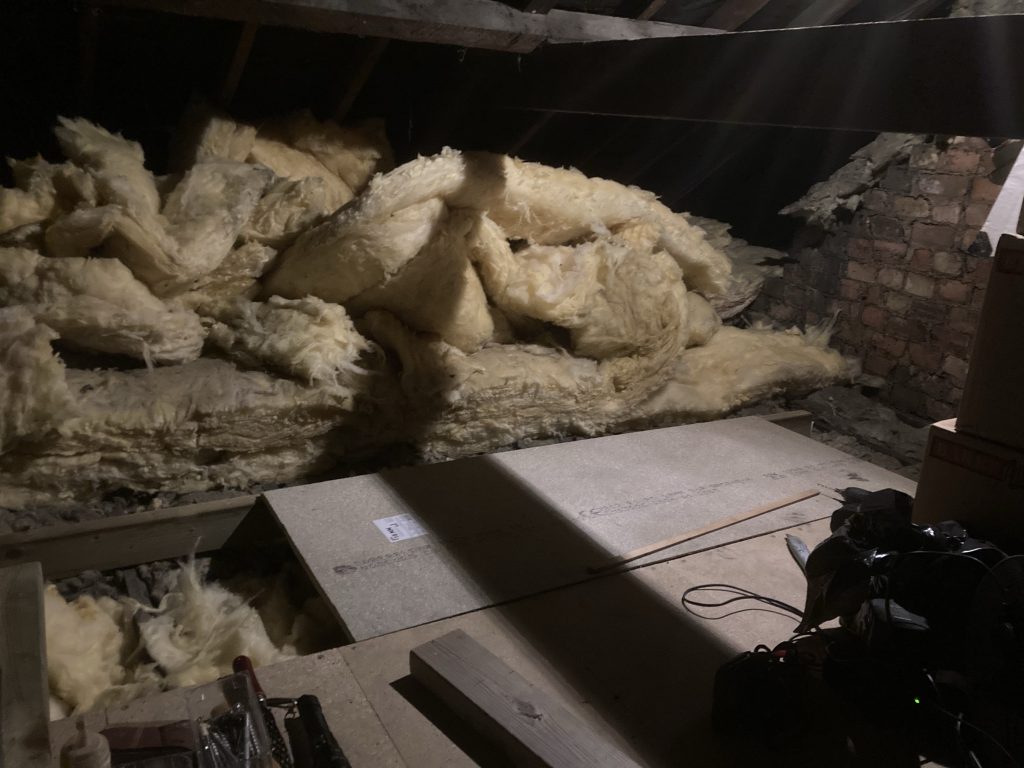
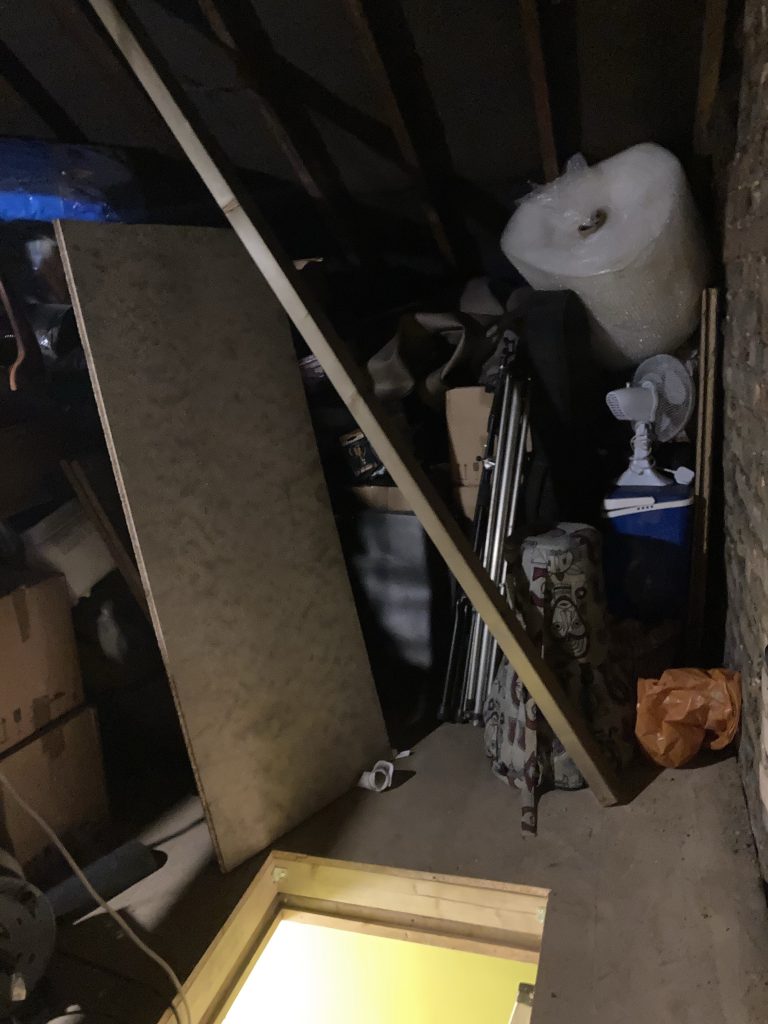
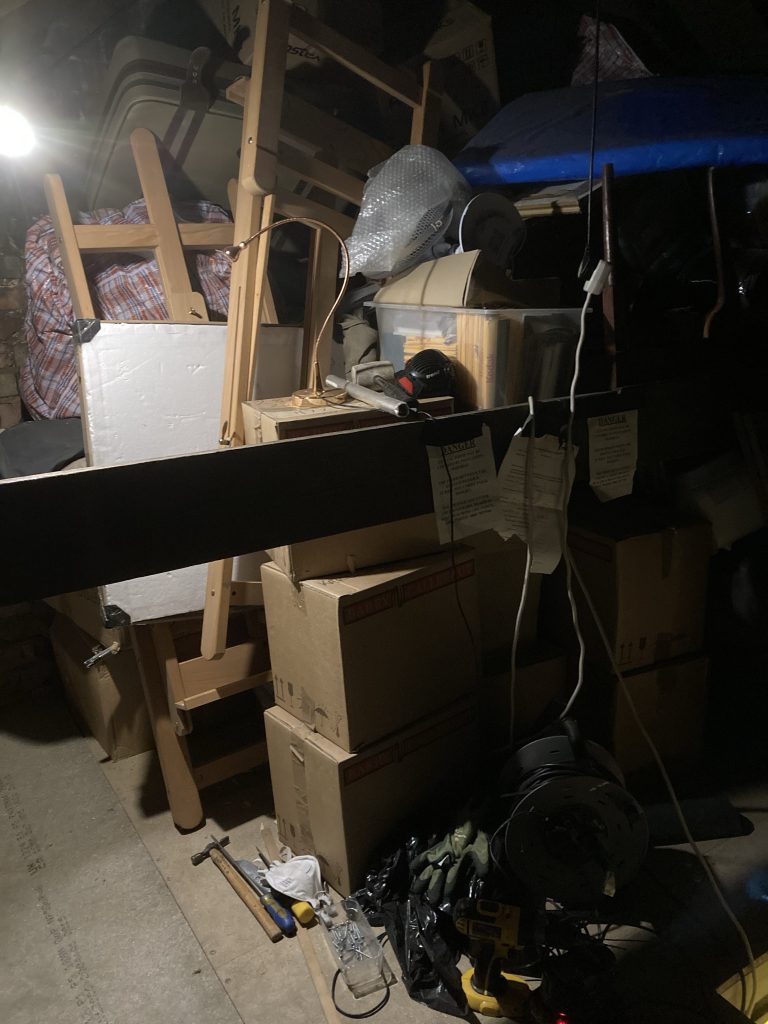
So much stuff!

The final two pics show, albeit not very well/clearly, the sheer mounds of crap we have up in the attic. Once the flooring up there is complete I can start to actually rationalise and tidy all the stuff up there.

The large piece of timber that bisects the image below is the central horizontal roof tie-beam. If we want to make this attic space into a usable room, that’ll have to go!

Note the obtrusive tie-beam.

Speaking of long wooden boards that had to go, I had to borrow a pry bar from Sean, at #72, to get a very rudimentary transverse beam (it had an unfinished outside-edge-of-the-log curved cross-section!) up and out of the way, in order the place the final transverse 2”x4” supporting beam.

Doing this kind of stuff up in our attic is filthy work. I had to wear gloves and a mask, due to all the dust, soot and dirt. This then plays havoc with my vision, fogging up my glasses. And on the topic of glasses, observant readers might spot a dram o’ whisky in one photo. Working man’s fuel, I guess?

CAR: More Exhaustion…

Clamped up ready for cutting…

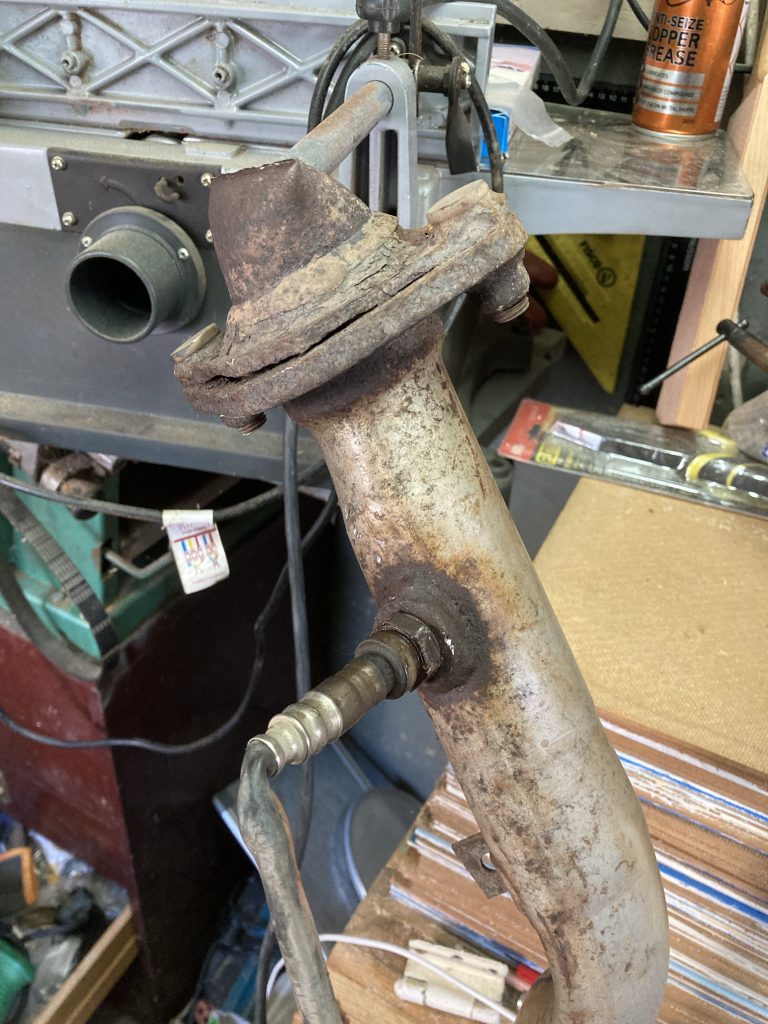
In readiness for the work that needs doing on the MX5 exhaust system, I’ve chopped out the section with the oxygen sensor attached. I did try to take the sensor off/out. But it’s seized solid!

The section I need, with attached sensor.

Apparently the garages that do this sort of thing can undo such tightly seized joints. I hope so! I certainly can’t. But at least now I can transport the parts more easily.

Got all the parts on order – for Monday, they tell me – from bofiracing.co.uk, and scheduled to go straight in for fitting at fourpawracing.co.uk, either Monday or Tuesday.

CAR: Thievery & Exhuastion

[thievery vid… need to find!]

Some while ago our neighbour alerted me to some footage he’d caught on his home security videos, showing some villains fiddling with several cars on our street, inc. mine!

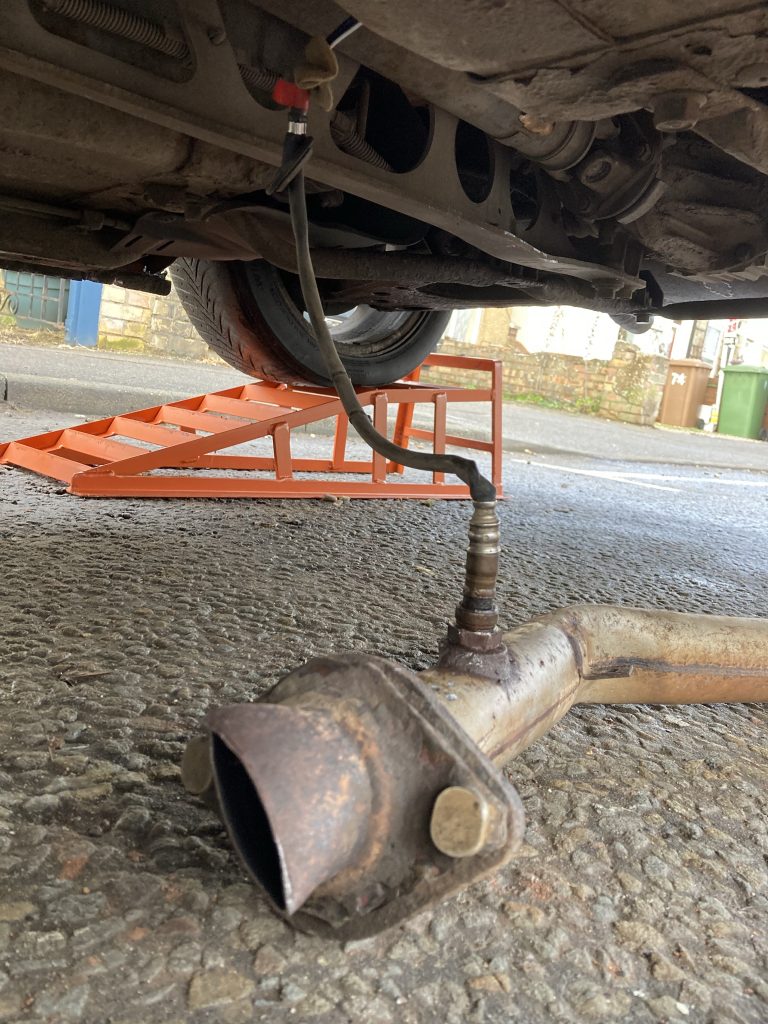
Rear view; exhaust attached by sensor lead!

At the time we’d concluded – and confirmed with a neighbour further down the road – that these miscreants were thieving catalytic converters. One of the neighbours further down the road had actually arrived home as the bastards were leaving his front drive.

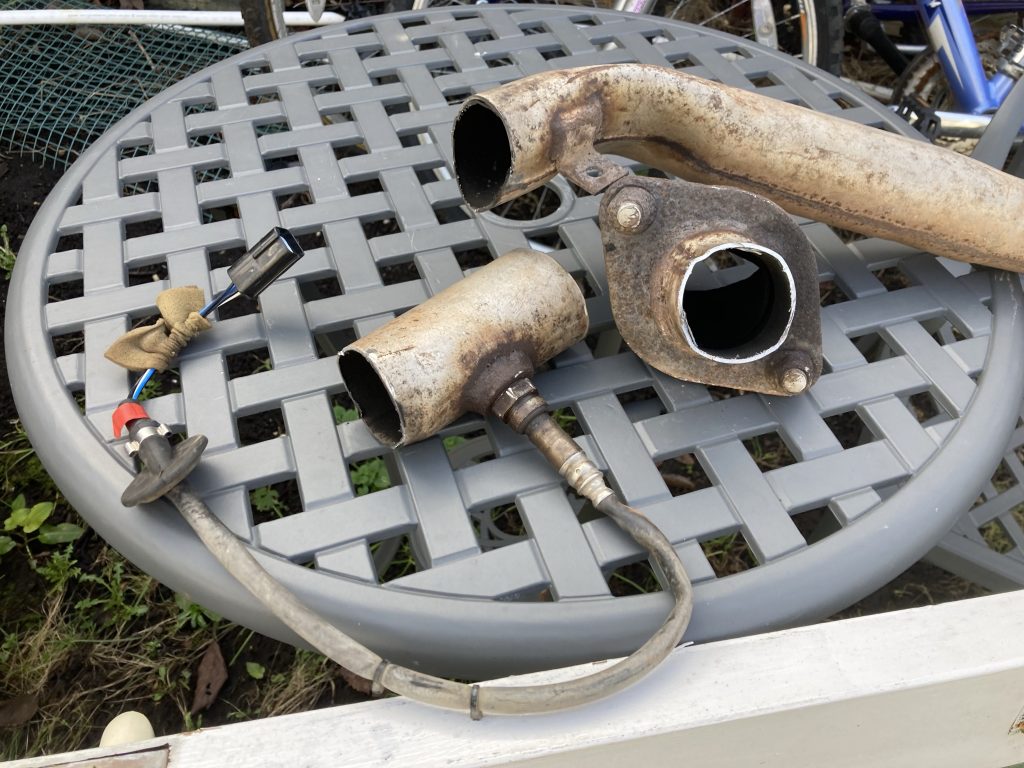
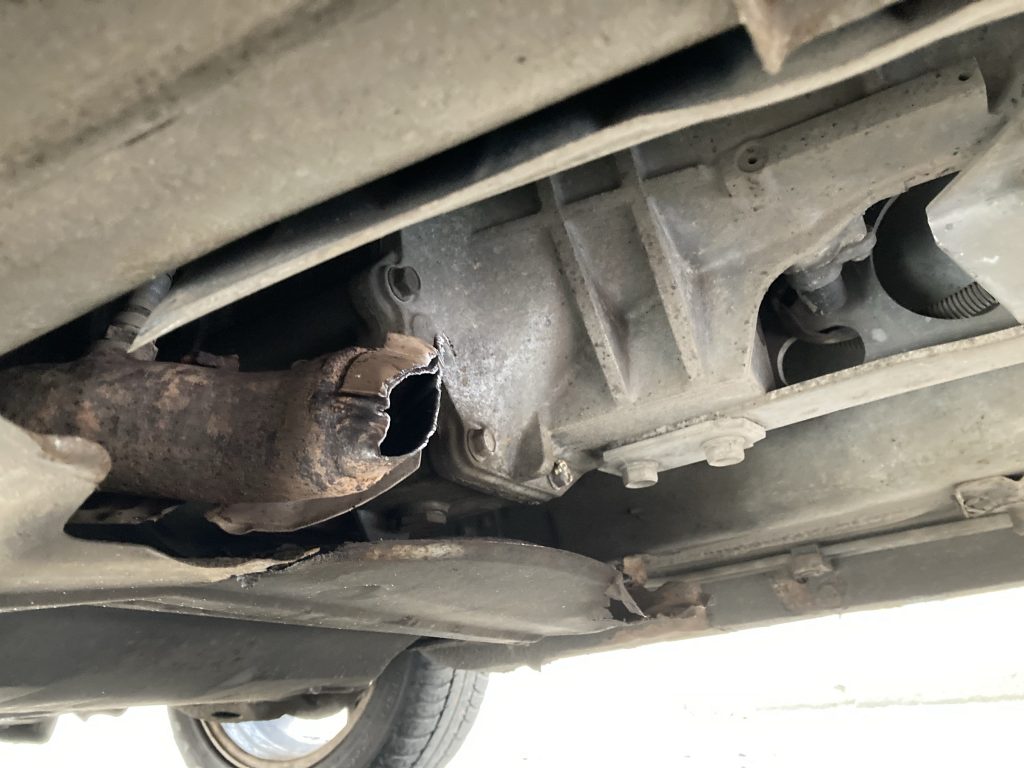
Look how the thieves cut/compressed the pipe!

They were so quickly down and back up again by my car that I assumed they’d decided against bothering to try and take mine. I was wrong! But it took a while for the issue to develop; gradually my exhaust system grew noisier and noisier.

It turns out that some cunts do this ‘professionally’, and use a tool called the jaws of life* (or something like that?) to snip through pipes and noiselessly remove CATs.

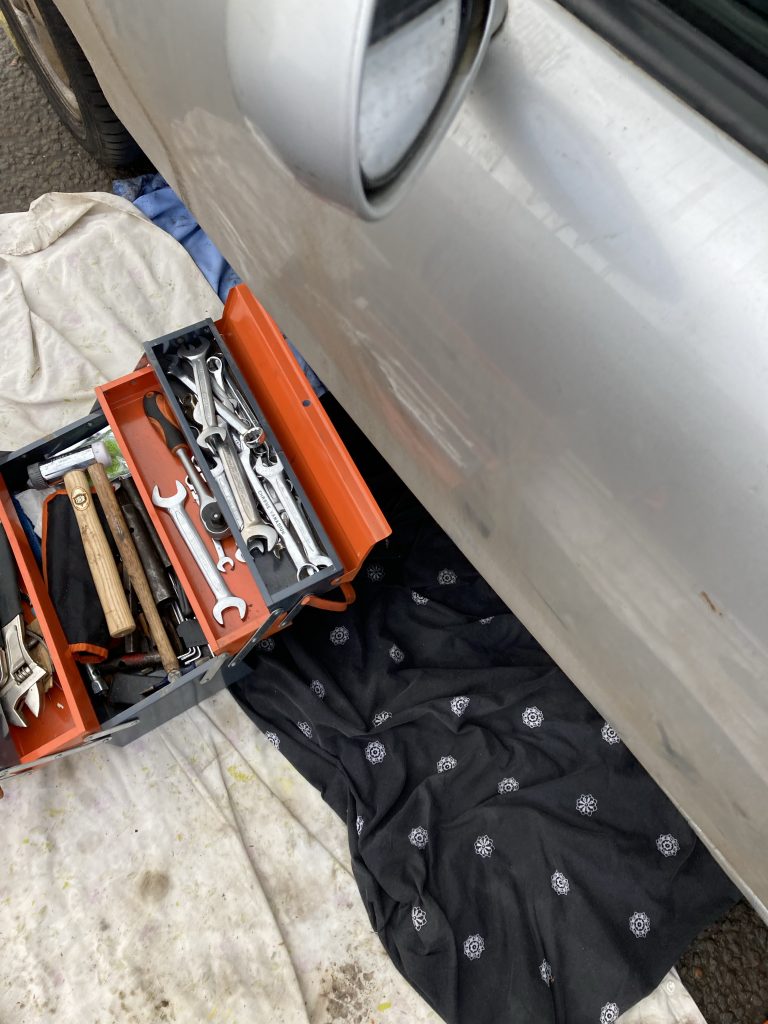
Sheets and tools in the road, trying to disconnect the sensor.

Anyway, as I got into my car today, to go to do a delivery route for Amazon, the whole exhaust system was roaring and rattling like an emphysemic dragon. I barely got 10 yards, and had to stop, get out, and look under the car. Almost all of the exhaust between where it exits the engine bay, and the box at the rear of the car, was hanging loose.

The engine side of the ‘snip’.
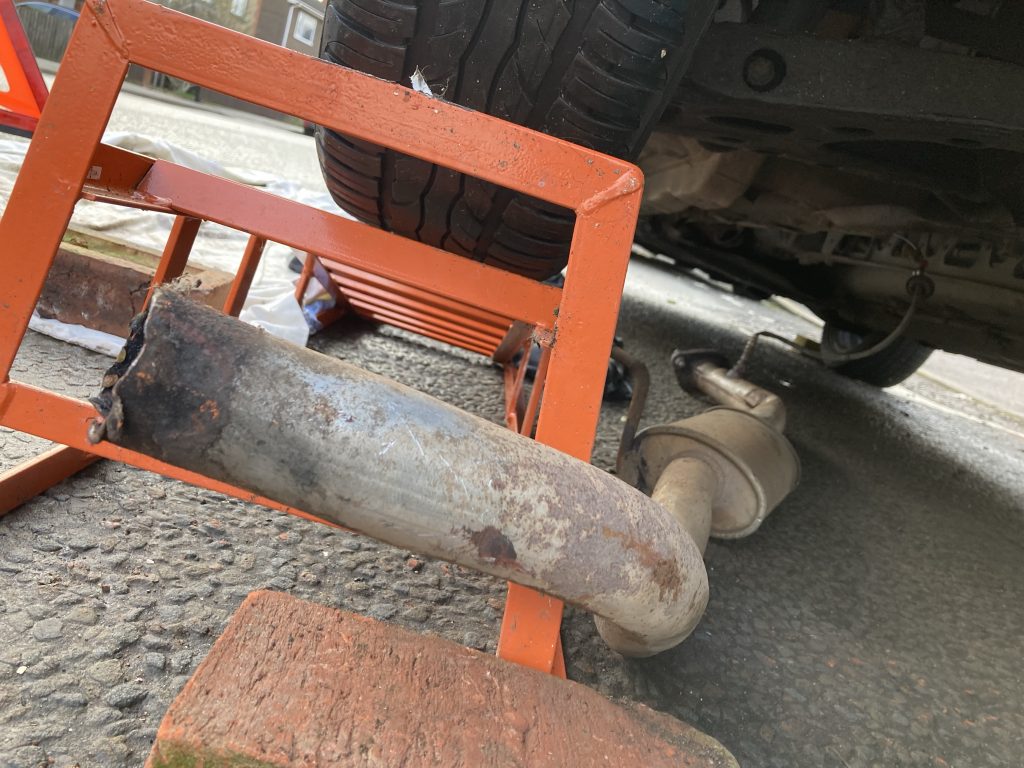
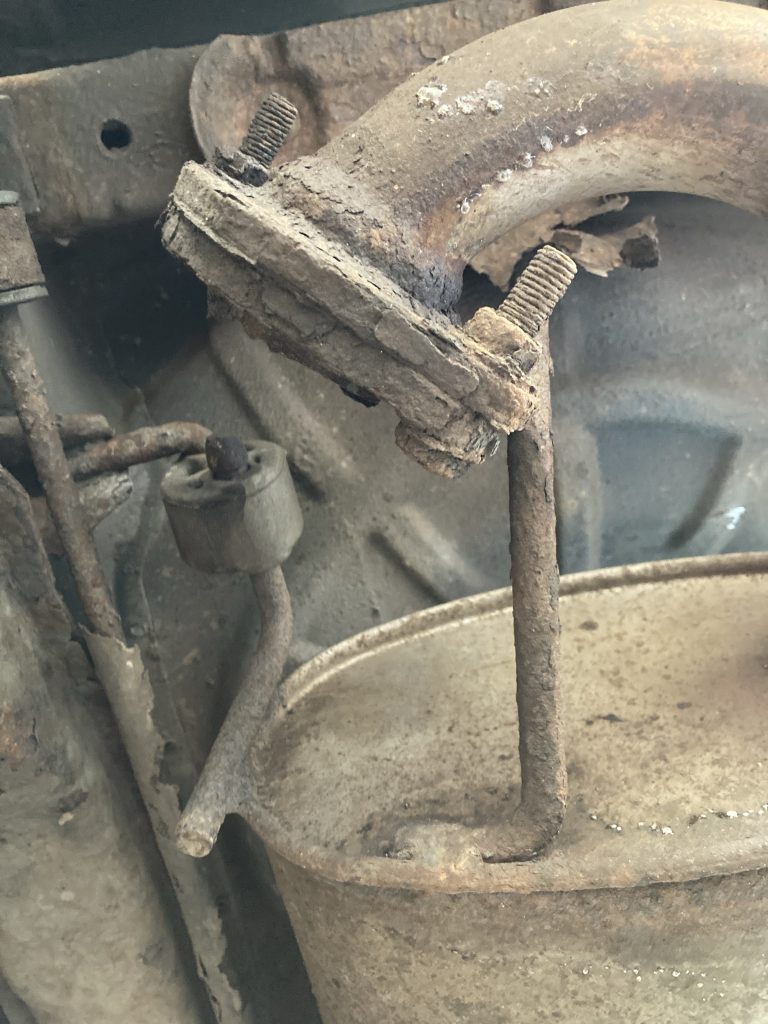
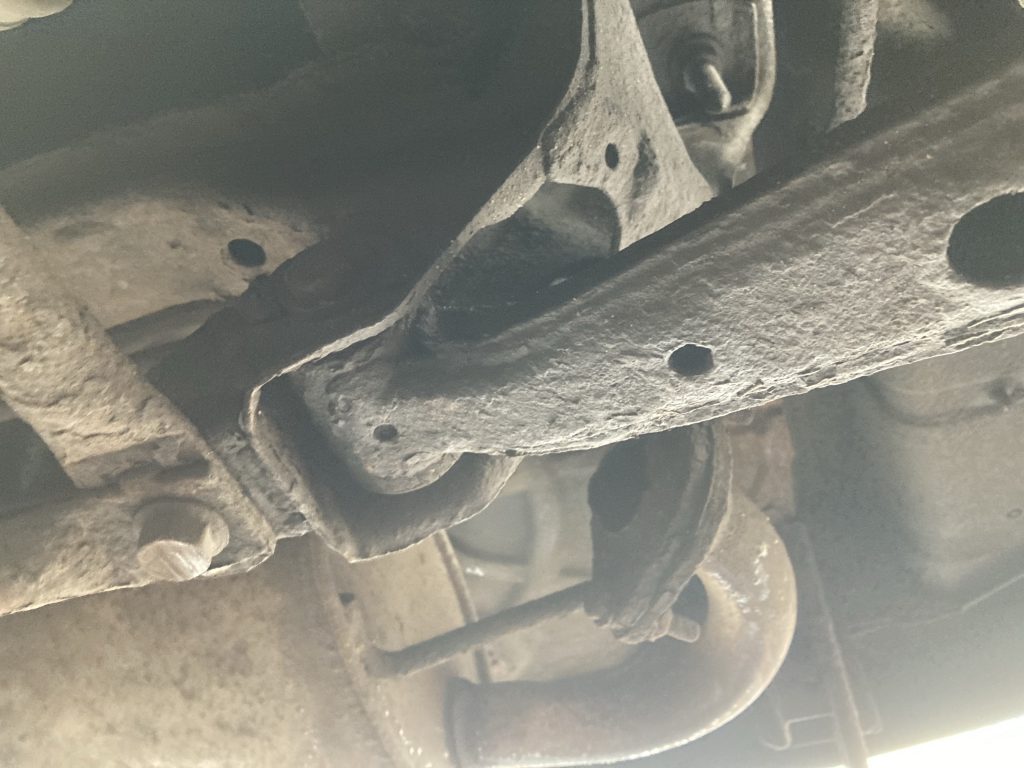
The rear of the car, and the other break.

Even worse, it transpired that it was solely connected to the car by the wiring of a lambda oxygen sensor. After several hours spent getting the car up on jacks, with thoughts of zip-tying it back in place, which didn’t work, I tried to remove the sensor, where it joins the exhaust.

Second view of the rear break.

But that was seized solid; so, no dice! It then became a question of finding out how to disconnect the other end of the sensor wiring. This, it turned out, disappeared up into the bodywork of the car. It took a lot of hard work, both on the car and researching online, to finally crack that conundrum.

And all of this in very cold, muddy, drizzly conditions, with the car protruding several feet into a busy road. Gaaargh!!! I had to cancel the Amazon delivery shift, and forego any lunch. And I spent literally three or four hours doing all this. It’s the sort of thing one ought to be able to do in minutes if, A) one knows the anatomy of the vehicle intimately, and B) has the right tools.

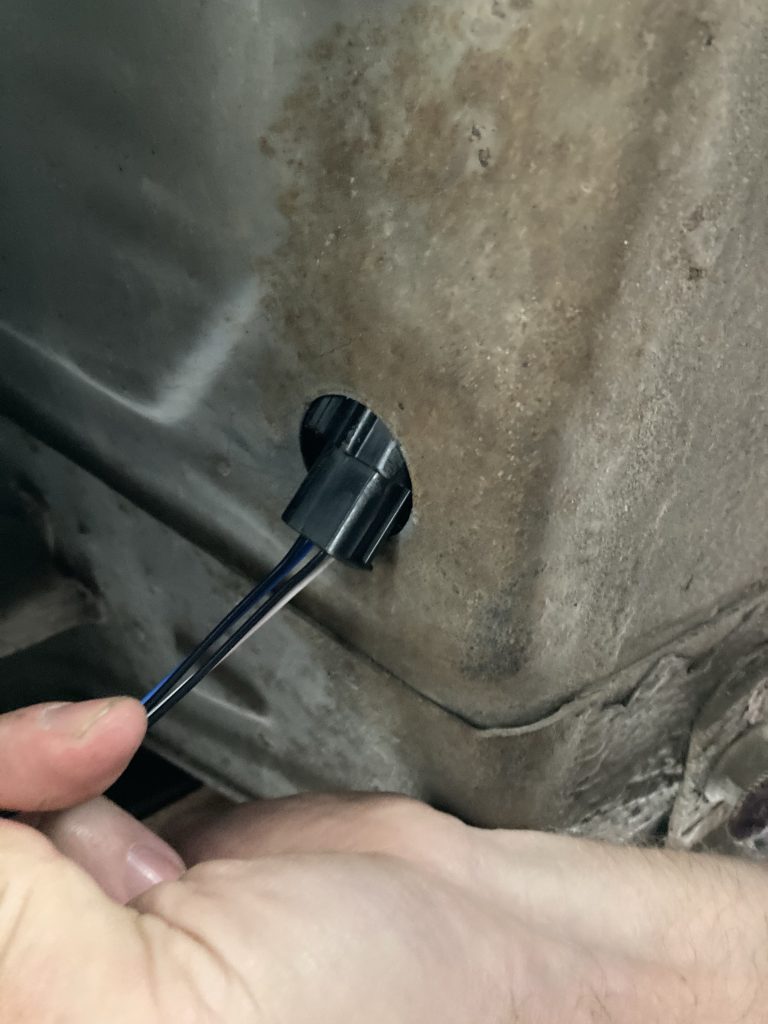
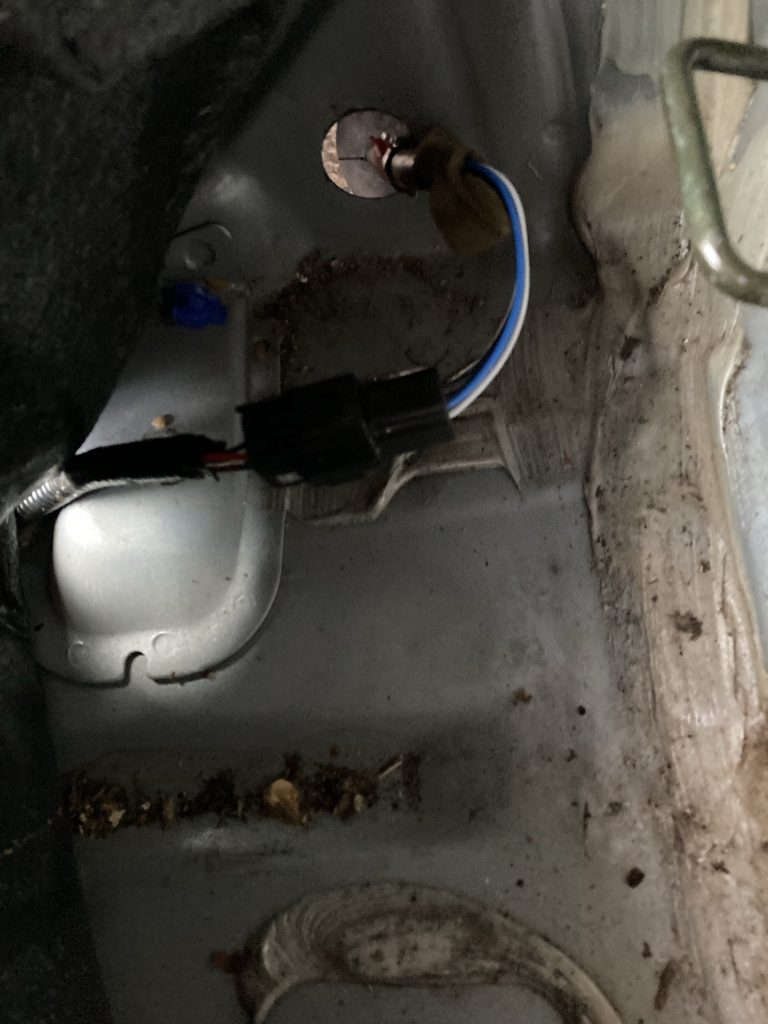
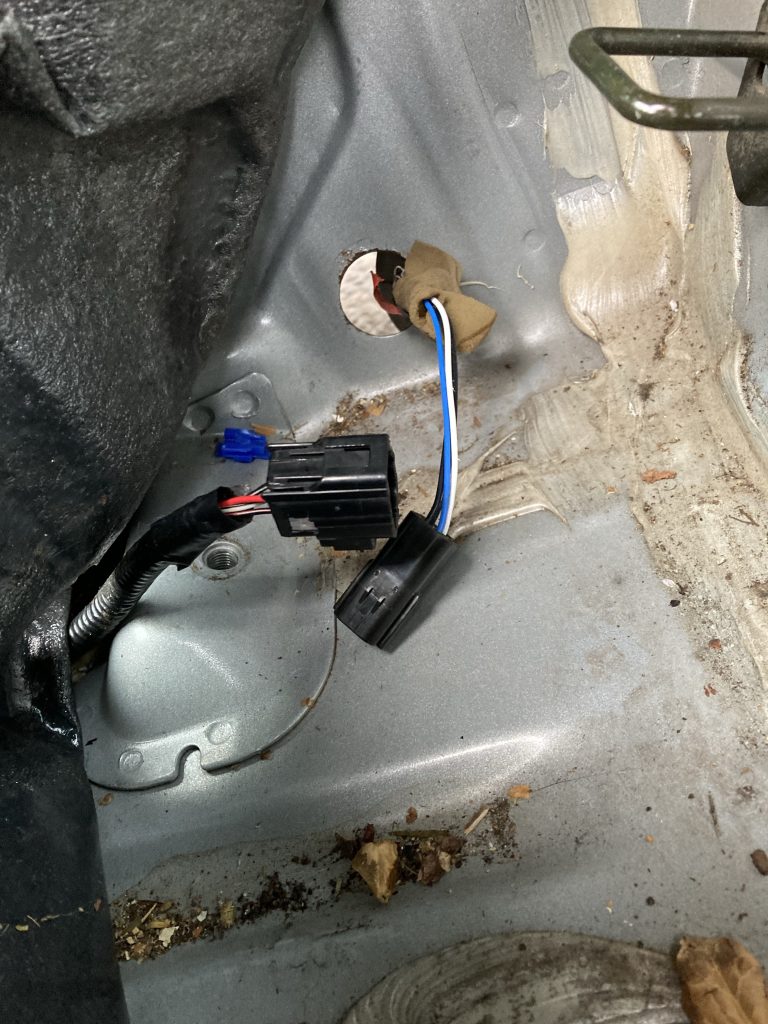
The clip end of the sensor cable. Inaccessible!

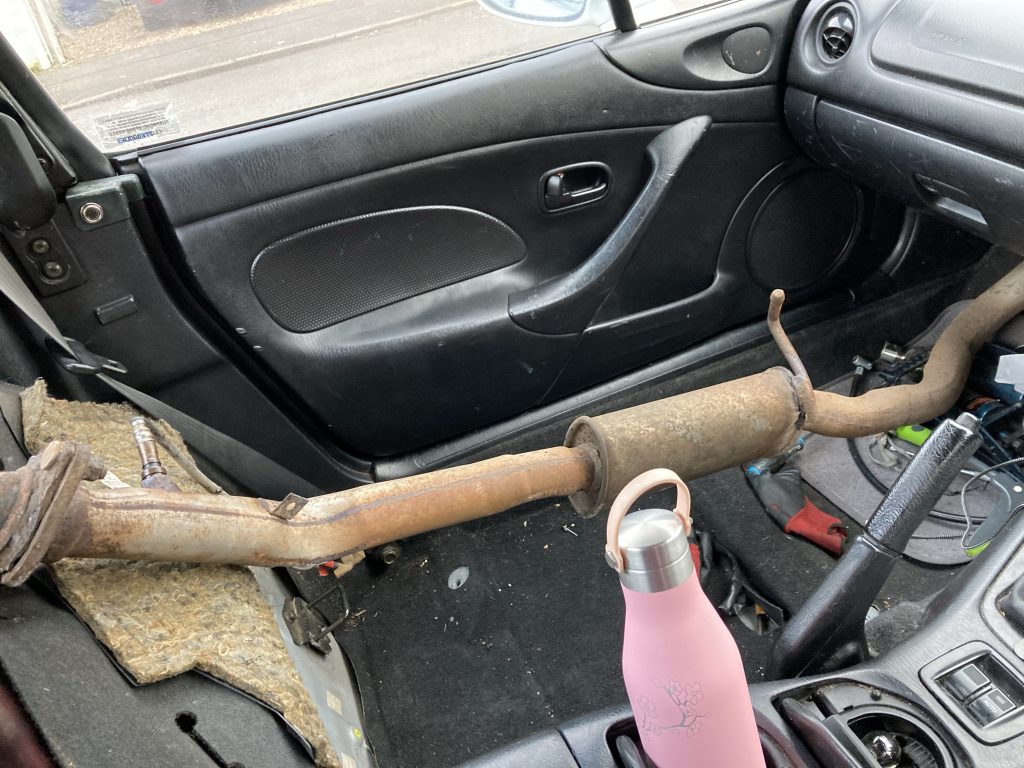
Once I’d finally and mercifully got the damaged and broken section of exhaust off, I stuck it in the passenger side of the car. Doing all of this did teach me more about the motor. And I took the photos that illustrate this post, which I sent to various MX5 parts folk, and potential repair garages.

A YouTuber’s vid’ located the sensor clip junction, inside the passenger side interior.

It was thanks to the photographic evidence that I learned my CAT definitely had been stolen. The most damning and conclusive evidence was how the exhaust had clearly been snipped, and compressed, just around where the CAT ought to have been.

So not only do I have to replace 80% of the exhaust assembly. I also have to get a new catalytic converter. I got some quotes on parts and work. And it’s a nightmare, frankly. Because, as ever, I’m stone broke.

Finally! Unclipped. Allowing exhaust removal.

Still, in the past we’ve always battled through and found a way, even if – as with the cam-belt episode – I had to do the sourcing, buying and fitting of everything myself. This time I can’t see myself doing the installation. Partly this is due to the time of year; having to try and do such work out in the front drive or the main road? It’s just too cold and wet!

The exhaust, sat in the passenger side.

* As used by fire crews to rescue passengers trapped in crash-damaged vehicles.

PS – This is the YouTube video that enabled me to finally locate and uncouple the sensor:

CARS: CaRSE!!! Pt.2 – Further MX5 Battery Stuff…

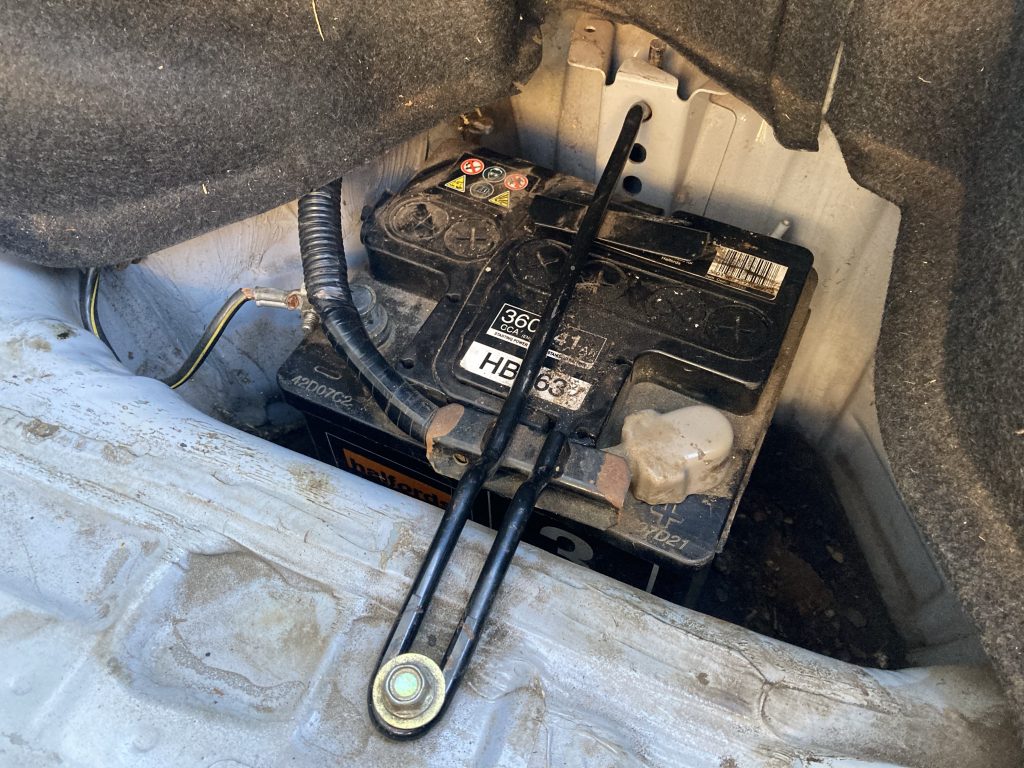
The battery in my MX5 is in the boot!

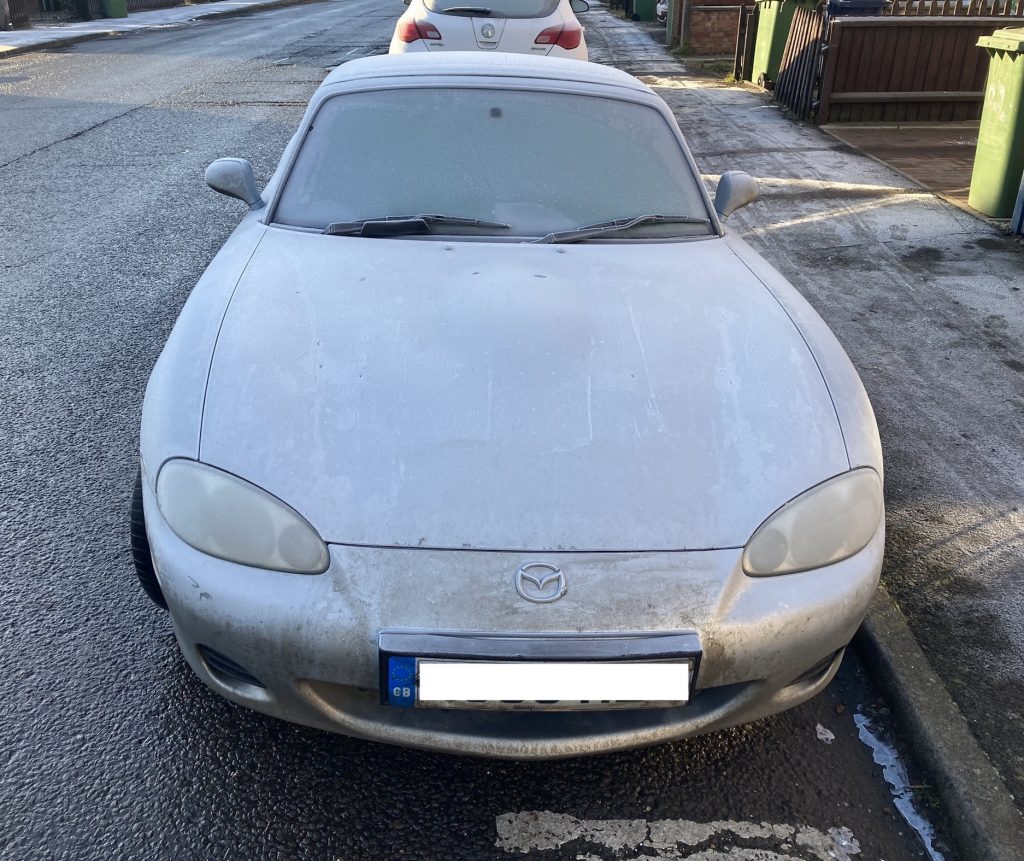
Having had to postpone my Wednesday teaching to today (Thursday), I had to cancel it altogether. On account of the car still being a frozen block of ice!

However, the sun was out today. And despite the temperature remaining zero or below, it meant I could more easily defrost the car.

This thing seemed to (eventually) do the trick.

Not only had the Arctic conditions drained my battery. They had also meant that the door locks weren’t working as the should. Somehow the electrics for the door locks were going mental, or just seizing up altogether. Squirting WD40 into the locks seemed to ease them a bit.

Around midday I decided to try to start the car again. I’d defrosted it, partly with the sun’s help, and the locks were now responding to my keys (at one point the locks had been so seized up I couldn’t even insert my keys!).

Our local Halfords gave the battery the all clear.

And, lo! The car didst start!! We drove to Halfords, where I’d bought this battery (prob’ about three years ago?), and they tested it. Somewhat to our surprise they told me it was fine. Fine!? Oh well… saves us some more unwelcome expenditure. I just hope tomorrow she’ll start up on, as it’s fookin’ freezing again!

CARS: CaRSE!!! Pt.1 – Dead battery on MX5 (again!)

Not a great pic. But car is all frosted up!

Aaargh! For the second time in about one week, my MX5’s battery appears to have died/drained.

First time it happened I was in the middle of nowhere. Luckily for me there were a few houses about a 1/4 mile away, and I was at a scenic spot where folk walk their dogs or just stop to look at the riverbank.

A local chap tried to help me start with jump leads. To no avail. So I enlisted the help an older guy sat in his Merc’, no doubt relaxing, and we all three push-started my little motor. Since which time she’s been running fine.

And then this morning, at about 7am, getting ready to take Teresa to work – on account of the train strikes (which I wholeheartedly support; up the workers, and boo-sucks to our crypto-fascist Tory state), nada… totally dead!

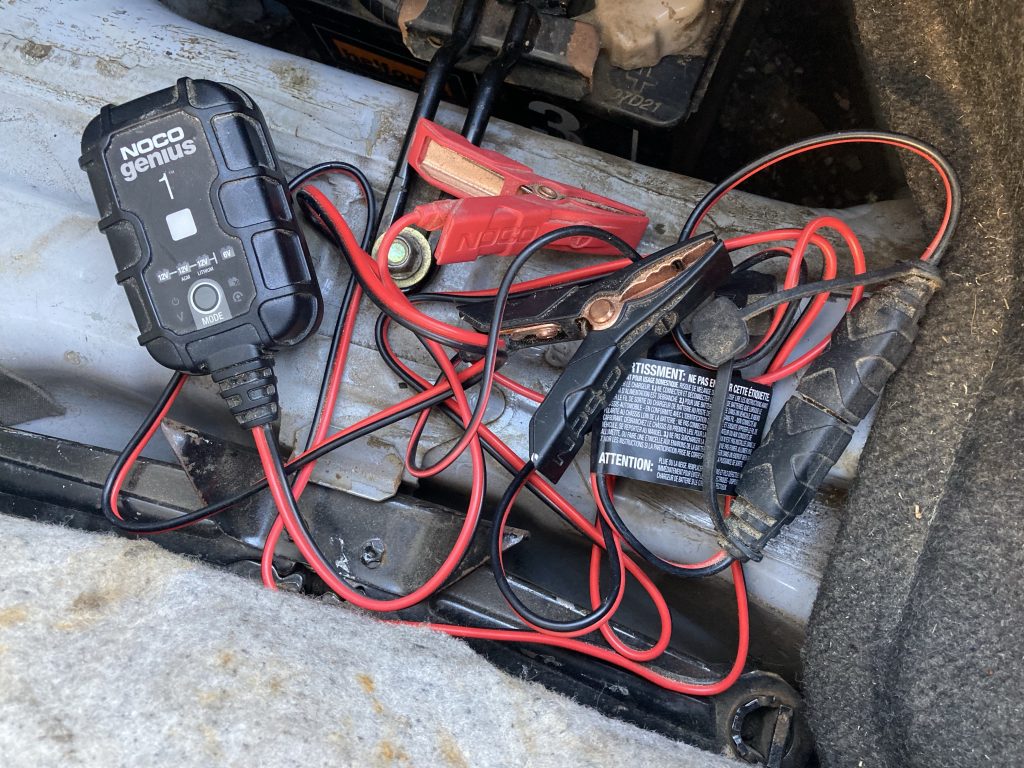
Tried to jump start via cables again, with two neighbours pitching in. But no luck! After a bit of anguished searching, we located a small battery charger I got via Amazon Vine.

The manual for the charger (a Noco Genius 1!) says it’ll take 9 hours – trickle charging, I guess? – to recharge a 12V battery, such as our MX5 has.

So, it’s no work, as we’re stranded at home. And instead I’m going to do lots of practice pad stuff. Finger and hand technique: fast finger rolls, open-close, push-pull, Moeller, etc.