HOME/DiY:bFurther Shed-nanigans…

Closing off the lower panels; before n’after.

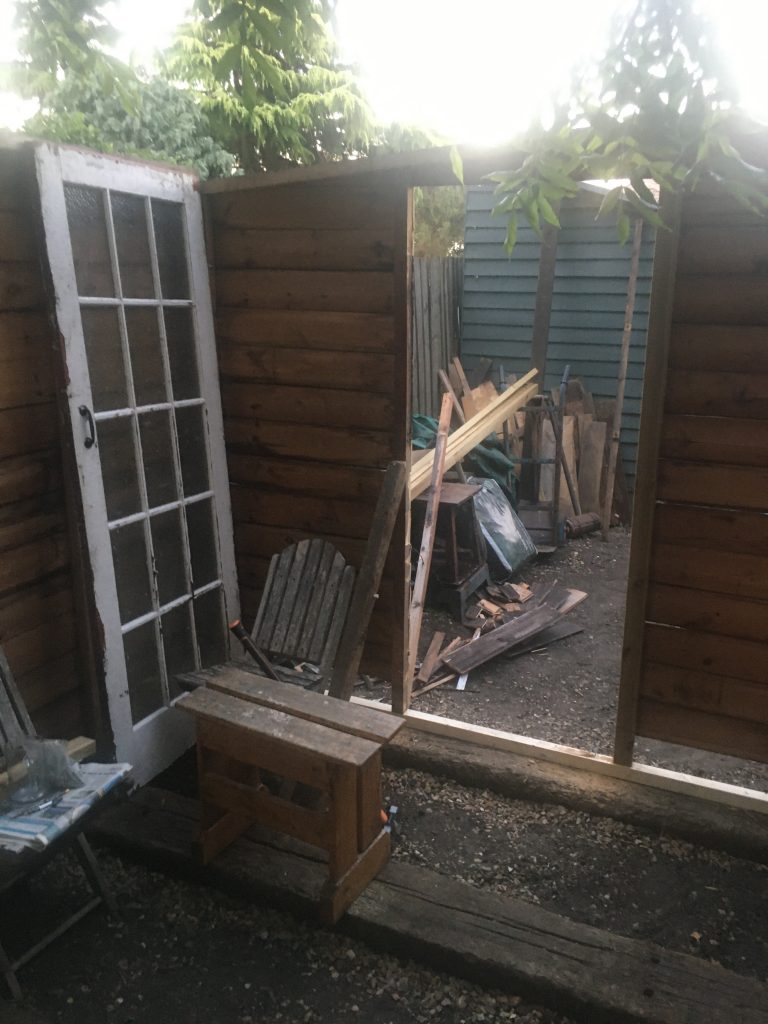
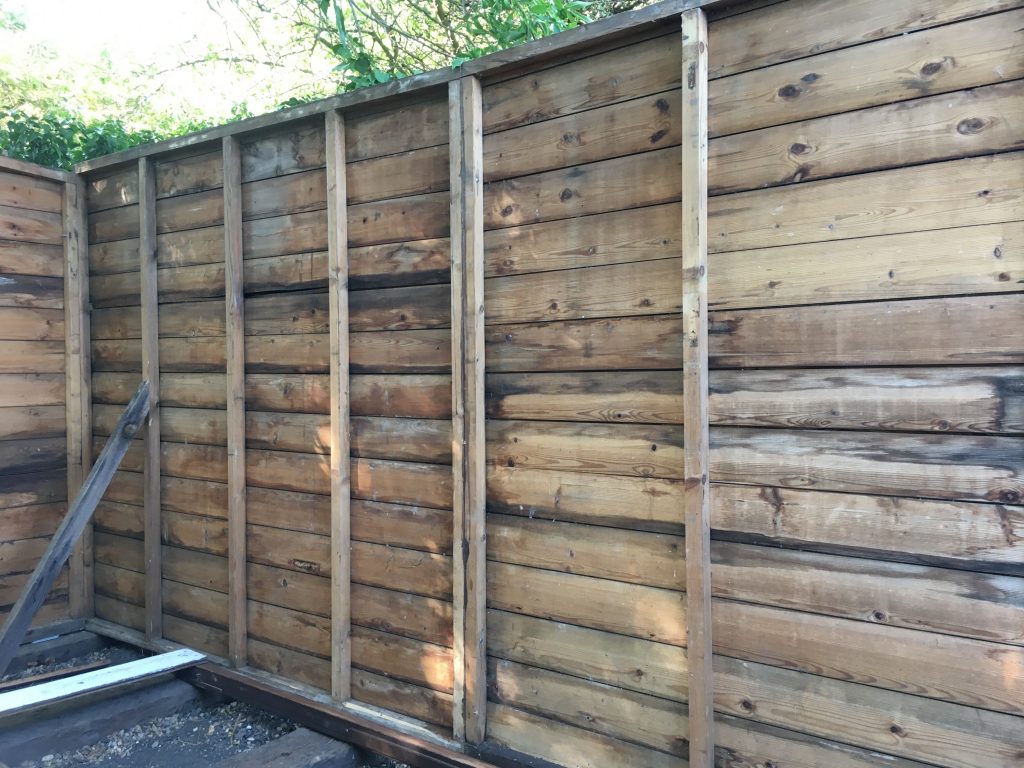
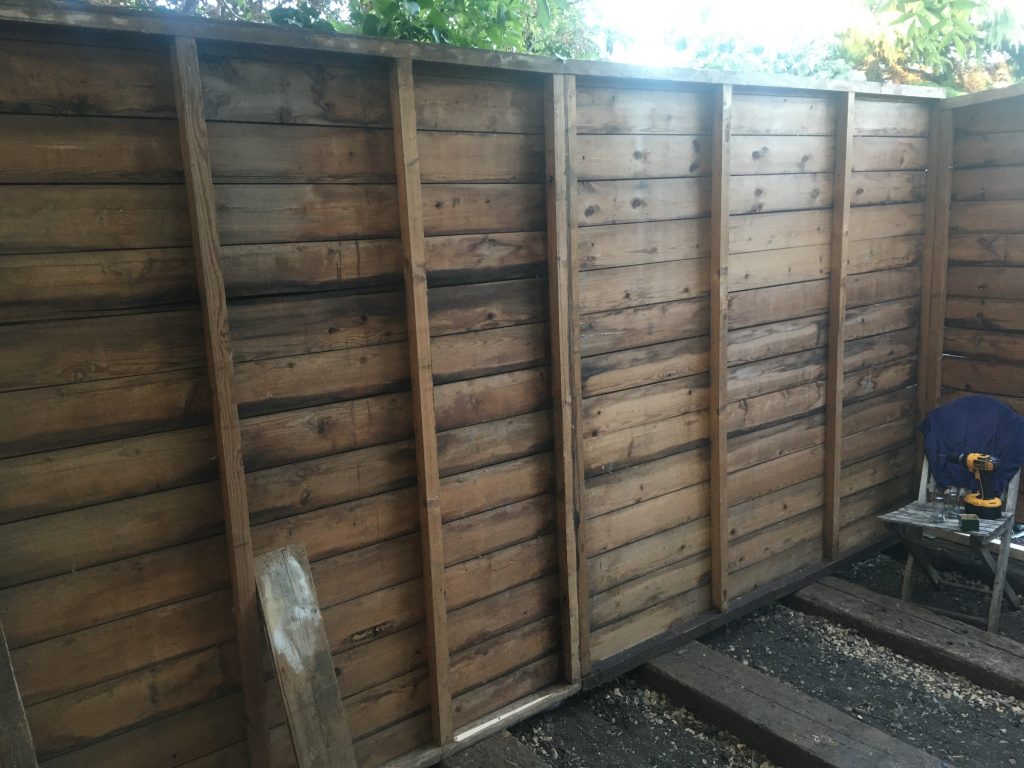
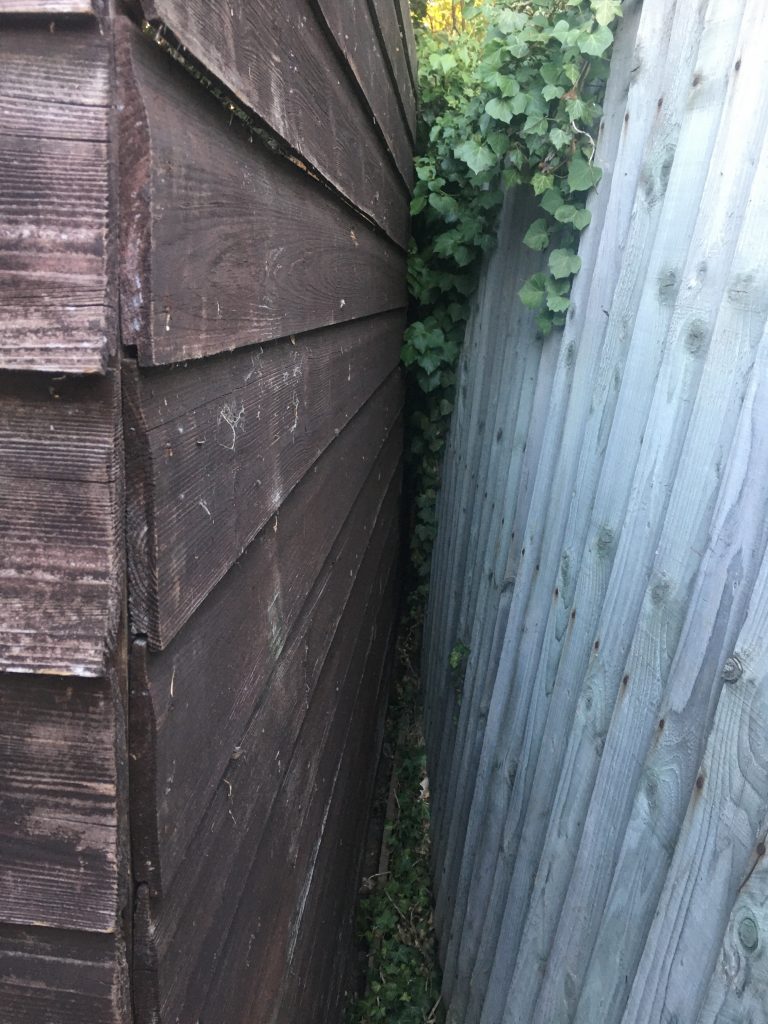
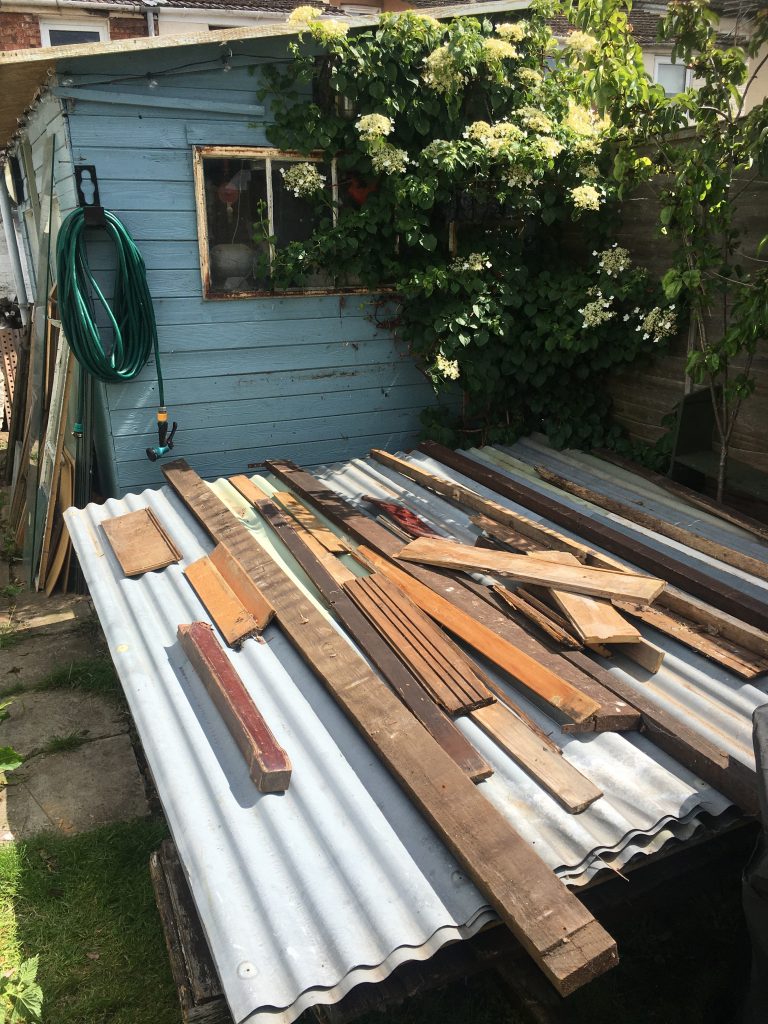
‘Tis Sunday. A day of rest! Or not. I was off to Screwfix early, and then back to the shed, doing lots of little bits of work. Such as filling in gaps in the cladding, as pictured above.

Either end of a ‘tie-beam’.

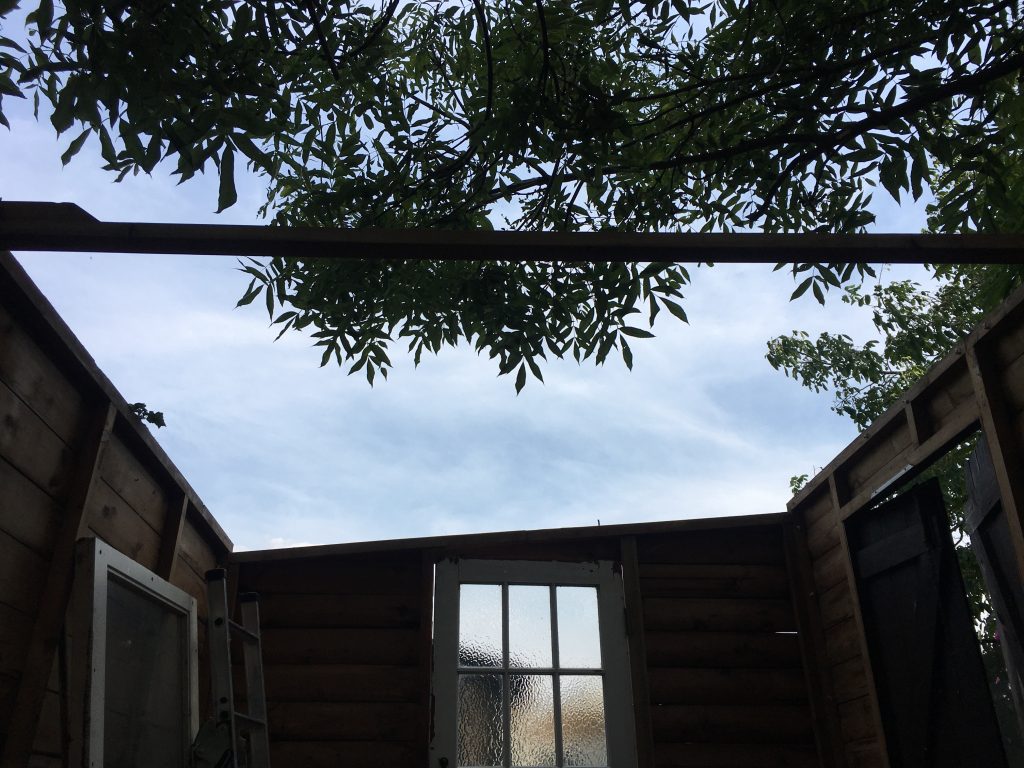
And I added a more or less horizontal tie-beam, to stop the middle of the shed, where, along the longer sides, two panels abut, to stop the shed bowing either outwards or inwards, and to keep it square/parallel.

The tie-beam viewed from the other end, later on in the day.

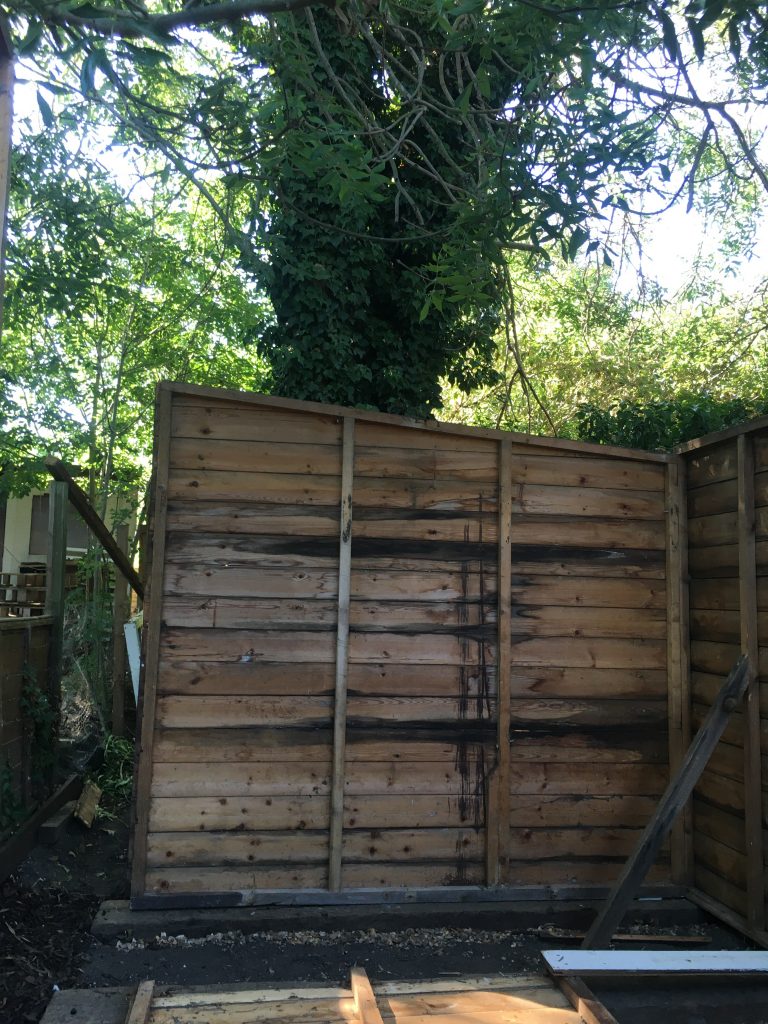
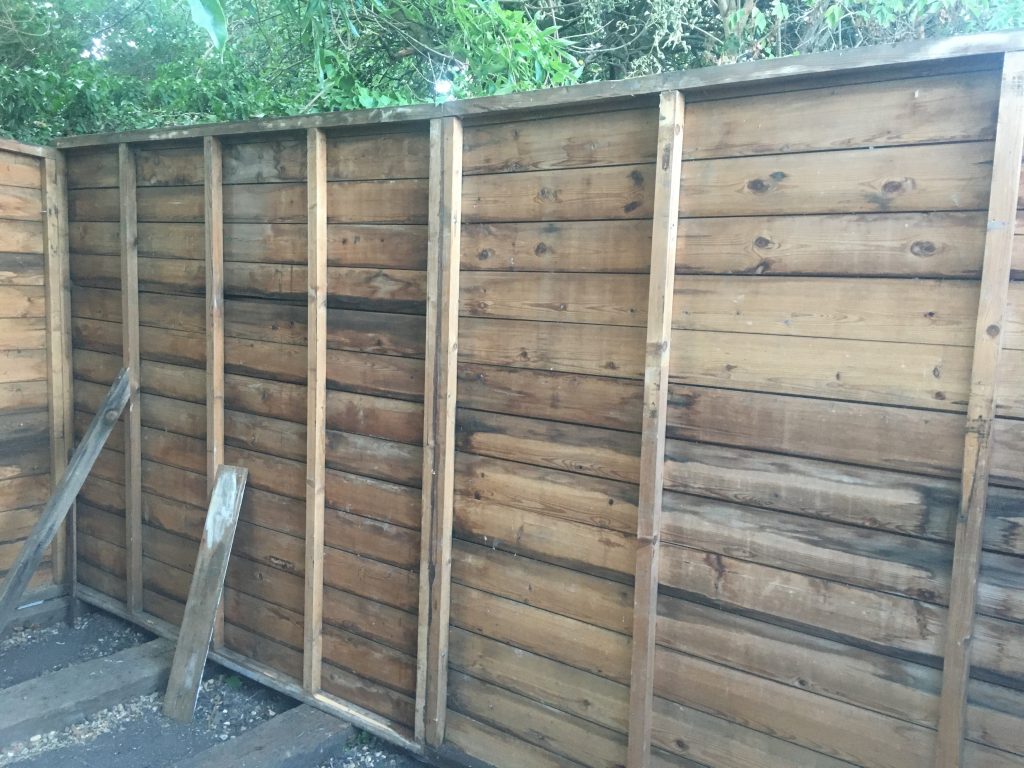
I was able to fill in most of the cladding gaps. But there are three places where I need longer pieces of cladding than any I currently have.

One of the remaining gaps.
This is the longest missing piece
And finally this one, at t’front.

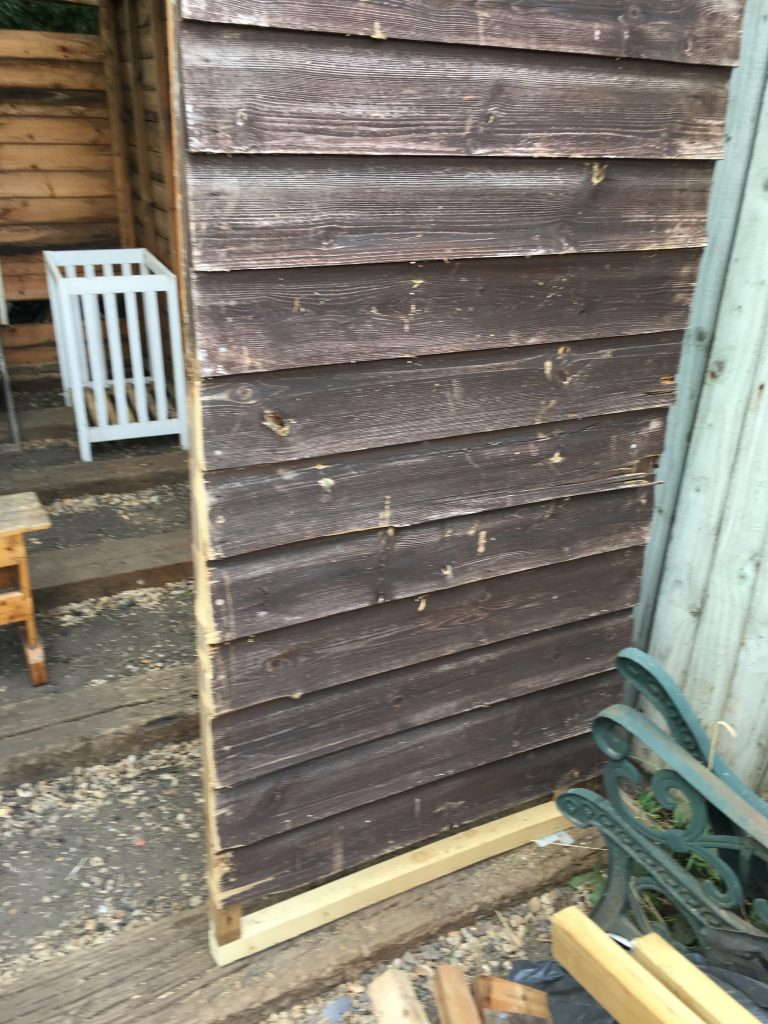
Hopefully I can get these gaps filled soonish?

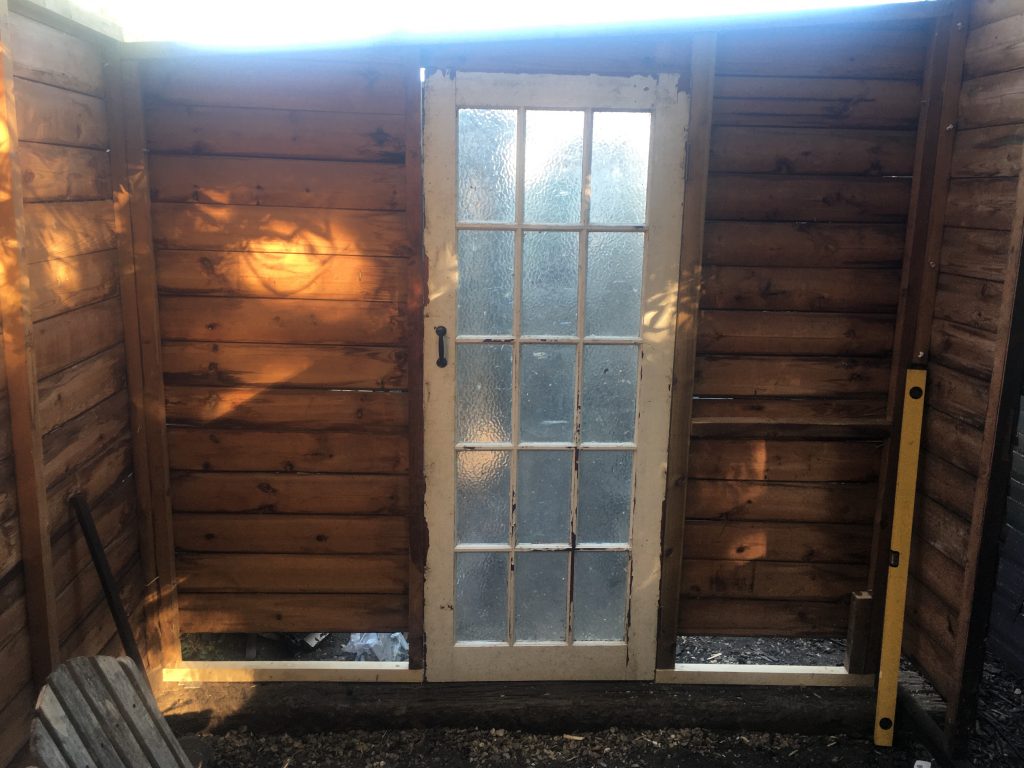
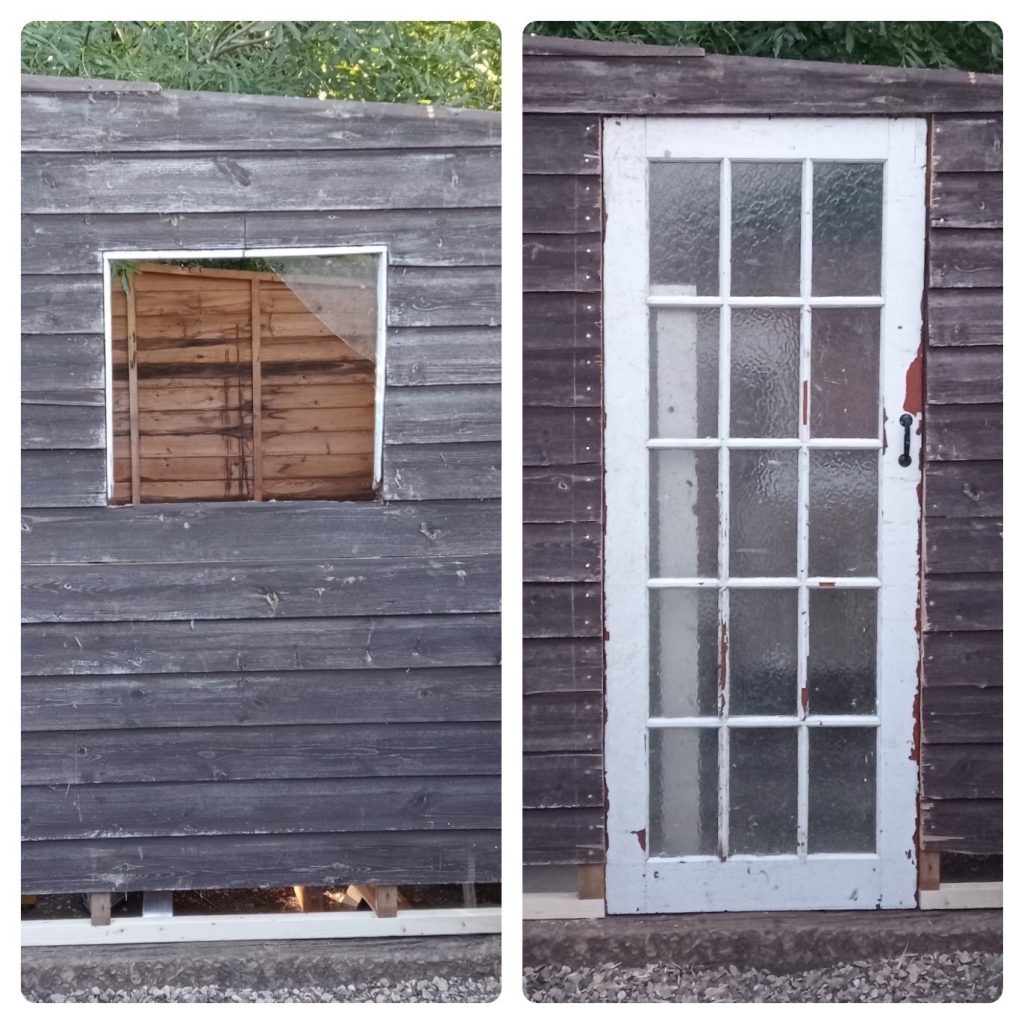
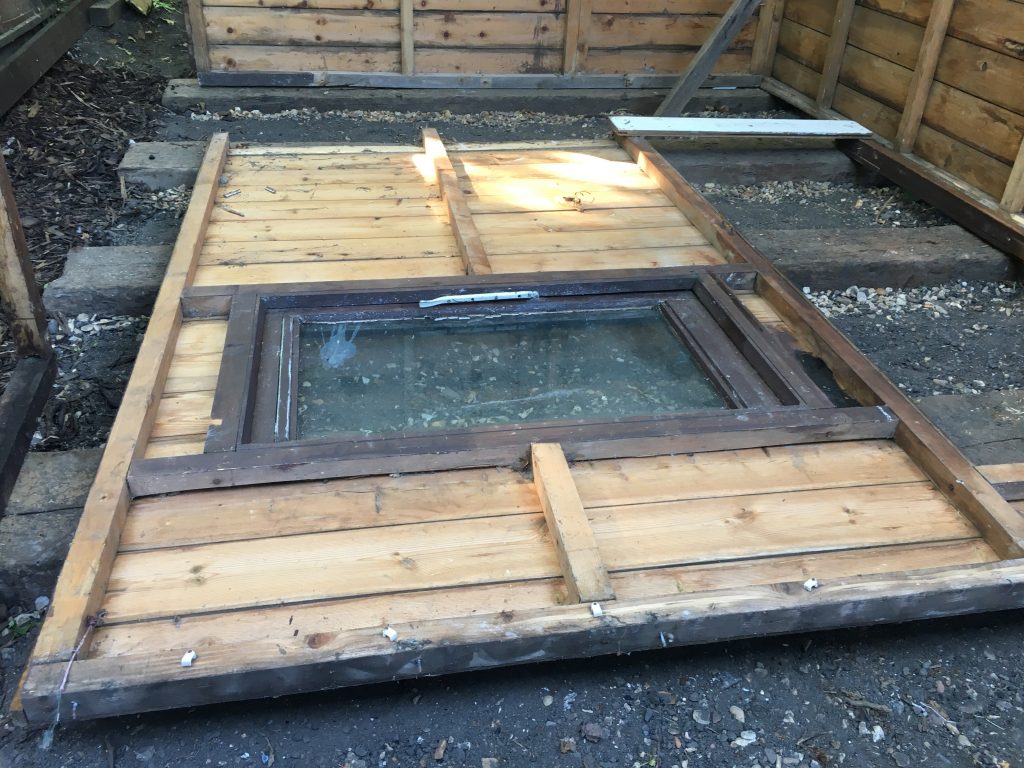
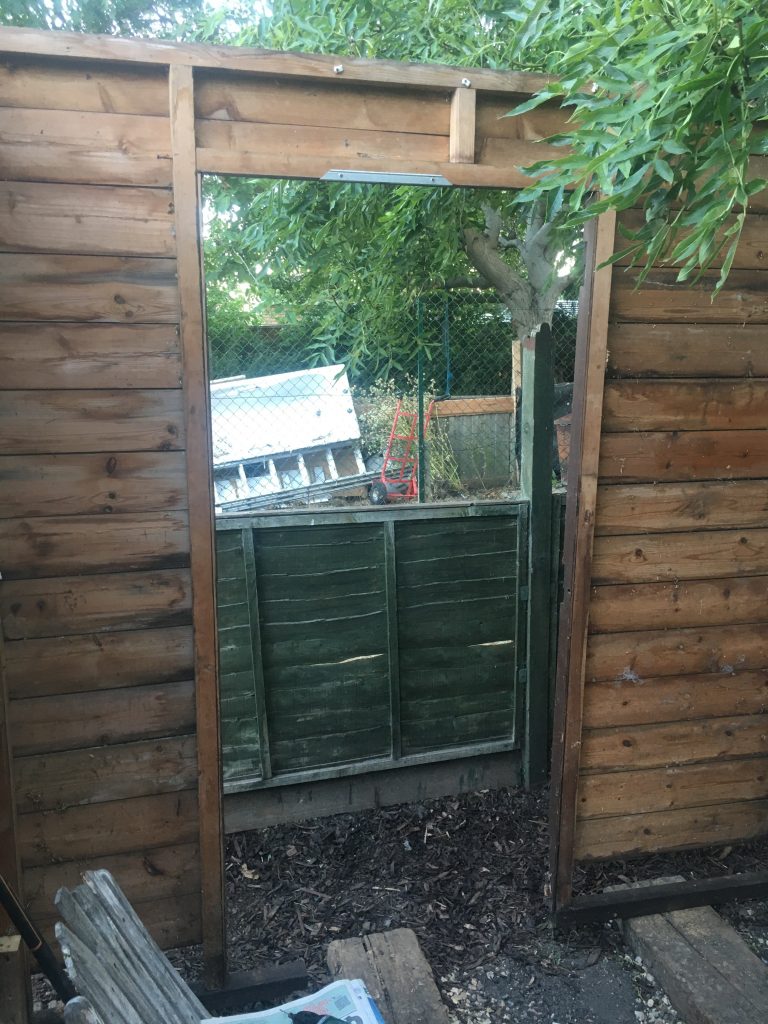
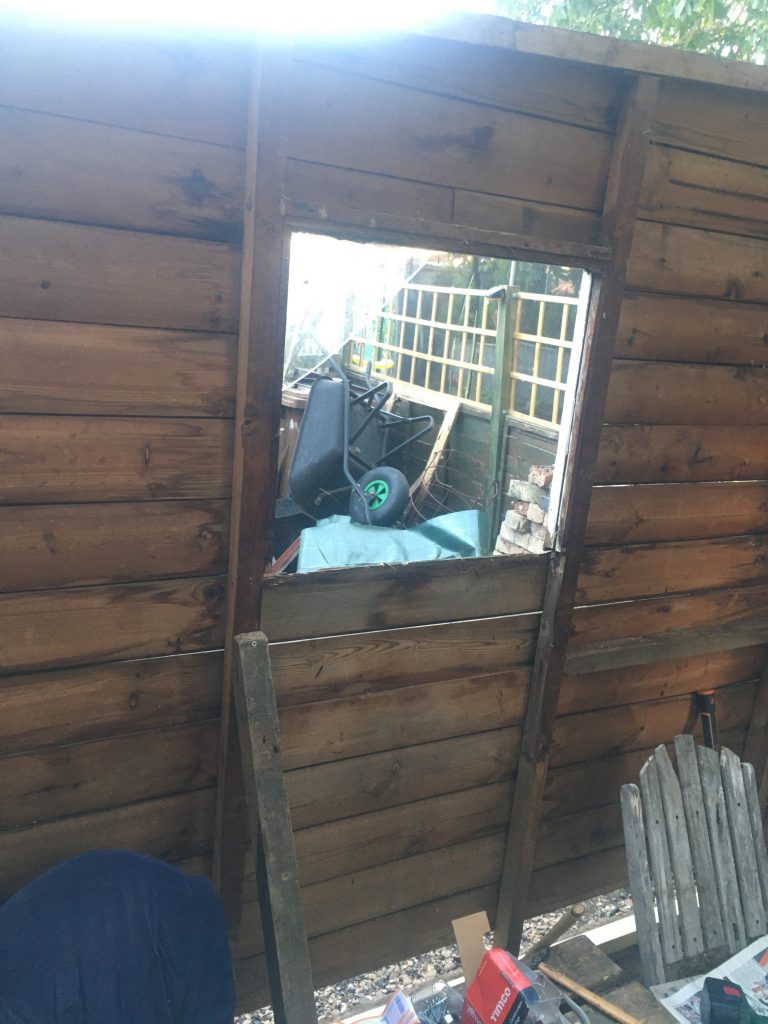
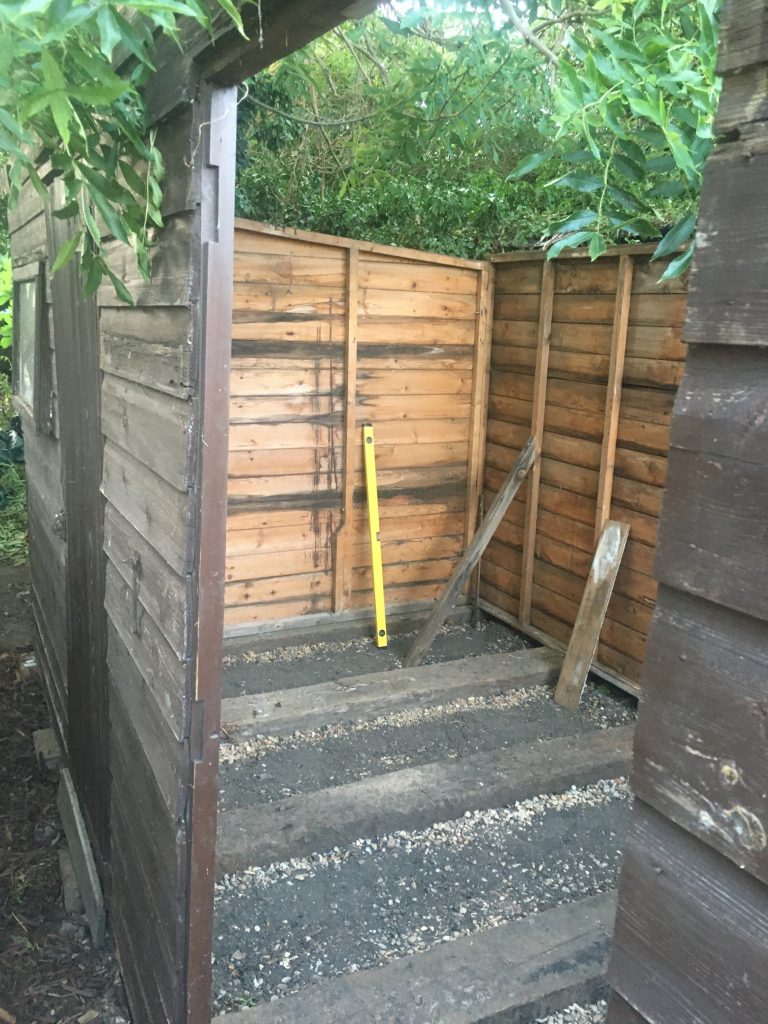
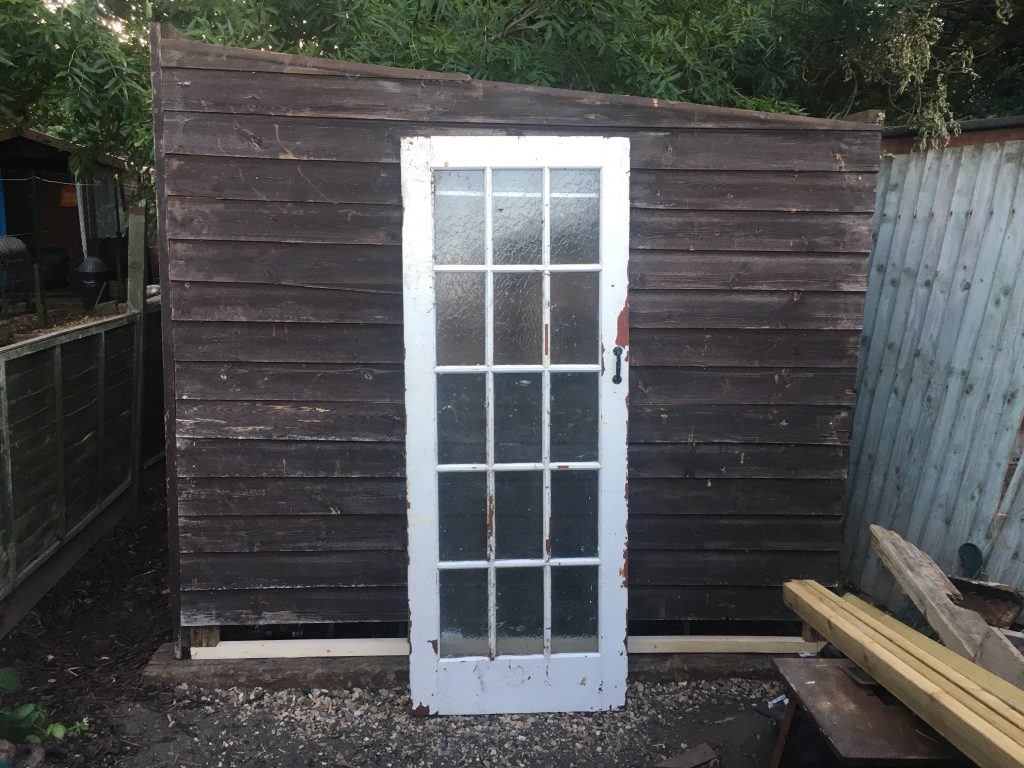
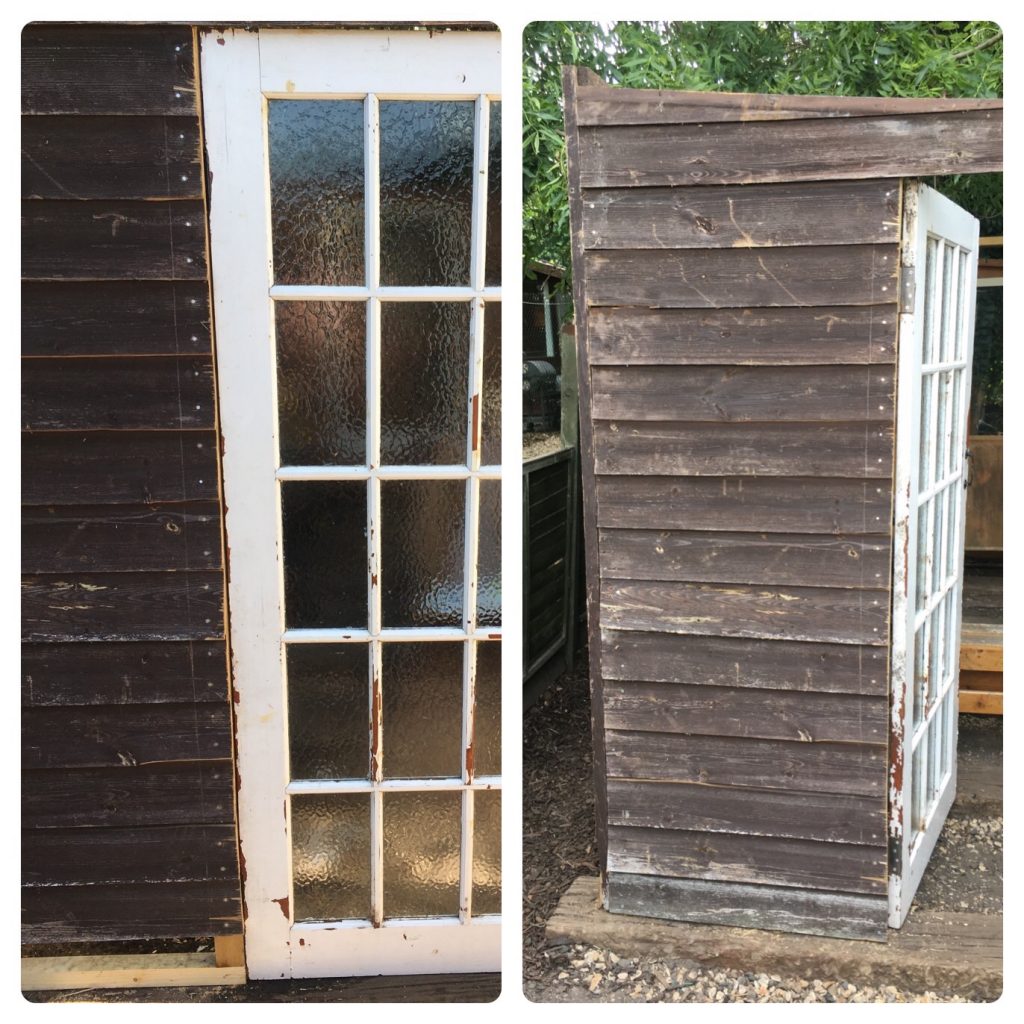
All the windows have now been washed. Including the only ‘original’ one that’s left, pictured below. I still think I’ll want to add more glass, as I want the workshop to be as well lit, naturally and electrically, as poss’.

The sole original window that remains.

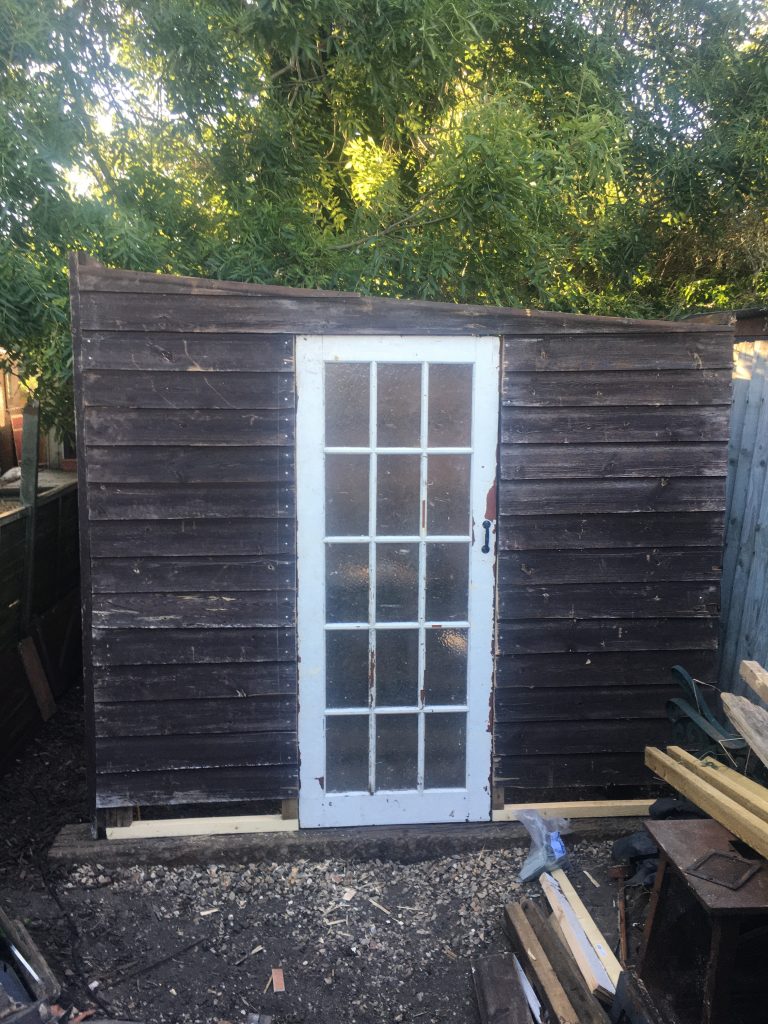
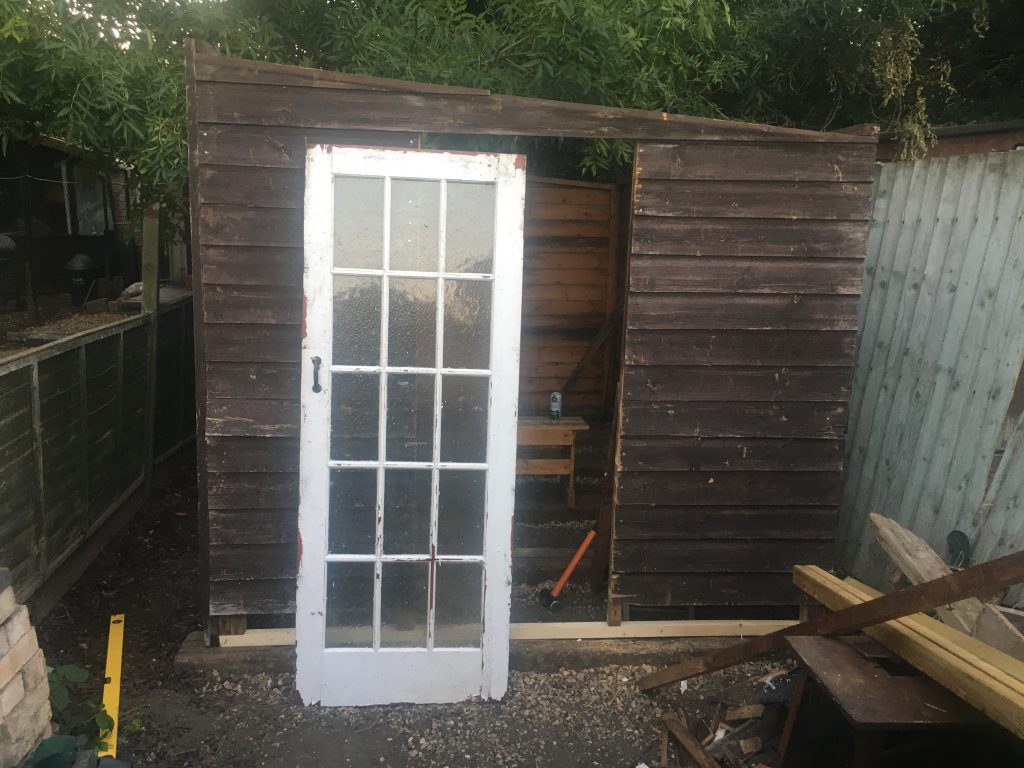
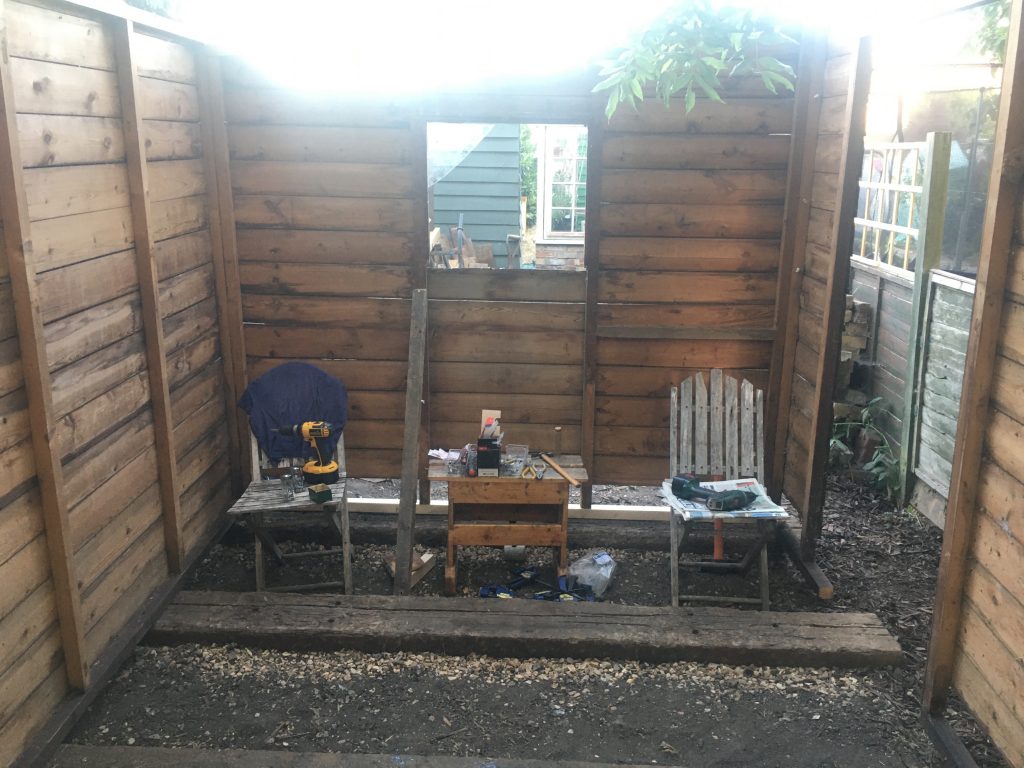
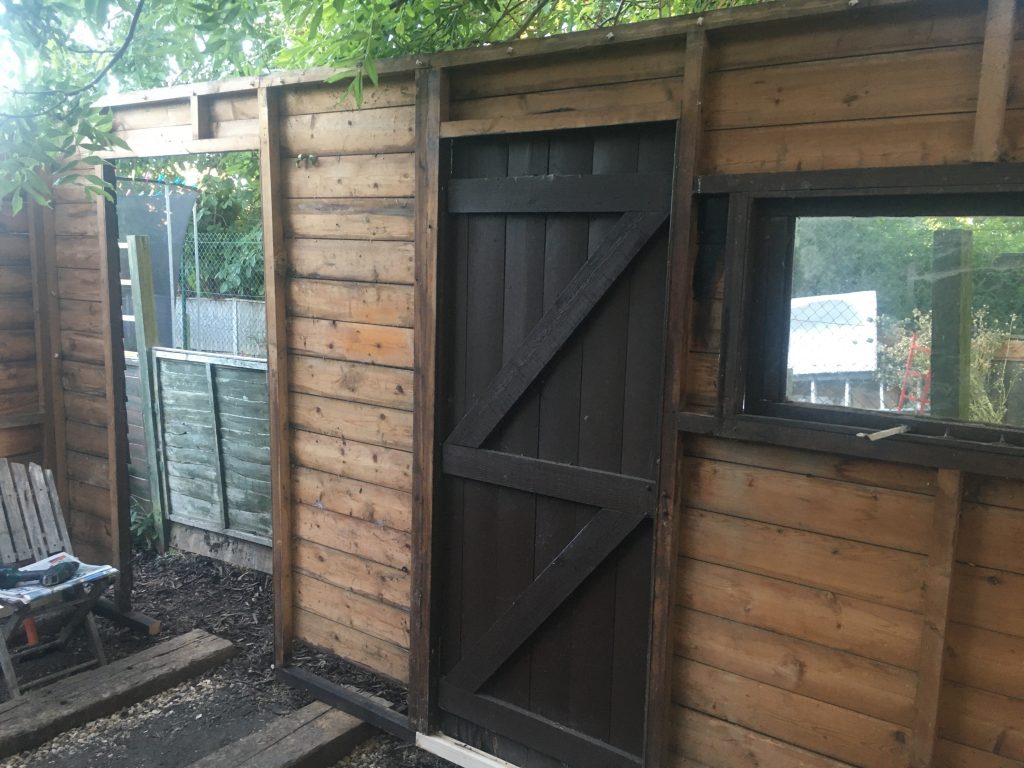
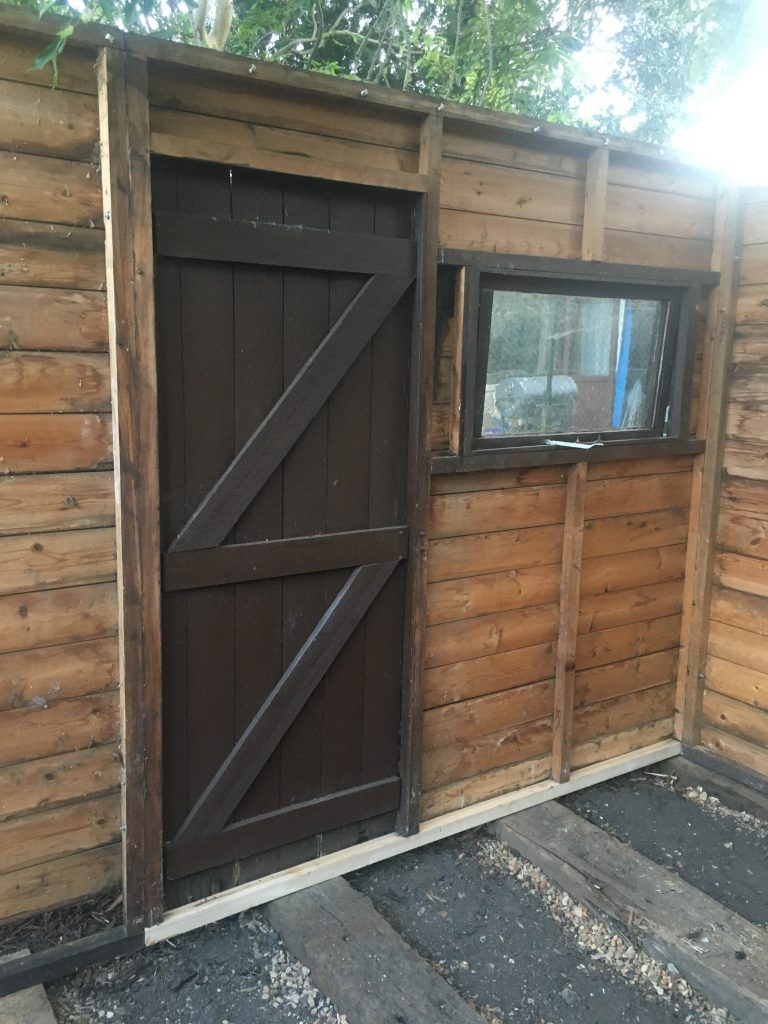
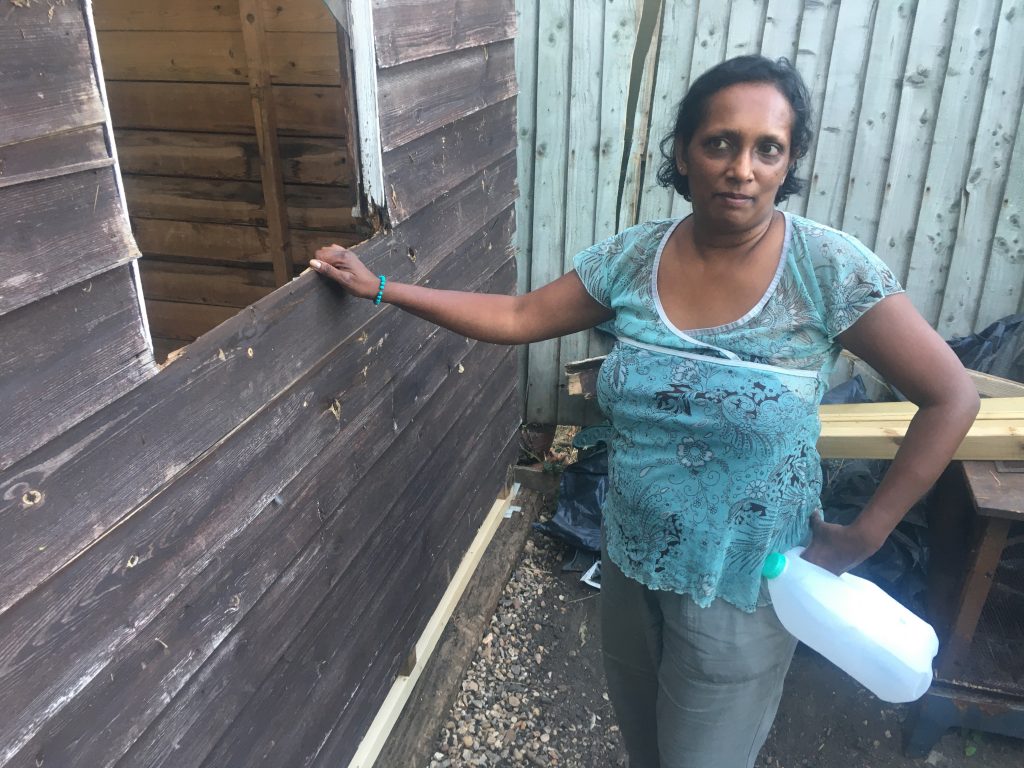
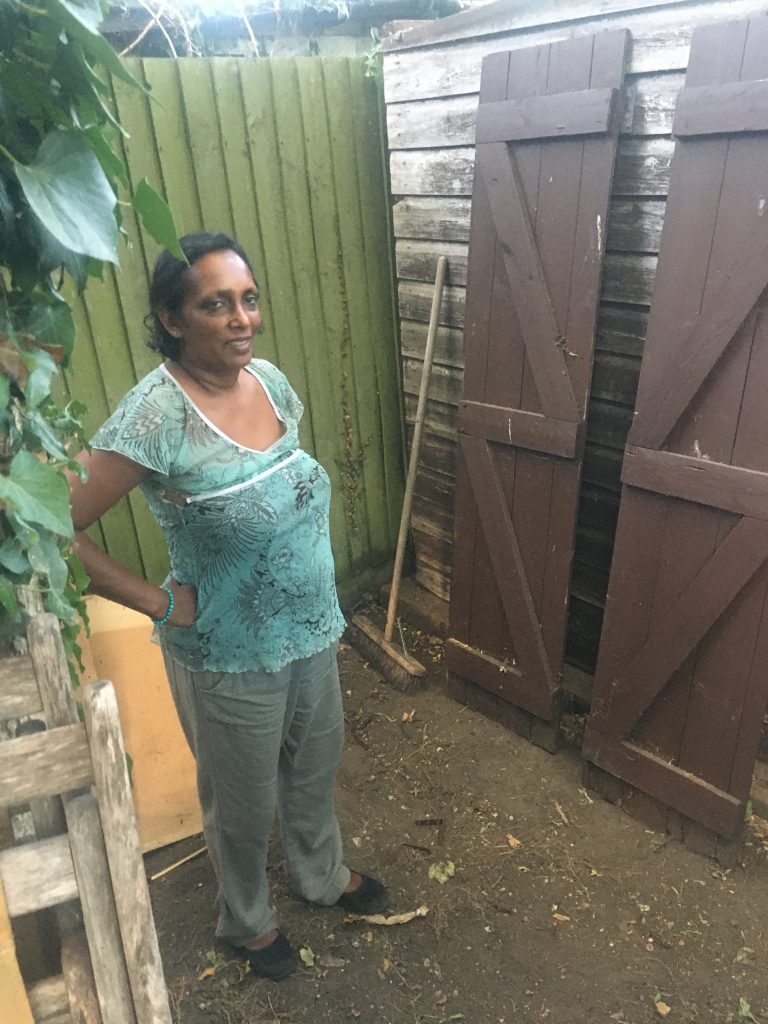
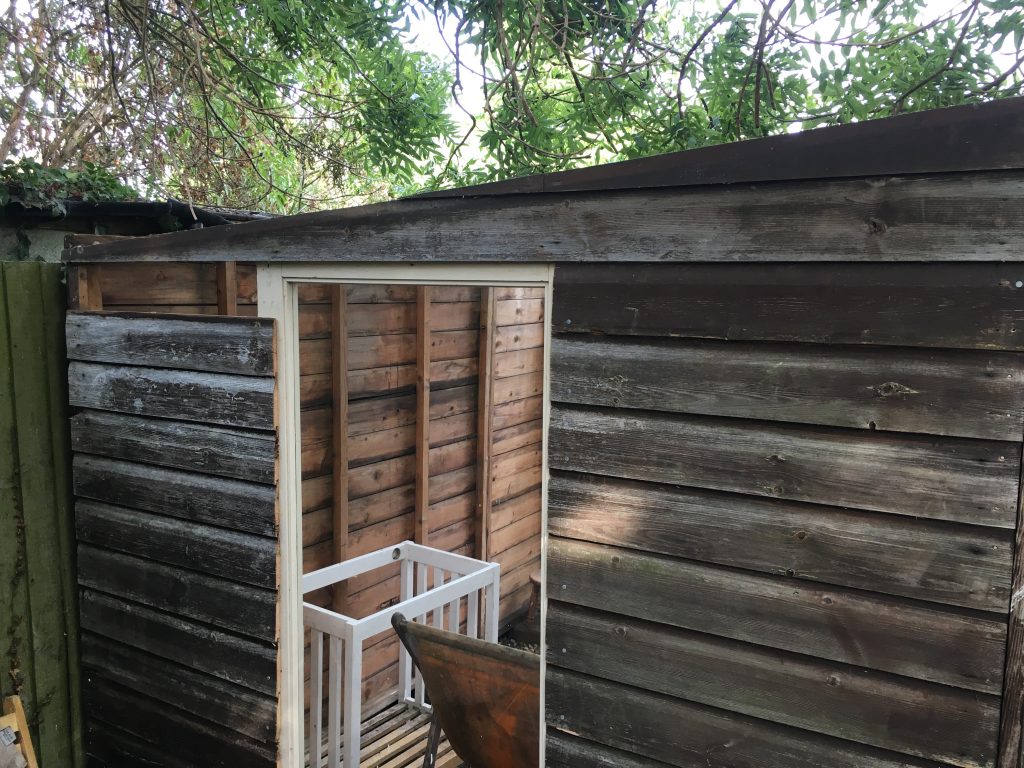
And all the original doors have been re-attached, alongside the path. Including both the double ‘barn style’ doors, pictured immediately below. And the larger single one, down another pic. The latter opens and shuts just as it ought to.

These aren’t closing as they should!

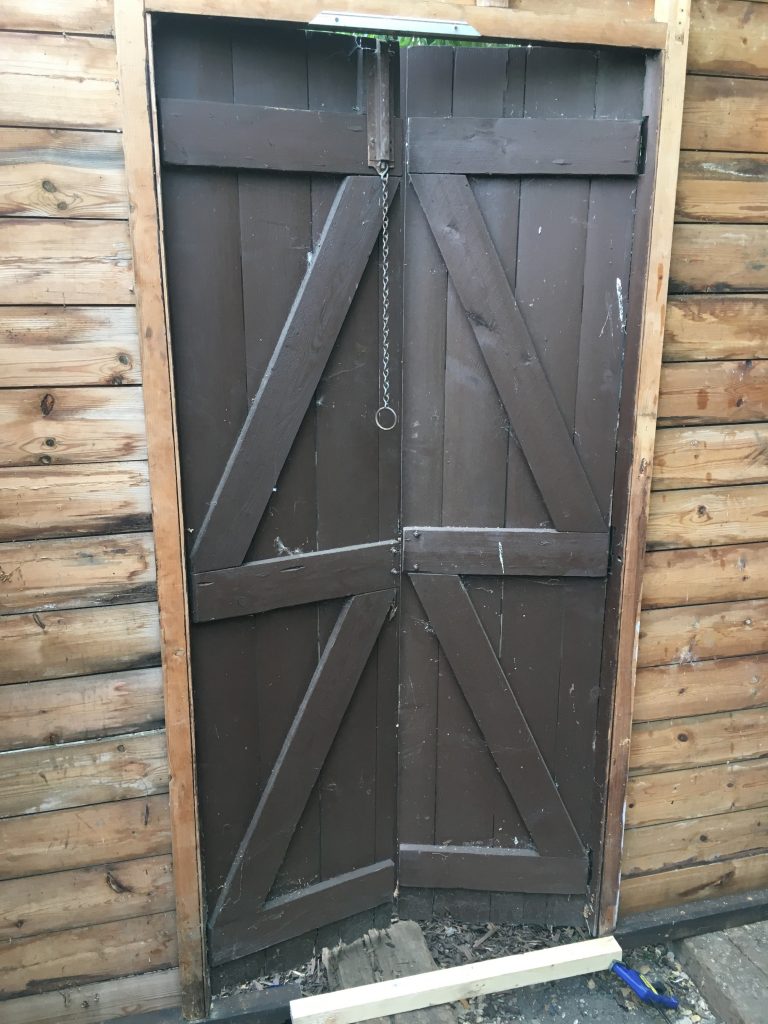
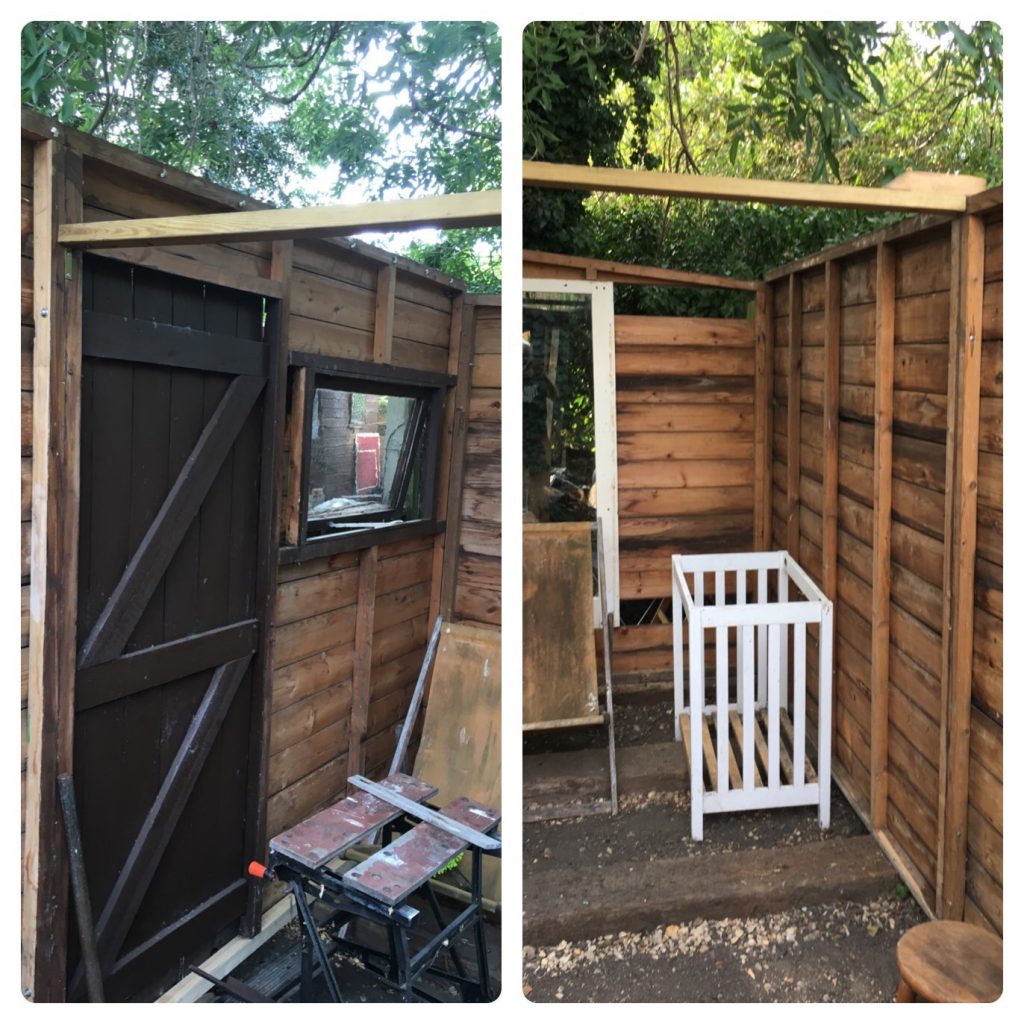
As well as the doors above not quite closing aright, you can perhaps also see that I’ve had to add a temporary lower framing member. This is another of the myriad small jobs that needs properly finishing, ASAP.

I’d like to make the additional piece tie in as strongly as possible. Esp’ as it not really supported. Hmmm!? What joints shall I use? We shall see…

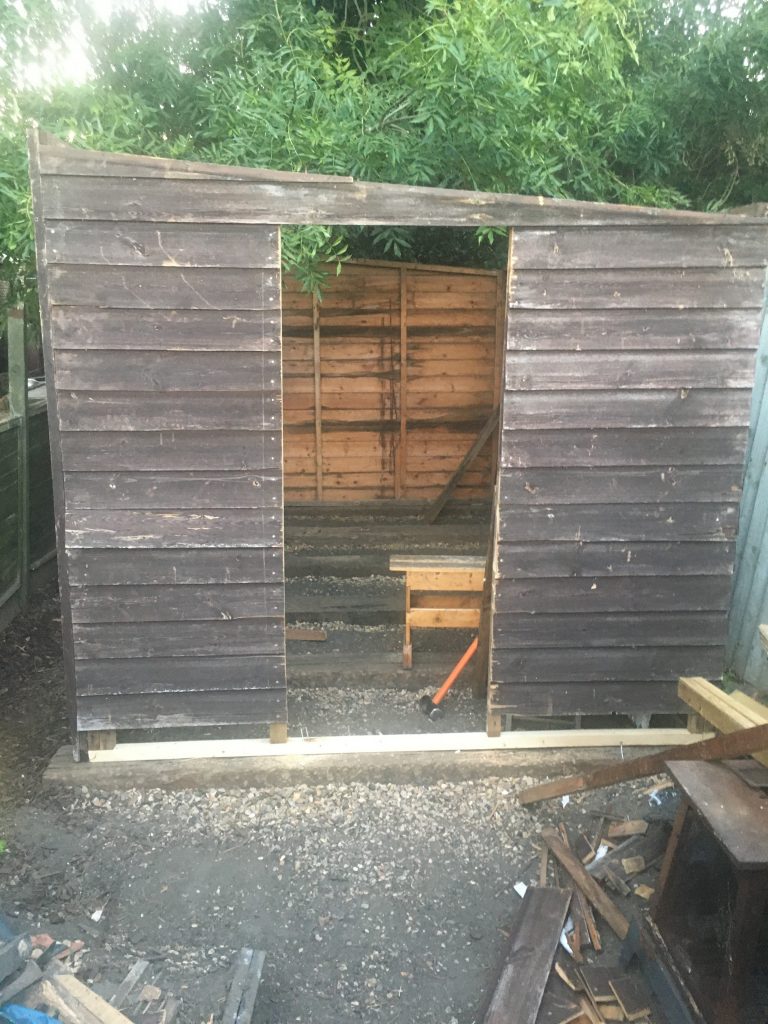
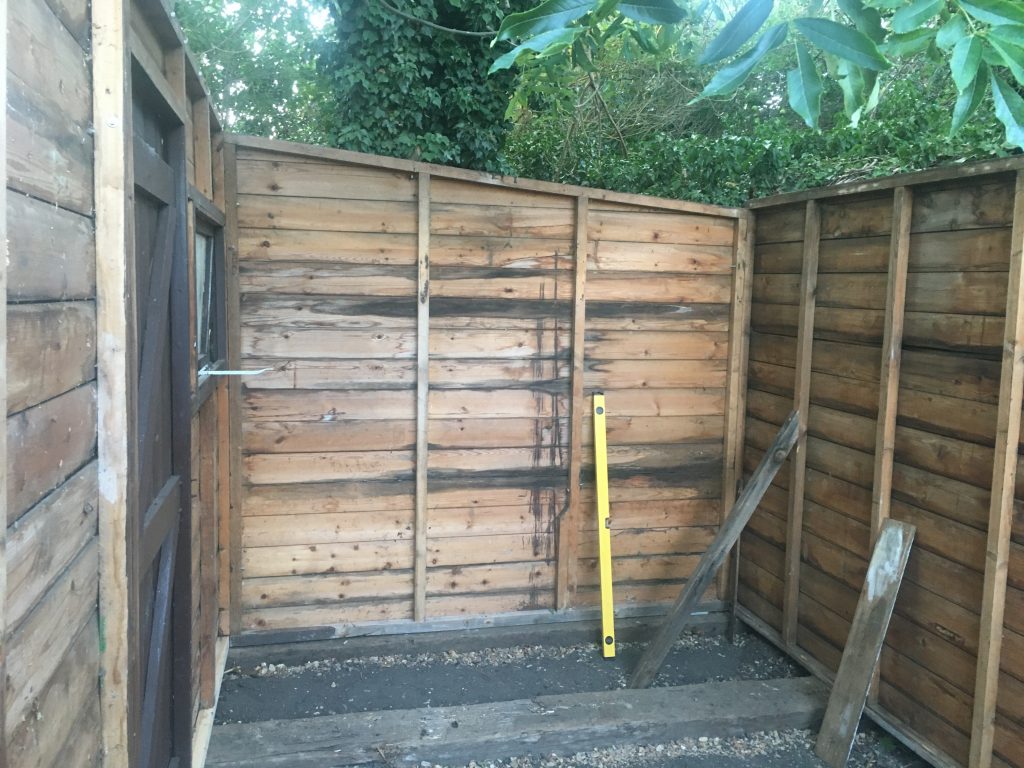
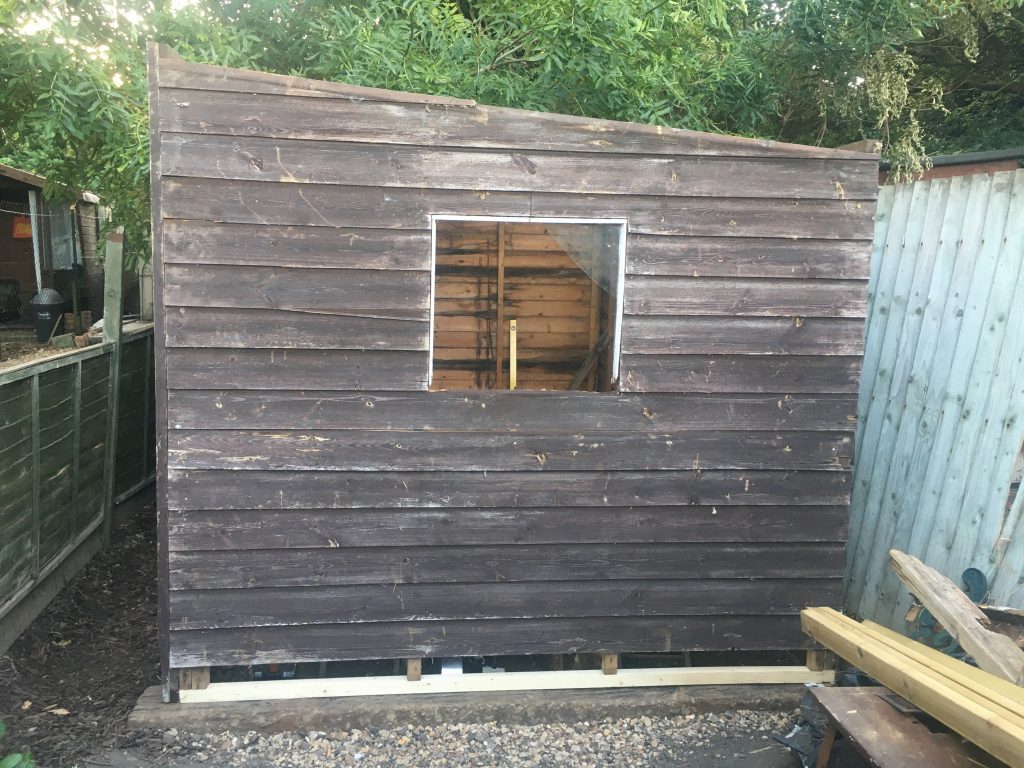
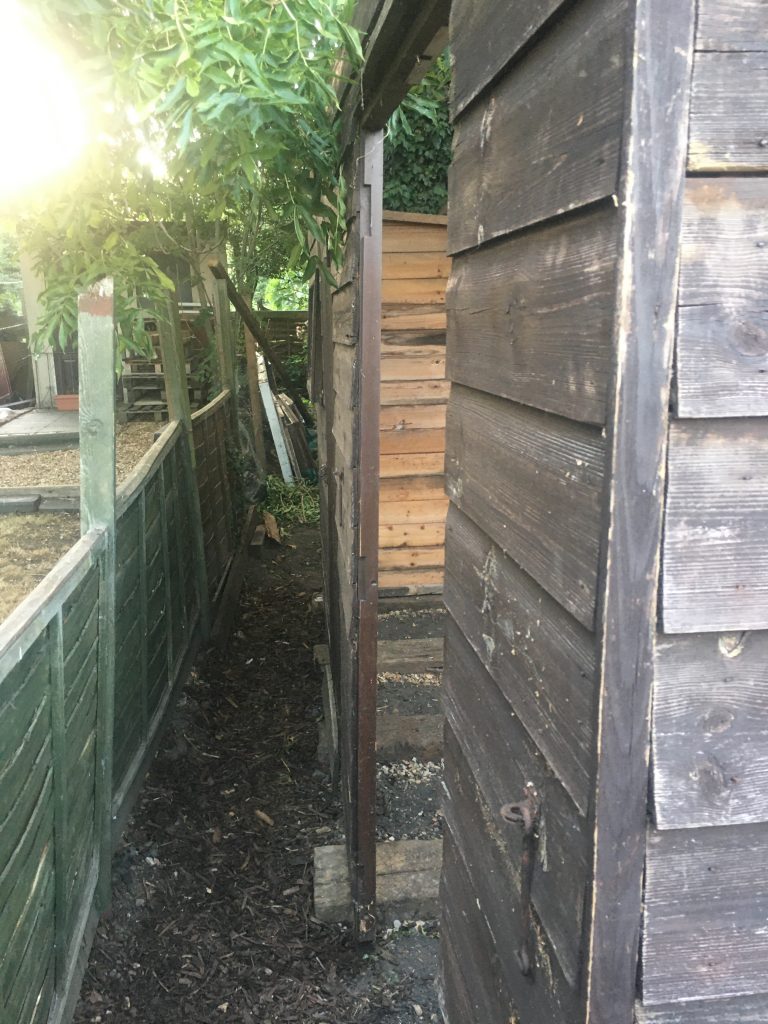
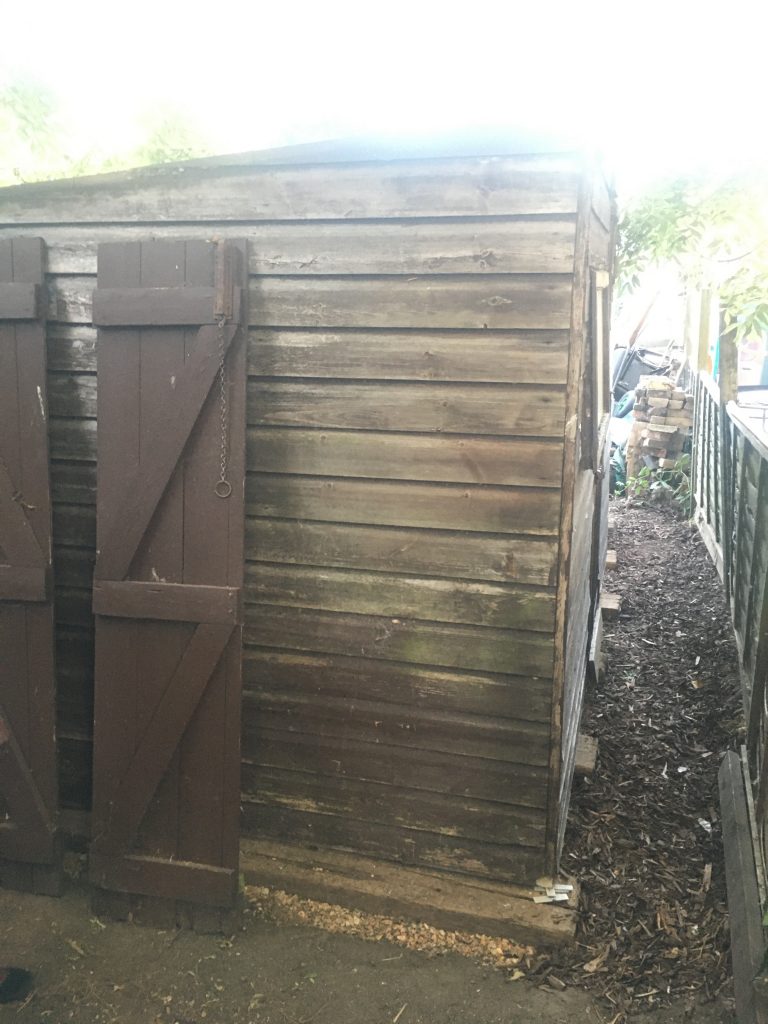
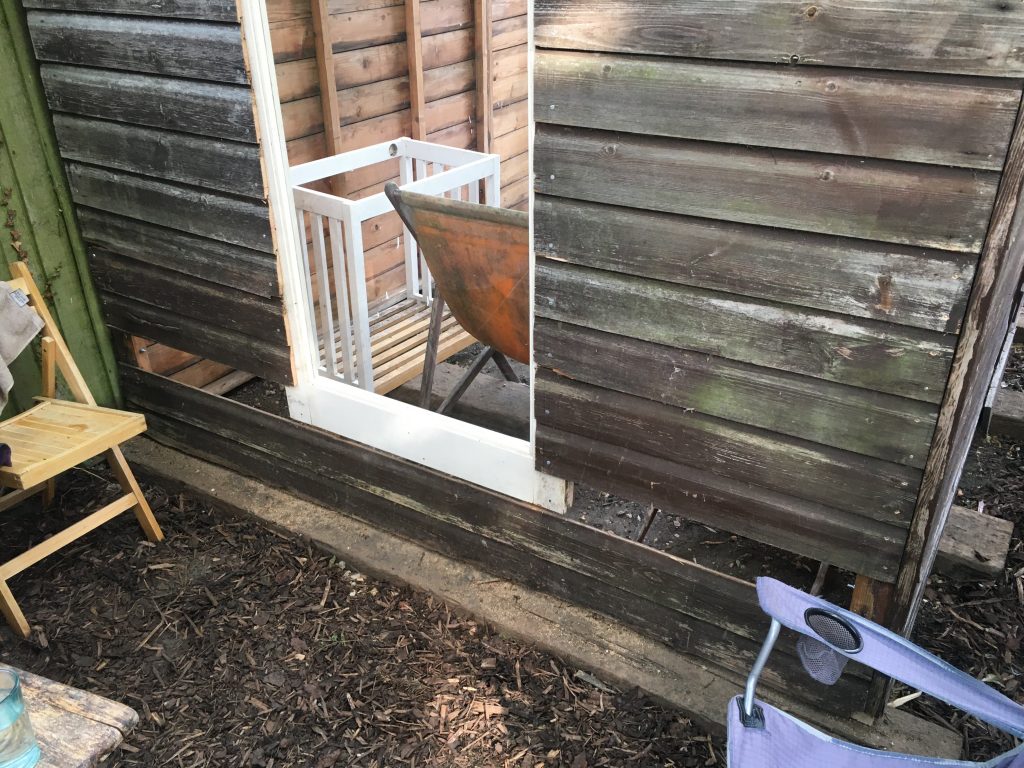
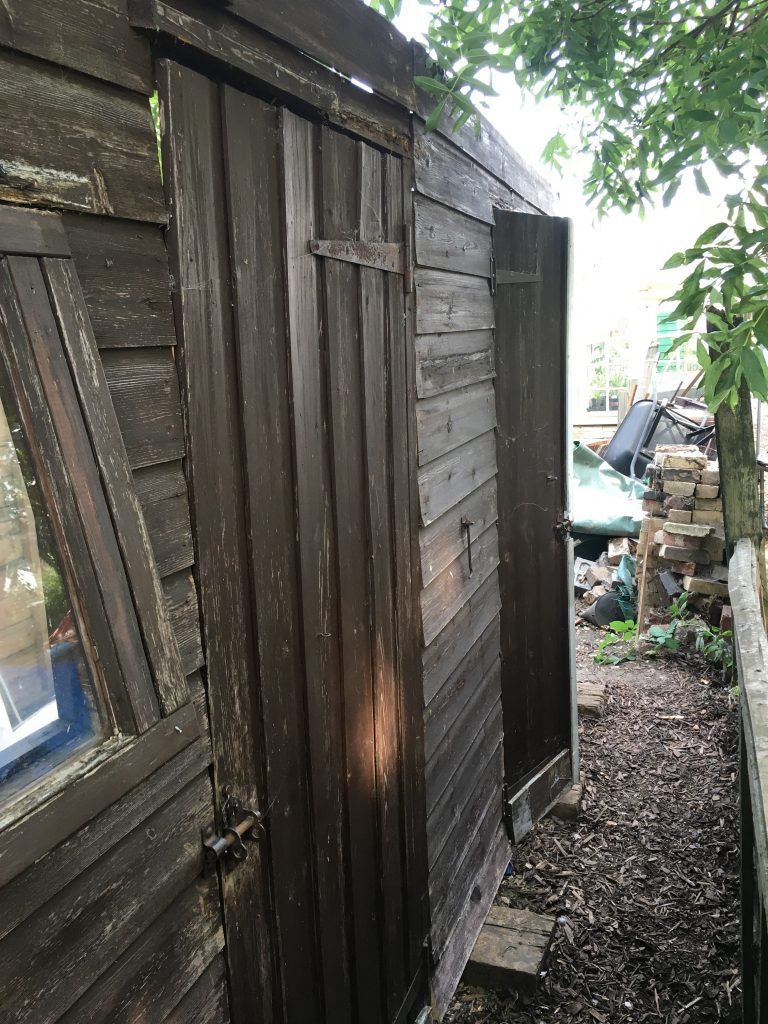
And below is a view from the pathway. Showing all the side doors back in situ. I’m tempted to remove the double doors altogether, as they’re not opening or closing quite as they should. And, what with the two larger doors – the new one in the front, and the other older one, closer to the camera in the above photo – they may very well be redundant anyway.

The two side passageway doors back in place.

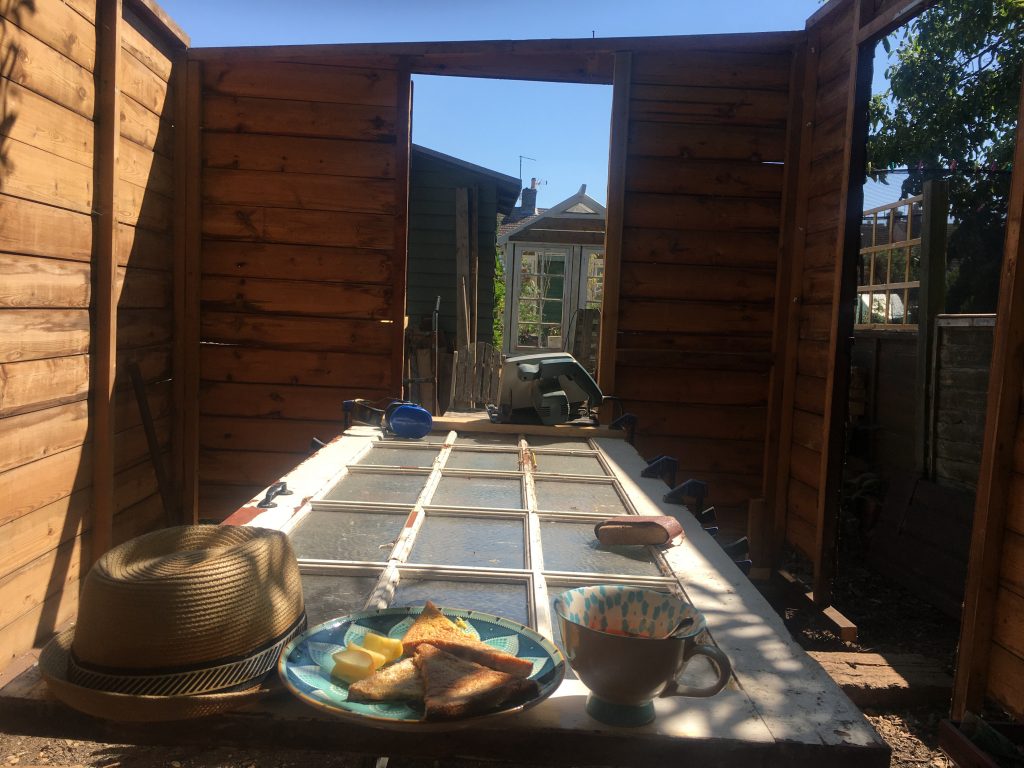
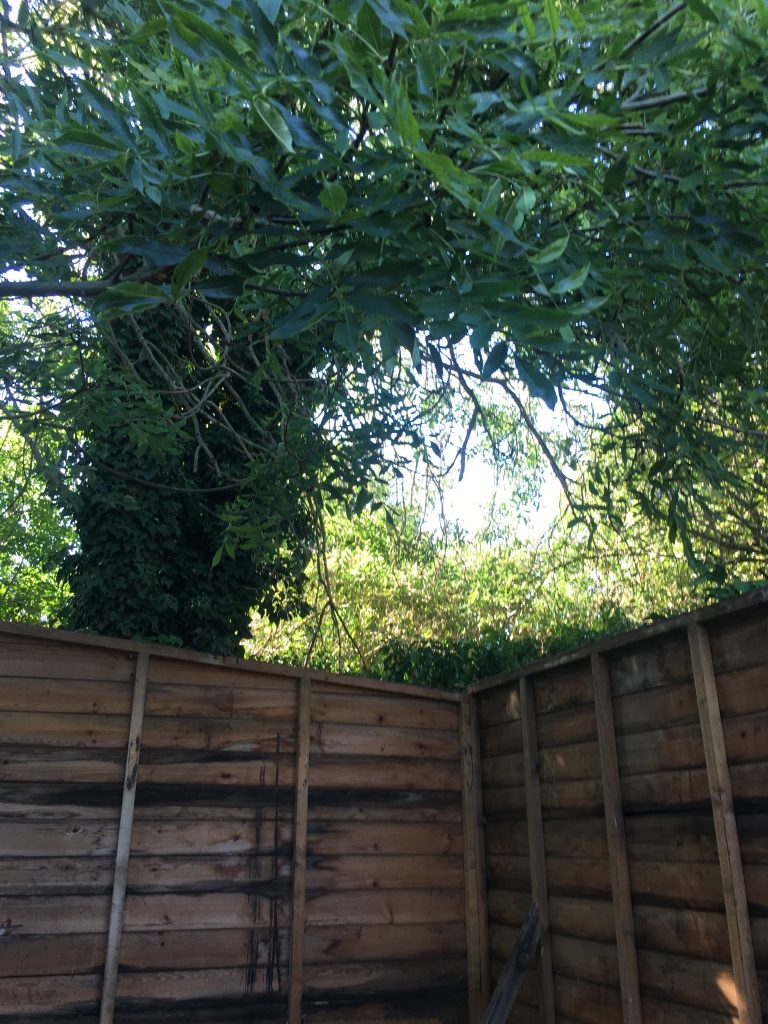
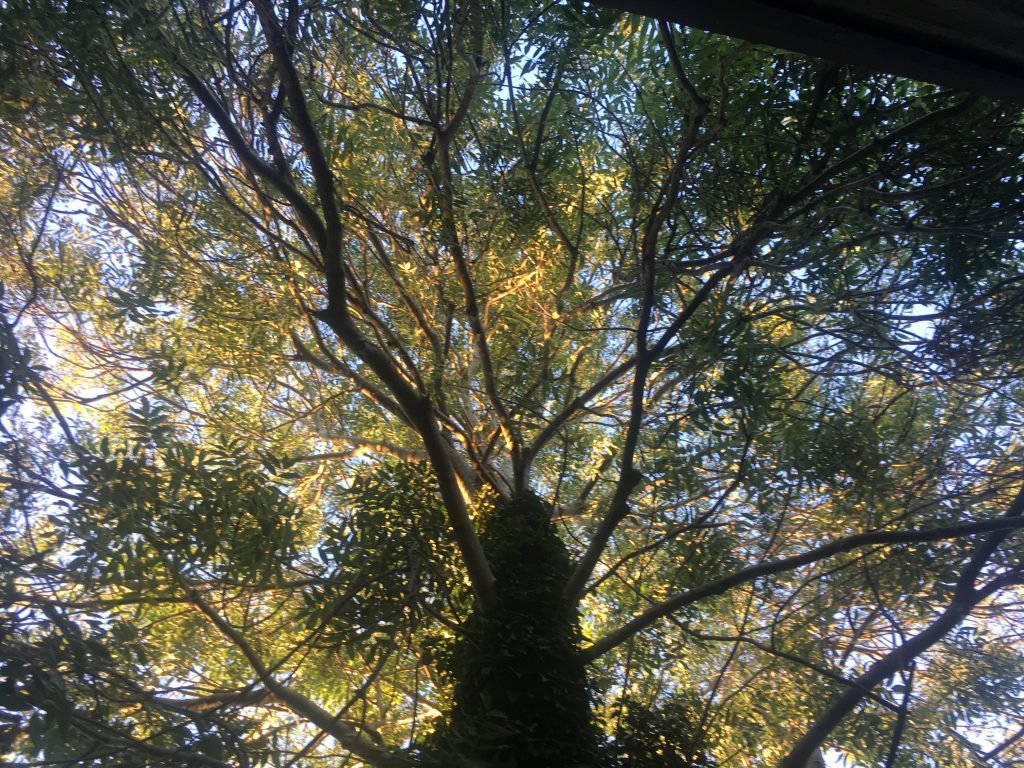
Teresa and I are currently spending lots of our time at home our in the garden. During this heat wave we’ve mostly sought out the shadier spots. And one of these is the area under the tree that’s now behind the latest shed.

When we’re both home we’ll have our meals outside as well. It’s really rather lovely! And we’ve now got a good deal of choices, as to where exactly in the garden we might want to be. It’s such fun!

Teresa, looking a bit ‘Wild Woman of Wonga’!

HOME/DiY:bShed Shenanigans – Installing a Door

Ta-dah! My best door yet.

Yesterday I started opening up what was formerly just a window, with a view (geddit!?) to introducing a door instead.

The ‘before’ state.

And then today I actually got the door cut down to size and installed. It was a funny old process. I managed to size the door on the first cut. Unusual for me! And I had a load of plastic shims that were massively helpful in doing a better fit/install than most of my previous efforts with ‘Dianas’.

Viewed from inside.

I really like the warm glow in the above picture. The evening sunlight coming through the tree, the leaves dappling the honey coloured light… ‘tis lovely!

Lunching, whilst working.

Backtracking a bit, above was today’s luncheon break. French toast, sliced apple, and cream o’tomato soup. Yum! The door became a temp’ table, in the manner of Alan Partridge’s ‘Apache Solutions’ pitch to Dante’s Fireplaces (what’s the burning issue!?). Like Alan, I didn’t have a hat hard-on…

So, recapitulating the process:

A new opening is cut out.

The new opening was wider than the original window. So I had to add a new vertical structural member. And I didn’t have the exact right timber, to match the rest of the framing.

The internal view: note new right hand beam.
Offering up the as yet un-trimmed door.

As you can see, in the above pic, the door was too tall. So I had to trim a few inches off the bottom. But luckily the bottom was oversized (ooh, matron!), so I could shave a bit off. And to finish, a side by side of before and after.

I’m very pleased with this change.

I’m chuffed with how this turned out. And I might also add windows at this end, poss’ even on both sides… Hmmm!?

Potential colour scheme?

And finally (again!), a potential colour scheme. On the left is ‘Wood Pigeon’, and on the right ‘Tell Me A Secret’. Both are Valspar, B&Q’s paint range. Which I really like. And I love the colour names. Silly, perhaps. But satisfying!

HOME/DiY: Shed!

Yesterday I got the two back panels of the shed roughly in situ’. I kind of wanted to go further. But I didn’t have the right fixtures (coach-bolts!). So I ordered some from Screwfix.

They arrived today. So it was on with the show… This shot shows how the tree at the back of the Arden overhangs this newest shed.

Note the little brace, on the left panel. I had a few others in different places, just holding stuff roughly in plane. I did all this assembly on my own. It was quite tricky!

All the panels needed the bottom framing element – at the furthest end, above – replacing, as the shed was pretty old, and the bottom was a bit rotten in places (very rotten in some!). I did all that before assembly, except for this final panel.

I moved a few bits inside the shed, so I could work on it internally.

Got the larger of the two side doors in place. I’m not sure about retaining the doors in the long side, as that doesn’t suit our long narrow garden too well. I’ll come back to this later!

The longer and lower side of the shed, running along Sean’s – our northern neighbour’s – fence.

Note how the panel on the left has five verticals, whilst the one on the right had just four. Evidence of this being a self-build project, perhaps, by whoever made this shed originally?

This panel, originally the left of the shed, is what’s now the back, facing the far end of our long garden. I’m thinking about putting a pretty large window in. So we can see to the back of the garden, enjoy evening sunlight, and see the big old tree that’s only feet away.

This larger opening has two smaller doors that go in it. Again, I’m thinking I might change the layout a bit, in the fullness of time. These two doors are the last major components of the shed walking ‘as is’ that remain to do. Then there’s the roof and floor!

One of the new timbers is very obvious in the above image. Also worthy of note is that the window in this photo survived transit and re-assembly unbroken. Whereas the other window – below – didn’t!

Note another supporting brace, in the above picture. This was the right end, but is now the front facing aspect of the shed, that you see as you come down the garden. As can be seen in the next pic’, below.

There’s another highly visible new bit of timber along the bottom of the above panel. Plus the lowest piece of timber cladding on this face was rotten, and fell off/to bits! That’ll need replacing.

The whole shed might want shifting, about three or four inches towards the fence. I’ll defola need help doing that! But in the meantime, there’s a bit of a gap here.

The neighbours fence is falling down in places along this part. Is there sufficient gap, I wonder, to allow for minor repairs and weatherproofing painting/treatment?

The strip of garden south of the shed, ‘twixt the shed and Ruben and Anne’s garden is pretty narrow! If I can shift the whole shed towards Sean’s, we’ll gain a bit more space here. Albeit only three or four inches!

Teresa arrived home whilst I was chatting to Chris and his partner, our relatively new neighbours, at no. 66. She was really impressed that I’d ‘got it up’ all by my own! Not that you can tell that from this pic’.

Looking into the shed interior as we go down to the rear/far end of the garden.

Teresa’s approbation of my efforts is more visible here, methinks. Also visible here are the two doors yet to be affixed to the larger side openibg.

Looking back towards the house. My what a tight passage we have! If we can shift the whole shed back a few inches, it’ll help ease our passage…

This is the view, sat in our deckchairs, behind the shed, looking up at the venerable aulde tree, around 7pm this evening. What a beauty, eh!?

So, sometimes it really does pay to be a scavenging hoarder! This old door, a Freecycle acquisition going back four or five years, perhaps, is going to be ideal – with some judicious trimming – as the new front door, probably roughly where I’ve leaned it in the above picture

HOME/DiY: New Shed Build (#4!) – Sleepers Arrived

Six ‘B Grade’ sleepers arrived this morning.

There was a very faint knock on our door at about 9am this morning. I’m amazed I heard it. As I was busy drilling holes in an upstairs wall, to mount a little shelf for a DVD player, ‘neath our bedroom TV.

DVD shelf brackets up; hardboard shelf is temp’!

On going downstairs I spied a young lad with a lorry, with a crane on’t back, and six rather knackered old looking sleepers on it. It is a shame they’re B grade, in all honesty, as they have ruddy great cracks in them, splintered areas and missing chunks.

Unloading the sleepers.

But we were given them, in exchange for my help with some manual labour. So really we’re lucky to have them at all! Thanks, Ken, for helping us out.

Nearly there.

Two other jobs this morning: the above mentioned little DVD-player shelf in our bedroom, and (re)fixing – I already repaired it once – another knackered old drawer from a set of freebie (Freecycle this time, and ages ago now) chest o’mc-drawers.

The drawer in its broken state.

This set of drawers was full of my clothes till yesterday, as were two others. Leaving Teresa with just one set of drawers, and yet more clothes than me! So now we’ll have two chests each, and I’ll have mended us a drawer each in one of them as well.

The drawer fixed, the glue ‘going off’.

The heat today is ridiculous. I did some of the drawer fixing work out in the back garden. And now I’m back indoors, buck naked and sweating profusely (I think at heart I’m a naturist!). I’m going to hop in the shower and freshen up, and have a brief rest.

Another view. Note missing bits of fancy trim!*

Or should I delay the shower until after moving the sleepers? The latter would require enlisting a strong burly neighbour. I wonder… is Sean in at no. 72?

* Yet another DIY project for yet another day!

HOME/DiY: The New/Old Shed Arrives!

The blue building is my current/old shed. The pile of stuff on the ground is the new one!

Yesterday old school friend Trevor very kindly helped me move Ken’s old shed from his new place on Norwood Road to our home. Cheers, Trev’!

It doesn’t look too impressive (pictured above). But then you can’t actually see it, as it’s all under the roofing materials. The wooden crap on top is only there to stop stuff blowing away!

Ken, on a recent visit.

Thanks also to Ken, for the shed itself, and for very patiently storing it in his garden for a good long while! And also to Ruben, our neighbour, who helped us unload when he saw us shifting the panels.

Moving the ‘new’ shed highlighted the dodgy wiring to the current shed, which is overhead, and got in the way a bit! And access to the garden via the communal back passage-way (snigger) was always going to be hard work.

Next up I need to do the concrete base. And then it’ll be time to start restoring and re-assembling the shed itself.

Trevor, on his smallholding, just outside March.

Anyway, we’ve been very lucky. A free shed, and a free move of said shed. That’s really something. And Teresa and I are very grateful. We were also lucky with the weather. Amidst frequent rain showers, some very heavy, we enjoyed a sunny spell for the actual move. The heavens just opening as we finished. Result!

I wish I’d got some photos of the process of actually picking up and moving the shed. I should’ve had Teresa ride shotgun, with some form of camera, recording the happy event! But the activity of doing it all was quite demanding, and chased all thought of documenting it from my mind.

The garden, looking very ‘green and pleasant land’-ish.

The weather has been very changeable, and drowsily muggy, of late. When it’s not cloudy and raining, it’s warm and sunny. And the two states have been alternating rapidly. Just now we got back from a little lunch break in the sunshine, and boom, the rains cameth down.