For quite a long time now the soft-top roof on my MX5 has not closed very well. It’s apparently a common issue. There’s a rubber or plastic ‘nipple’ (!?) that wears away, allowing the latch to become floppy and loose.
I recently replaced this part, on both sides, with a new pair. Can’t recall who I ordered them from (I ought to find out; I think they’re Jass parts via BOFIracing?). But I’m pretty miffed that one of them – the dodgy one on my side – failed almost instantly.
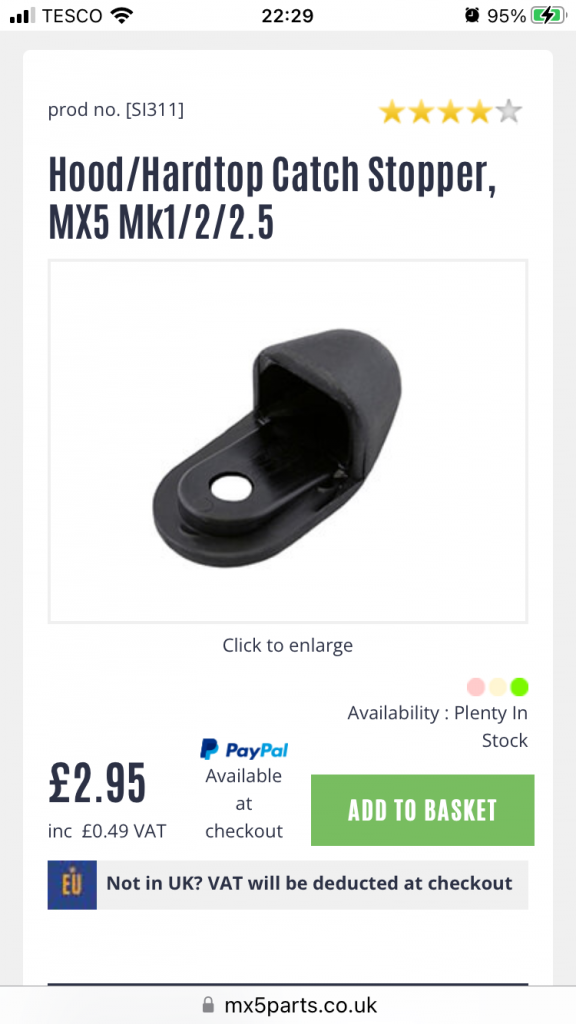
I’ve subsequently ordered yet another one, this time as I got an individual one, not a pair. Wound up costing nearly a tenner, for a £1.95 part! Really annoying. But even more annoying. It doesn’t bleedin’ fit!
My ‘only option’, at least via MX5parts.co.uk.
I’ve contacted Autolink, who I got the more recent one from, to let them know (via email). Not had a reply as yet. I’ve also contacted MX5parts.co.uk, and they say there’s no longer a choice of two parts, but just the one:
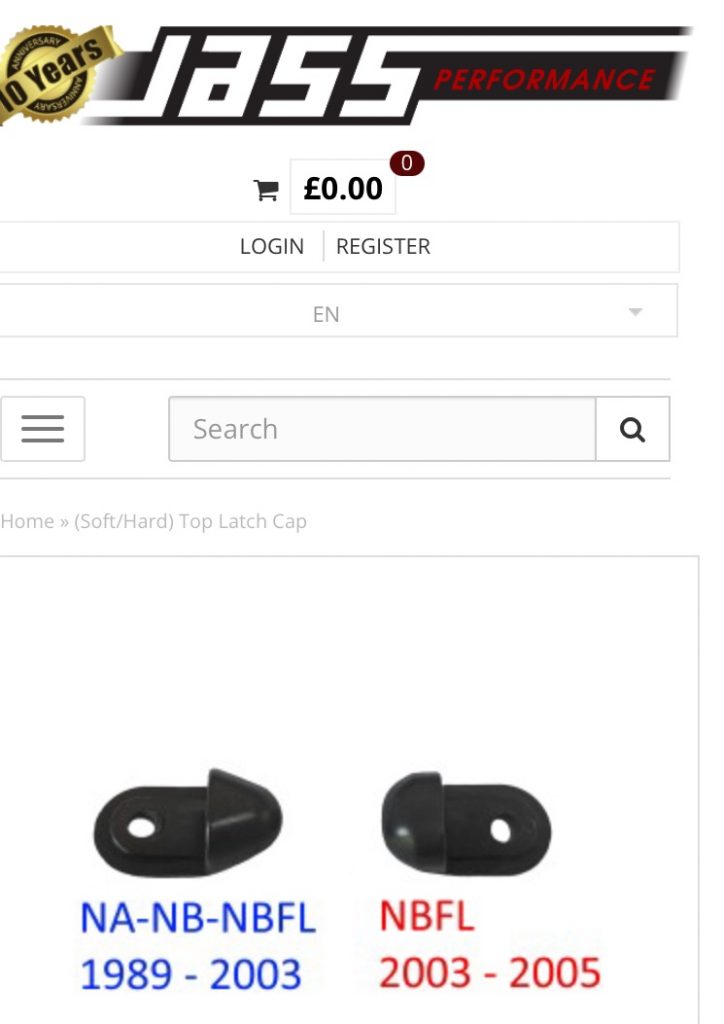
I know that there used to be, and via some channels – e.g. Autolink – there still are, two different parts that have formerly been sold, that do this job. One is curved, the other is more ‘pointy’ (but still a bit curved).
These are the two types.
So, what do I do? Keep buying these little bits? I can’t actually afford any expenses right now. Even a tiny trickle such as this has become. Or do I modify the metal part of the latch; file it down and make the latch fit?
I might be forced to go the latter route, for purely economic reasons.
Since fixing the cam-belt the car’s been running pretty well. But it’s felt a bit syrupy, or even porridge-y recently. It’s hard to get across exactly how one knows or feels this. Things just feel a bit sluggish. There’s also quite a bit of engine vibration when one starts and moves off.
I’ve heard this can be either timing related or due to misfires. Hopefully if it’s either it’s the latter, as I’ve gone to great pains to get the timing properly aligned!
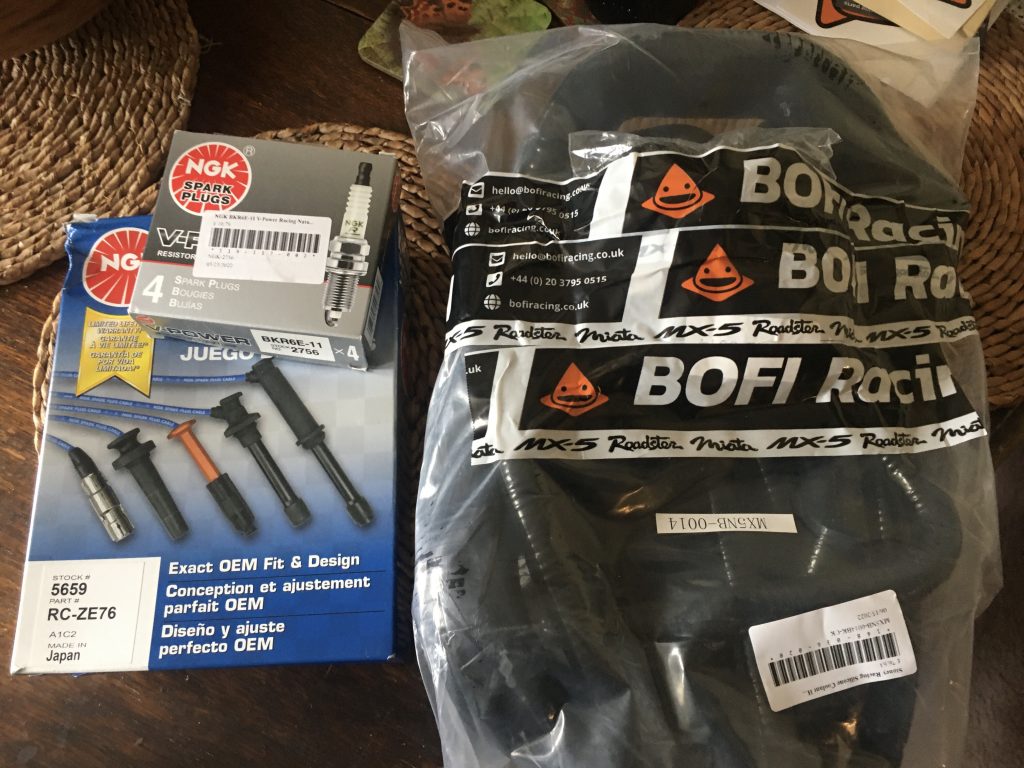
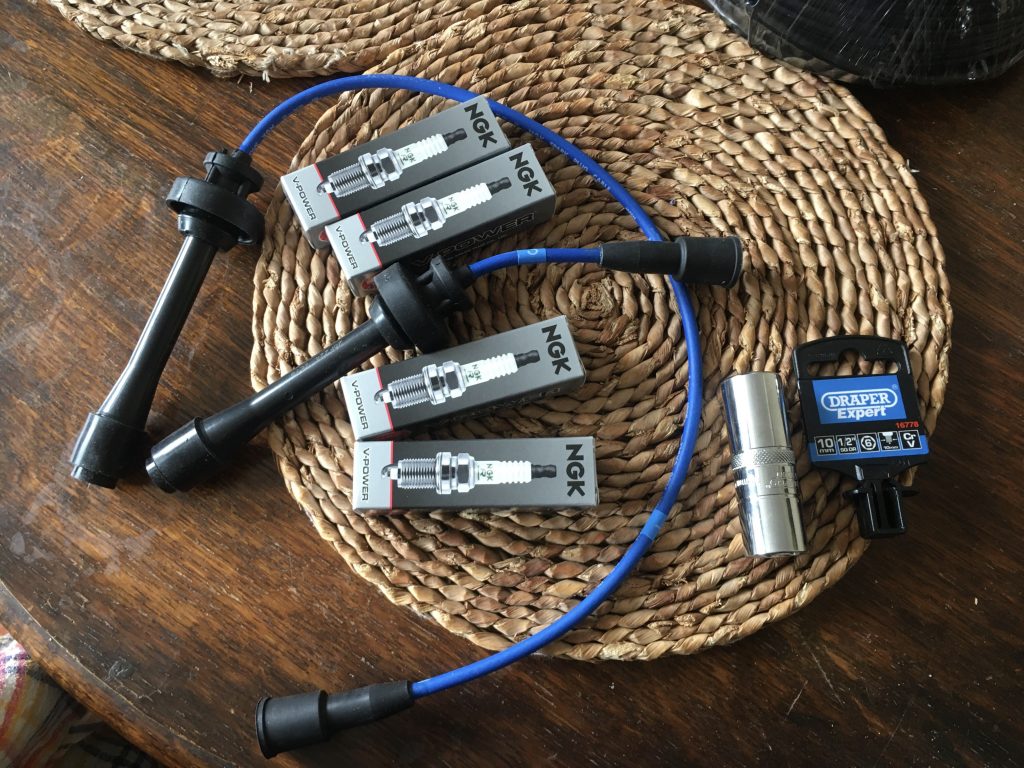
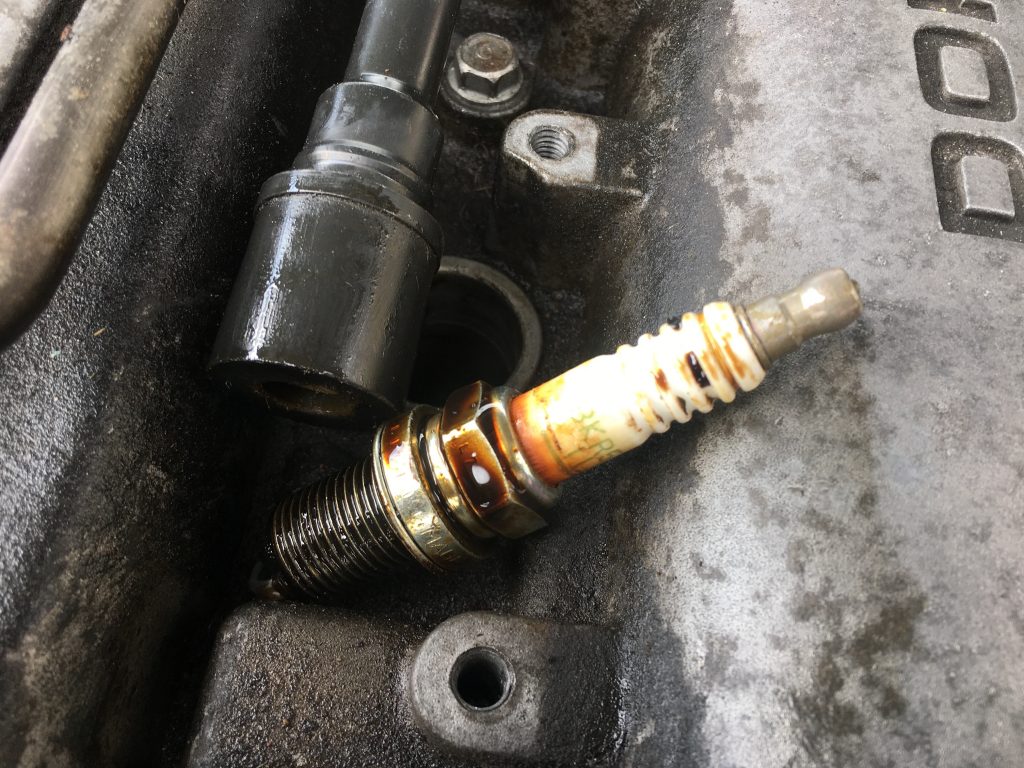
VVT spark-plugs, wires and spark-plug socket.
Rather disappointingly the VVT spark plug wire set is just two leads. In a normal engine it’s all four. This is because there are two ‘coil-on’ plugs or packs, which are rather complex, and, apparently, not available commercially. At least not easily, commonly or cheaply. Bummer!
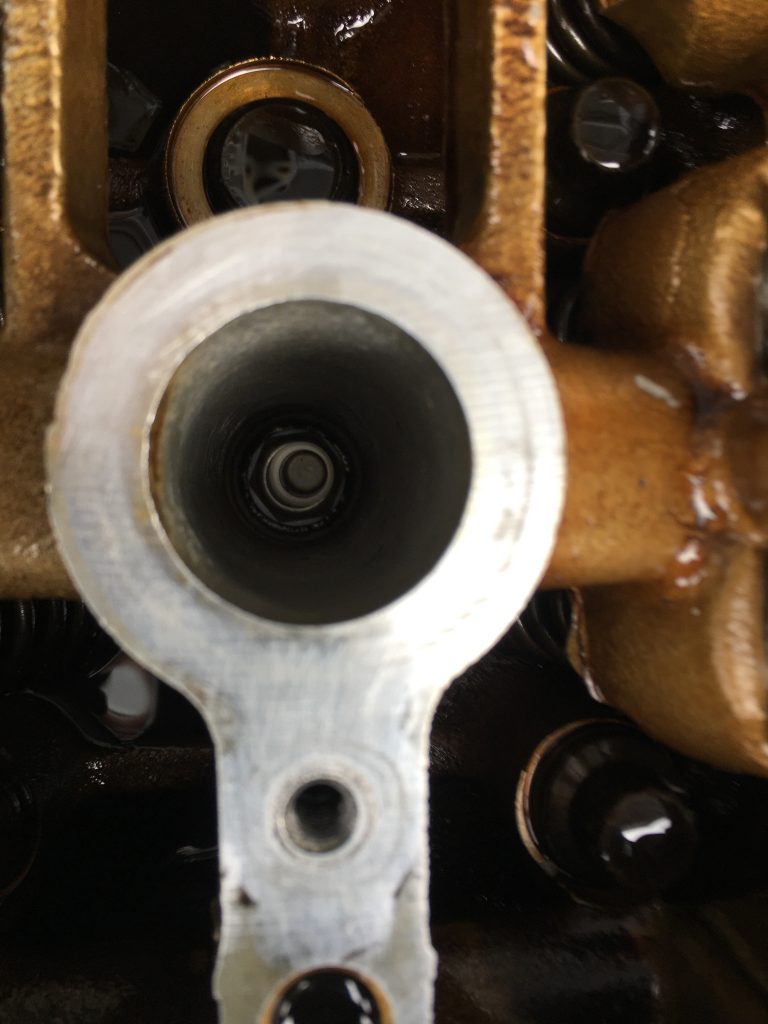
Uh-oh! Oil in the second spark plug chamber.
When I did all the cam-belt work I didn’t take the plugs out. I thought about it. But I was busy enough with everything else. I kind of wish I had now! Why? Because I found that there was oil inside the second from front plug well. It would be interesting to know if this problem predated my work, or was a result of it.
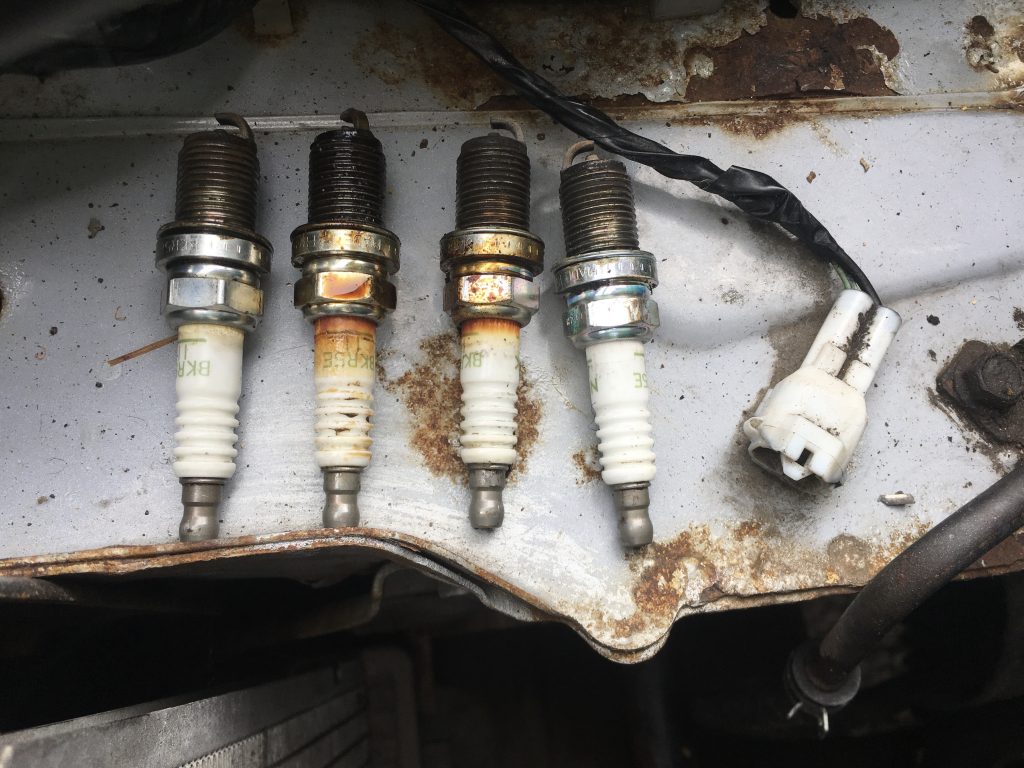
The old plugs. Second from left is the oily one!
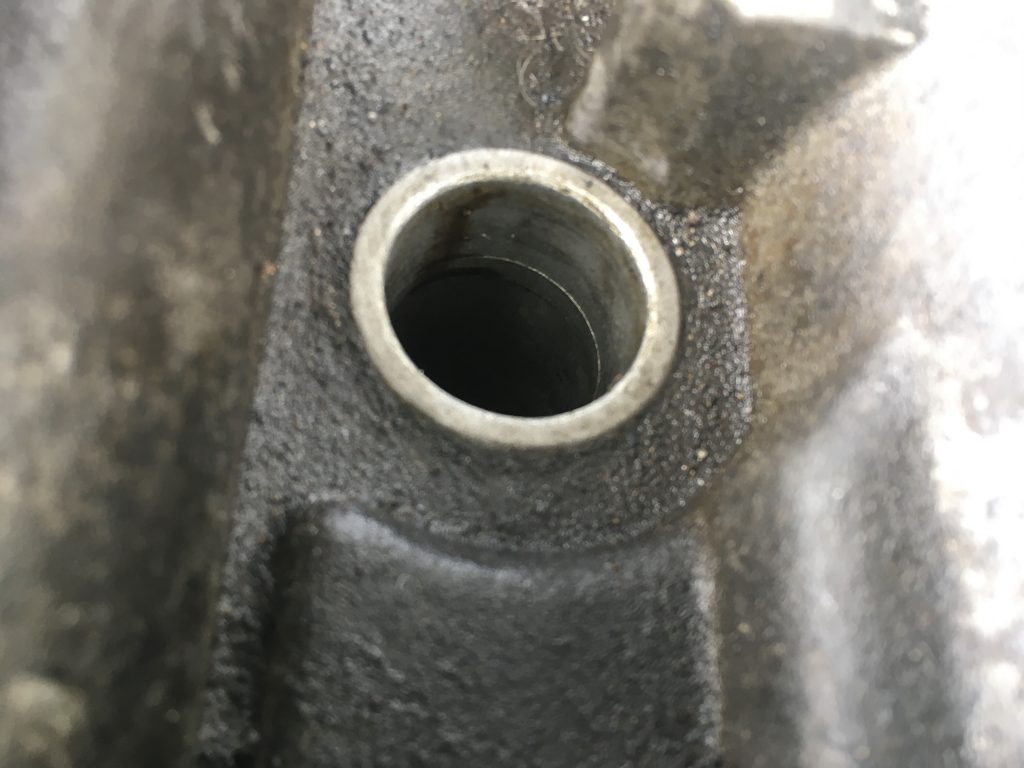
I had the cam-cover off several times during the cam-belt and cam-cover gasket changes. According to several YT videos I’ve watched on the ‘oil in your spark-plugs’ topic, the most likely cause is a faulty gasket on the plug’ole.
Now mine is a new gasket. But has the on and off business damaged it? I guess I’ll have to check again after this job is done. But in the meantime, once the old plugs were all out (see above pics), I had the cam-cover off yet again, to really clean it.
This is the oily one.
I took numerous pics of all the spark-plug holes, both before and after, for my own reference. But I’m only putting up one or two of those images, not all eight plus of them!
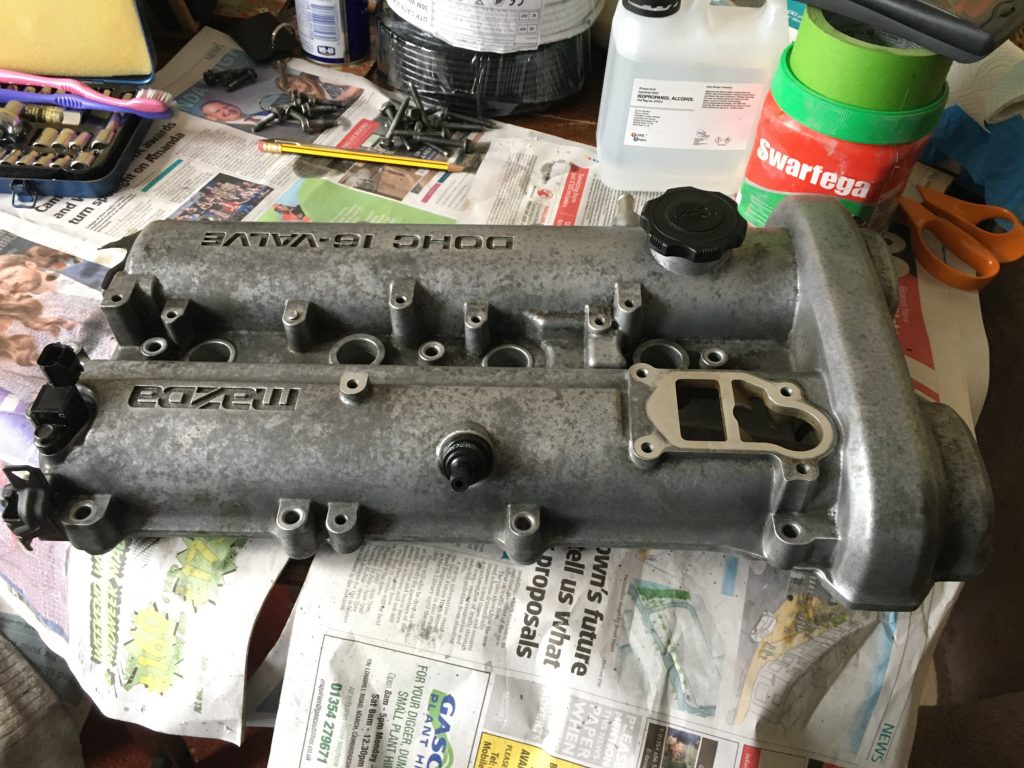
The cleaning of the cam-cover was the most time consuming part of this day’s work. And it’s only really a cosmetic thing, if I’m honest. I should’ve done this the first time I had this part off. And actually I did, just not so thoroughly.
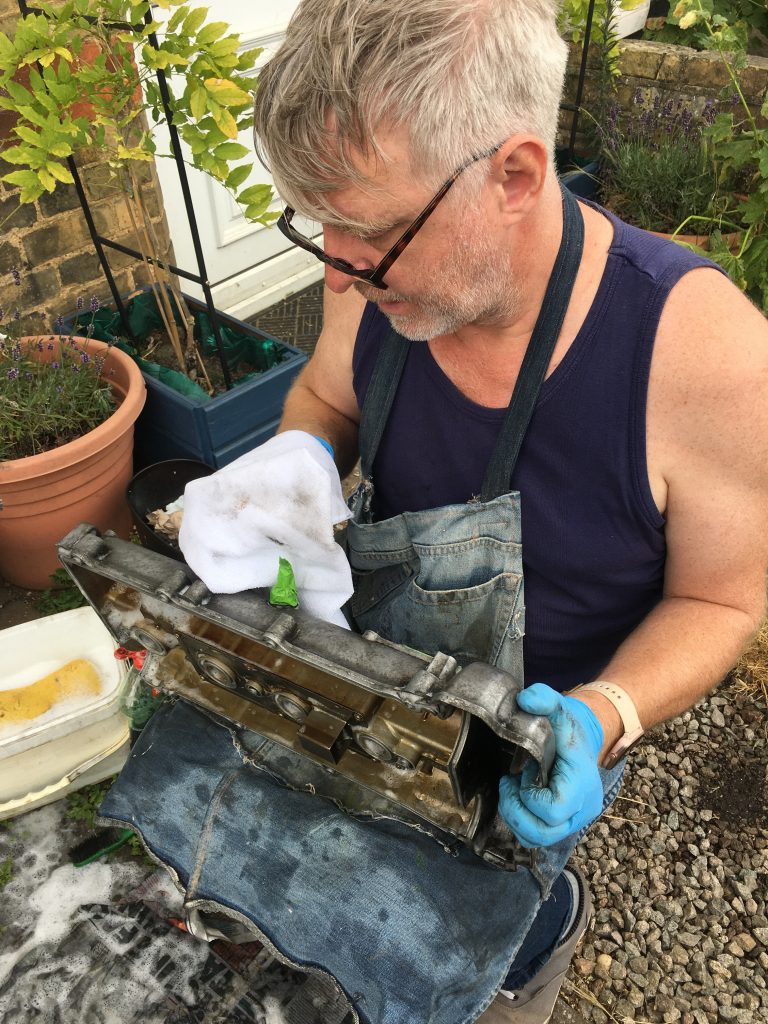
Cleaning the cam-cover.
This time I spent a couple of hours, repeatedly washing the top, with a little washing up liquid in warm water. Then I scrubbed it, again repeatedly, using Swarfega, getting into all the nooks and crannies as best I can. I used wire brushes, wire wool, and plastic toothbrushes, both large and small, going over it all multiple times.
I then rinsed it all off in warm soapy water, and dried it using lint-free cloths. After that I went over the entire thing several times using wire rotary tools in a hand-drill. Then it all had a dry-clean with the lint-free towels. And to finish off, a thorough rub down with isopropyl alcohol, to clean up.
I had to remove or mask certain bits.
This whole cleaning period took ages! And during doing it my iPhone battery died. So I didn’t get any photos of the masking I did, nor the removal of sundry bolt-on bits, nor even much of the cleaning itself. Thanks Teresa for capturing me at work in my home-made denim apron!
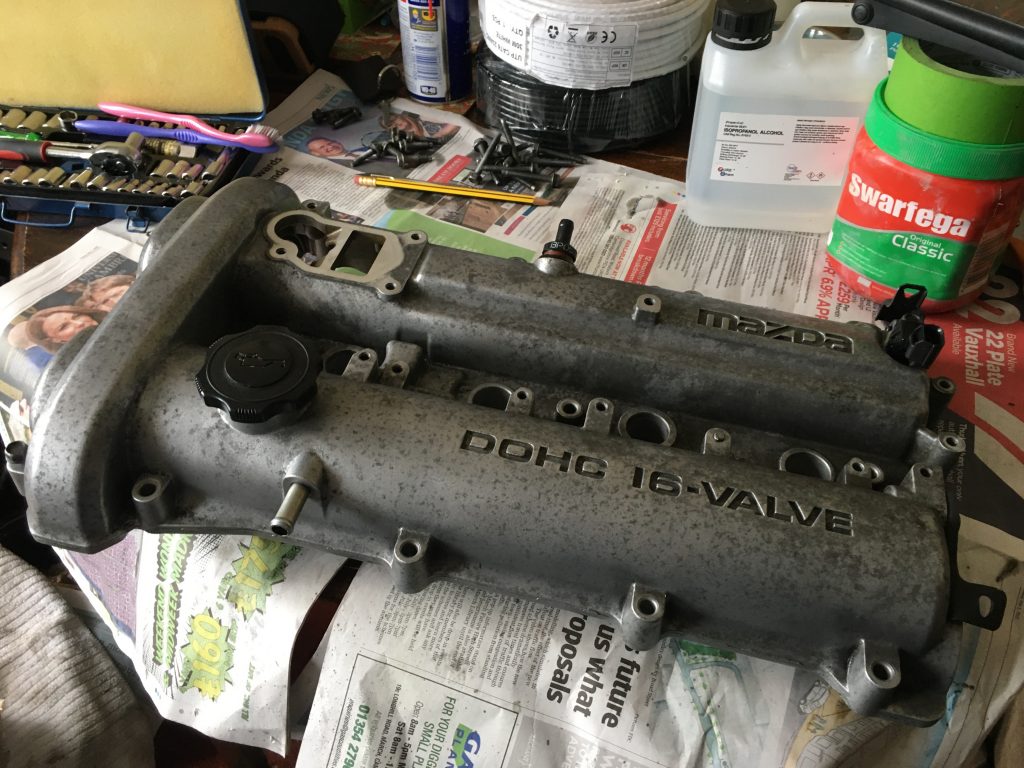
Whilst the cam-cover is certainly much improved, it’s nothing like as clean or shiny as I’d really have liked. There’s still a residual ‘rash’ effect. And the embossed lettering was hell to try and clean out.
This and the above are the ‘after’ pics.
With the cam-cover cleaned, mostly top, but also bottom, and the gasket cleaned and re-installed, I put the four new spark-plugs in (see pic immediate below). It was at this point that one of my major frustrations with this day’s work came to a head.
Throughout the work I struggled to find all sorts of things I needed, from my car keys to the socket set I prefer to use (I have several!). And then – and this was the real cherry on top – part way through the work, I appear to have lost or mislaid a crucial socket-set adapter.
New plugs in.
This means I can’t torque the bolts down to specific settings, but have to guess, and do it all by feel. Not very satisfactory for a newbie grease-monkey like me. The room that leaves for anxiety over cock-ups is grand-canyon-esque!
So I had to ‘button everything up’ in an approximate manner. And at this juncture it’s worth noting that, if one’s learns from mistakes, I ought to be learning plenty! Here are a few I made during this particular session of maintenance:
I took all the VVT bolts out before loosening – or make that trying to loosen – the 40NM torqued banjo bolt. This led to the bending of a ‘hard line’ hose. I’ve tried to bend it back, but it’s still misshapen. This makes re-fitting the whole VVT arm harder. Doh!
I couldn’t find the ‘loosening’ sequence – tightening yes, loosening no – for the cam-cover bolts, so had to guess (based on reversing the tightening sequence… ‘ish).
When I did the sequence I got to the ‘end’, only to realise I’d somehow skipped one bolt, leaving that one tighter throughout, with the danger of deformation or even cracking of the cover. A visual inspection seems to indicate I’ve gotten away with it this time.
During cleaning myriad little things occurred: using tissues that leave debris everywhere; getting cleaning stuff meant for top only underneath; snagging the rotary wire brushes on the towel on which the cam-cover was sat, sending it flying (another visual inspection promotes a relieved sense that I probably got away with this).
Constantly mislaying stuff, from car-keys to tools. I need to tidy, streamline and get properly and thoroughly organised… in advance!
I’m sure there was more… but I forget!
I sincerely hope I do actually learn from this litany of errors! Some of these are already repeat mistakes, shoddy organisation being my most repeated ‘sin’!
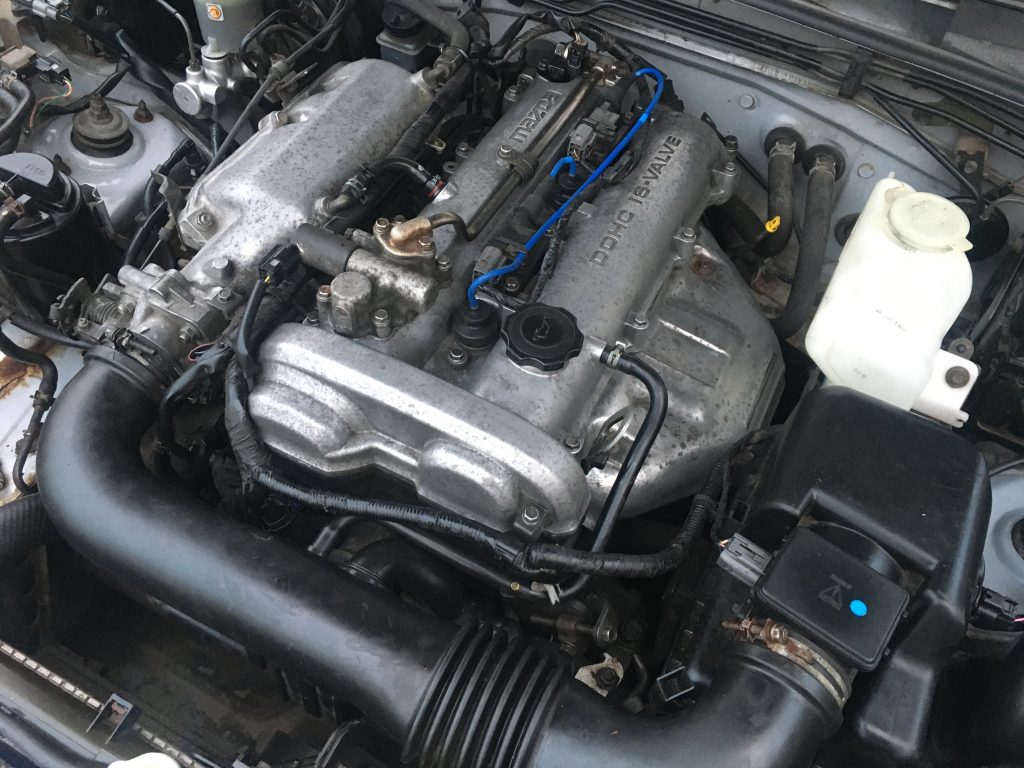
All back together. Looks nice!
And at day’s end, when I took the car for a test-drive? After all that work it felt exactly the same. Grrr!!! Has oil gotten into that spark plug chamber again? Do I already need another cam-cover gasket, having had this one on and off repeatedly?
Two other new parts – a thermostat gasket and a little plastic doodad that’s supposed to fix floppy roof latches – both failed more or less immediately. So perhaps the new cam-cover gasket has as well?
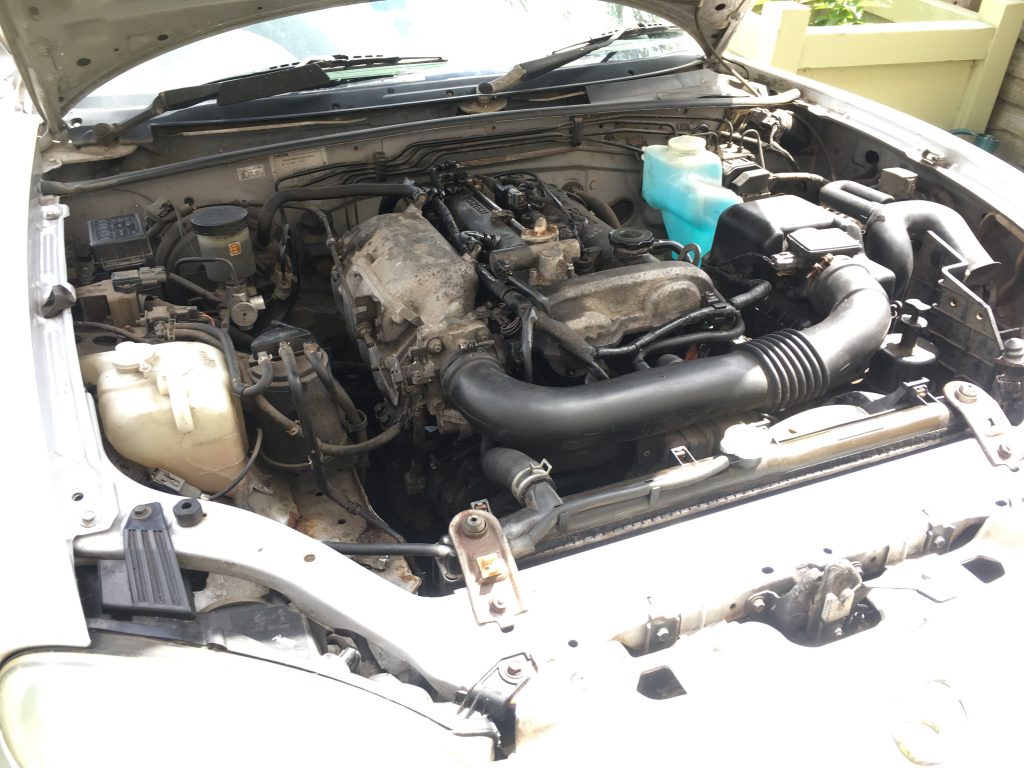
At least the engine bay looks a bit nicer! But what good is that if she still runs iffily? Guess I need to check to see if oil’s still getting into the second spark-plug well. But without the torque adapter I’m not keen to be taking stuff apart again right away.
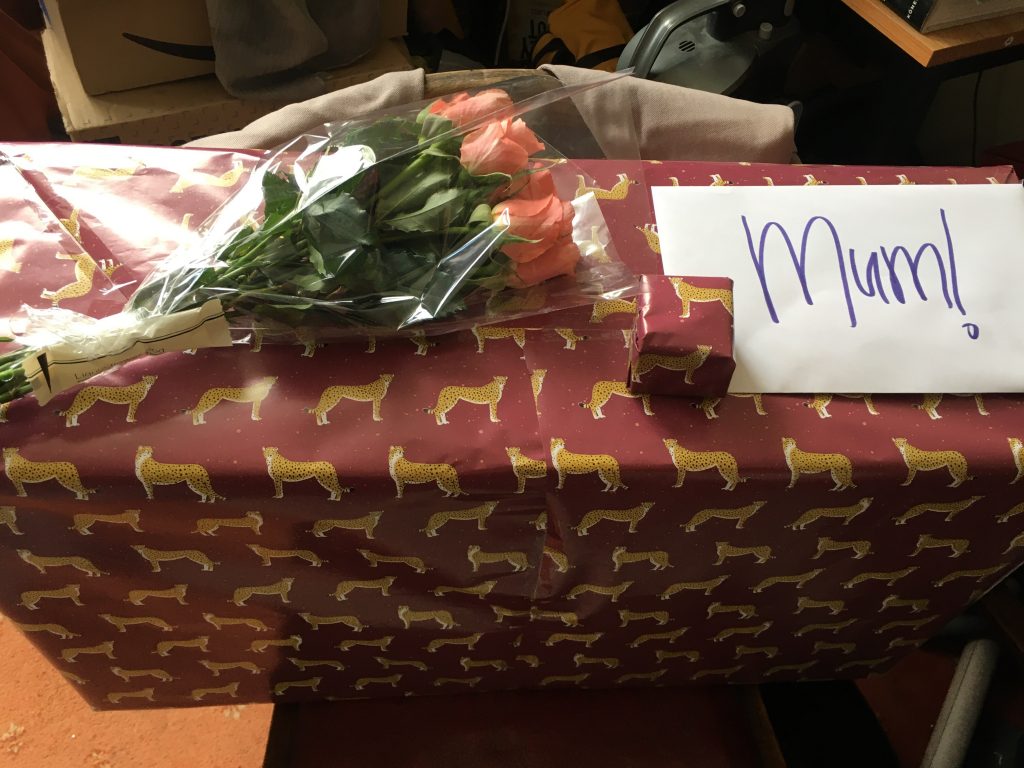
Birthday stuff for mum.
Plus we’re due to go out today to meet my mum for slightly belated birthday tea and cakes at Anglesey Abbey. So no further fiddling about under the hood! I just hope we don’t have a repeat of the original ‘on the road to Anglesey’ debacle, which required an expensive AA tow home!
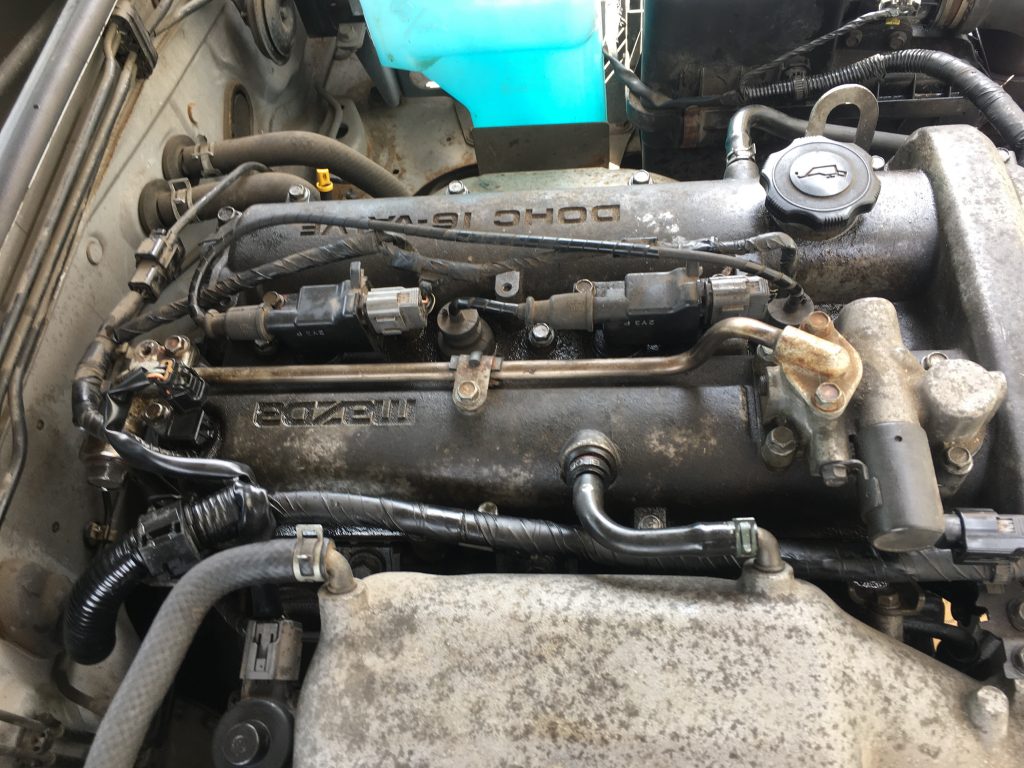
Spark-plugs reminder photo.Working in dazzling sunshine.Note that banjo bolt (rear of VVT) leaketh not!Later in’t day, torch now required.Happy grease monkey; engine starts!
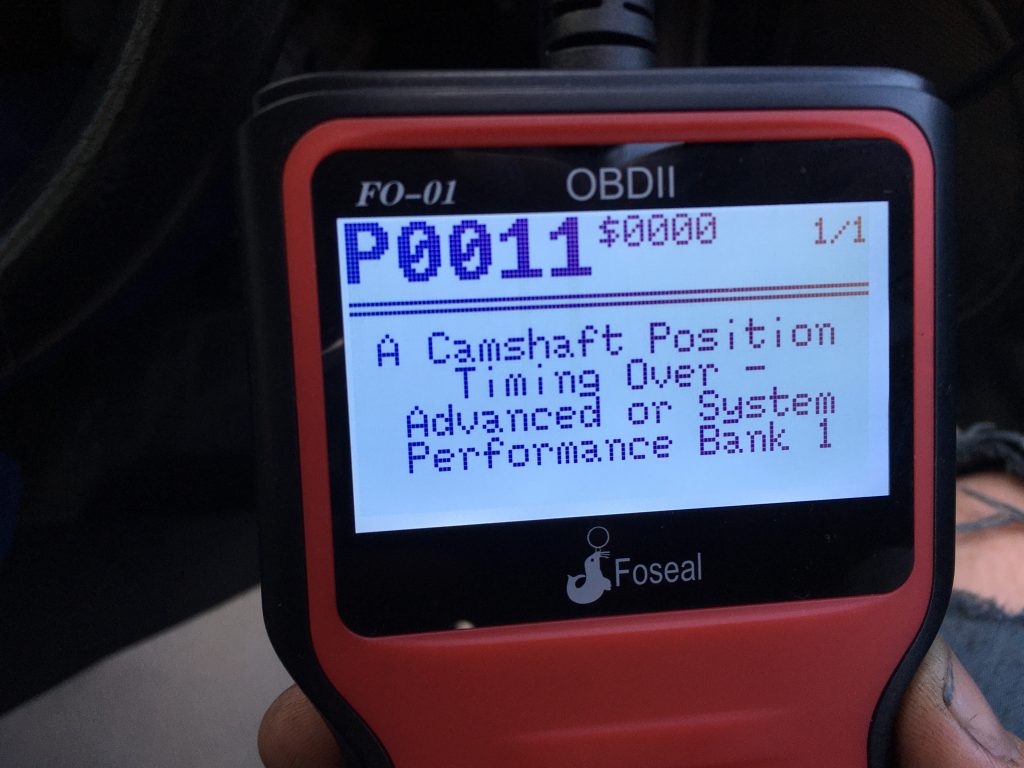
And lo, it came to pass, that ye olde engine was fix-ed! Hence the happy mien, and Churchillian two finger salute above. The image below is just a reminder of an earlier – and at this point gratifyingly absent – OBD fault diagnosis.
Adopts Inspector Clouseau voice ‘Yes, I know that, you fool!’
But at this point I still have a major coolant leak.
Today I hardly took any photos of the work I did. Most remiss of me! Maybe it was because today was mainly re-assembly? But frankly I really should’ve taken lots of pics!
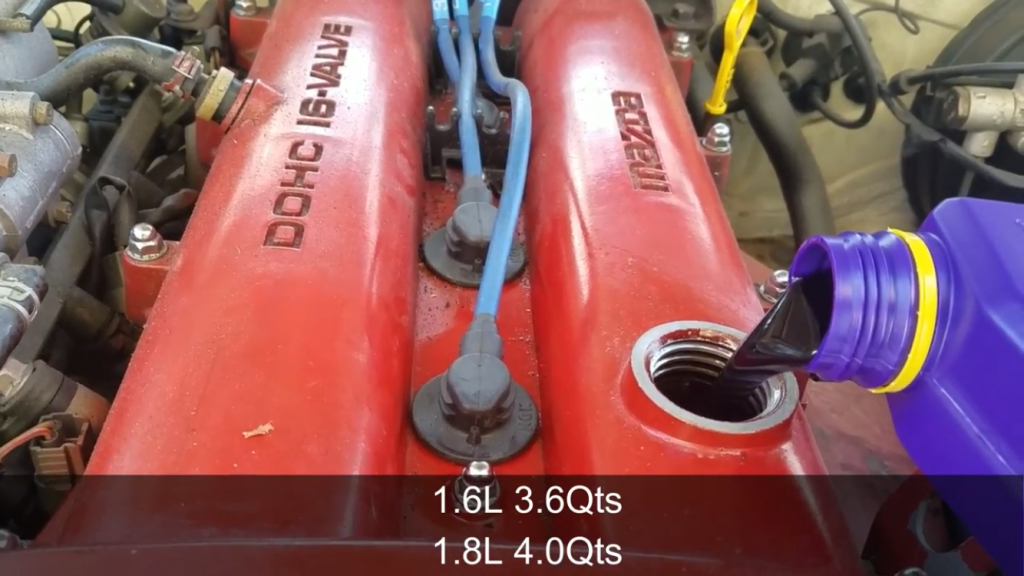
The above screen capture was taken to help me work out how much oil I needed to refill the engine with. Most of the helpful videos are American – the call their Mazda MX5s Miatas! – and everything needs to be changed from foot pounds and quarts to NM and litres.
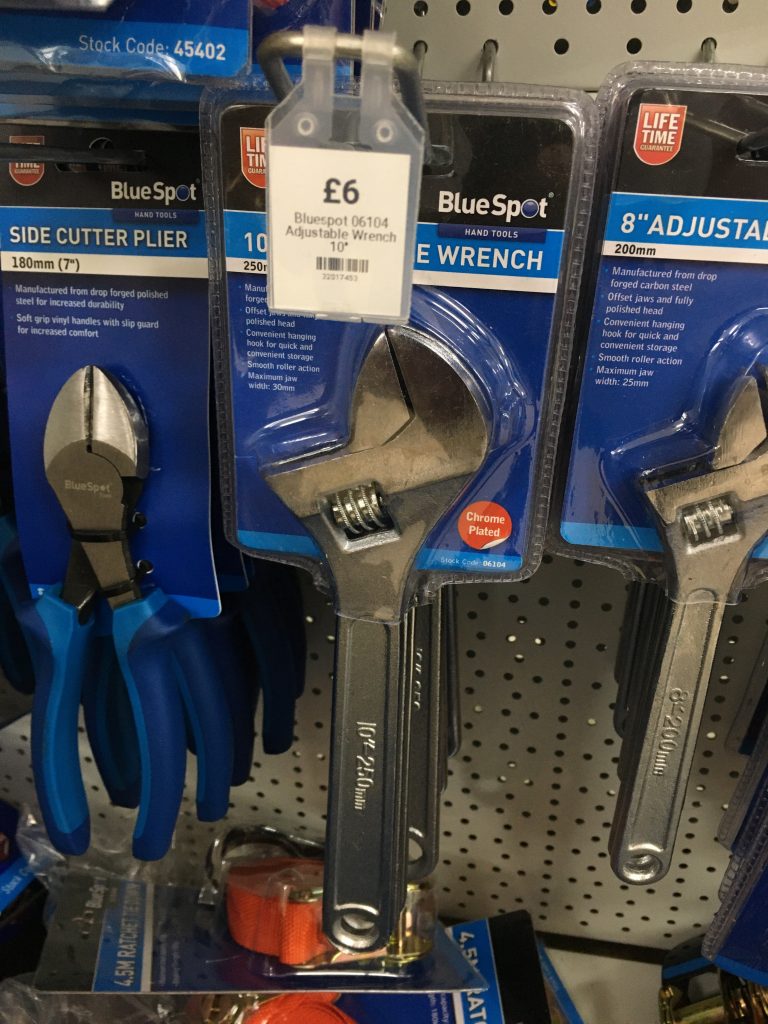
I walked into town – not far! – and had a slice of pepperoni pizza from Dreggs. I also checked out some larger wrenches, in Boyes and what used to be Thing-a-me-bobs. I can’t recall what the latter is called now!?
I wound up buying two 300 mm x 36 mm – one foot long with an inch and a half ‘mouth’ (in old money) – Rolson adjustable spanners. At £6.99 they were a wee bit dearer than the Boyes ones; it’s the latter pictured above. But they looked and felt both bigger and better quality.
Actually, whilst they look decent enough, they’re not great. Are any adjustable spanners any good? The adjustment is always fiddly, and very prone to slipping or working loose!
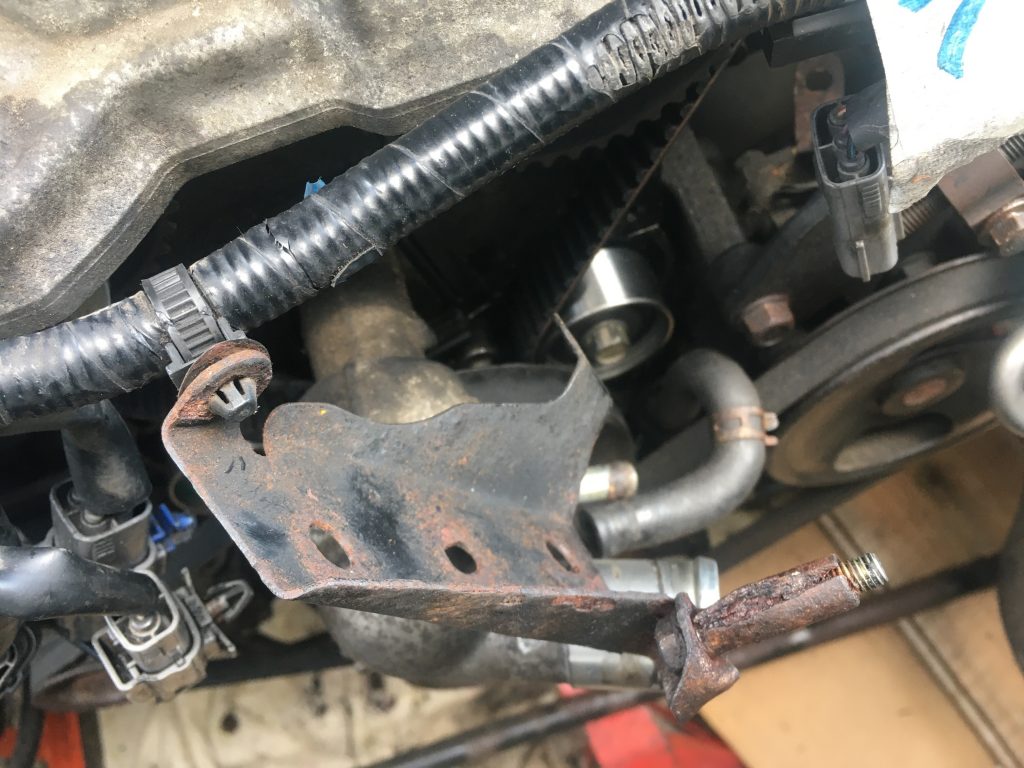
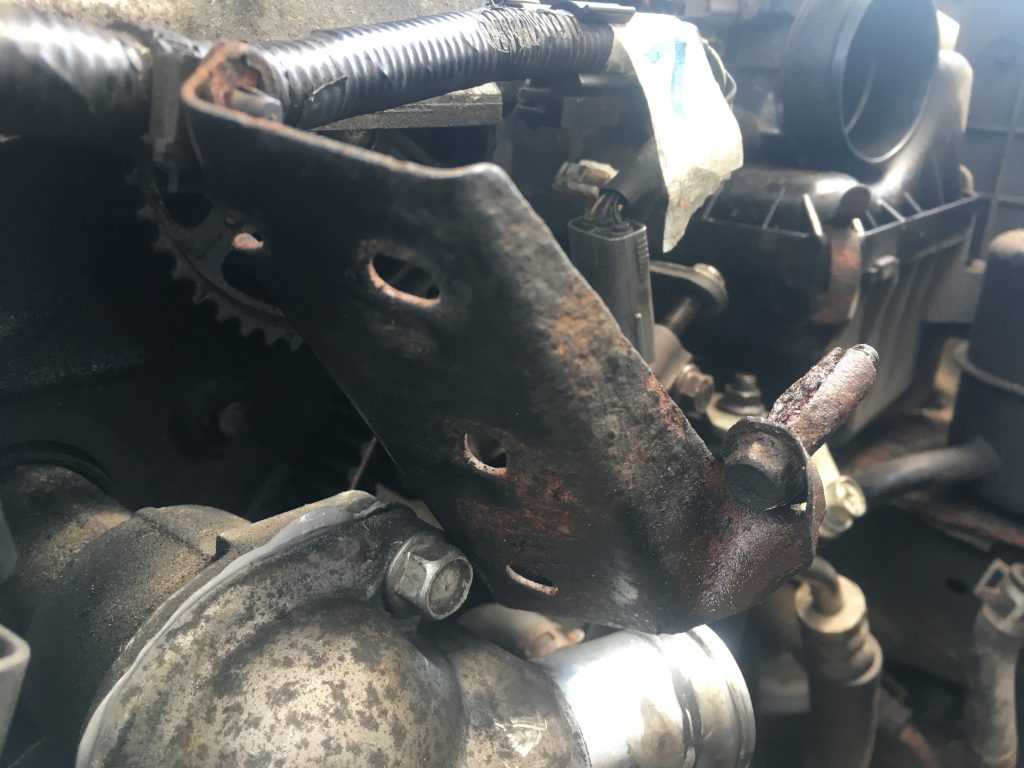
I left off all three of the cam-belt guard plastic bits, as they were pretty mangled to start with. And removing them had further damaged them. I think this metal plate screwed into one of them. There are two metal bits n this line that are not fixed back in place.
Took two shots of this bit, which now seems poss’ redundant. Ended up removing it altogether. in total there are three plastic cambelt guard sections I’ve left off, and two metal brackets, this larger one, and a much smaller one.
A chunk of today – two hours, poss’ more? – was given over to a trip to Halfords. After buying the two spanners and a bit of pizza, I caught a bus to the big roundabout on Wisbech Road, which is pretty close to Halfords.
I bought a new oil filter. I was expecting it to have a ‘crush ring’. But it didn’t. Rather tragically and annoyingly I failed to install it, as I was unable to remove the damned old one!
I wanted to catch a bus home, but didn’t want to walk to Tesco. I would up walking all the way home, with a rucksack full of heavy tool, engine oil, and even a little ‘dolly’ trolley (the latter in lieu of a larger and more expensive inspection trolley).
I stopped at The Hippodrome en-route, for a refreshing lager shandy, and to rest my poor aching feet! I’m not fit any more. The walk home was horrible!
As I said at the top of this post, I totally failed to document the re-build. I replaced the cam-cover, inc adding sealant gasket gloop where indicated.
One of the only bits of documenting I did arose out of the balls up I made of the radiator re-install. For starters I totally wasted a whole bottle of coolant/antifreeze, by failing tore-attach one of the radiators’ lower pipes.
Pouring the whole litre in, it simply drained right out, via the lower and still disconnected tube. It was a mother to re-connect that particular pipe, as the clip on it, and the end of the pipe itself, we’re not in tip too condition.
Then, when refilling the coolant mix into the re-installed radiator, I discovered further leaks due, once again, to missed connections. This was a thinner pipe-work segment, and it only haemorrhaged coolant when the radiator got pretty full.
But even after connecting all the errant lines, and tightening up all tubing and fastenings, there remained a terrifically annoying leak. This turned out to be the thermostat housing, the gasket inside of which had fallen apart.
I tried to bodge it, with gasket sealant. But I put it back together wrong; a whole 180° out of its proper alignment. So when I’d reversed it, or corrected it, the ‘temporary fix’ suggested by a BOFIracing dude, didn’t come out as planned.
So I wound up ordering a new thermostat housing gasket today, plus four new undertray fasteners, all from MX5parts.co.uk I hope they get to me ASAP!.
What was most g-g-gutting and g-g-galling, was getting everything back together only for the engine to not work, still. I have to be honest. This necessitated a bit of a lie down! I was, frankly, utterly crushed.
After about an hour of rest, I decided to go out and look at the car again. A friendly neighbour then took me to Halfords, for my second visit o’ the day – at 7.50pm, ten minutes before they shut! – where I bought some coolant.
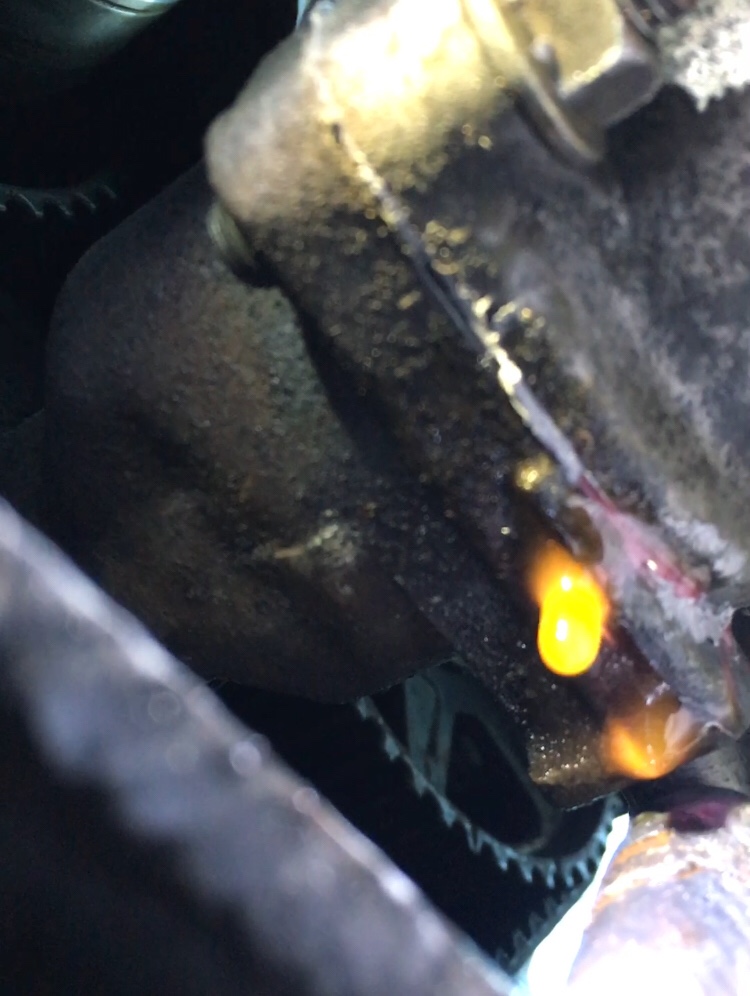
Still from my video that WP won’t upload!
Topping up the coolant revealed several leaks. the easiest to repair was a small hose I’d missed. Next I tweaked a few of the clipped hose connectors. But, alas, coolant continued to leak. And a video under the area revealed that the thermostat gasket bodge hadn’t worked.
I tried to add that video to this post. I had to shorten it to even upload it. And then, once added in WP, the post no longer updates… gaaargh!!! So I’ve taken a still image from said vid’. Not great, but better’n nowt!
Bizarrely, the coolant, which was streaming out initially, but only dripping by the time I got my iPhone camera on it, seems to be dripping not from where the two parts meet, but just behind that. Weird!?
Anyway, that’s that for this post. I guess tomorrow I just keep on keepin’ on…
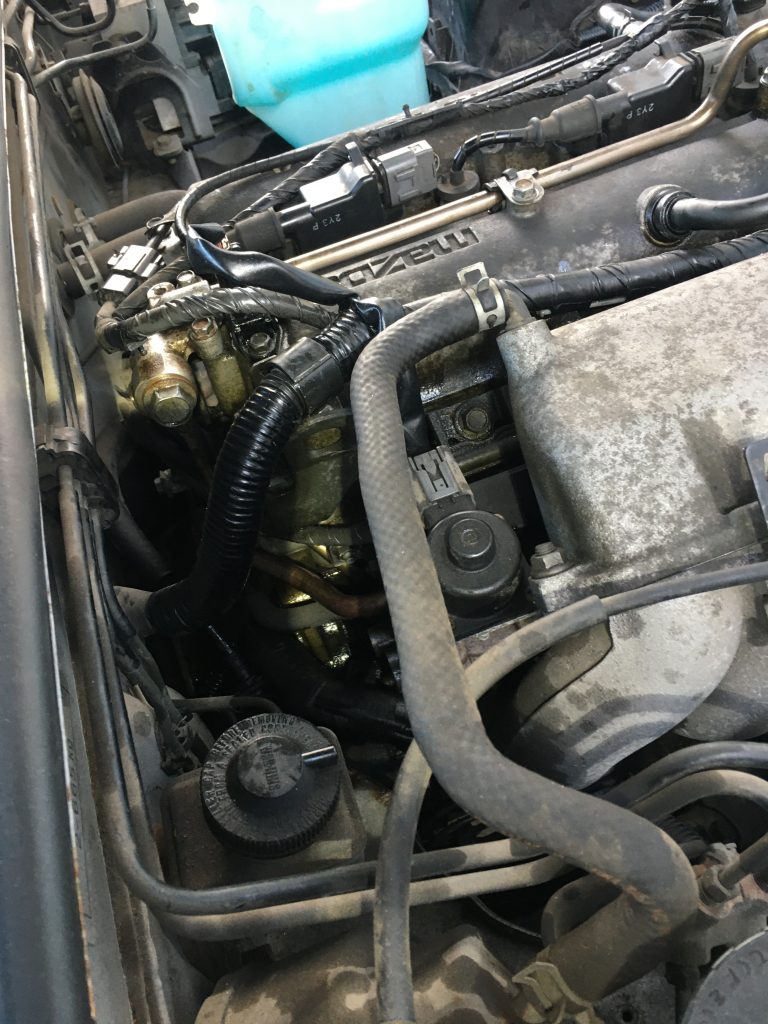
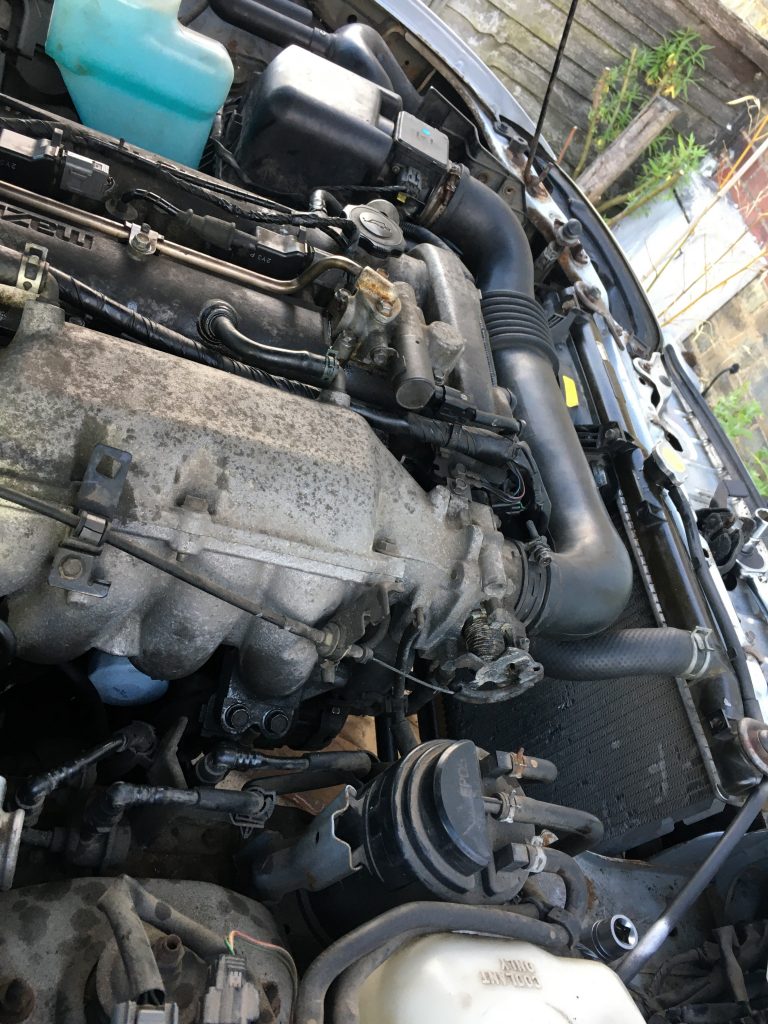
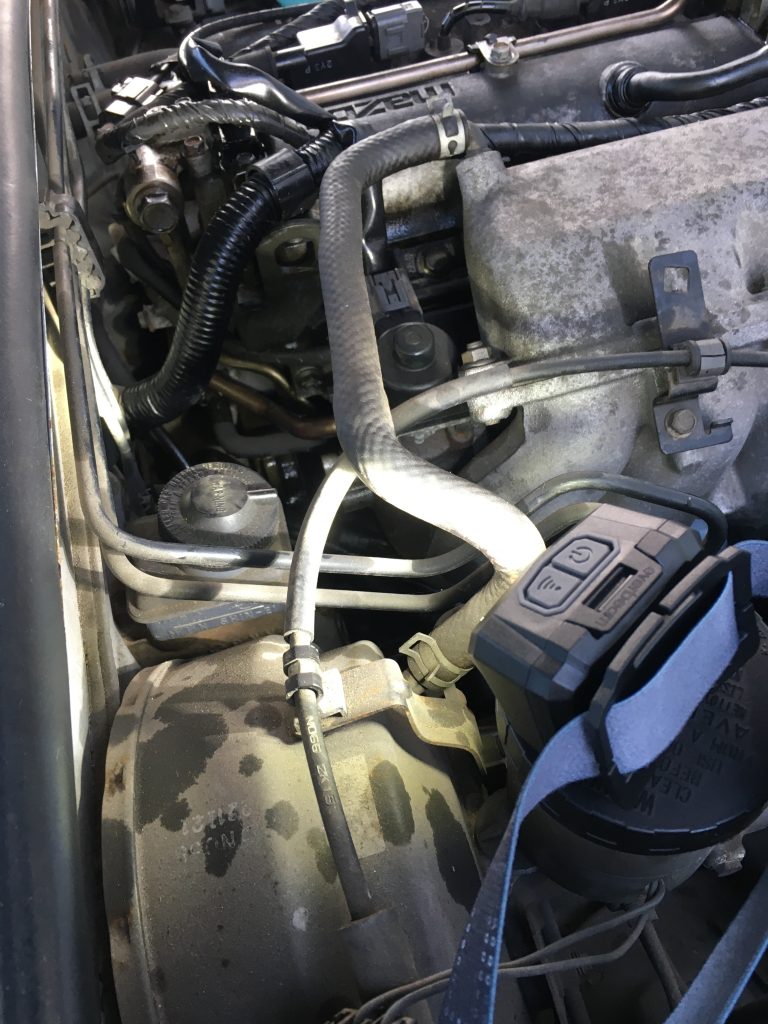
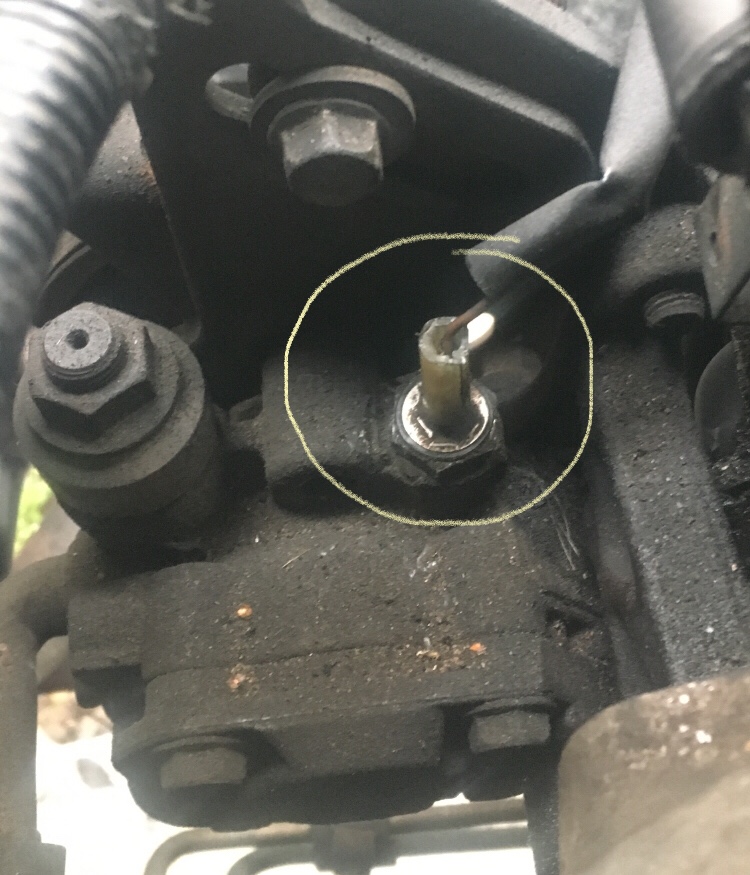
Last night, after emailing Greg Peters at ‘carpassionchannel’ (thanks, bro’!), and much – mostly fruitless – googling and watching of YouTube, I finally found out what the thing circled in the image below is.
Turns out this is a power steering pressure sensor.
Having established what it is, I was able to find a YouTuber removing it, and thereby learn how to do so myself. I did that late last night, sporting a head-band style torch, as it turned dark.
In the YouTuber’s video, as so often, it looked super easy. In real life, for me, it was very, very, very tricky. I used needle-nosed pliers to simultaneously grab the whole thing whilst depressing a tiny little lever, all the while also pulling upwards.
After lots of worrying (about breaking it whilst manhandling it so roughly!) and a fair bit of swearing, the ficker funally came orff…
The pic at the top of this post is how I looked and felt at day’s end. Note the new mechanic’s style overalls! £20 from the local Boyes.
Yesterday it was raining in the morning. And it remained damp, drizzly, and cloudy all day. But the afternoon was workable. Today the sun is out, the sky is blue. It’s beautiful, and so … wahoo!