Every now and again something catches on this chandelier light, and sometimes that cause a bit of damage. I’ve already had to repair one dangling set of ‘crystals’.
It’s now happened again, but affecting a different strand of ‘crystals’. So today I fixed it.
Making new links… and string the ‘crystals’ together.
Finished. In both off and on states. Much better! It’s always satisfying, in a Loki way, getting jobs like this done.
A little while ago Sally, at Shedders & Fixers (poss’ at Chloe’s suggesting?), asked me to do this shopfront.
It’s part of some local Wisbech arts project, about which I know next to nothing.
Anyway, it’s turned out to be both more time-consuming and yet more fun than I’d anticipated.
The above images are from Monday. The local mayoress visited! The pics below are from later in the week, up to and including yesterday.
And today (Sunday), I installed the ‘glass’. I think I’ll prob leave it at that?
MONDAY
It’s now Monday. I’m off to S&F soon. Can one discern that I lightened the bricks and skates a touch? I also photographed the final piece at an angle, trying to capture the ‘glass’…
I reckon that’s it now. Enough is enough! And hopefully it’s fit for porpoise? I have t added any brand specific shopfront lettering. Will that be an issue? I hope not!
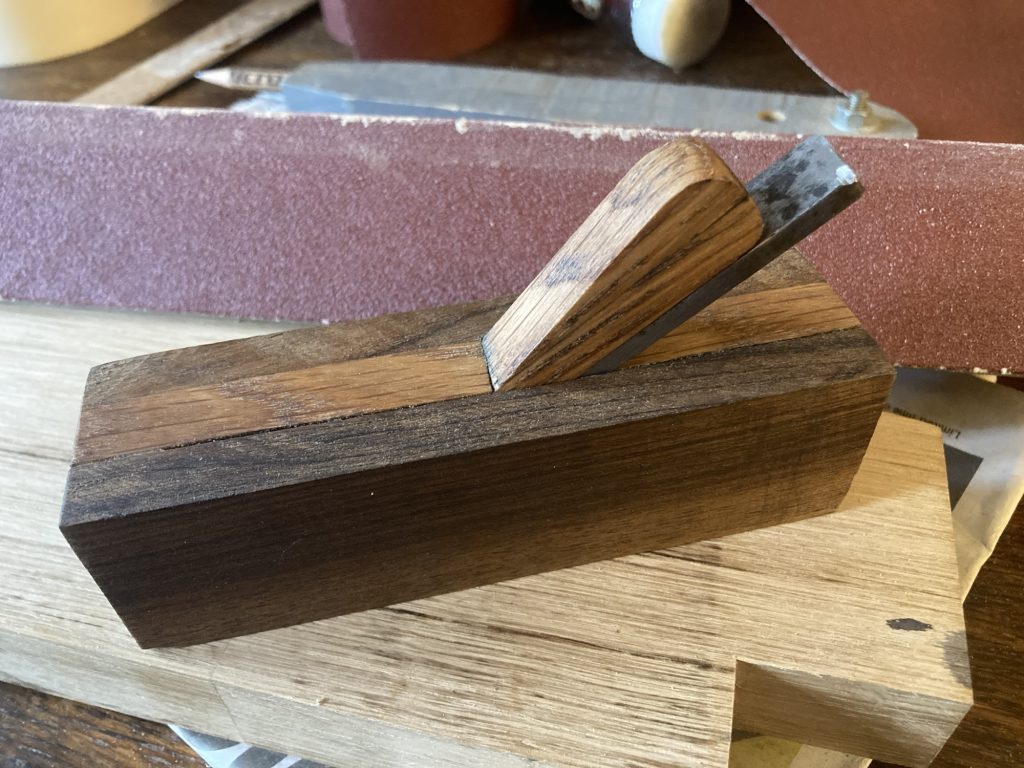
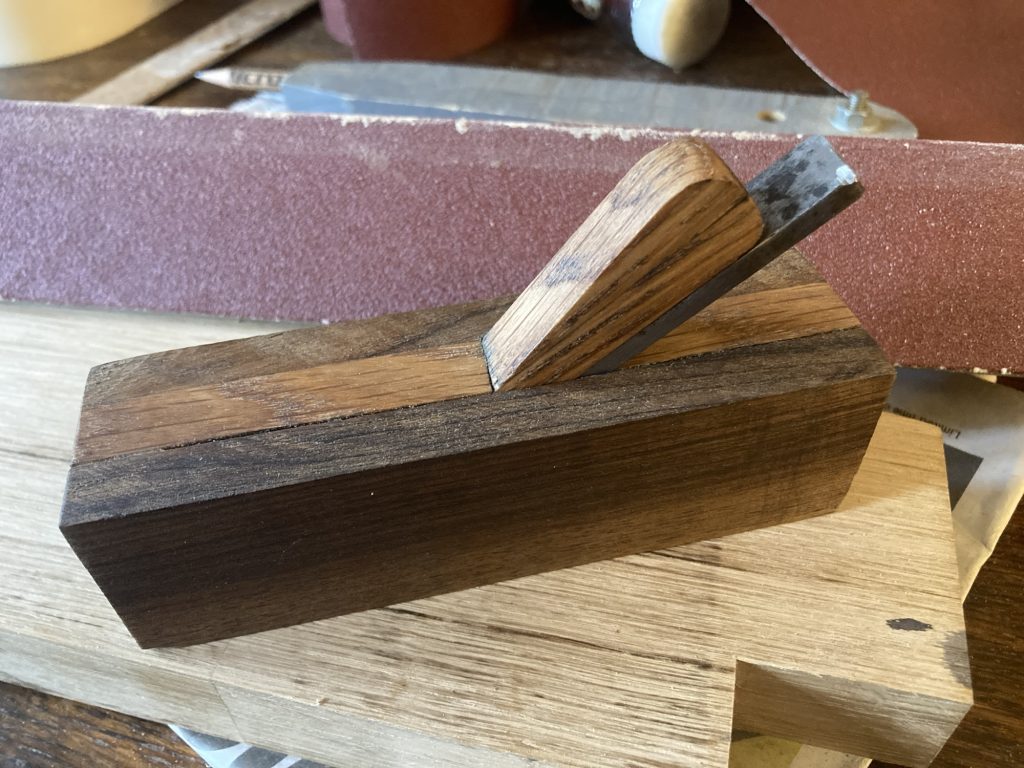
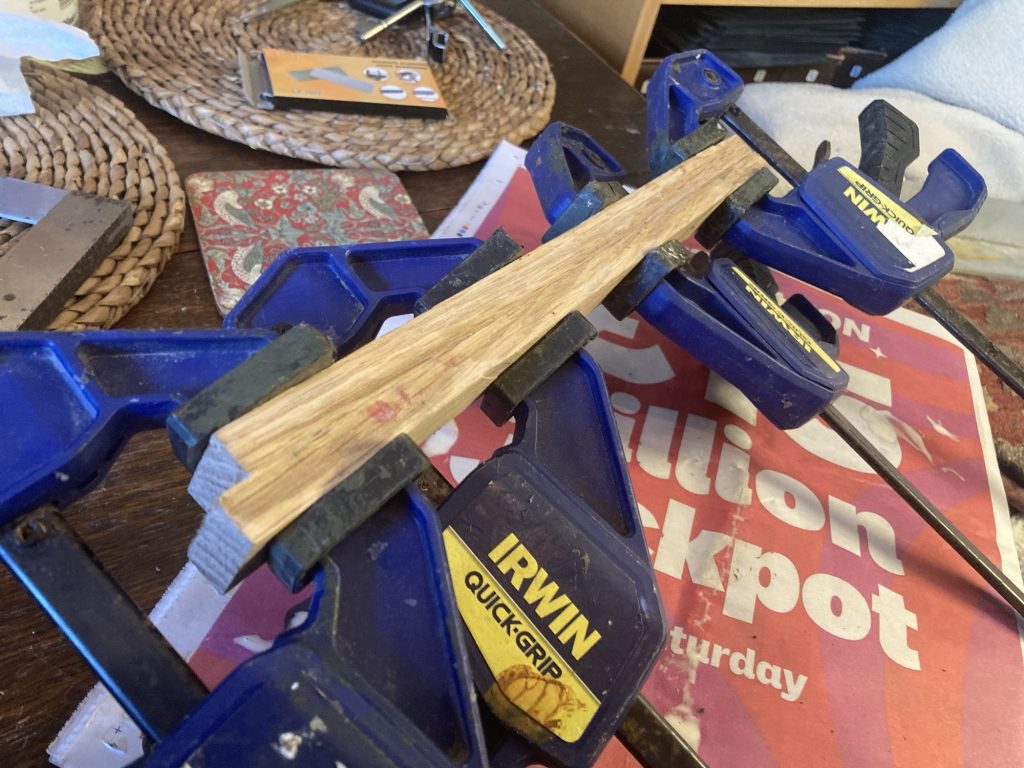
Having butchered my first attempt at a bevel plane, I’m trying again. This is gluing up the new one. I didn’t take many pictures of the building process, sadly.
The new bevel plane.
I cut all the internal parts in advance this time. I’m a bit miffed I didn’t snap these steps. Hey ho!
Old and new.
The first one was walnut and white oak. This second one is keruing and white oak.
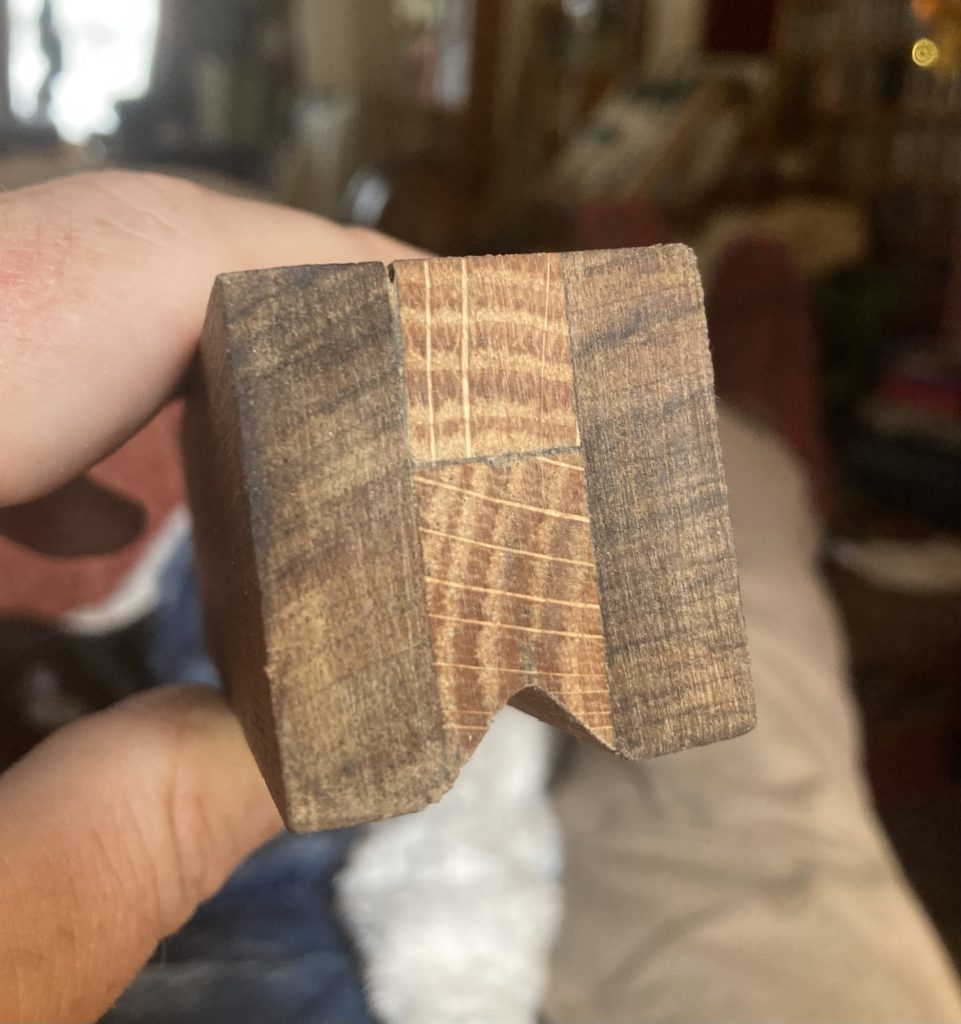
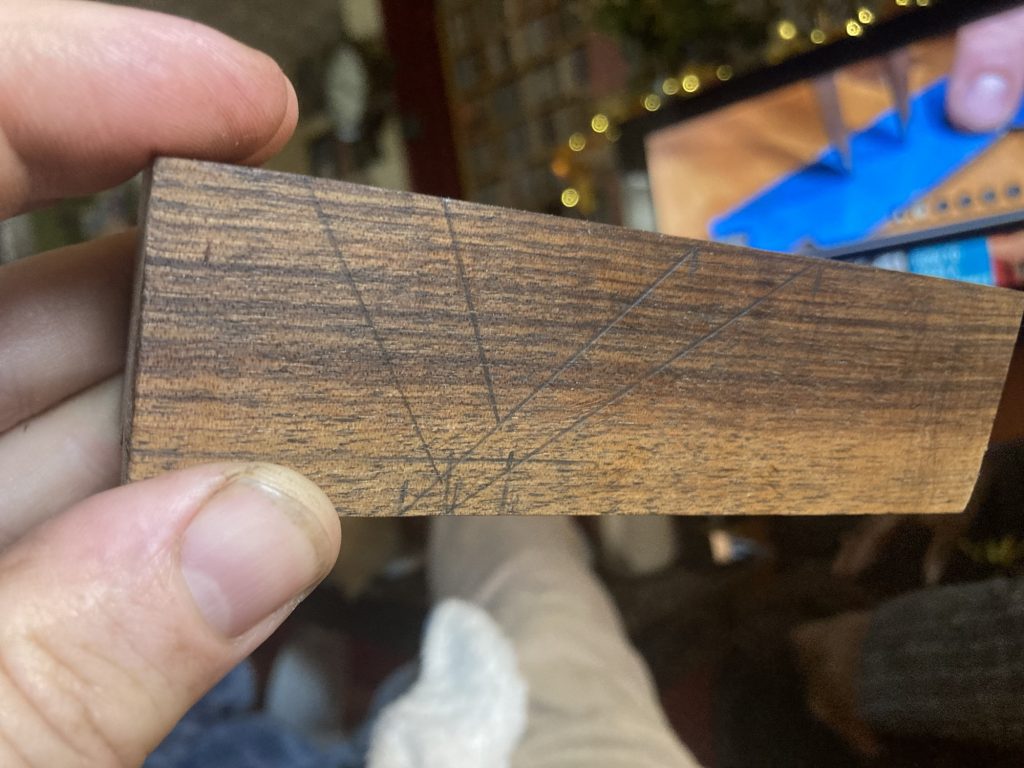
As can be seen above, the new bevel plane is going to have a bigger, deeper cutaway. I cut the 45° angles on the two side ‘cheeks’ in advance. These can function as guides for cutting into the central oak segment.
Wish I could put the blade in the new plane.
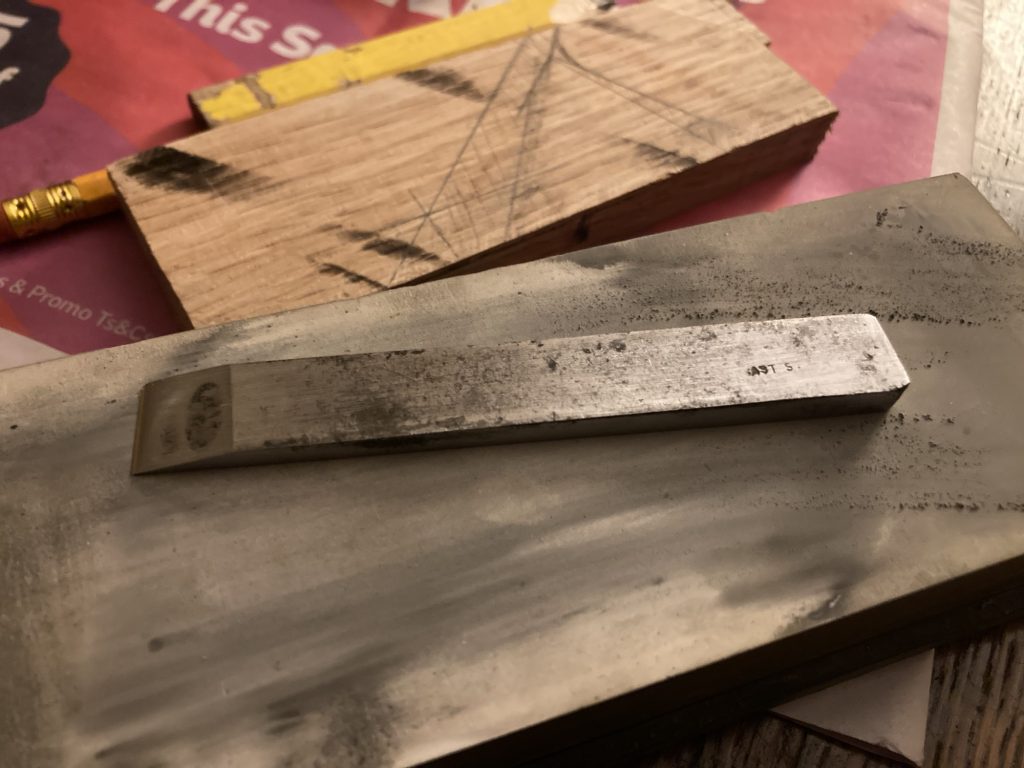
The central oak segment is slightly thinner this time. The wedge from the first plane fits. But the plane iron is a fraction too wide. I’ve been sanding it down like Billy-oh, but I’m still not quite there yet…
Yesterday I made all the basic parts for this plane, and then put them together. Today, I’m working on the central groove, the blade, and hopefully getting it to the stage of being a usable tool.
This is the idea…As intended, butt…
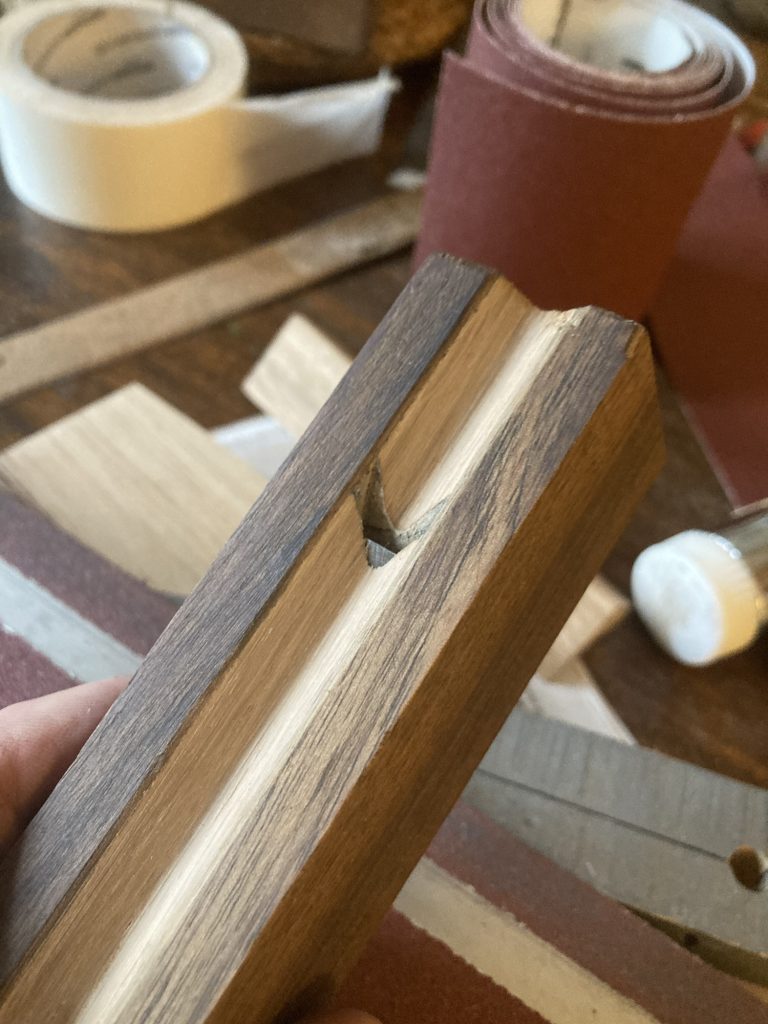
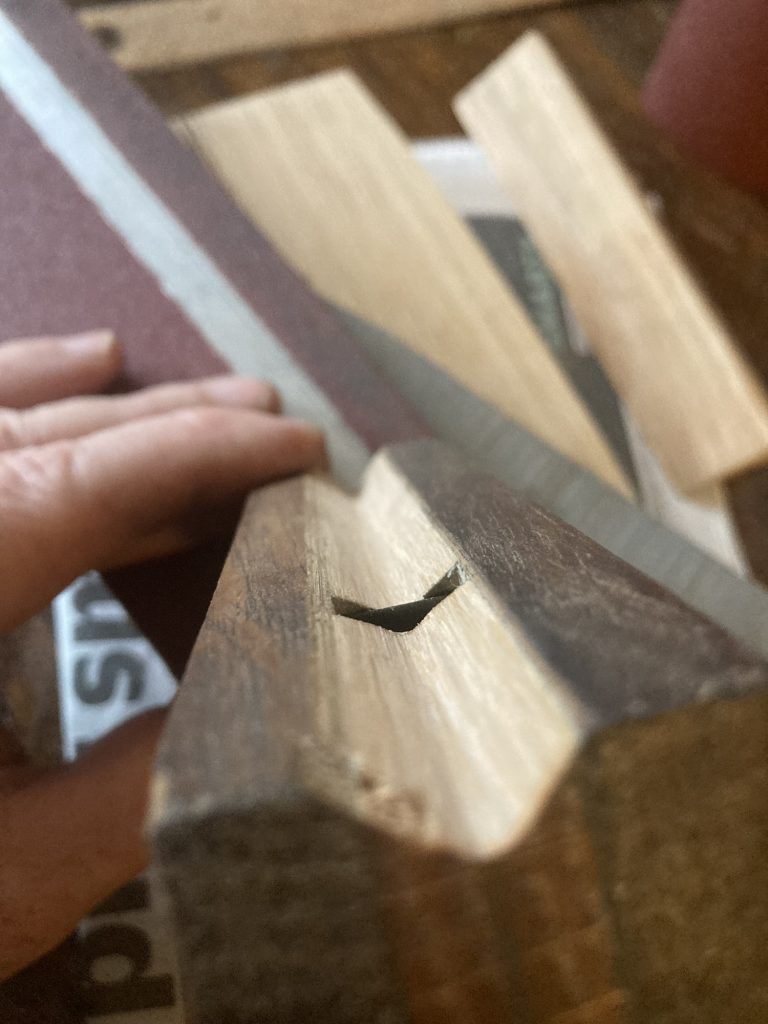
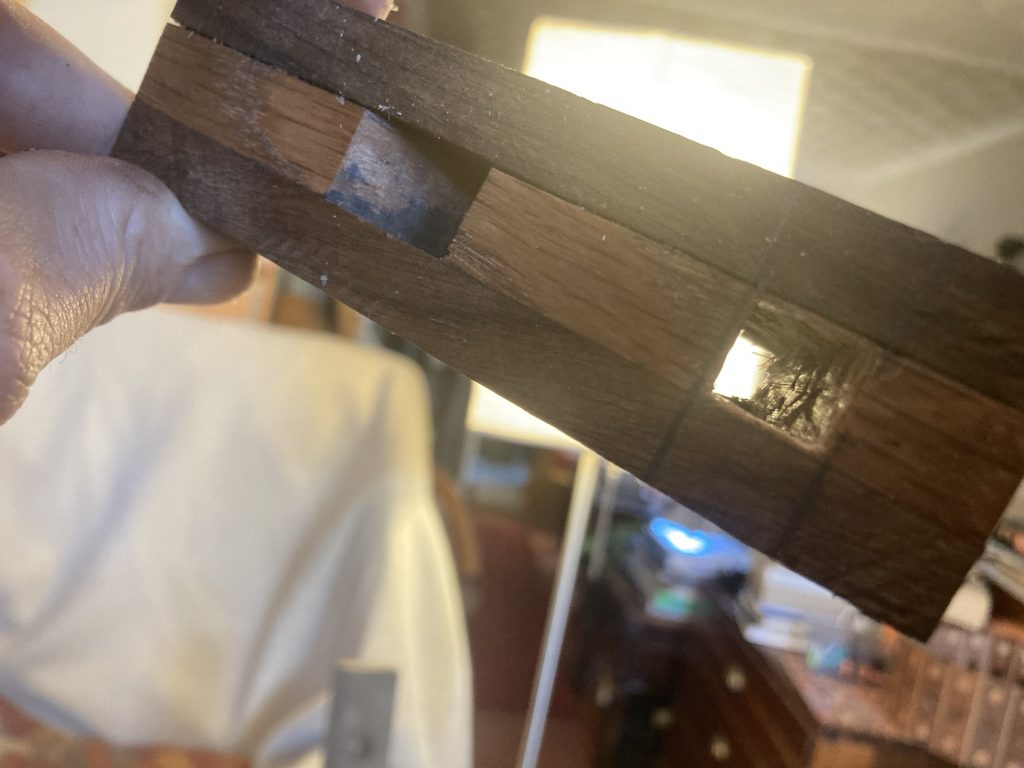
I tried cutting the ‘pyramid’ groove in the base of this plane with a router. But that was a disaster! Fortunately I did it – after numerous tests – in a shallow enough pass it didn’t entirely bugger the plane.
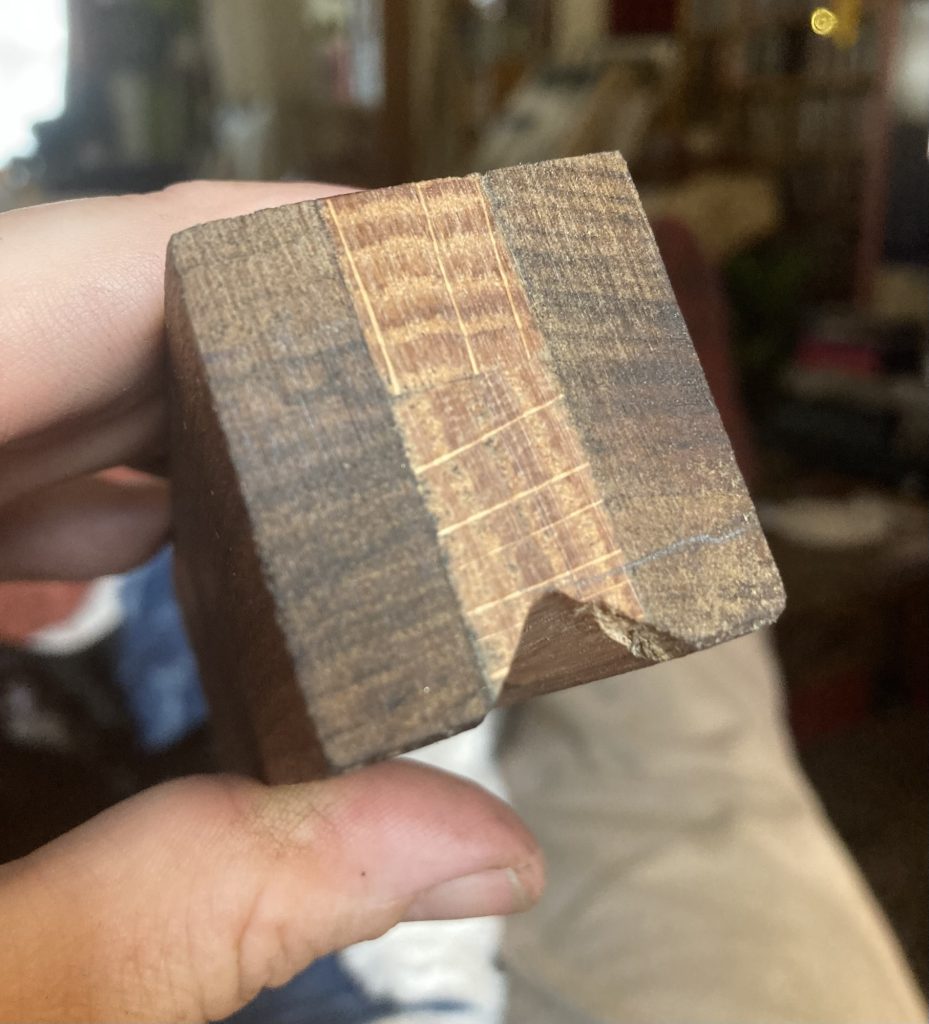
Ok…Hmmm!?Evidence of the router failure.
In the above two images you can see a bit of the residual damage the router attempt left, at right.
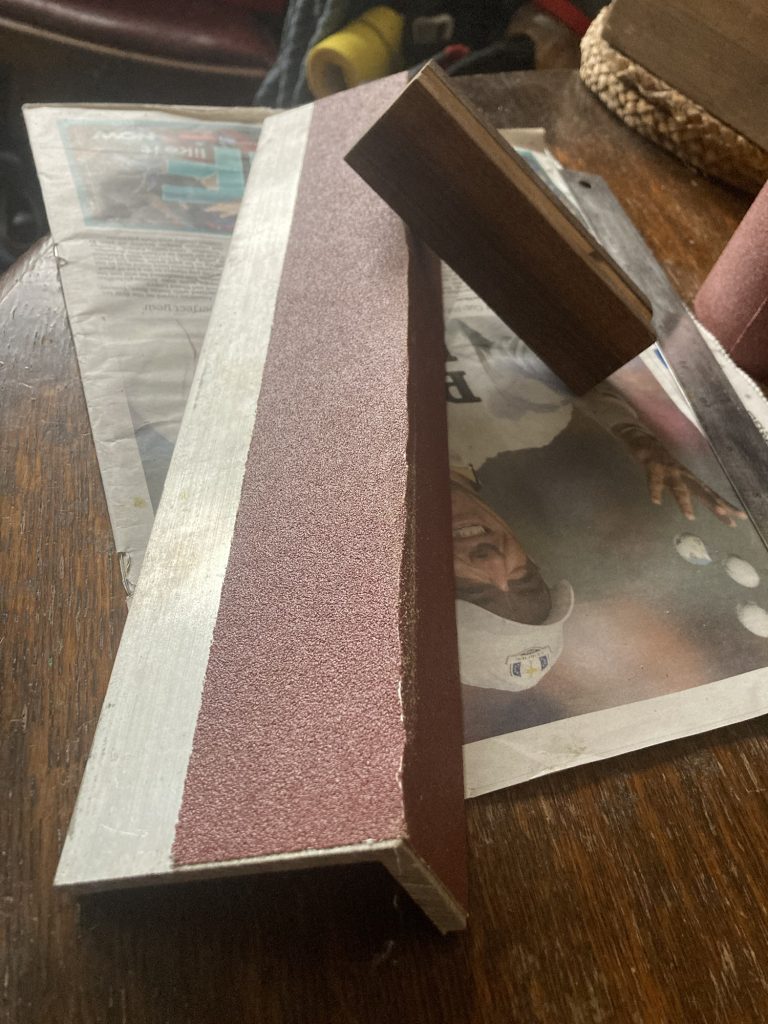
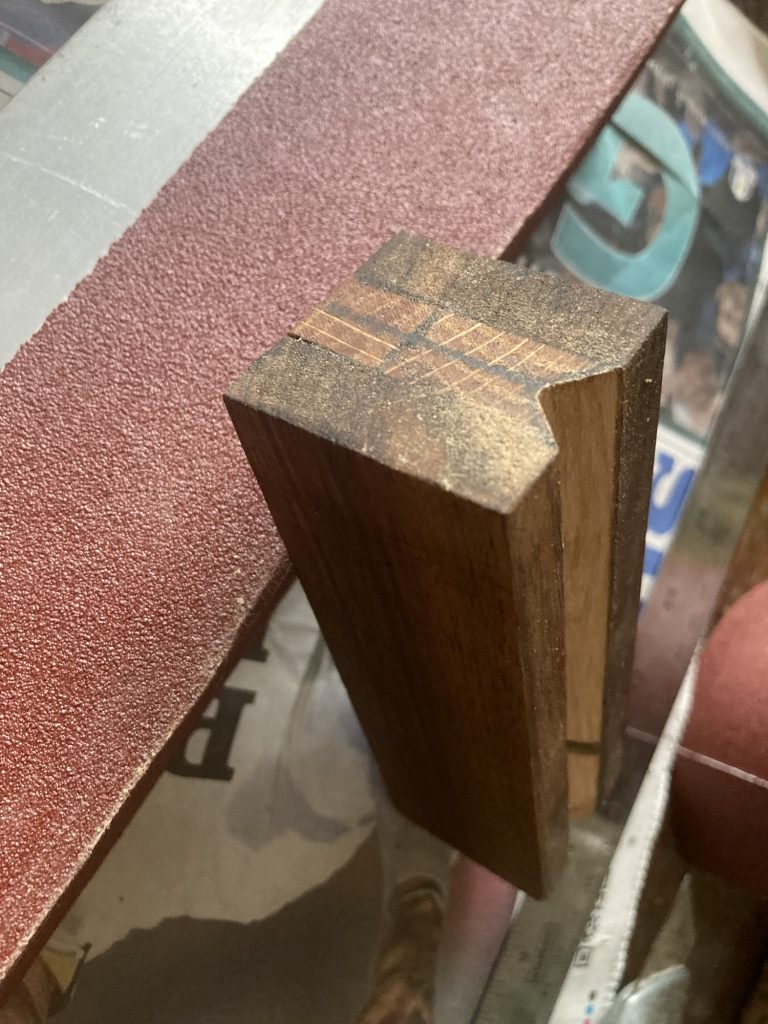
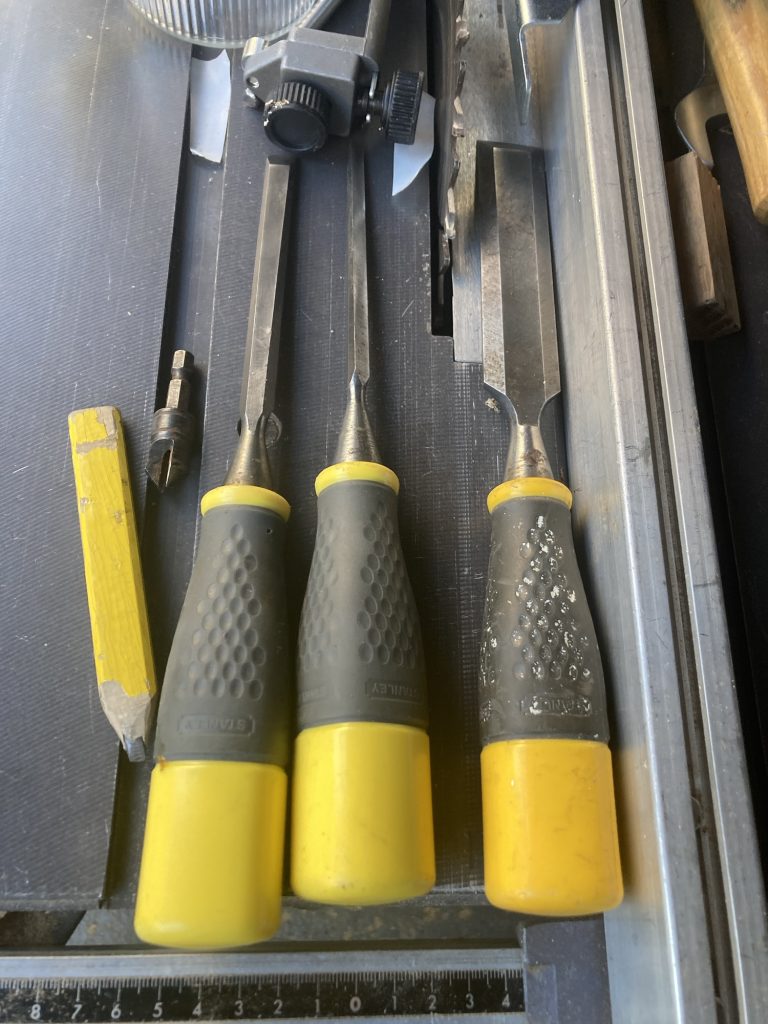
So, after attempting to tidy things up with chisels (a slight improvement), I came up with the right-angle sanding jig, shown below.
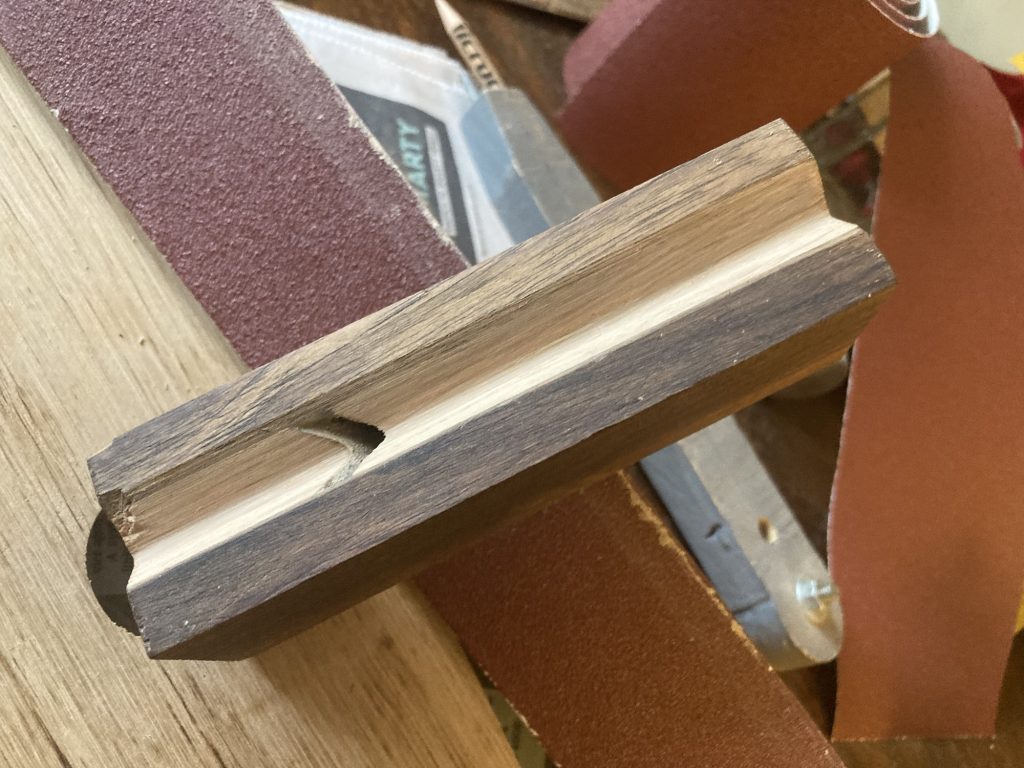
A massive improvement. But still far from perfect. And not the sharp, crisp 90° channel (at a 45° angle) I was after.
Having improved the groove, I tried setting the blade, or ‘iron’, and the wedge that holds it, in situ. After a few failed attempts (and much sanding of the iron, mostly trying to reduce the width a little, for a better fit), I finally got there.
Ta-dah!
A few attempts at using it established several things: 1) It does work as intended, albeit not very well (yet); 2) the blade ain’t sharp enough at present; 3) this is the biggest issues (after dullness o’ the blade) – there’s currently nowhere for chips or shavings to go, other than into the cramped/limited space where blade and wedge reside.
Pencilling in potential egress for shavings…
So, I’ve pencilled in a channel that needs drilling/cutting/chiselling, and otherwise hollowing out. Hopefully this will allow the chips or shavings/planing waste to exit, without clogging up the plane.
BUGGER BALLS!
Butchered…
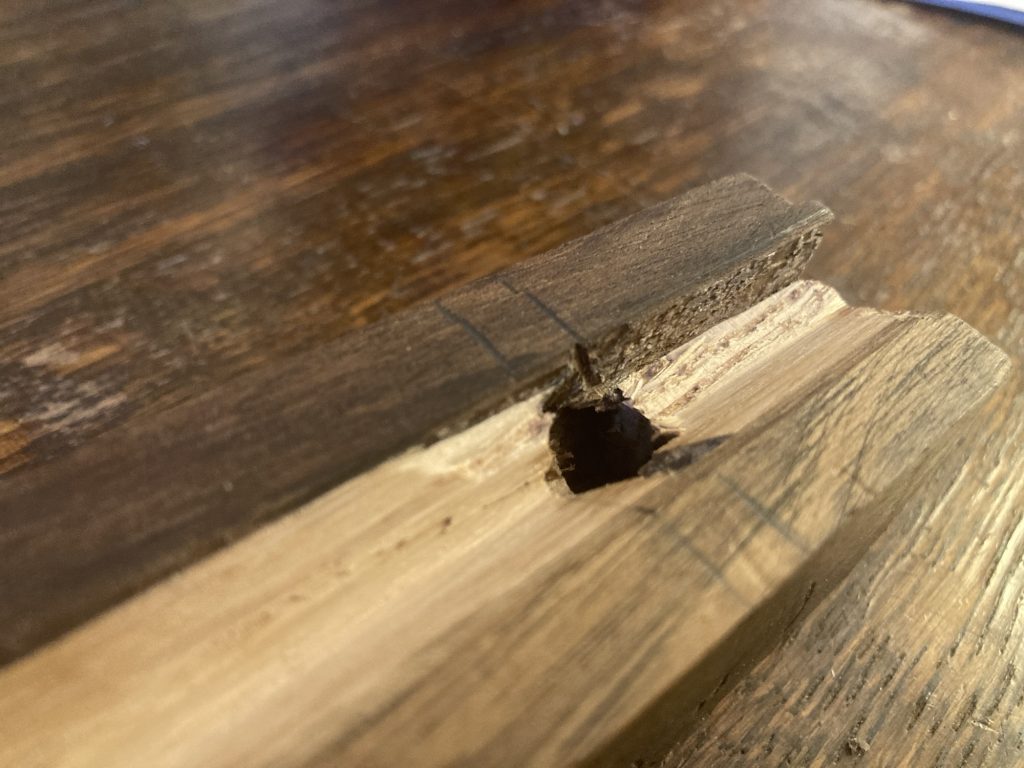
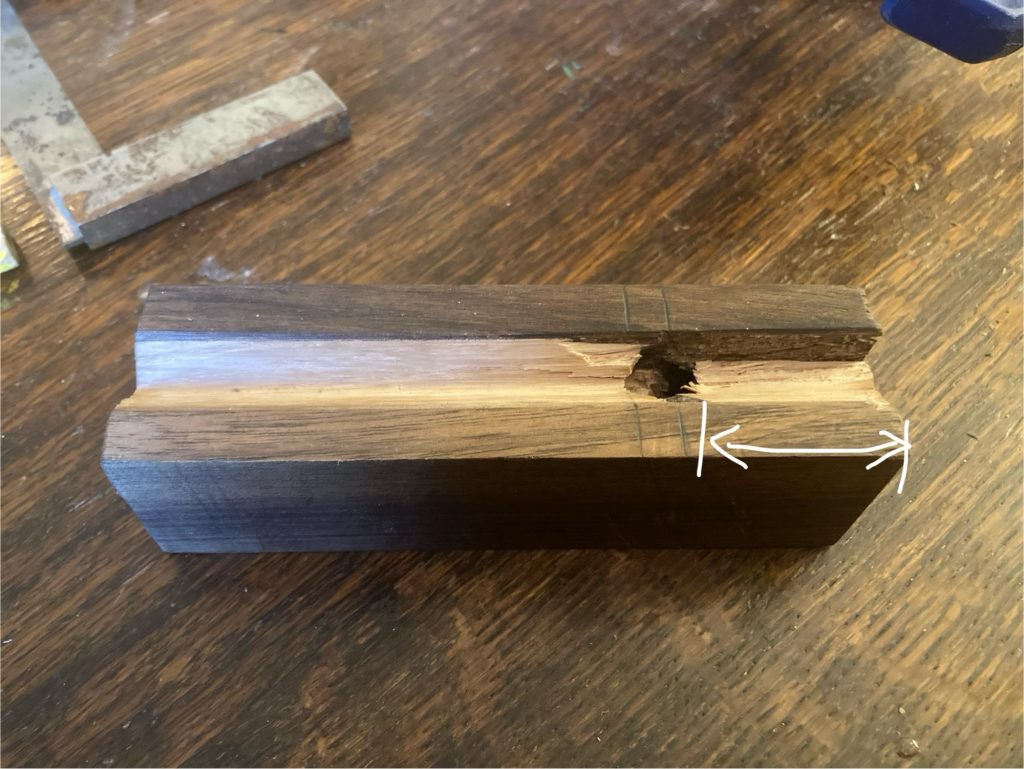
Oh well… I’ve butchered this first plane attempt. In trying to chop out a chip/shaving channel, I completely jiggered the sole of the plane.
Not Sharpe enough, perhaps?Knocked off and split.
Some of the white oak tore out altogether. And a large-ish spilt in the walnut compounds the tragedy. Never mind! As depressing as I might find this outcome, the lesson I’m learning is to simply try again.
Some stuff I’ve been able to persist with, possibly even salvage. But not this time. And anyway, there were some design flaws inherent in this first attempt.
The indicated part needs to be longer.
One of these issues was that the part that leads into the cut was too short; to better register as you move into the ‘cut’, a longer run up is good!
But the real issue was the omission altogether of a vent for chips and shavings. Lord knows I’ve watched enough Stavros Gakos videos I ought to have known better!
More oak scraps being prepped.
So… I’m gluing up some oak scraps, ready to try again. Plus I still have some walnut left. Although I might instead use keruing?
I’ve started out making my 1st plane. It’s designed to cut on a very shallow plane, of just 35°. But the angle it’ll cut will be a 45° bevel.
There’s a deal more to be done on it. And it may not even work. It’s my first try at such a thing!
Above: checking the table saw for square. Pretty good. I butchered an old chisel, to get the cutting iron.
Having cut the wood, I glued it all together. It’s a kind of ‘jazz’ design, inasmuch as it’s improvised.
The plane is basically dimensioned, the iron roughly shaped, and the (?) shaped. I painted some Rustin’s pre-stain on it. Let that dry, a d then put a layer of linseed oil on.
That’s where she’s at for now… The iron doesn’t come all the way through, to the sole. But that’s intentional. I need to cut a triangle in the base, the iron will protrude through, into that right angle, thereby cutting the bevel.
I posted about my new oak mallet on FB. And, to my surprise, a pal said it gave him ‘mallet envy’; could I make him one? As I haven’t got enough oak left, I’m trying out marine-ply.
Handles shaped with new palm-router.
I bought a Katsu brand palm-router, from Amazon. For just £40! It arrived today. And I used it to shape the handles, as shown in the pics above and below.
Burn marks need sanding out. But other than that, it did exactly what I wanted. Result! One minor bummer is that a set of new router bits I recently bought don’t fit. But that’s another story…
Holes for hanging them up.
Tomorrow, at S&F, I’m intending to finish (or near enough finish) these two, by shaping the heads, sanding the whole lot, and applying some kind of finish. Linseed oil and paste wax, prob’. If I can source some?
The front gate and gate-posts were looking a bit tired and tatty. I’d painted the balls gold, some while ago. But I’d not addressed the sorry state of the blue main coat.
So I did that today. I found a full/unused sample pot of Valspar (B&Q) ‘Mountain Moss’. A green that I rather like. so I used that.