What a dude! An Ayotte kit very like mine, and a brown pinstripe suit, very like mine. Is it any wonder I love the guy!? Oh, and the last survivor of the original group that cut many of these great Peanuts (& other) tracks, with Vince Guaraldi, back in the day. Granelli passed in 2021.
MiSC/Health & Well-being
After a long spell of very satisfying sleep, I seem to have entered upon a new cycle of insomniac troublesome-ness!
I’m not about to delve into the causes right here and now. Rather, I want, very briefly, to touch upon responses.
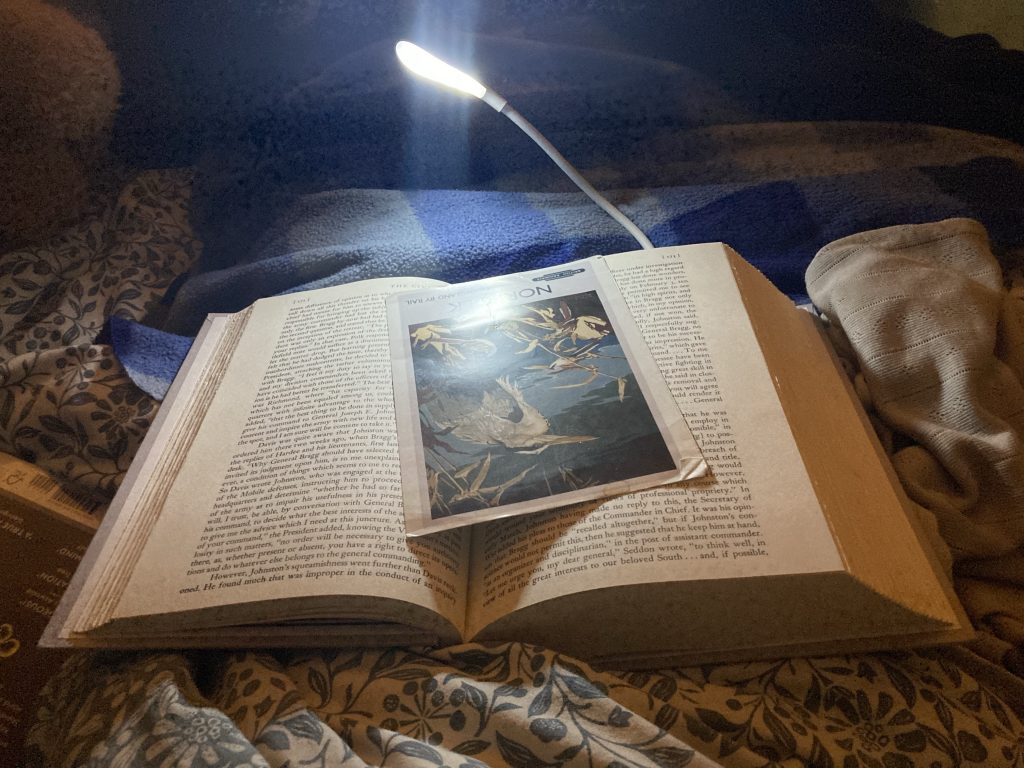
I might do a bit of blogging. Have a wee snack-ette (gratifying but poss’ unwise!). Have a wee (almost always!). Or read. And this latter seems ok to me. It’s enjoyable, edifying, and often even helps get me back to snoozy-snooze-land.
Right now I’m continuing to read volume two of Shelby Foote’s monumental and totally excellent The Civil War. And what prompted this post was the sheer joy I was taking, in reading Foote’s account of the travails of confederate general Braxton Bragg (what a great name!), shortly after Vicksburg, 1862.

It’s fascinating to read and reflect on how the conduct of war – or indeed any human enterprise requiring very large scale organisation and cooperation – is so fraught with interpersonal strife!
I can’t help but compare it to current UK politics, and think how blatantly shabby and amoral current Conservatism jockeying for power/position is. Surely history will see and judge it so? Just as we judge history that has drifted further down time’s stream.
But then that reminds me of that rather disheartening but alarmingly true aphorism, I forget who said it (and this is my version from memory): ‘if history teaches us one thing, it’s that history teaches us nothing.’

After typing the above, I googled it, and discovered it was in fact Hegel, and, if on-line sources are to be trusted, he said ‘The only thing that we learn from history is that we learn nothing from history.’ I’ve also seen something more like my rendering attributed to actor/bon vivant Peter Ustinov!

MUSiC: Vinnie Coliuta, on Thought vs Flow.
I haven’t watched this yet. I did see a clip of the central quote, on a recent Rick Beato ‘highlights’ type showreel.
So I’m putting it here to bookmark it and watch it myself. I may then agree or disagree, or reflect on it. We shall see. But I intuitively feel I understand what (I expect/anticipate) he’s saying.
And I expect to feel much the same way, or agree. I think the crux of it, though, might be potentially misleading or confusing. Inasmuch as a lot of thought and a lot of work go into attaining the level of skill needed to then relax and let go of the kind of thinking (or over-thinking) that may be an ‘enemy’ of flow.
It’ll be interesting to watch the video, and then return and see if I’ve mis-read it, in my above assumptions.
POETRY/PHiLOSOPHY: People, Charles Bukowski
This CB poem appeared in my FB feed.
It’s rather bleak, and negative, in focus. But it does speak the truth, as far as I’m concerned. A rather ugly set of truths, perhaps. Stuff we feel inclined to deny or hide from, for our own sakes, most often. But a truth nonetheless.
people

look at the people: elbows, knees,
earlobes, crotches, feet,
noses, lips, eyes, all the parts,
usually clothed, and they are
engaged
in whatever they usually do
which is hardly ever
delightful,
their psyches stuffed with
used matter and propaganda,
advertising propaganda, religious
propaganda, sexual propaganda,
political propaganda, assorted
propagandas, and they
themselves are
dull and vicious.
they are dull because they have been
made dull and they are
vicious because they are
fearful of losing what they have.

the people are the biggest
horror show on earth,
have been for
centuries

you could be sitting in a
room with one of them
now
or with many of
them.
or you could be one
of them.

everytime the phone
rings or there is a knock on
the door
I'm afraid it will be one of
the disgusting
spiritually destroyed
useless
babbling
ugly
fawning
hateful
humans.

or worse, on picking up the
phone the voice I hear
might be my
own,
or upon opening the
door
I will see myself
standing there,
a remnant of the
wasted centuries,
smiling a
false smile,
having learned well,
having forgotten
what I am here
for.
FOOD: A Very Proletarian Brunch?
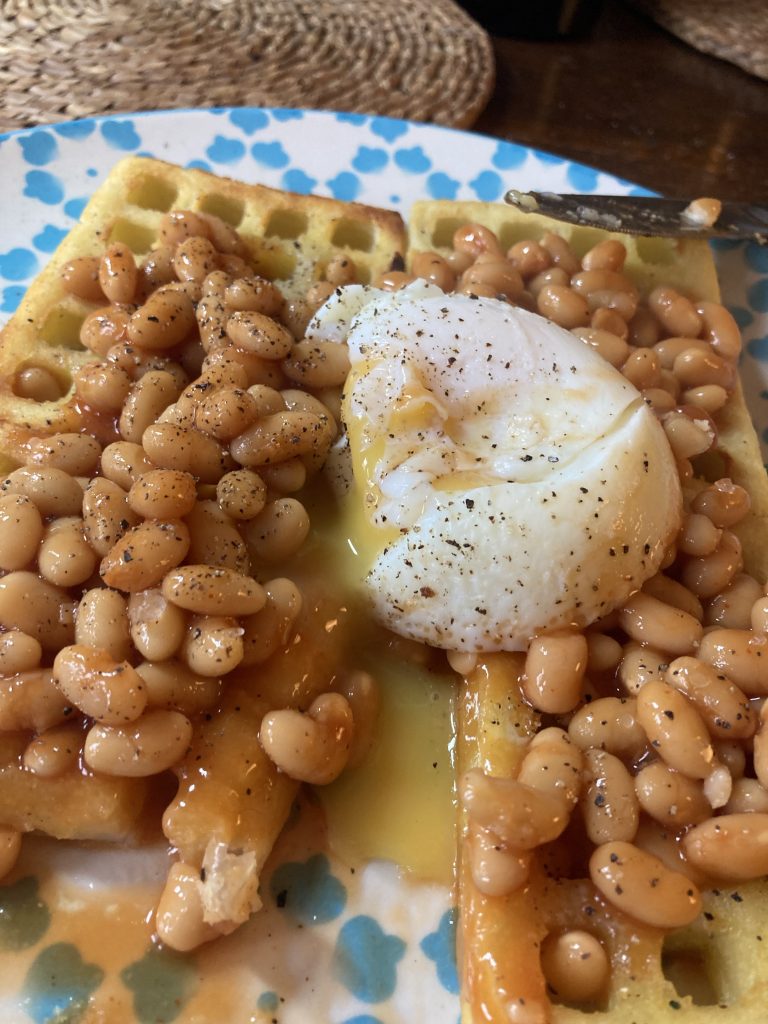
‘Birds Eye Potato Waffles… waffley versatile.’
That little advertising ditty has stayed with me.
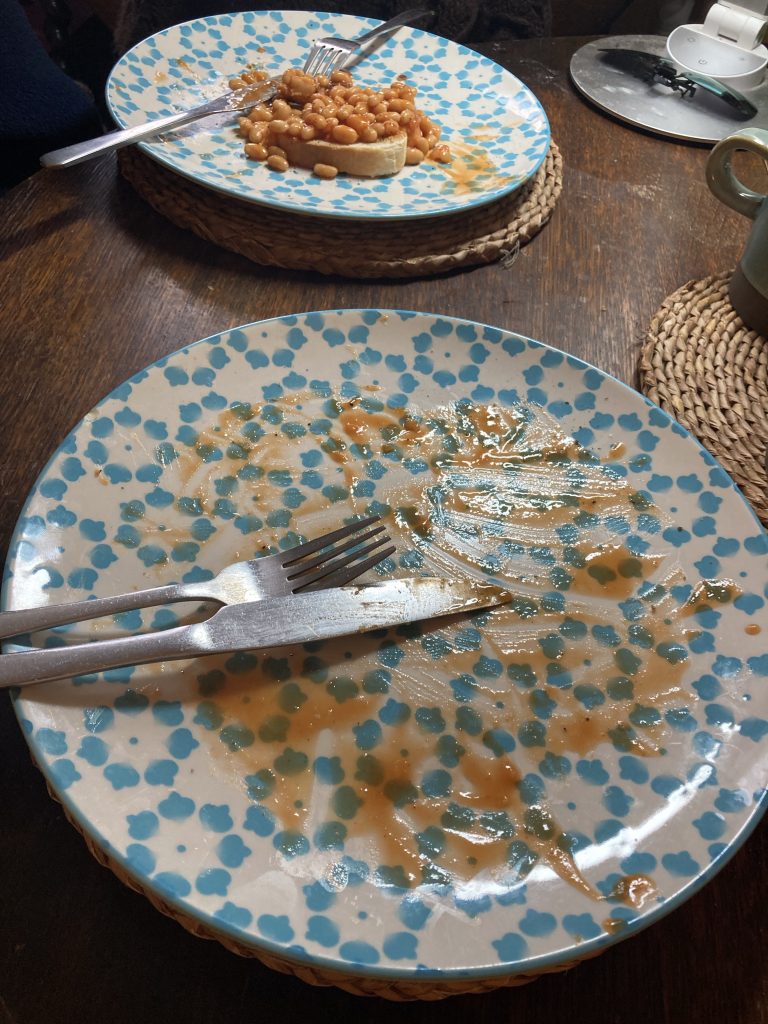
It’s coming on one, and time for a little light luncheon. I suggested kedjeree. Teresa wanted beans on toast. so here’s what all we had…
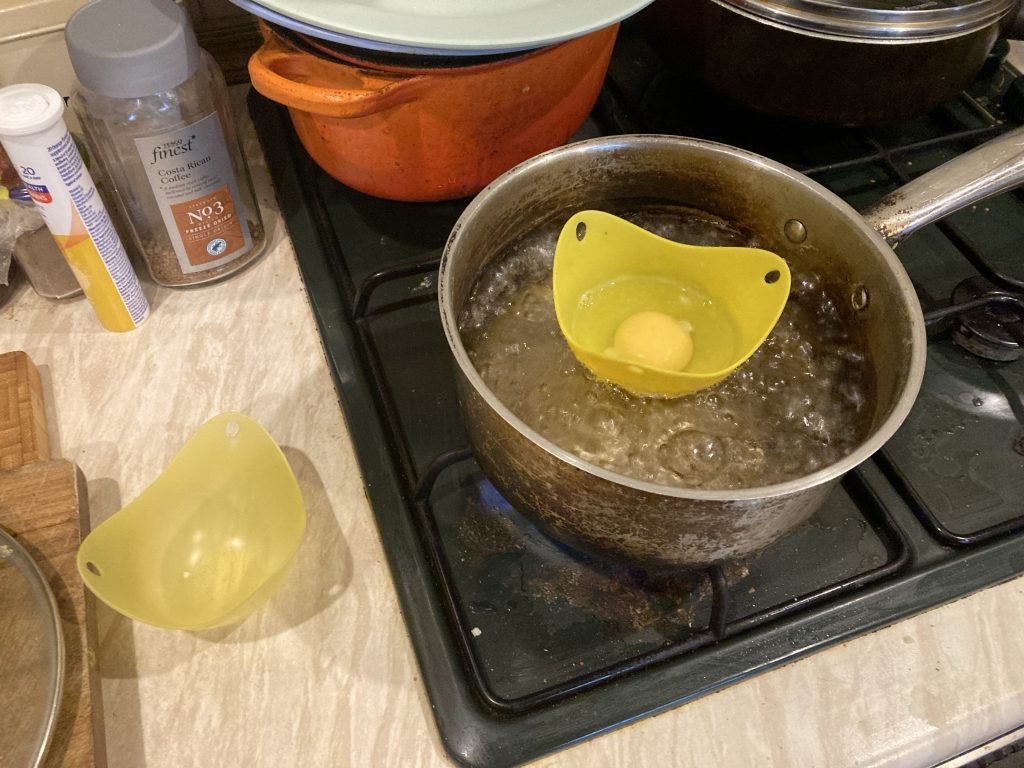
I used an egg-poacher we got off Amazon Vibe, years ago, for the first time ever. Doh! It’s great. Should’ve been using it for years.
Teresa had her beans on tiger-bread toast. I had beans on tater waffles, and a lone poached egg. Nice!
THiNKiNG/LEARNiNG: God & Good… are they related?

Re God & Good; are these terms in any way related? And if so, how?
I had an interesting chat with uncle Terry today. During our conversation he suggested – well, asserted, more accurately – that God means Good. And that that this idea stands for all the Abrahamic religions.
I have heard this said before, of course. Esp’ back when I was moving in Christian circles. But it’s not an idea I’ve often encountered since I left religion.
And I’ve always suspected – so far without bothering to look into the matter – that it’s a mistaken assumption. Based, initially perhaps, on what art historian Norman Rosenthal rather pompously and portentously (as is the way with too many art critics) calls ‘morphological resonance’. Or, in plain English, the two words look so similar, they must be related. Right?
Wrong!
I thought I’d simply ‘google’ the phrase ‘God etymology’, and did so. And I subsequently read perhaps four of five articles or essays on the topic. I’m linking two of those here, that I think are short and simple enough to make easily digestible reading:
And then there’s this, which is Wikipedia’s entry on the etymology and definitions of the word god/God.
What these folk, linked to above, who delve into the history and archaeology of words and language – call it etymology or philology, or whatever – have discovered, is that the roots of these words are obscure and unrelated.
And in tracing these deeply buried roots of meaning, they unearth concepts almost wholly alien to those embraced by the kind of idea embodied in the image at the top of this post. That idea seems to stem from and thrive in our very current need to soothe and calm ourselves in a busy modern world.
The needs addressed by our distant ancestors, and the consequent evolution of these terms – and I’m primarily taking about ‘god’ now (not good) – ironically address that same need – to help us cope with life’s adversities – but from a radically different viewpoint: one of placating higher powers, because they (note the plural) fill us with fear.
So god(s) were powers or entities, capricious if not outright hostile, we tried to placate with worship, offering libations, for example.
And it transpires that one of the strongest contenders re the origin of the term ‘god’ (at this time both plural and gender neutral; the evolution into a singular male deity being a much more recent development in the conception of ‘higher powers’ than are the roots of the word god) is, or rather are ‘god means either “the one invoked” or “the one libated”!
And those murky roots are located more in an ancient polytheistic soil of fear and incomprehension than in the self-soothing modern day platitude ‘god is good’.
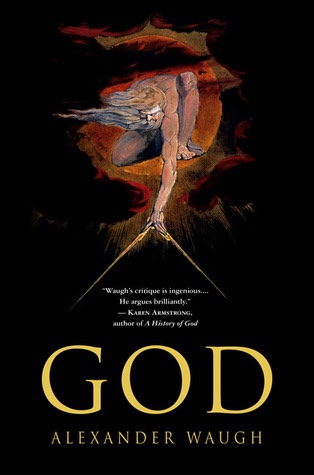
BOOK REViEW: God, Alexander Waugh

NB – This is a very lightly revised version of a review I wrote many years ago.
I really loved reading this book.
Waugh’s colourful and irreverent romp through huge swathes of material – mostly Biblical, but casting his net a bit wider, in terms of sources (albeit concentrating on the Judaeo-Christian deity) – much of which is either arcane, pure gibberish, or mixture of both, is both very educational and highly enjoyable.
It’s decidedly not a book likely to be admired by the devout. Indeed, I was made aware of it – and actually given my copy of it – by a believing friend, who refused to read it, for fear it will undermine their faith (exactly why he should read it, in my view).
From certain perspectives Waugh is, I’ll admit, more than a little disingenuous in his intro (to find out what I mean by this, I suggest reading it). Long before the end of the book one gets a strong sense that he finds the highly irrational, deeply contradictory, and frequently plain nasty image of The Almighty, which one glimpses through his multifarious sources, a very ill-defined (through over-description – or, in other terms, the hagiographies of hordes of believers – rather than any want of such descriptions), nebulous, and on the whole repugnant creation of the human mind.
It is remarkable how many of us non-believers feel so drawn to examining what a believer might choose to call our ‘apostasy’. I think it just goes to show how deeply enmeshed in our lives and cultures religion remains.
I might share the desire of many naturalists and free-thinkers in wishing to see humanity’s consciousness collectively evolve beyond the religious phase, but unlike Dawkins and some others, who at some points seemed to believe such a state was imminent, I think we’re a massively (depressingly) long way – as a species – from choosing rationality over superstition. But that’s exactly why books such as this are so important.
Waugh is at times flippant, and frequently very funny, but underlying all this (and despite the occasional lapse into cheap shots at straw-Gods) is the very serious desire to see, both for oneself and as a society, just who on earth this damnable God is, exactly.
Personally I loved this book and, having gone as far as buying copies for friends, would obviously recommend it to anyone interested in such things.

DAYS OUT: Mo’ choiches…

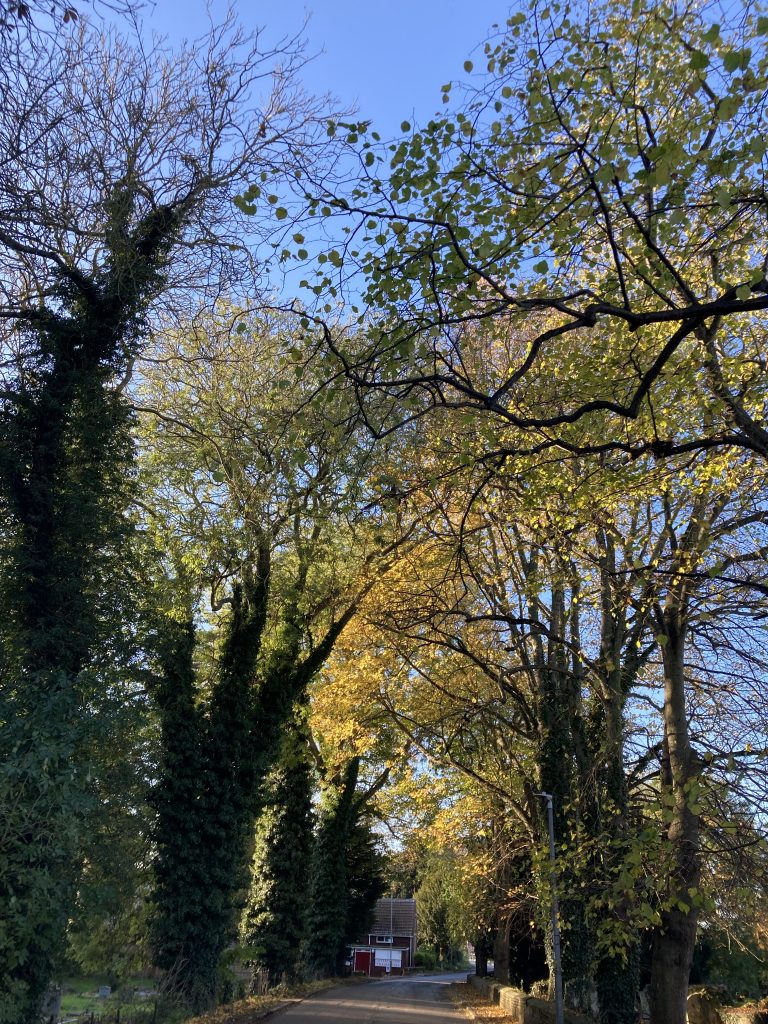
As ever, if, whilst I’m oot delivering, I spot some stuff I find gobsmackingly beautiful, I may tarry a wee while, and get off a snap or two. Flying solo, that’s fine. Teresa, accidentally along for the ride, wasn’t altogether settled with the idea/practice, alas!
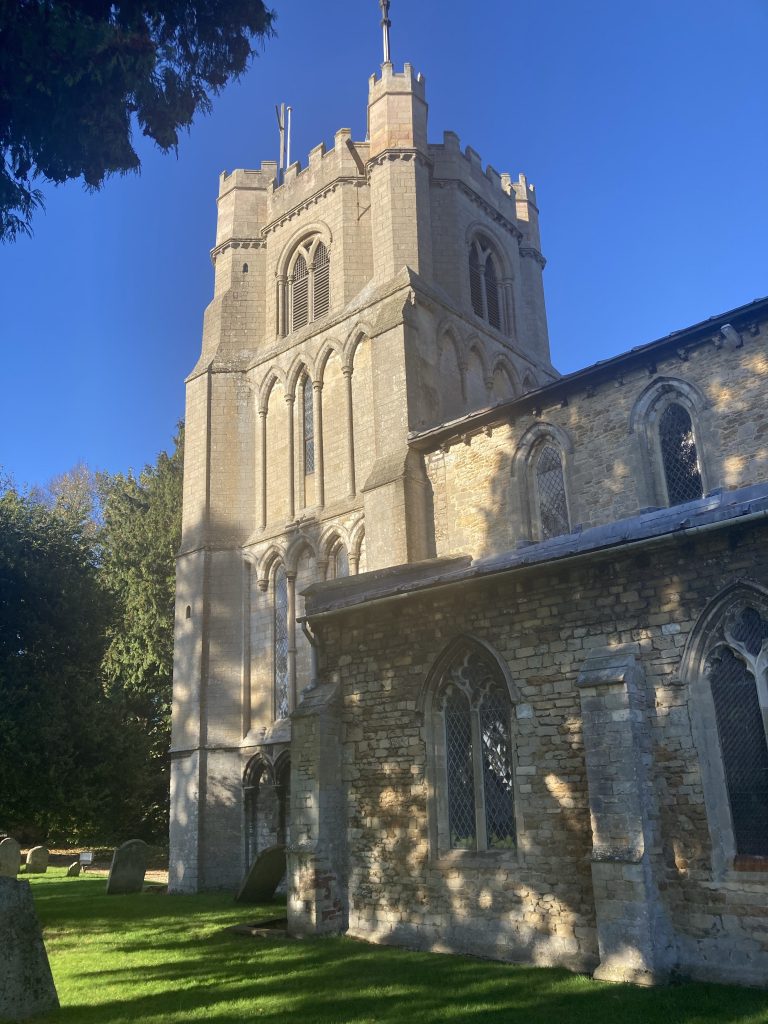
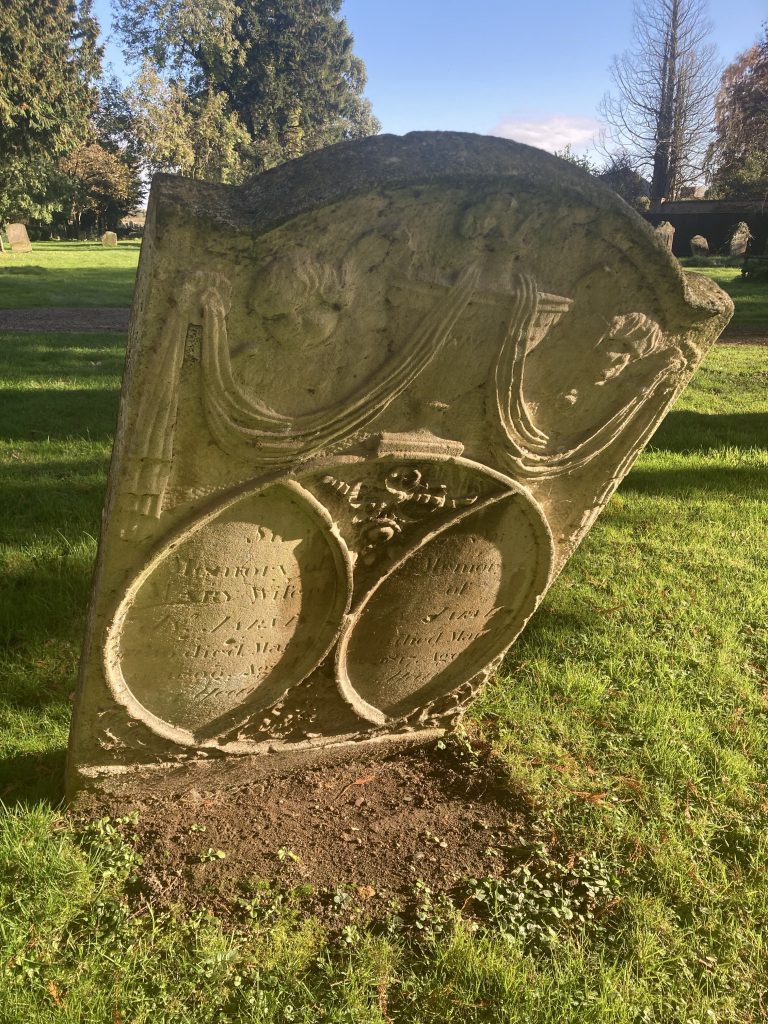
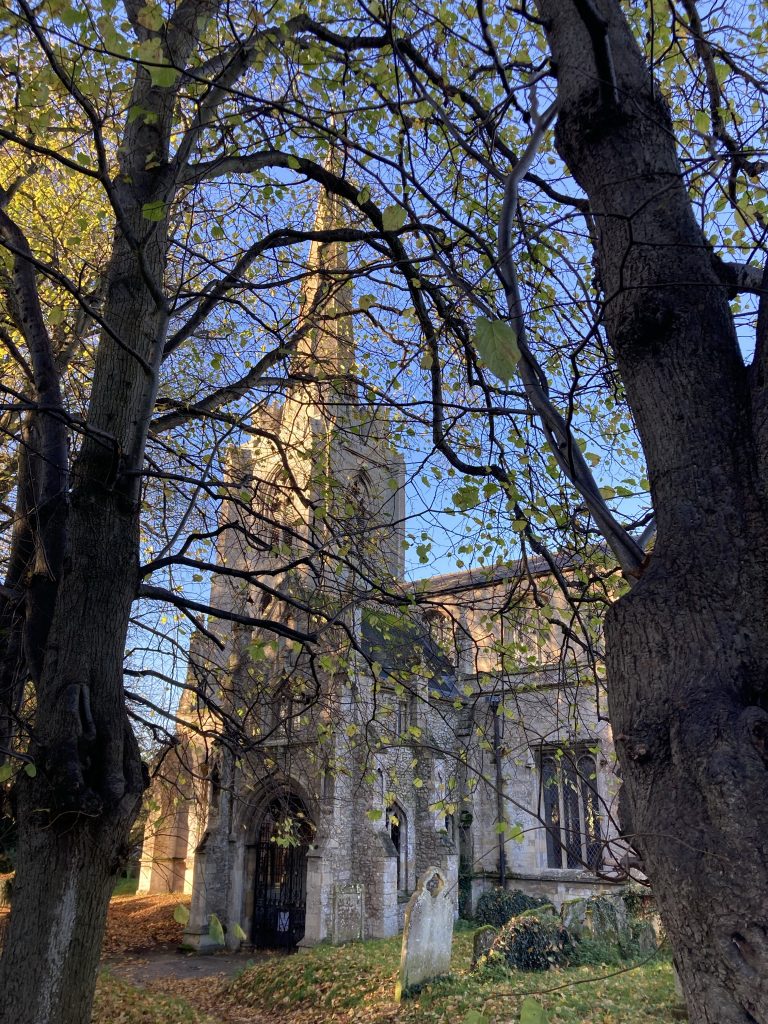
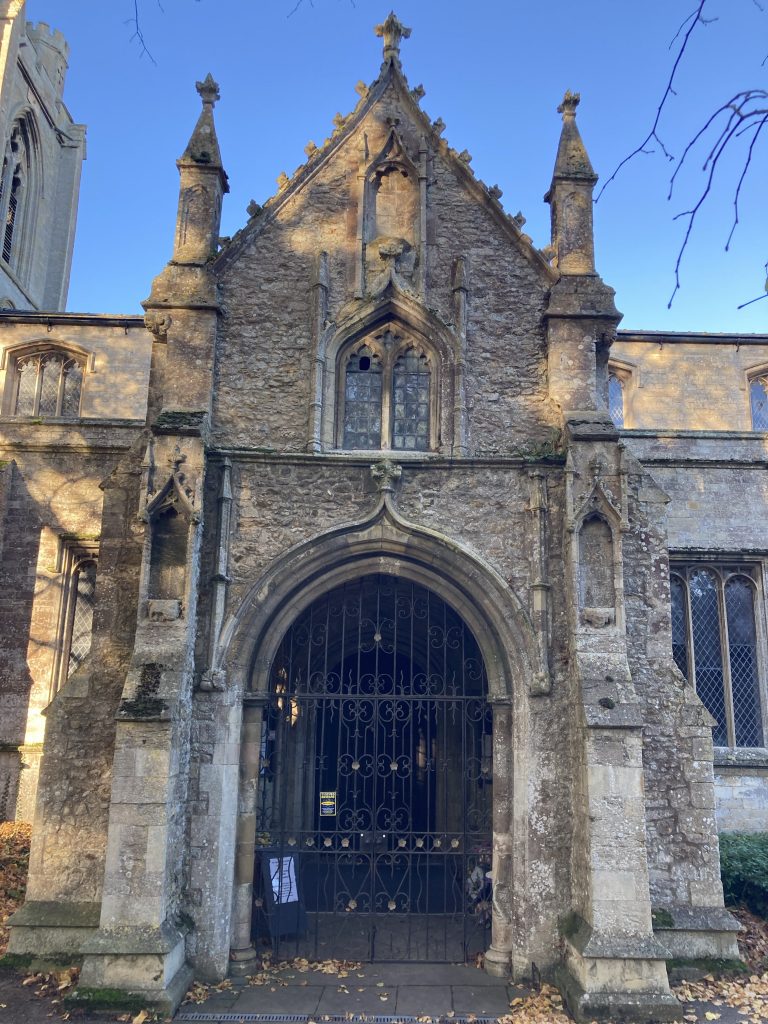
Our joint afternoon jaunt began with a drive, via Friday Bridge (love that name), to Elm (another lovely name!), to finally take a look at The Parish Church of All Saints, Elm. The crisply clear slanting golden light of a cloudless autumn day was poifeck.
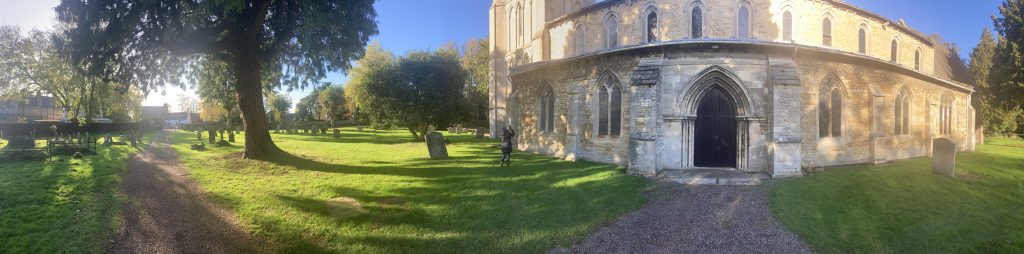
Sadly the church was locked. So we just had to content ourselves with walking around it. But it’s still beautiful to behold. Esp’ on a day such as today was, weather-wise. And the graveyard is very picturesque.
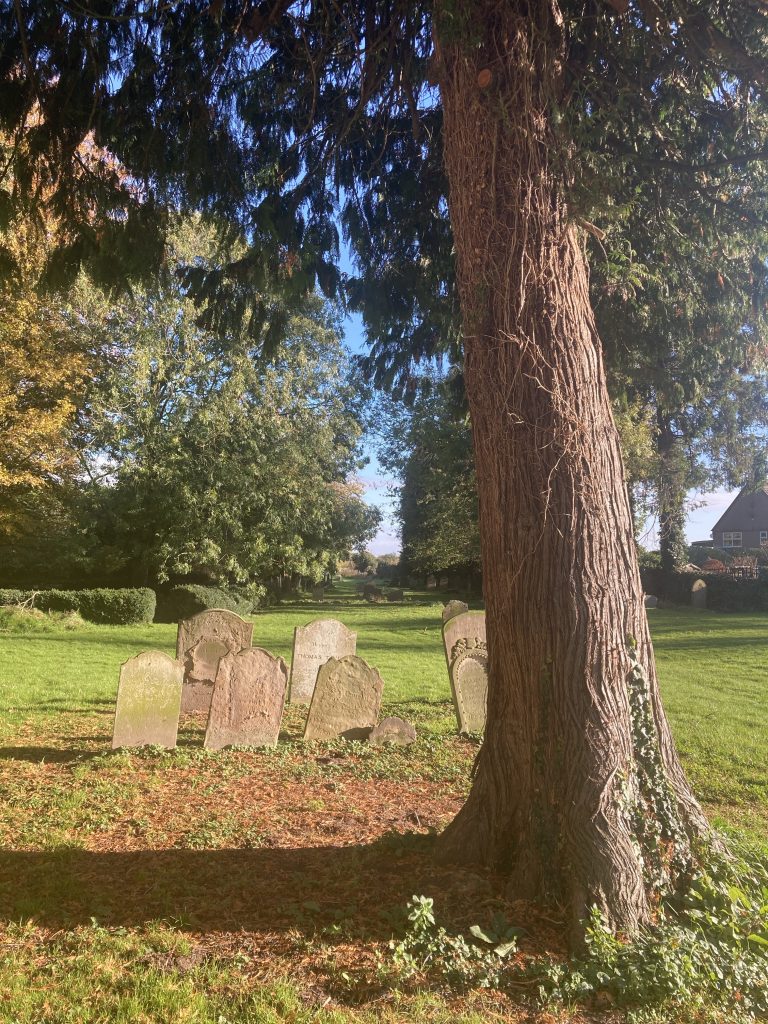
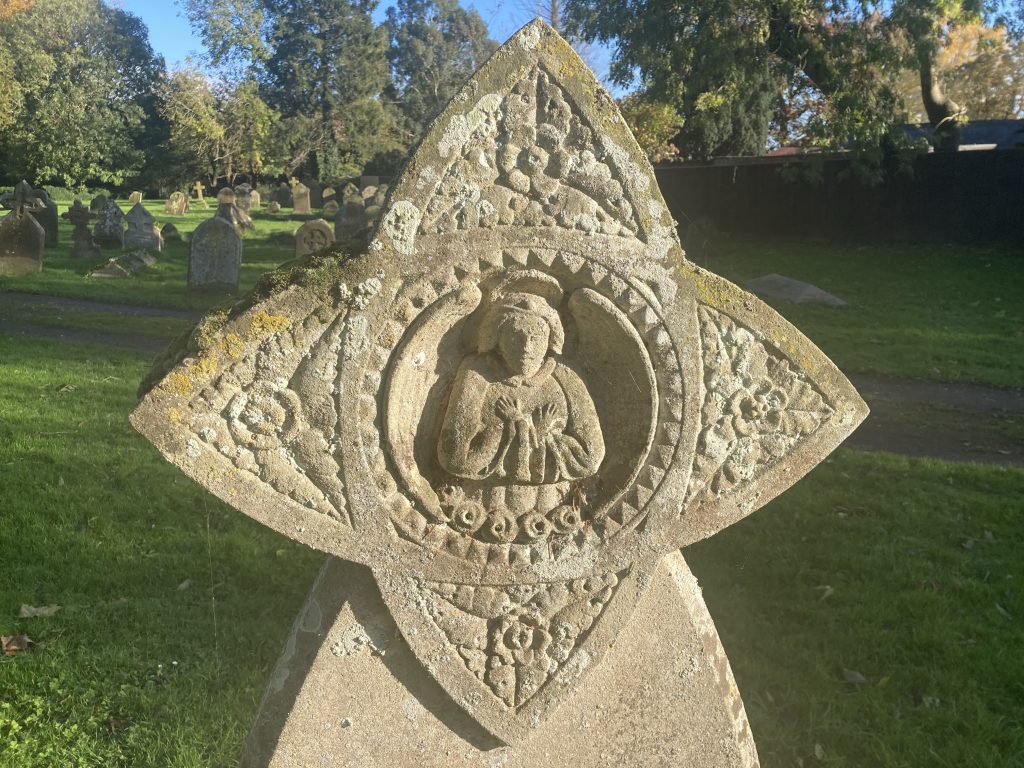
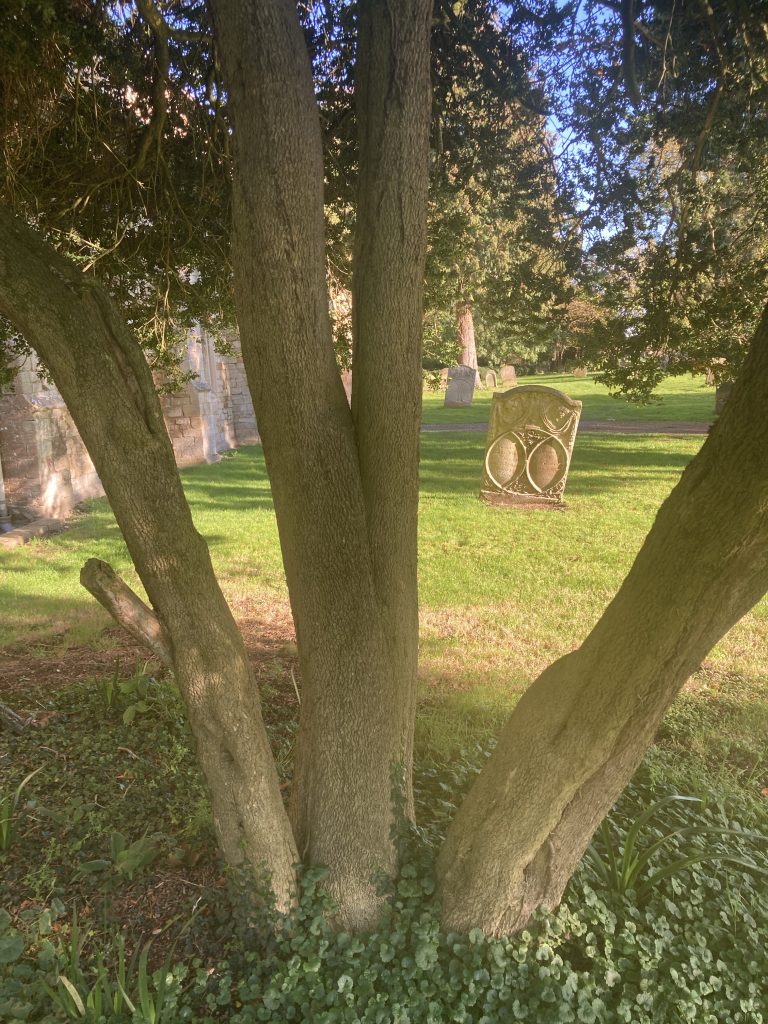
Admiring the human crafting and carving of certain headstones makes for an interesting comparison with nature’s slower and subtler encroachments.

I got so snap happy here, I very nearly forgot I had managed to book a delivery shift, and that said shift, fast approaching, was now really looming over me. Fortunately, once I’d realised, I was easily able to get to work on time.
‘It’s a corking leaner!’ sounds like Alan Partridge in full exultant flight (‘it’s an extender’… ‘smell my cheese’, etc.).
As I type this, I spy that the time … daddzzzzzxxscfrd ussreeedeerdddddddddygddd wxddddehdeezzzz deedryuttftfdtrr reds CCC mm … erm!? Woah… Sleep just produced that! I was trying to say it’s approaching 11.35pm! But I’m fading in and out o’ consciousness.
Midnight approaches, and I needs must sleep more… g’night.
Afore I slope off, back to snoozy-snoozeland, here are some more pics from todays peregrinations:
Another gorgeous looking church I was unable to explore the inside of today was St Leonard’s, Leverington. I’ll need to go back to the churches in both Elm and Leverington (and so many more!), to look around and document their insides.
And now to sleep, perchance to dream…
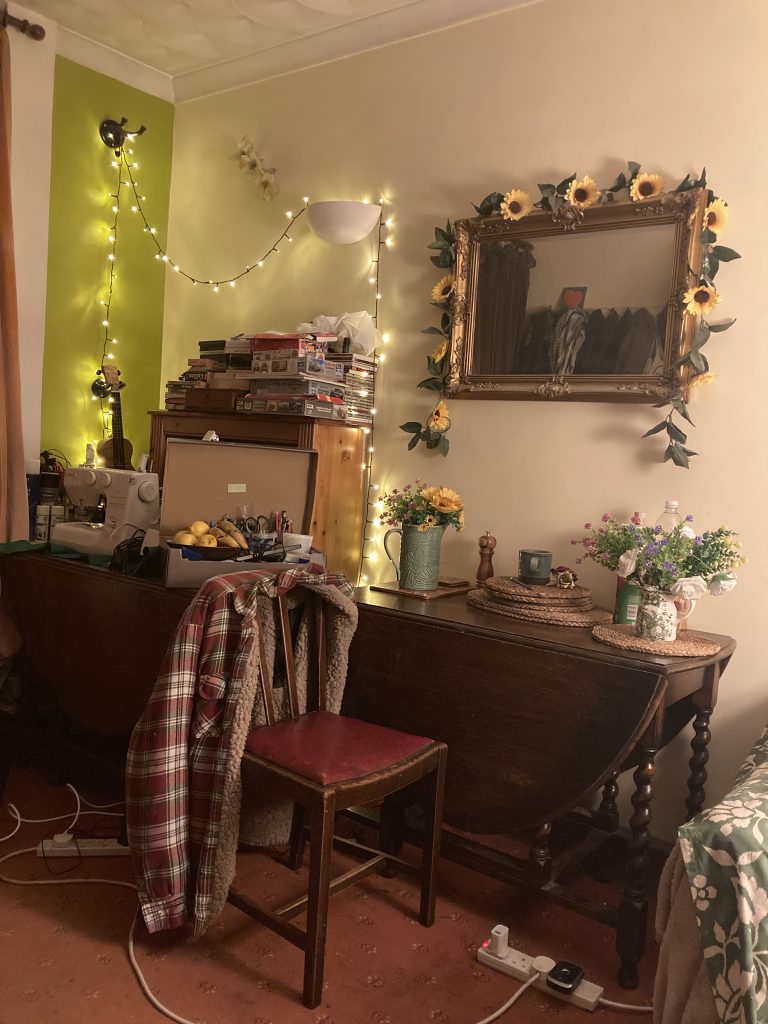
WORK/EAT/SLEEP: Strange Days & Weird Nights…

Just woke up from some damn odd dreams. Feels like it’s the morning of the day after. In many different ways. But, no… it’s only just approaching 9.30pm, the same day!
I went to bed at 7pm today. Had several nights on the trot of borderline insomnia. Also been feeling ‘well weird’, when I awake. As I’m on a cocktail of medicinal drugs. Wha’s gannin’ on, leek?
Did quite a lot today. Albeit all little things. E.g. dropping an electric sewing machine back to its owner; Teresa borrowed a machine from Debbie. Couldn’t get it working. So it finally went back home today.
I’ve been experiencing a slight return of arthritic pain, as well. Mostly in my hands. Especially the left one. But also in my upper spine/neck. I’m in pain now. And weirdly dehydrated.
At a recent doc’ appointment I had to argue hard for a renewal of my co-codamol prescription. I thought Dr Joyce acquiesced. But what I eventually got, via her latest prescription, was something different.
I’m also trying to cut down on booze. Maybe cut it out altogether. Am I feeling some strange withdrawal symptoms? Should I give AA another go? So many questions! And, as Vinnie Coliuta has said; ‘thought is the enemy of flow.’ Do I agree? No idea!
The day started with a few messages ping-ponged back n’ forth with our neighbour, Mel, at #59, whose son is or was visiting today. She’s normally quite chatty. Not today tho’. So of course, my latent and omnipresent paranoia kicks in.
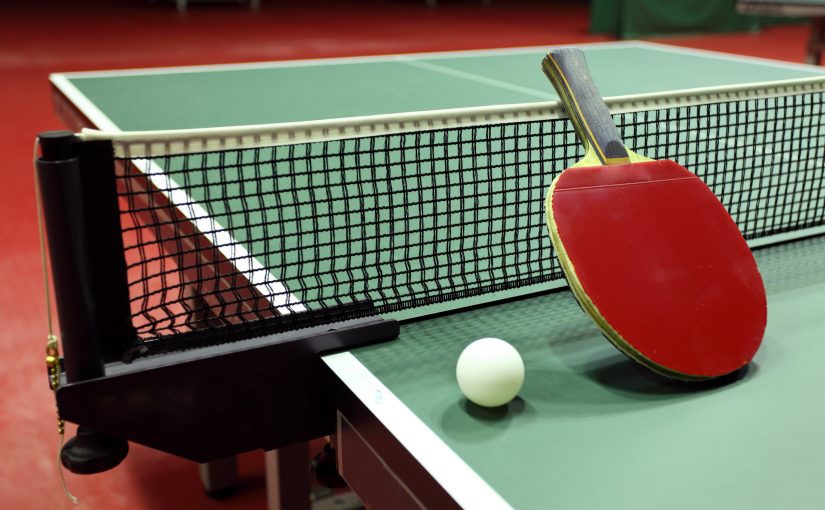
Then, this art’noon, Teresa comes out wi’ me for a drive. Having had no work all day, thus far (despite hours of potentially arthritis aggravating thumb-football*), I’m still trying to book stuff. And boom, en-route to Elm – to view the Church there (see next or previous post) I get a Wisbech Morrisons shift. And it starts so soon, Teresa needs must come avec moi.
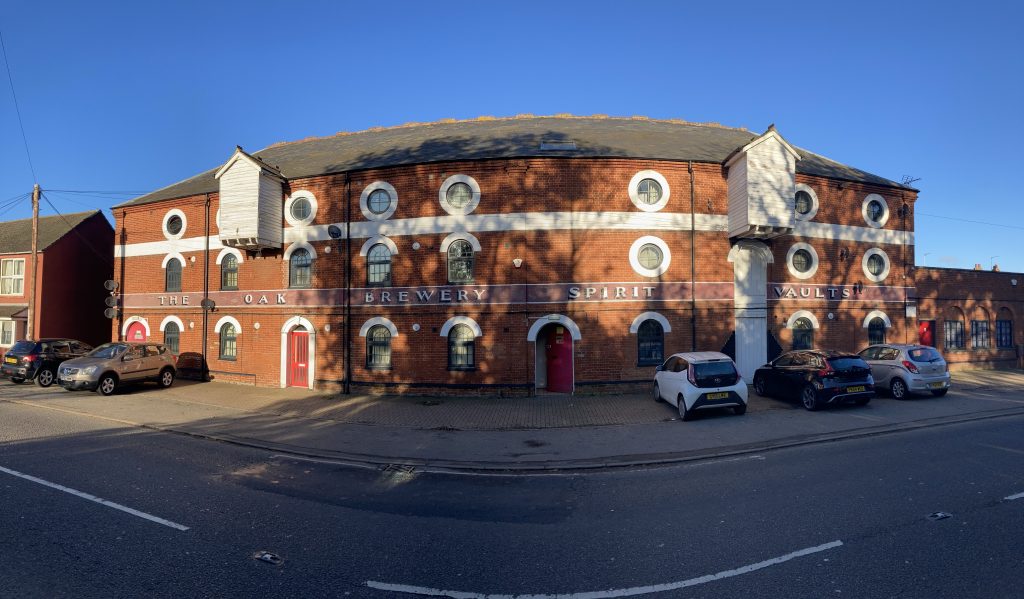
So our short afternoon drive/walk, becomes a longer excursion. I enjoy my delivery work. And I get out, whilst on the road, to snap a few things I love the look of, such as this former brewery:
Having Teresa along during work can be quite pleasant. Today, however, she was in nagging mode. Not my favourite! Hey-ho…
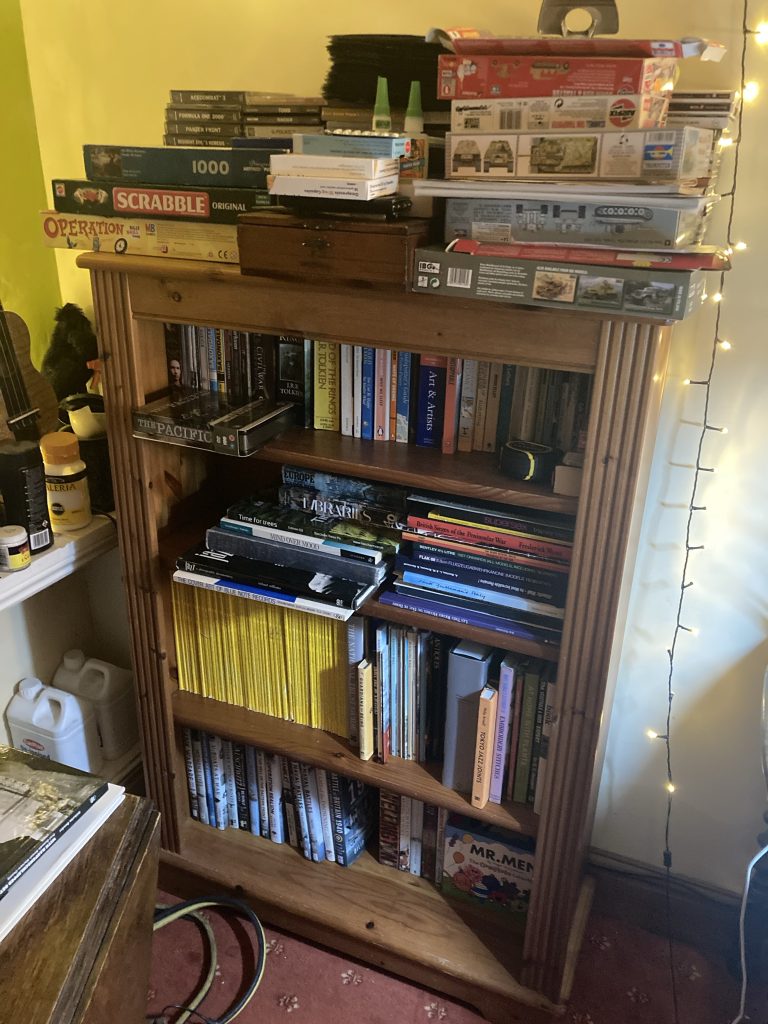
She more than redeemed herself this evening, however, with a delicious chicken curry, and lentil dal. After which I tried to do a bit more modelling (on the Tiger I), but failed. Instead I wound up mostly moving books onto the new (FC) shelving unit.
I vacuumed our hideous downstairs carpet. It’s a reddish version of the pale blue fleur de lys pattern that I recently got rid of from our master bedroom. It needs to go the same way; down to the municipal dump!
The day ended, kind of, with a long chat with uncle Terry. Initially ostensibly about a grand piano I’ve been offered, via Freecycle. Oh God, how I’ve yearned for one, over the years. Tho’ perhaps I’ll admit I always thought a baby grand would be more than adequate!?
But after being advised it was most likely a bad idea (which is the advice I’d fully expected), the conversation morphed into a form of unofficial counselling session. I’m not keen on this. But it does happen. Maybe it needs to?
I feel sapped of energy a lot of the time generally. Could be my underlying medical conditions – psoriasis and assoc. arthropothy – could be the meds for those issues (or a combo of ailments & meds, etc.) – or just that I’m 51, and getting ever older.
Such chats as I had with Terry tire me massively. And probably do for the other party as well!? So afterwards I went directly to bed. Not even knowing or caring what time it was. And, unlike the previous few nights, I was soon deep in the Land of Nod.
Turns out I went to bed about 7pm, a new early record for me. And I awoke, from very weird dreams, at about 9pm. Thinking it must be Saturday morning!
I write this sometime later; after a ‘midnight pee’, some water, two pain-killers, and this blog post… so, here I am!
FOOD: Doro Wat

Some time ago I wanted to make a proper egg-mayonnaise sandwich. So I ‘googled’ the topic. Particularly important was being able to peel the eggs without totally butchering them.
I found a really egg-cellent website, getcracking.com, which sorted me out on that front poifeckly.
This very useful web resource also suggested that readers try Doro Wat, an Ethiopian chicken curry recipe that uses hard-boiled eggs. So I’m going to cook it tonight, for us, and Dad and Claire.
… much later the same day.


My own work, above; not looking quite as good or appetising as the getcracking.com example at the top of this post.
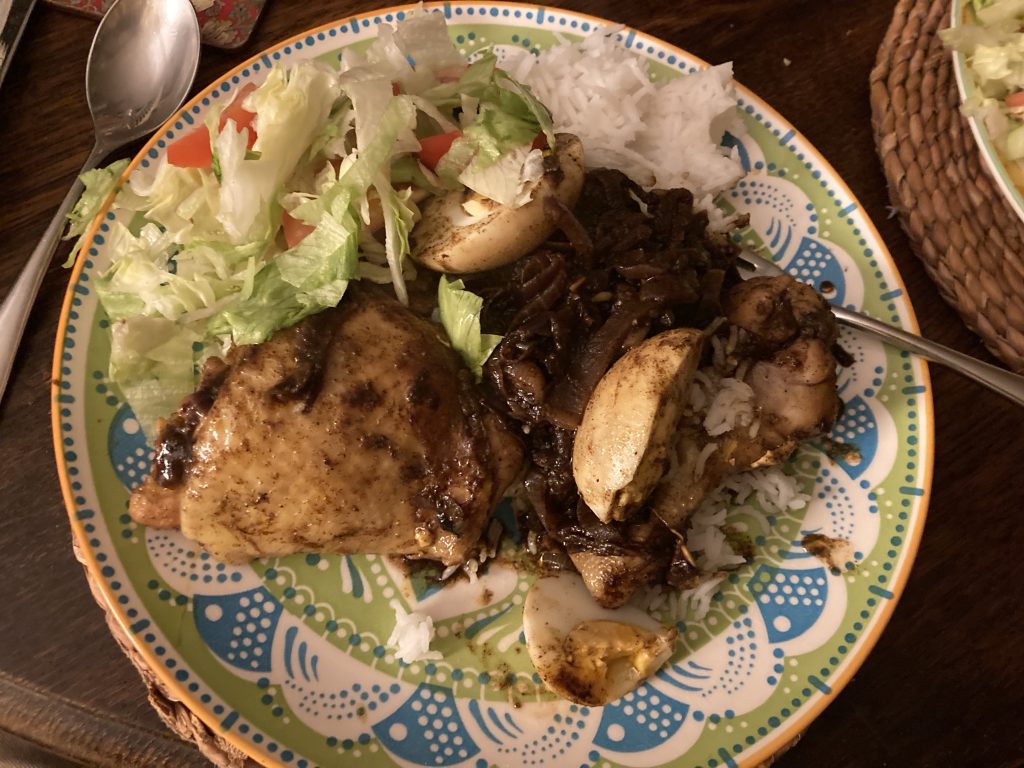
Dad and Claire did eat with us (sadly, brother Sam could’nae join us). And survived! If I made it again, I’d change it up a bit. I’d do chicken breast pieces, and brown them off earlier in the process, not huge bits on the bone and cookies at the very end. I’d add more ghee, and prob’ also more chilli, ginger, garlic and water.
If I’m totally honest, it was merely ok. Quite nice even. But perhaps not something to write home about? The ‘berbere’ spice mix – so many spices! – which smelt very fragrant initially, somehow didn’t quite pack the expected punch. Still, worth a shot. You live n’ learn!
Lovely to spend the evening with Dad and Claire as well. Plus, whenever we have guests round, an incidental benefit is that we will usually tidy the place up considerably.