Today was pretty weird. I had a counselling session at 10am. I barely managed to get myself out of bed in time to be there. So of course my counsellor was late. That figures.
Then whilst mid-session, some work comes in. I’m having to take this kind of drop of the hat stuff, to ensure some money comes in. That plays havoc with arrangements. Such as my meds being dropped off ‘pm’.
Naturally I get a call during my delivery route, asking where I am. I’m working. As and when I can. Fortunately my meds can be (and are) left with a kindly neighbour. It’s bit of a faff. But it gets sorted.
Back home, and straight into a bit of weeding in the garden. Take several buckets filled with nettles, numerous stings to remember them by, and other green garden waste, to the dump.
And then an interlude. A farewell to an era, perhaps? A need to be outdoors. Free for a brief spell. A pleasant respite from ‘purpose’. A beer and a smoke. And then back to reality.
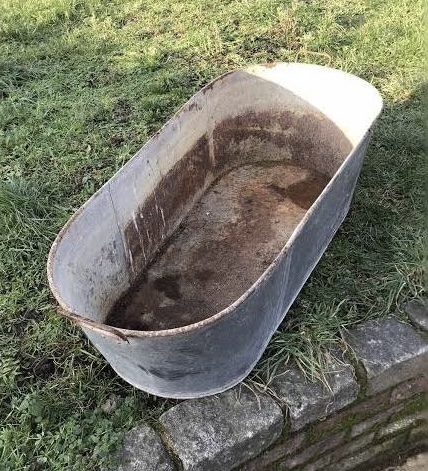
With a (free!) tin bath strapped in the boot, and empty weed buckets, it’s back home for dinner. Teresa’s terrific. Where would I be without her? A lovely pasta meal ready. And she’s pleased about the work and the weeding, and even the tin bath!
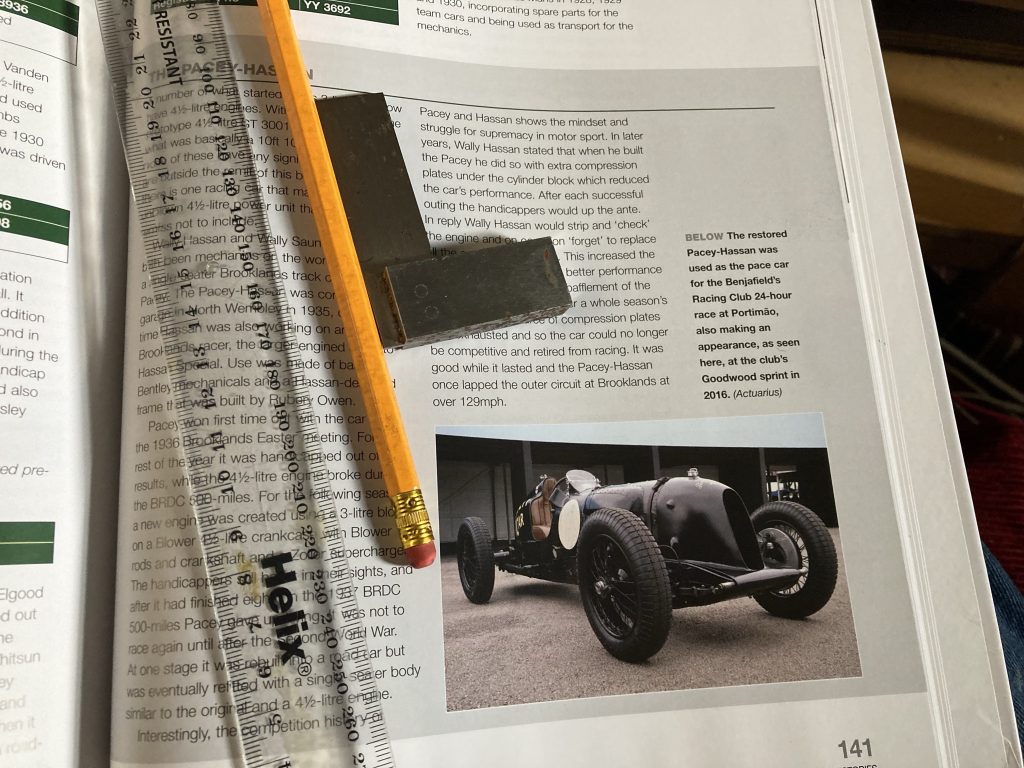
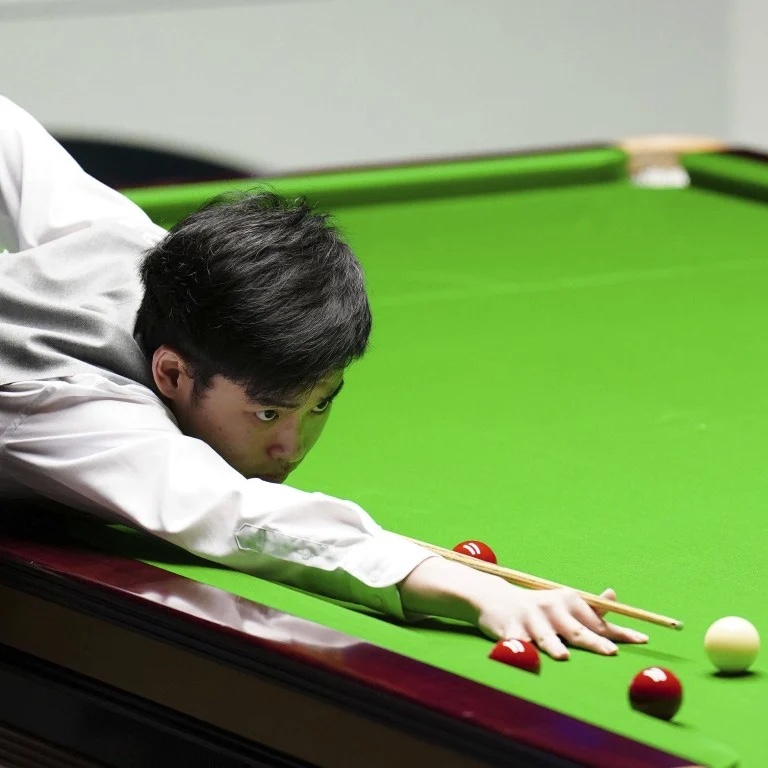
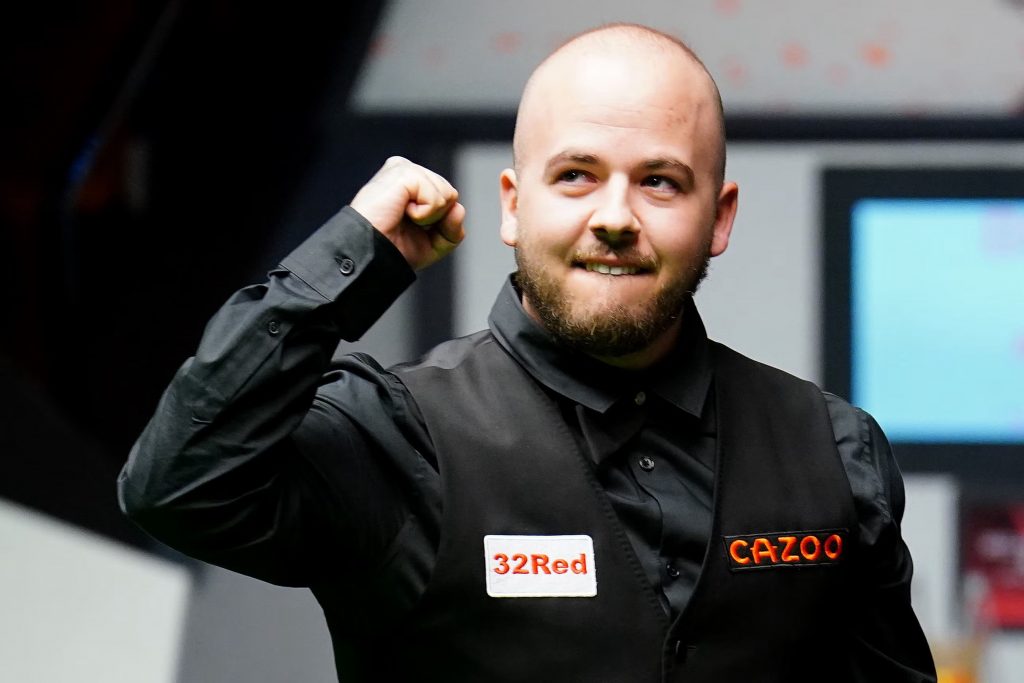
A bit of TV: Fred Dibnah frothing over the golden age of steam, and a bit of 147 snooker action on YouTube. A Guinness and some pud? All good!
And then from tin baths to hot steaming watery baths. Ah, bliss. But I’ve burnt my neck, driving around delivering with the roof down. The cool drivers’ breeze means I don’t notice sunburn. Better start carrying sun block.
The nettle stings, quite vicious at the time, are all gone. Now the pain is sunburn and a headache. Beer and smokes, sun behind the wheel? Ok, so I’m paying with a mother of a headache.

But all things considered, todays’ pleasure pain balance has at least been not just tolerable, but slightly weighted towards the better end of things. And thank goodness.
And finally, bed. How I love bed at the moment. It’s a soft warm womb-like haven. And to be clean and warm, and a bit woozy from sunshine, booze, dinner and a hot bath? It outweighs sunburn and existential angst. At least for now!
*Not our old tin bath. I’ve seen folk selling these online, for £100-200+! I’ve half a mind to clean ours up (only a little; patina is good!), and see what we can get for it.