HOME/DiY: Shed Roof… Finally!

Working up on the roof.

Earlier today I finally got around to starting the roof on shed #4. We bought the OSB3 boards some few weeks back. But since then there simply hasn’t been either the time, manpower, or appropriate weather conditions (too wet, and/or dark!), to ‘get it up’ (chortle!).

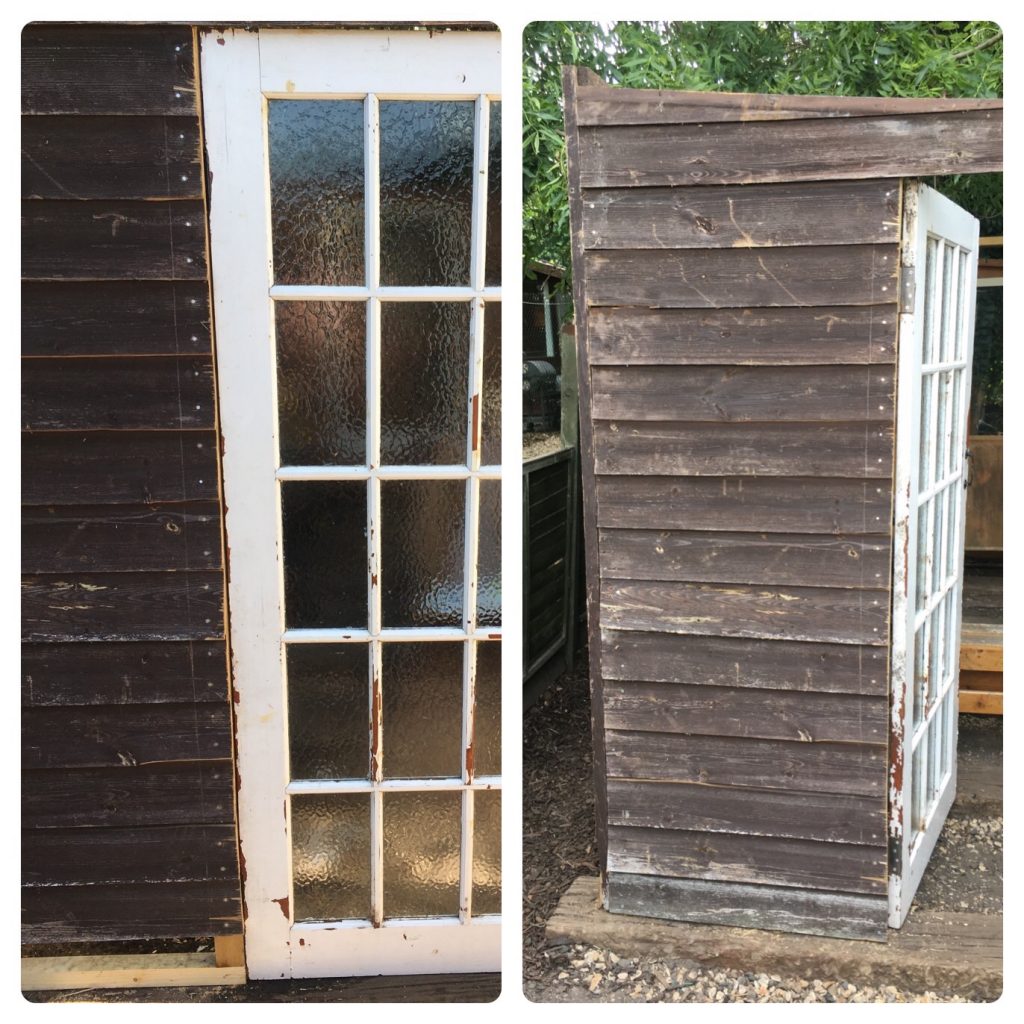
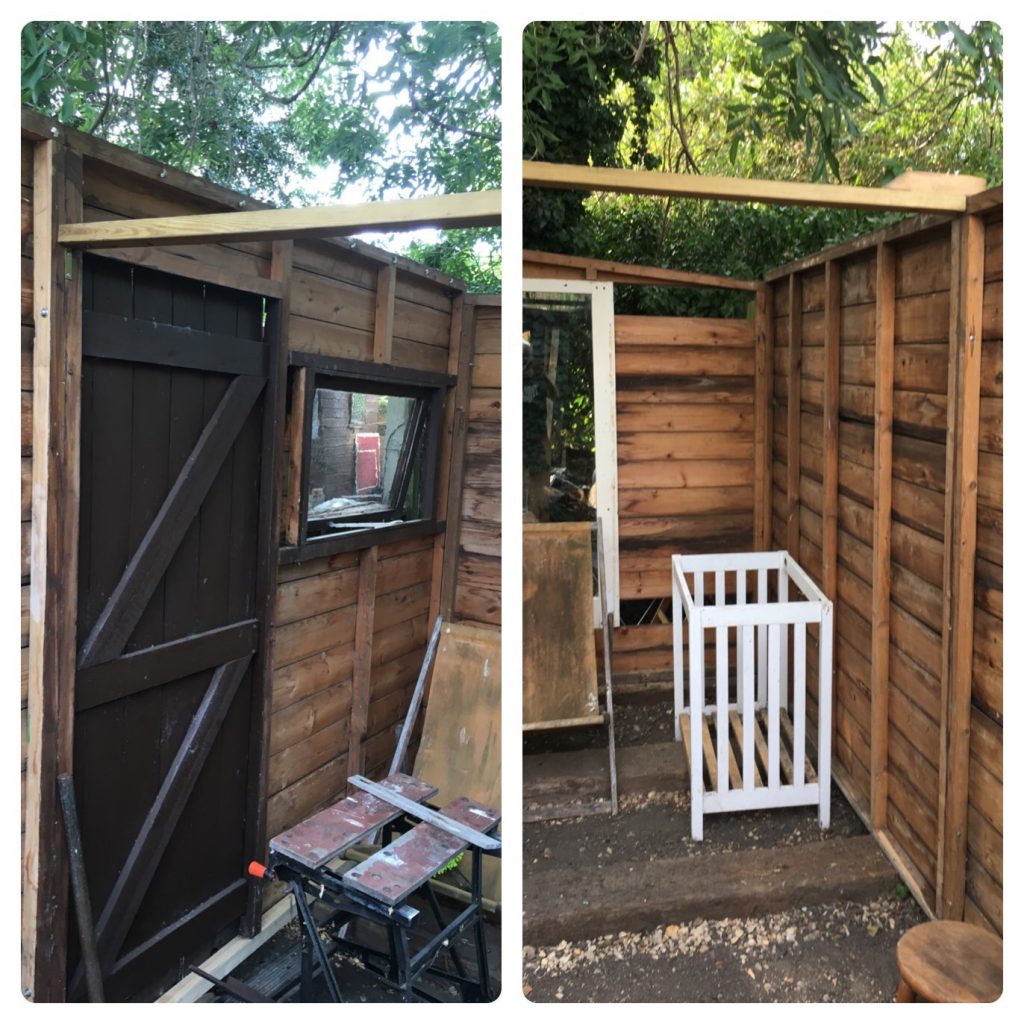
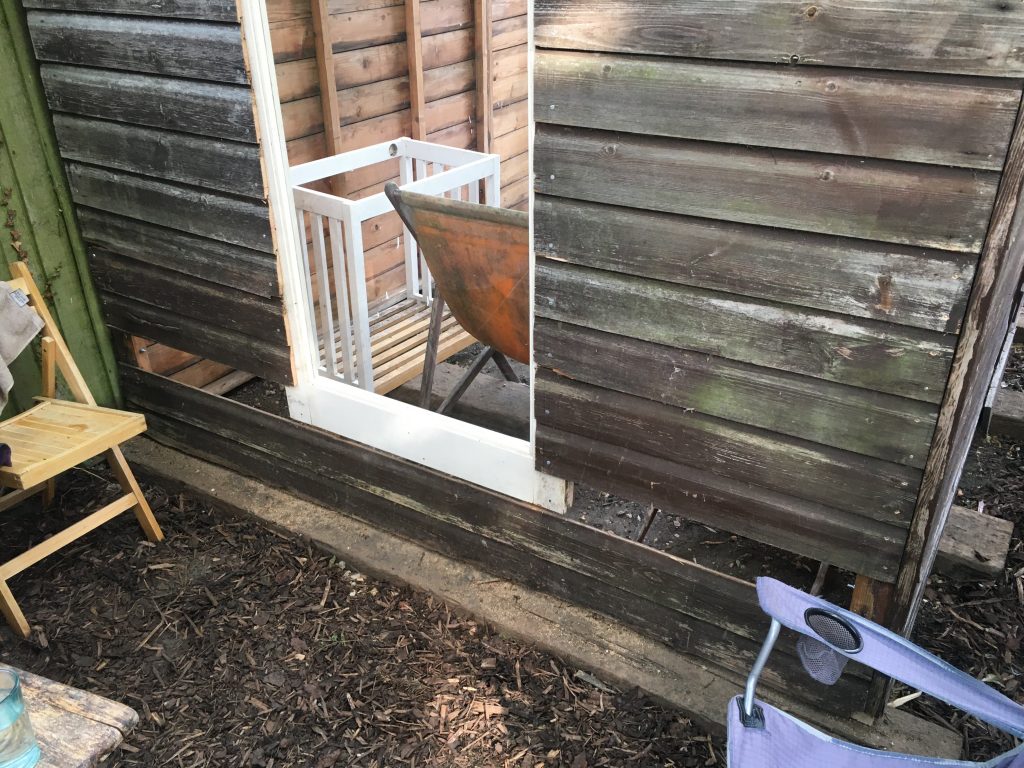
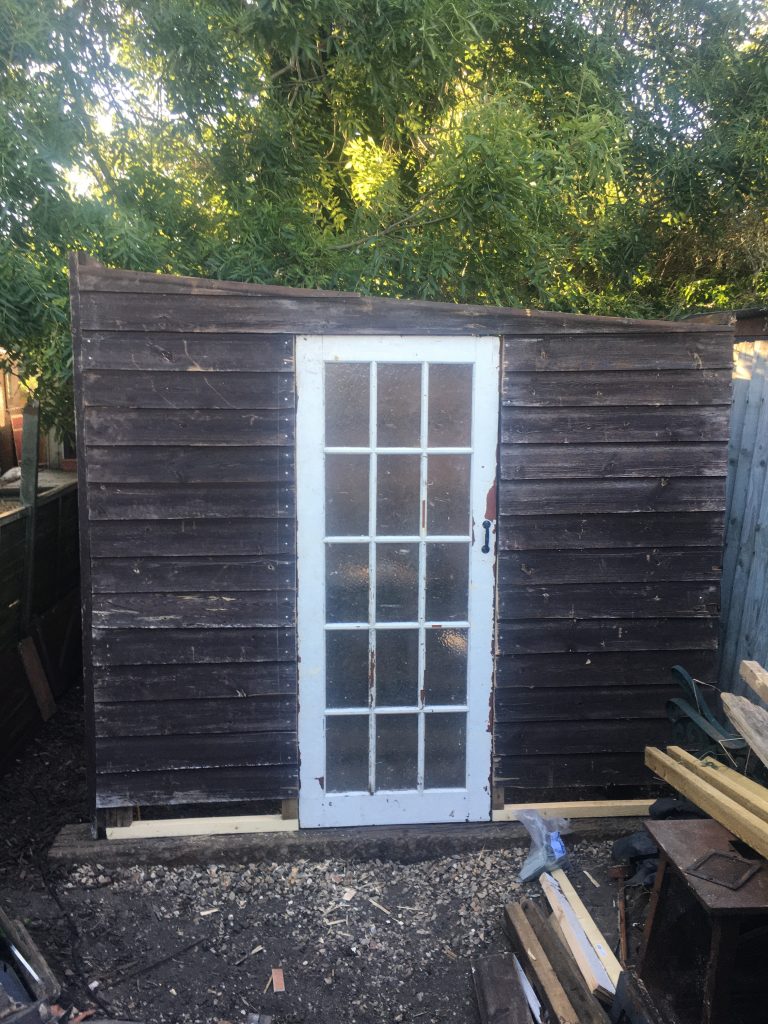
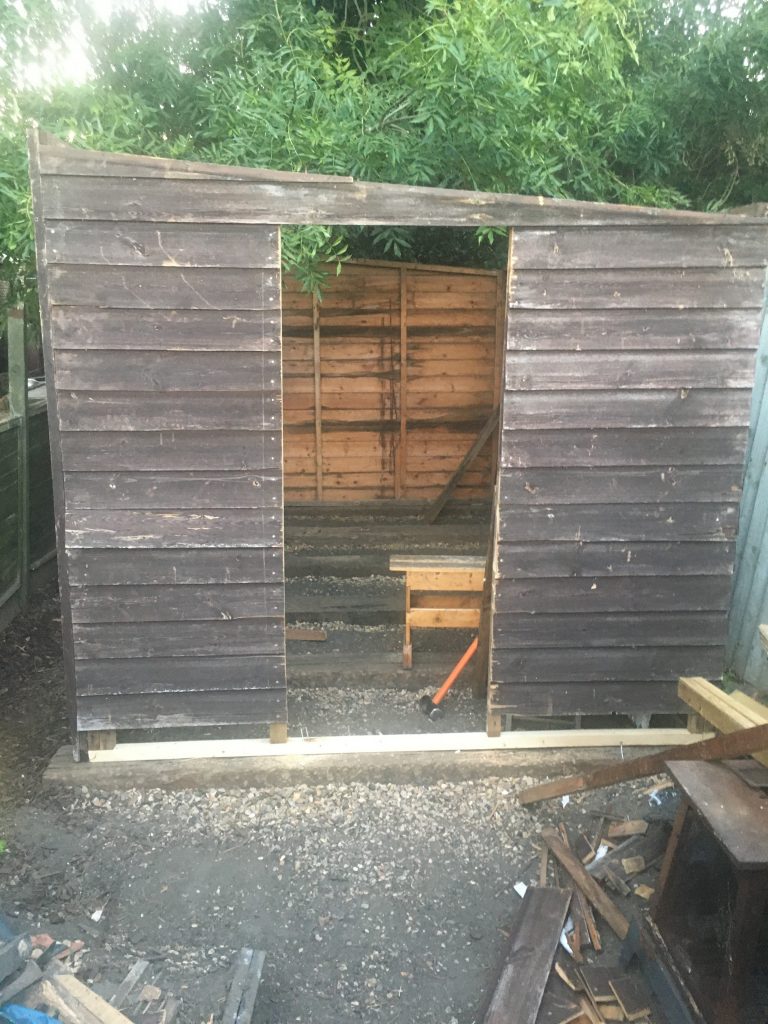
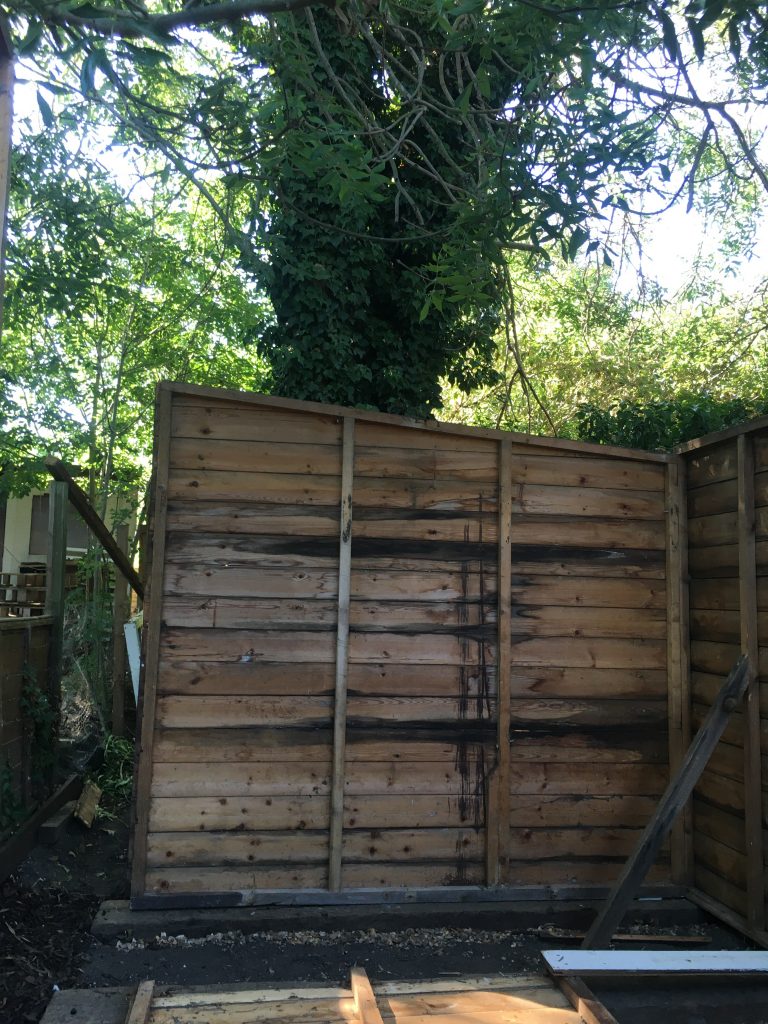
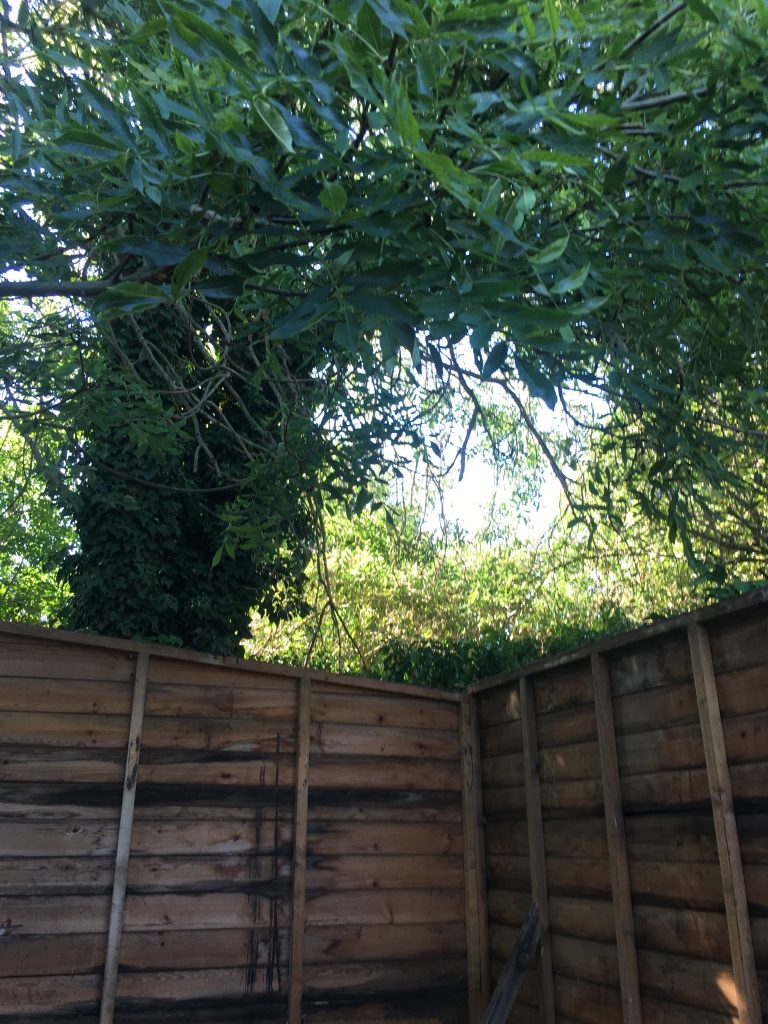
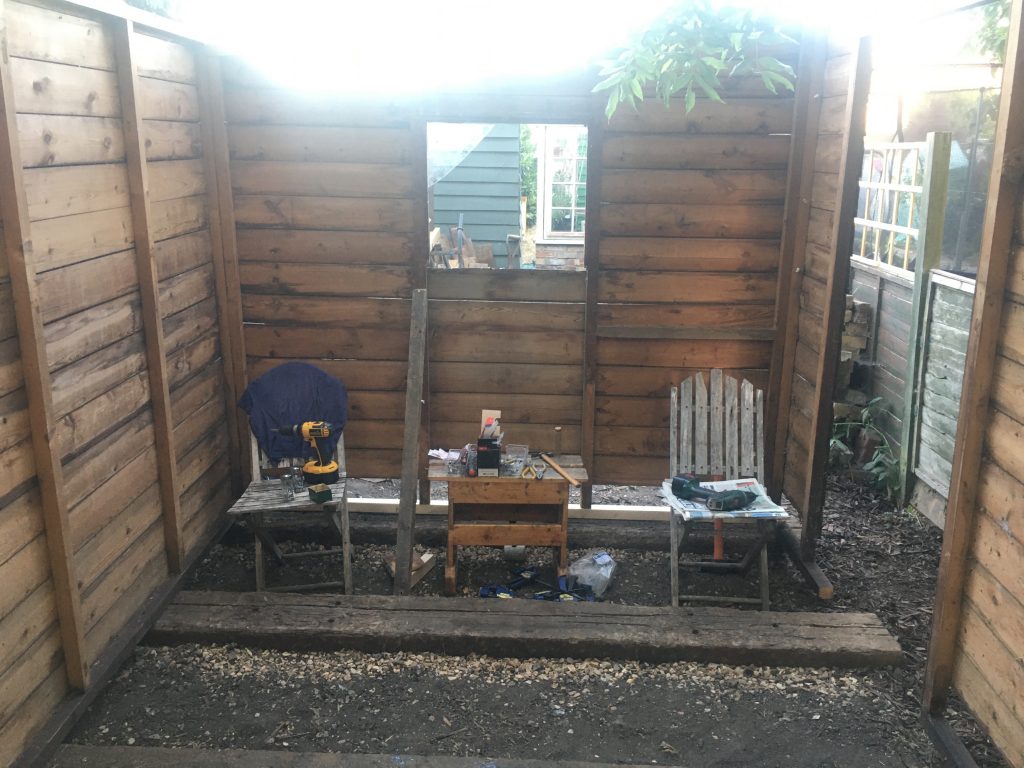
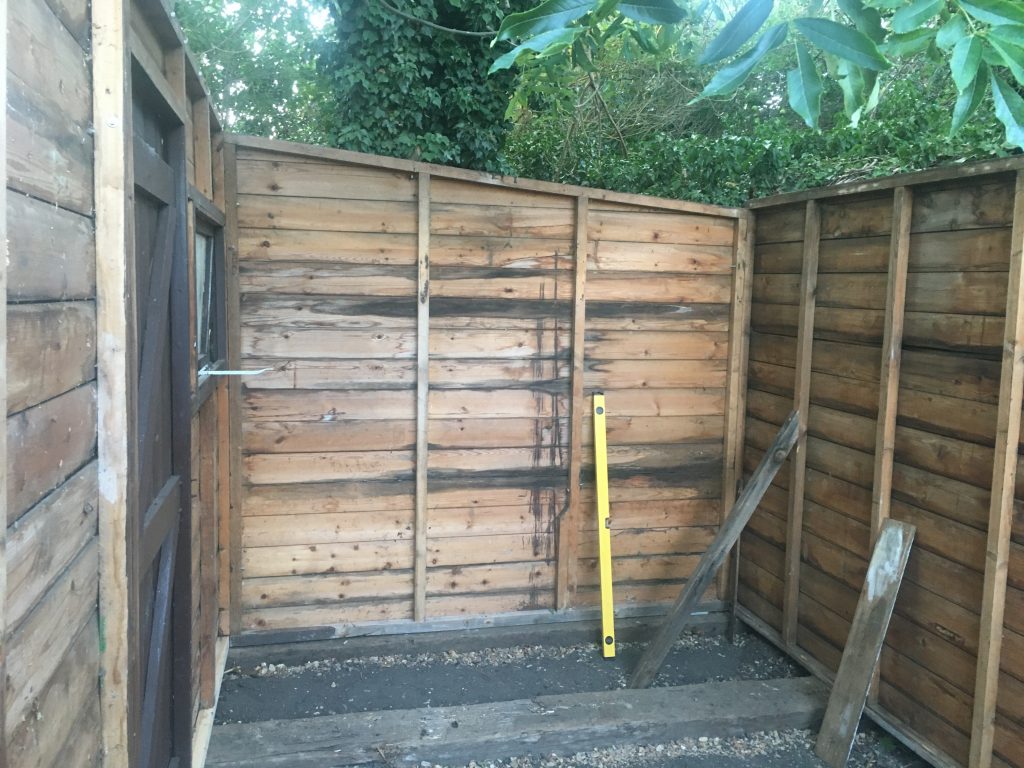
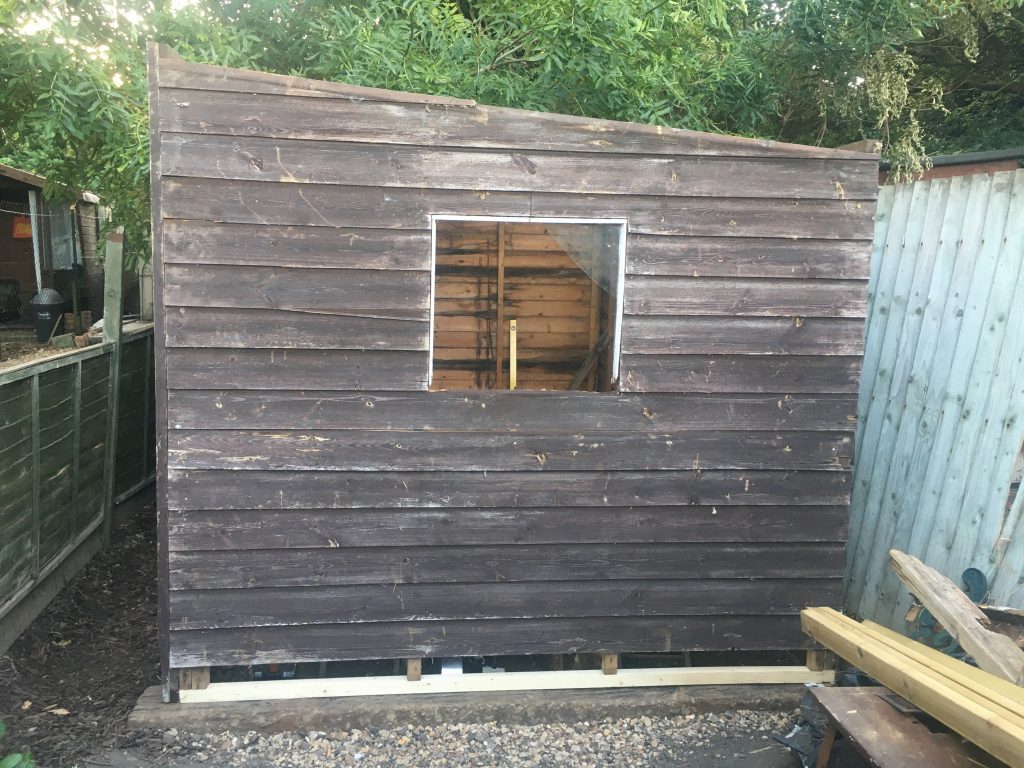
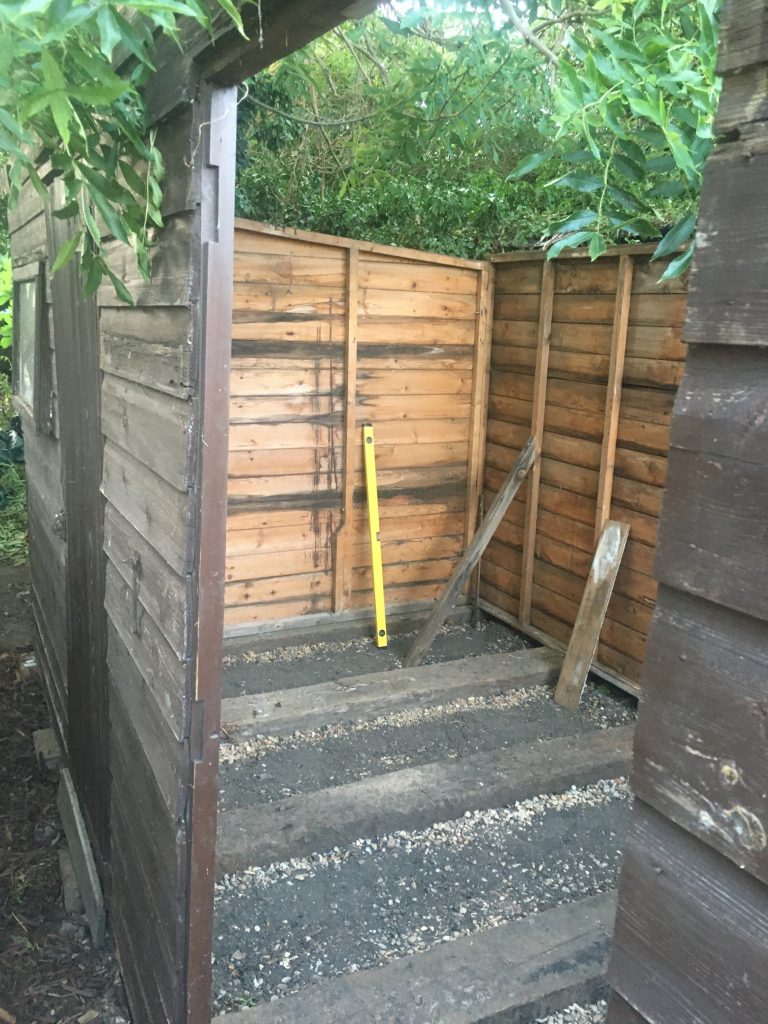
Perhaps unsurprisingly the shed itself has proven to be a little out of square. Meaning that the roofing panels don’t line up as precisely as one would’ve liked. But, hey-ho, ‘tis wadi ‘tis!

Looking towards the rear of the shed.

I’d gotten three panels in place when Chris, our fairly new neighbour – they moved in about a year ago – offered to help. I said ‘nah, I’m alright, ta’, as the real work had been moving the boards, and Teresa had already helped me do that, earlier in the day. I got some excellent Roughneck branded board carriers, which really helped when it came to moving the boards.

Chris then suggested a trip to’t local Wetherspoons pub. And I jumped at the opportunity. Poss’ my first social ‘drink with a mate’ scenario in three or more years! And that, as much as the roofing work, is what prompts this post. Here I am, back home, pissed. Bit of a hangover. Teresa a little miffed at my going out like (and for as long as) I did, etc. I certainly had too much to drink. Three pints and a double rum’n’coke.

Looking towards the front.

I do worry, on this head, as my dad, and his dad afore him, are/were alky-horlicks. And I don’t want to be one… no sir-ee, nor me neither! But, time and again, I drink too much. Fool that I am! It’s fun at the time. But what I really dislike is the aftermath.

Bloated, gassy, with a headache. All things I’m prone too anyway. And ‘Al Cahole’, famous Chicago prohibition-breaker, just exacerbates these conditions. Oh, and it also makes me more likely to do other dumb-ass shit like smoking. Or just gabbing a little too freely.

Garden looking pretty.

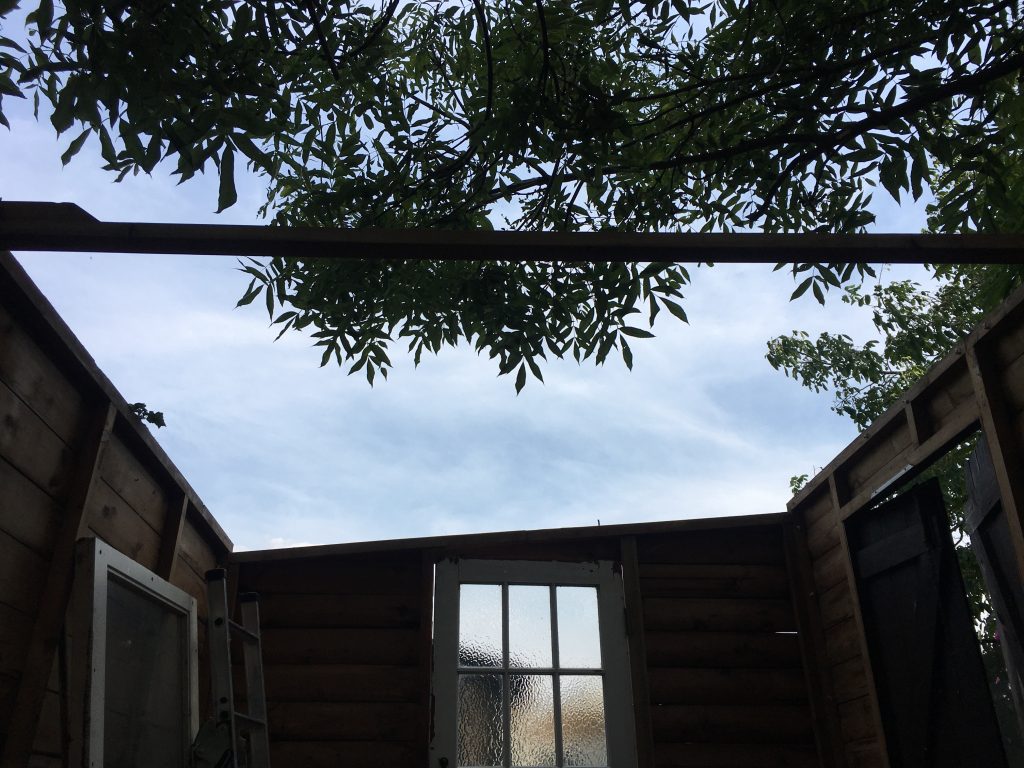
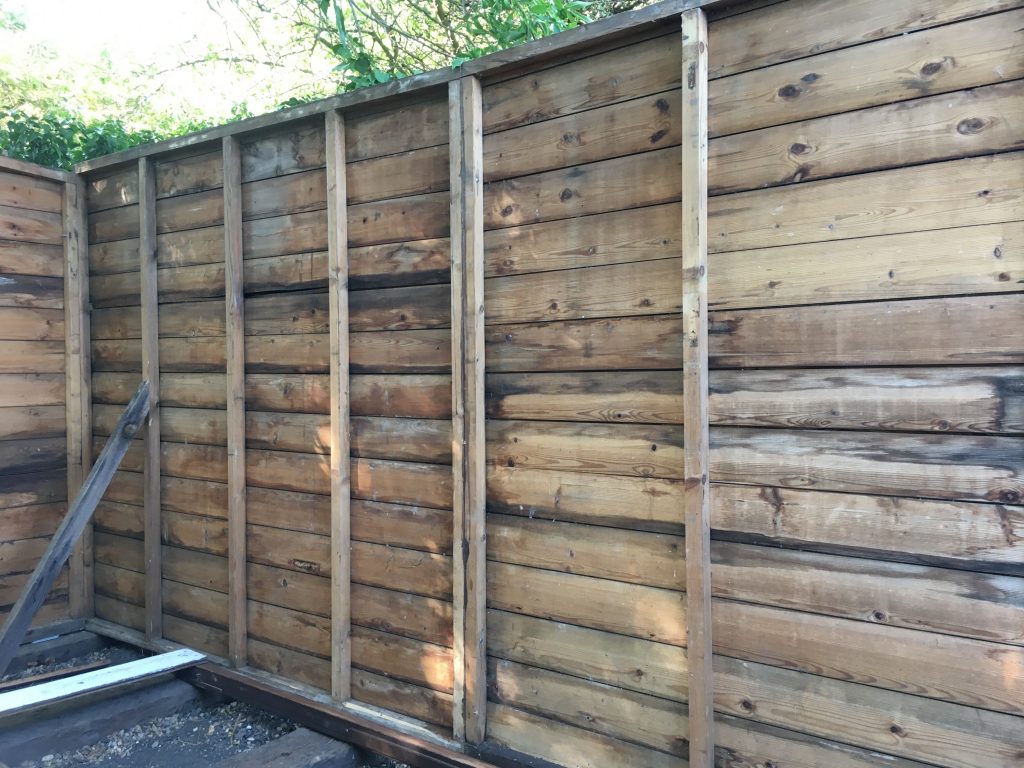
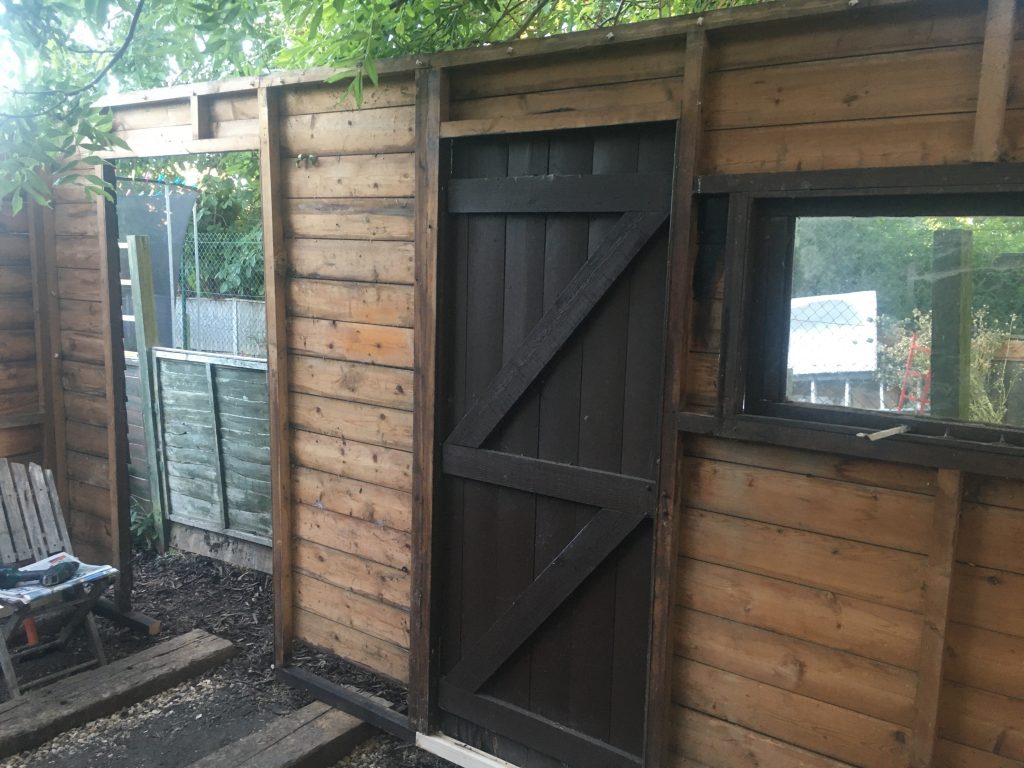
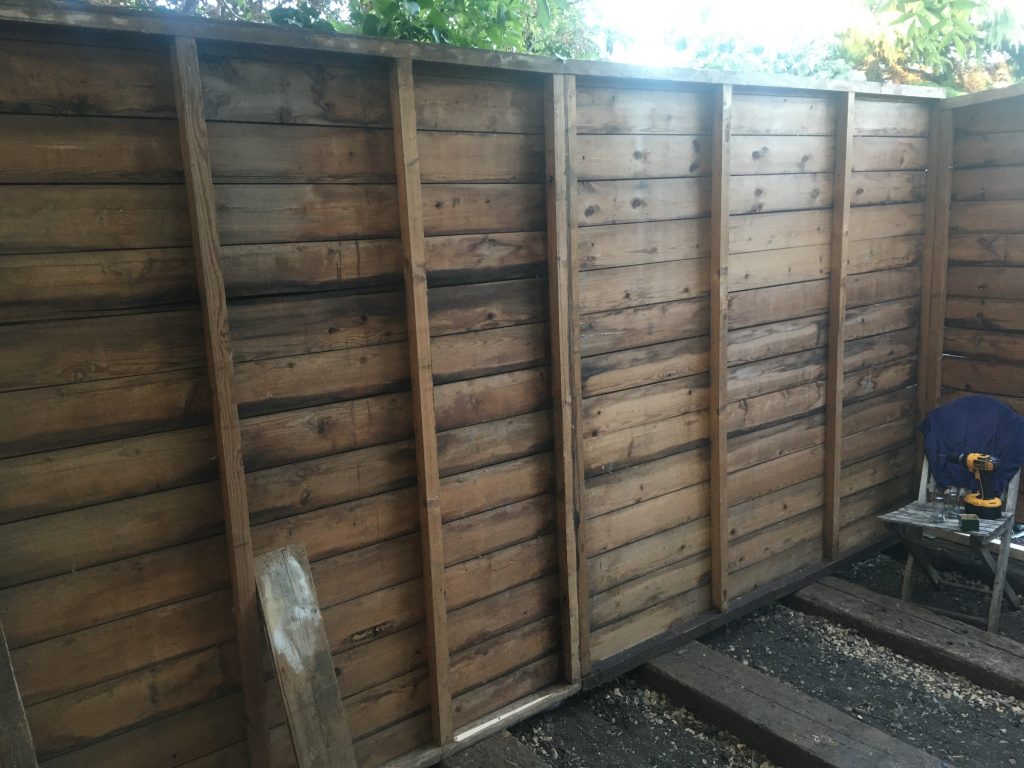
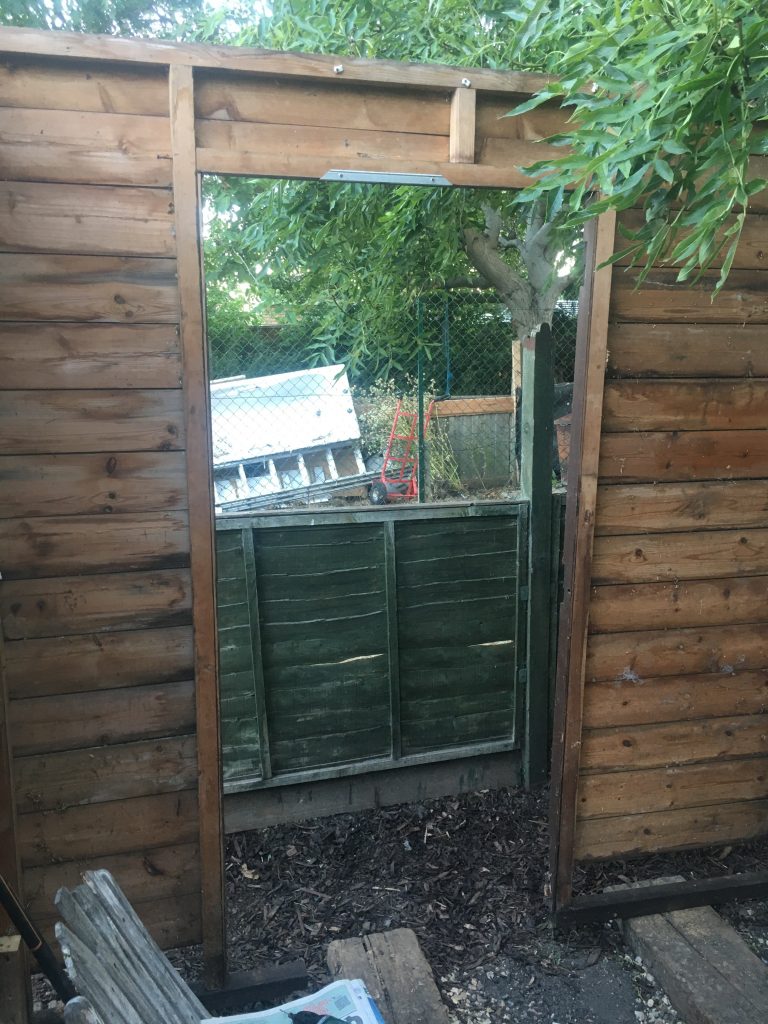
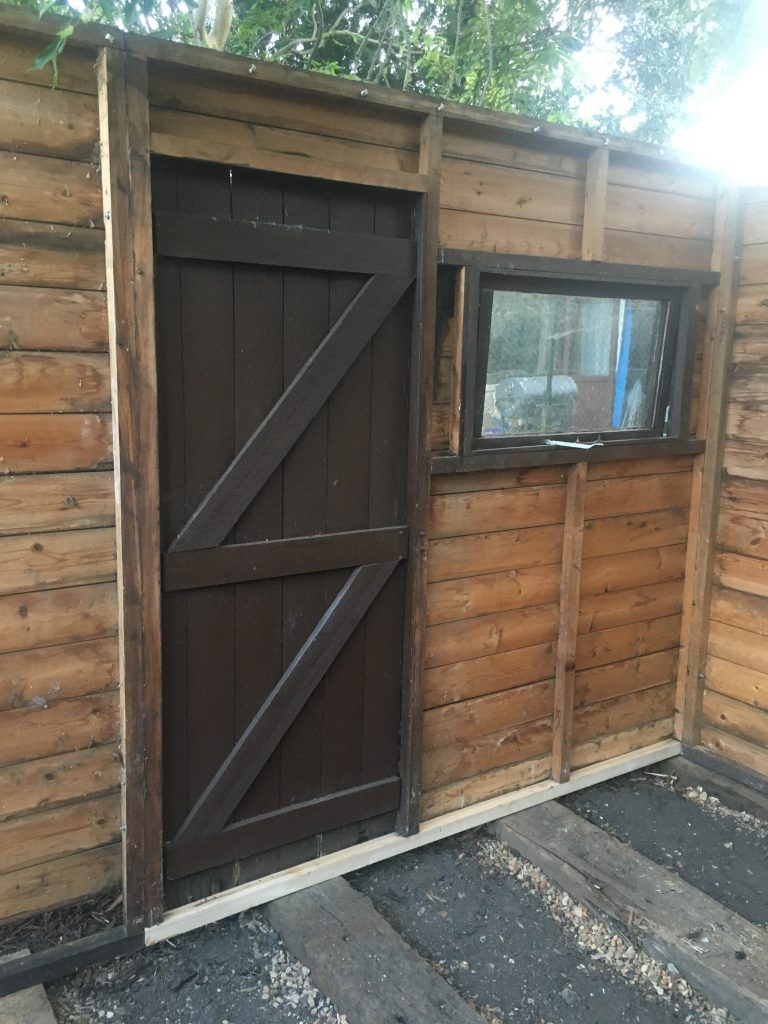
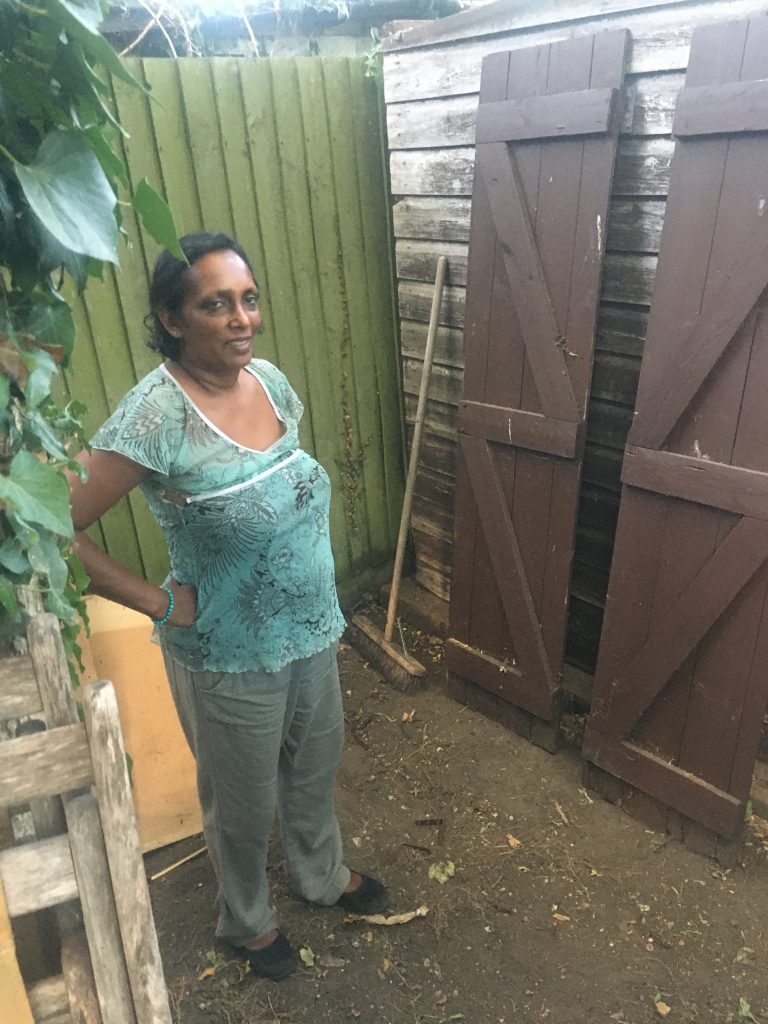
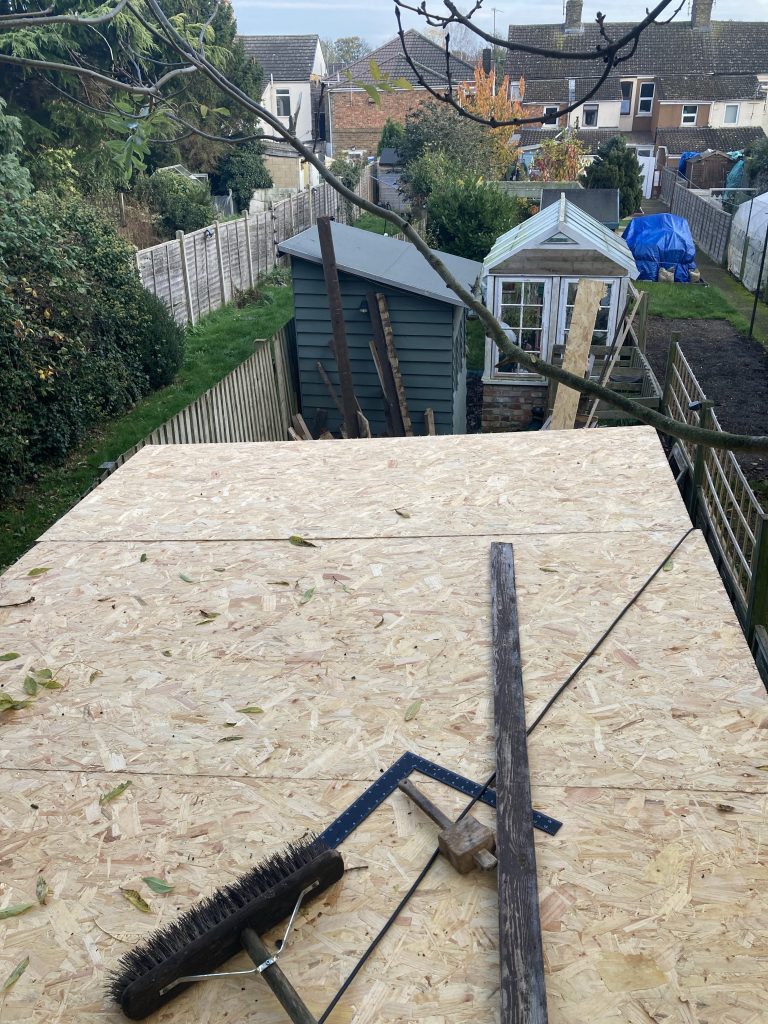
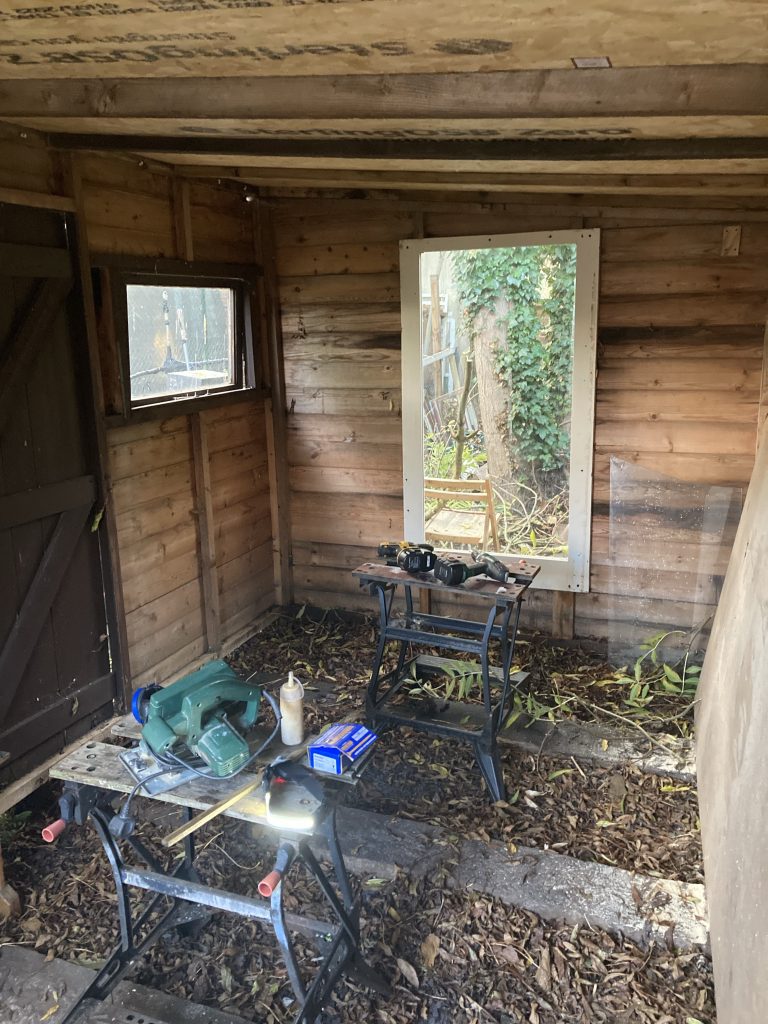
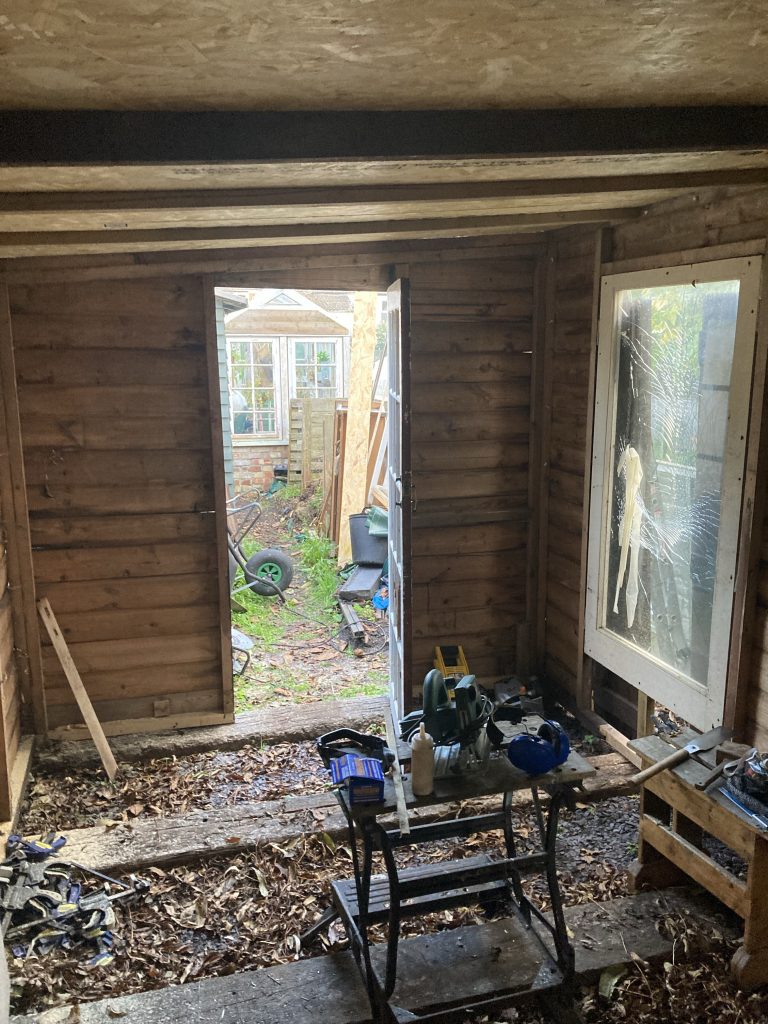
Anyhoo… back to’t shed. Teresa took some pics, whilst I toddled off to’t pub. The garden is looking rather autumnal. Which is geet luverly! I got three of four panels up today. The fourth got a bit butchered, annoyingly, thanks to my cheap/shite Titan router not working as effectively or reliably as it oughta.

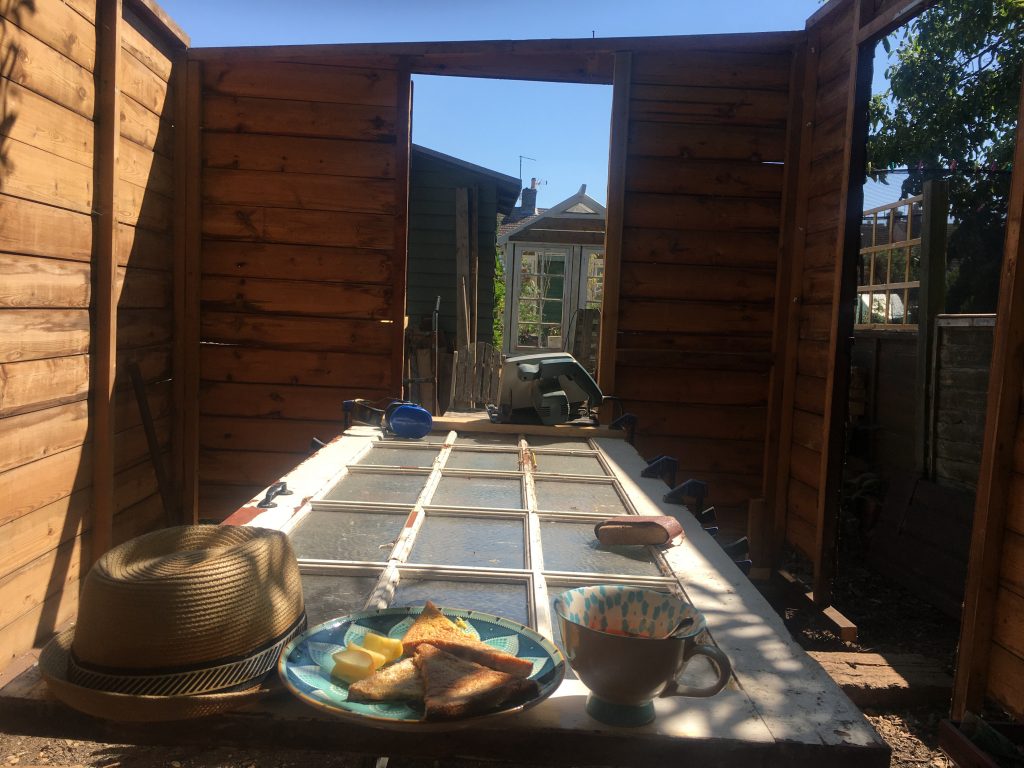
So tomorrow, Sunday, I need to sort out the last panel – trim off the buggered edges – and get that up and fixed in place. Once all the panels are in situ, and screwed down, I’ll need to put further weather-proofing stuff on. I have an amount of roofing felt already. But not, I reckon, sufficient for the job. We shall see, I suppose.

Right, off to’t khazi for a beery wazz…

POSTSCRIPT

Working on the final roof board.

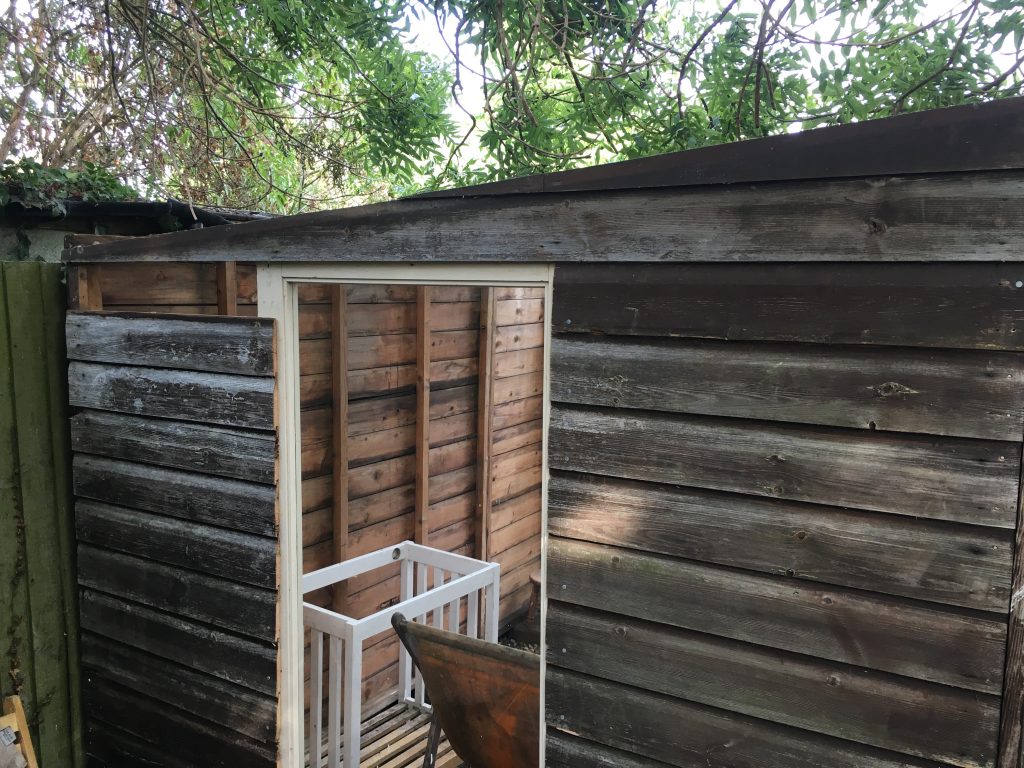
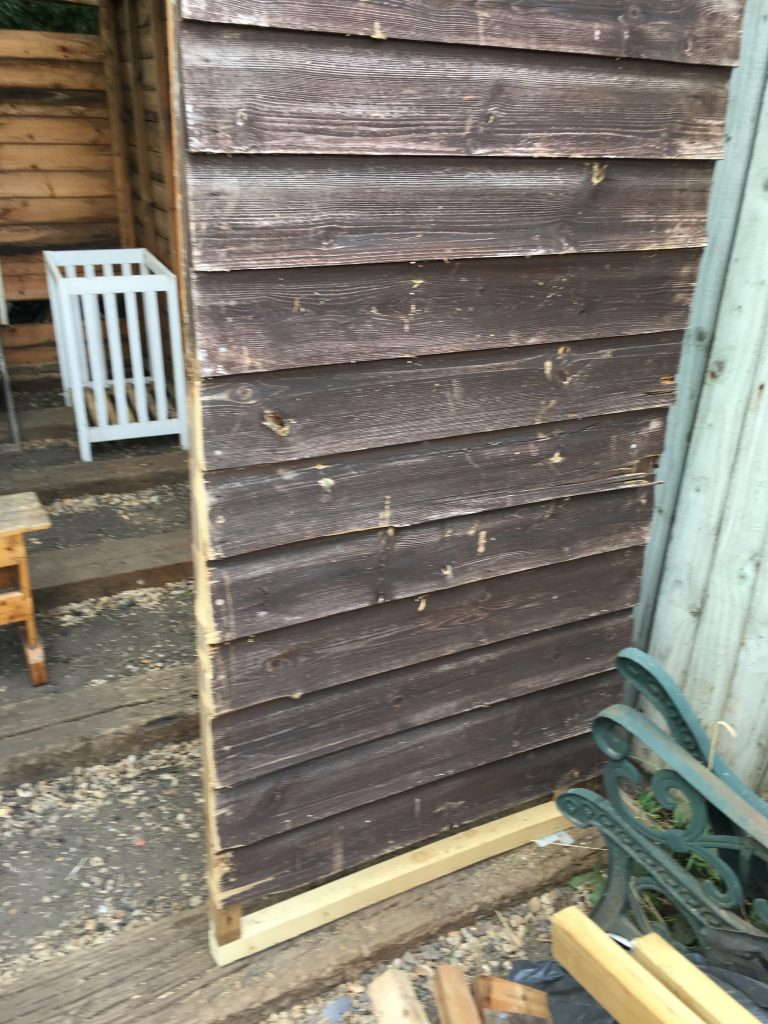
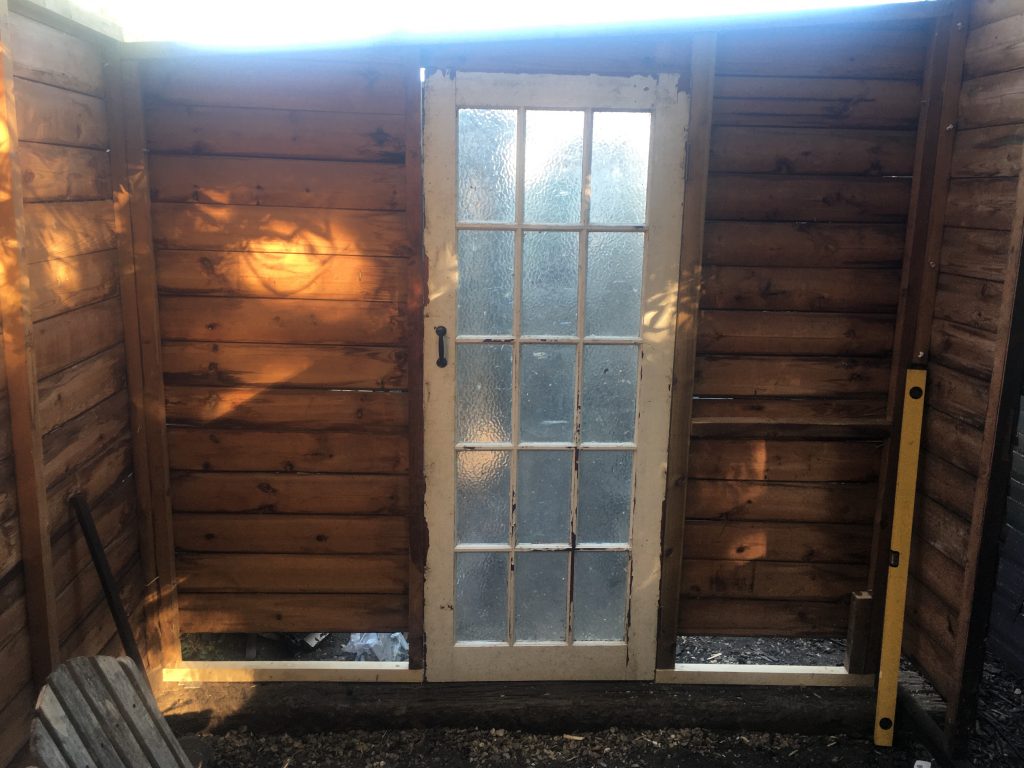
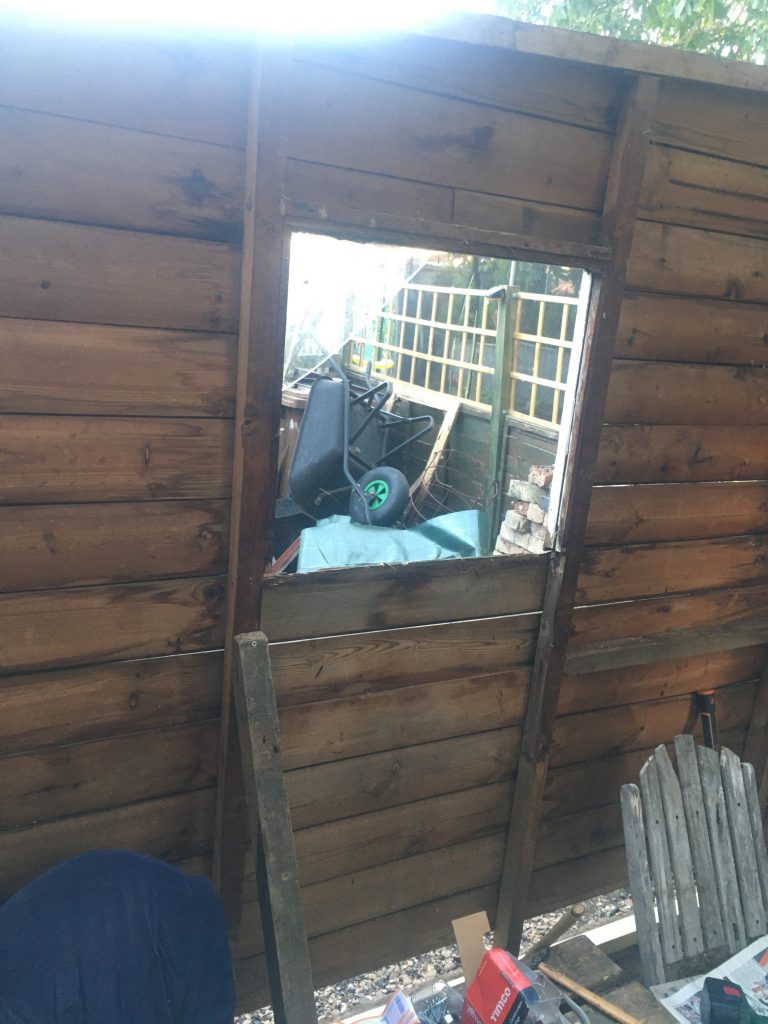
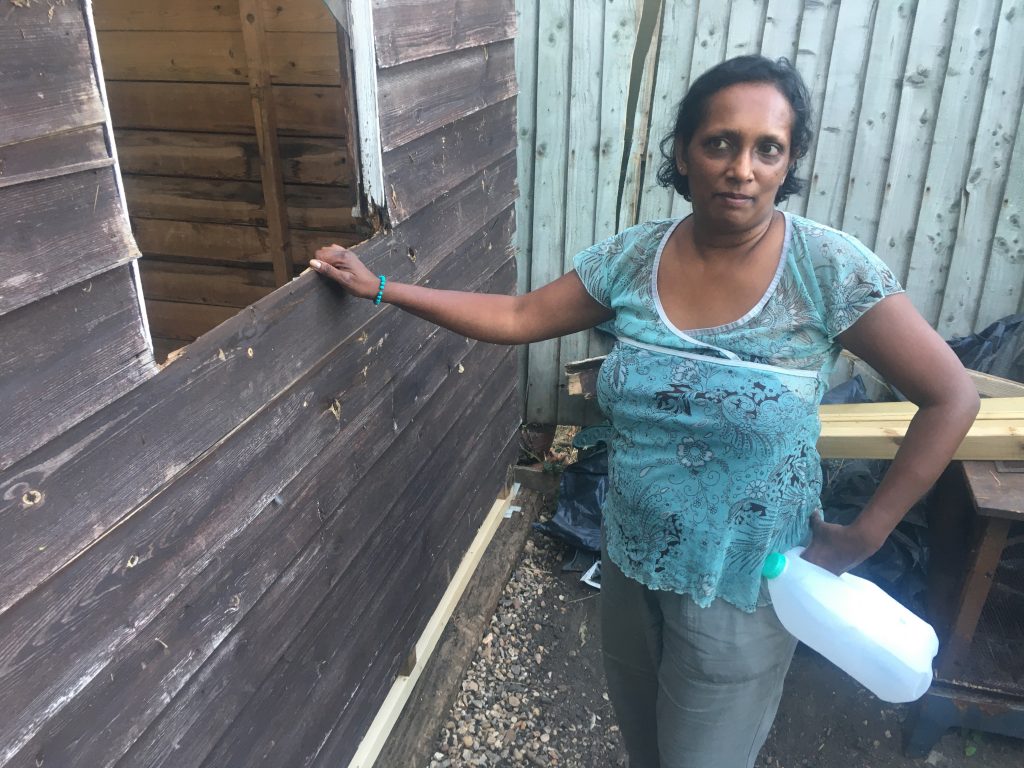
This last pic, above, is a bit out of sequence. But it at least captures the work in progress. I tried to route overlapping profiles, so as to more securely interlock the boards. But my cheap Titan router is, frankly, shite. And not up to the job, sadly. So I had to abandon that idea. The above pic is me preparing to cut off the botched (and incomplete) routed profile edge.

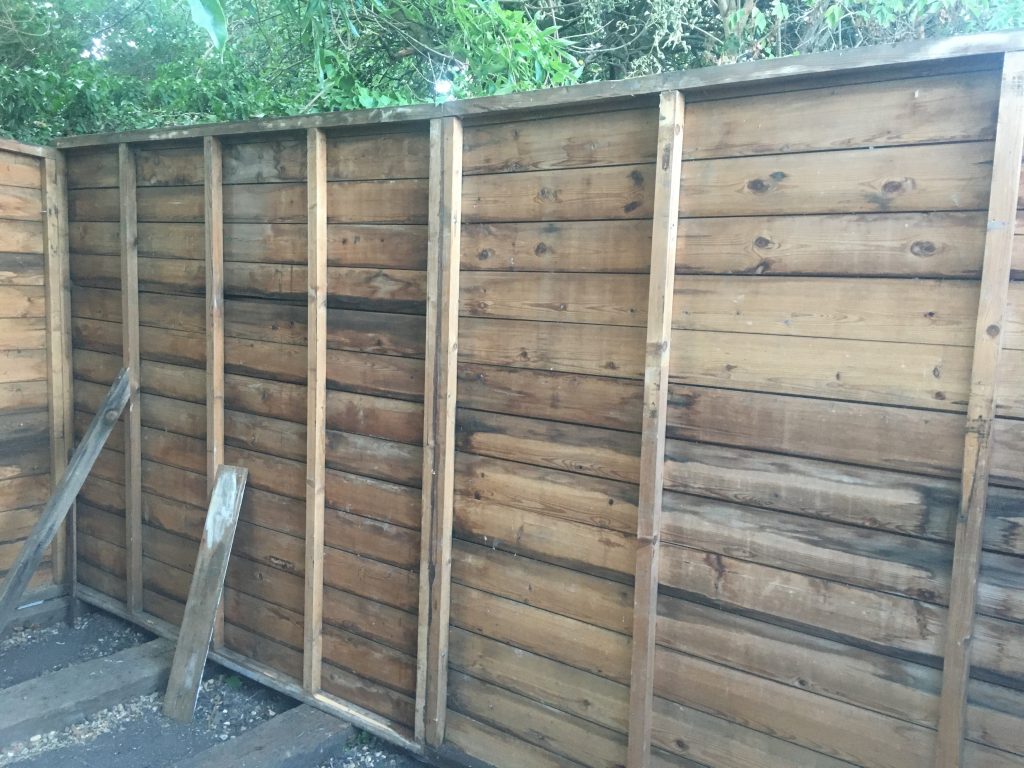
You can see the latter, Along the right edge of the board. The brown shiplap slat is screwed to the board to act as a guide/fence. I had to nip out and buy a new circular saw blade. I wound up getting a cheap set of three from the local ToolStation. Prob’ not good quality. But they allowed me to make the necessary cuts. Whereas the previous dull blade was simply binding mid-cut.

HOME/DiY: Curtain Poles & Supports

New draught-excluder curtain over the lounge to kitchen door.

Teresa’s been on at me for some time, asking that I put up more curtain poles and supports, mostly for doorway draught exclusion porpoises. Oh, and Teresa is making the curtains. So it’s a joint effort.

And we also have he added economic impetus of looking to rent a room, and needing to get the property as a whole up to snuff for sharing with a rent paying tenant. So we need, amongst a zillion other things, curtains in the bathroom.

I already did a draught-excluding curtain pole thingy in the kitchen some while ago. And I want all the ones I make around our home to share a design, which is based, I guess, at least to some degree, on the classic ‘ogee’ profile. Incidentally, I’m talking about the two pole supporting doodads!

Making these in the workshop is fun. Although that said, my workshop is in such an awful mess it’s not that much fun! There’s another ongoing project; the new shed, finishing the damn thing, and getting stuff moved into it! Using the router to create the profiles ‘caps’ was especially gratifying.

I did want them all to have curved grooves (is that ‘fluting?’) in the ogee profiles, so you’d get that classic, er… classical look, of fluted verticals surmounted by profiled ‘pediment’ (?) tops. The result is, as Teresa put it, a bit pedestal-like.

I like to paint all the house woodwork in oil-based gloss white. I just feel it’s a classic timeless style, and that it works well in Victorian properties like ours. So I’m doing so with these, inc. the poles, which are 22mm hardwood dowels.

The older yet unfinished kitchen/back door one.

Attaching the ornamental pole supports can be tricky , as getting wall-plugs in to walls reliably in old (or is that any?) homes is a challenge. Then there’s the depth of wood to get through in the wider top part. I’ve developed a method I’m happy with. And so far it’s worked well enough.

You can see on these thicker and as yet unplugged and uncapped kitchen ones the holes for the screws. These get filled with dowels, or just some filler. These kitchen ones are ticker than the others. So the ornamental caps will need to be bigger. Not gotten around to making them as yet!

The next sequence of four pictures shows how, despite masking around these fixtures, I tend to get white paint on the walls. And in this instance (in the lounge the original paint colour – Egyptian Cotton – still matches), rather annoyingly, the paint colour, Asian Silk, which is literally from the same paint pot, doesn’t match! Gaaah!

Later the same day…

Not so easy to see, on account of the use of transparent shower curtain (fabric curtain eventually get mouldy and disgusting!), with all the daylight flooding in! At least the blotchiness of the touched up paint is less noticeable.

A double layer of transparency protects our modesty.*

* Or our neighbours delicate sensitivities?

HOME/DiY:bFurther Shed-nanigans…

Closing off the lower panels; before n’after.

‘Tis Sunday. A day of rest! Or not. I was off to Screwfix early, and then back to the shed, doing lots of little bits of work. Such as filling in gaps in the cladding, as pictured above.

Either end of a ‘tie-beam’.

And I added a more or less horizontal tie-beam, to stop the middle of the shed, where, along the longer sides, two panels abut, to stop the shed bowing either outwards or inwards, and to keep it square/parallel.

The tie-beam viewed from the other end, later on in the day.

I was able to fill in most of the cladding gaps. But there are three places where I need longer pieces of cladding than any I currently have.

One of the remaining gaps.
This is the longest missing piece
And finally this one, at t’front.

Hopefully I can get these gaps filled soonish?

All the windows have now been washed. Including the only ‘original’ one that’s left, pictured below. I still think I’ll want to add more glass, as I want the workshop to be as well lit, naturally and electrically, as poss’.

The sole original window that remains.

And all the original doors have been re-attached, alongside the path. Including both the double ‘barn style’ doors, pictured immediately below. And the larger single one, down another pic. The latter opens and shuts just as it ought to.

These aren’t closing as they should!

As well as the doors above not quite closing aright, you can perhaps also see that I’ve had to add a temporary lower framing member. This is another of the myriad small jobs that needs properly finishing, ASAP.

I’d like to make the additional piece tie in as strongly as possible. Esp’ as it not really supported. Hmmm!? What joints shall I use? We shall see…

And below is a view from the pathway. Showing all the side doors back in situ. I’m tempted to remove the double doors altogether, as they’re not opening or closing quite as they should. And, what with the two larger doors – the new one in the front, and the other older one, closer to the camera in the above photo – they may very well be redundant anyway.

The two side passageway doors back in place.

Teresa and I are currently spending lots of our time at home our in the garden. During this heat wave we’ve mostly sought out the shadier spots. And one of these is the area under the tree that’s now behind the latest shed.

When we’re both home we’ll have our meals outside as well. It’s really rather lovely! And we’ve now got a good deal of choices, as to where exactly in the garden we might want to be. It’s such fun!

Teresa, looking a bit ‘Wild Woman of Wonga’!

HOME/DiY:bShed Shenanigans – Installing a Door

Ta-dah! My best door yet.

Yesterday I started opening up what was formerly just a window, with a view (geddit!?) to introducing a door instead.

The ‘before’ state.

And then today I actually got the door cut down to size and installed. It was a funny old process. I managed to size the door on the first cut. Unusual for me! And I had a load of plastic shims that were massively helpful in doing a better fit/install than most of my previous efforts with ‘Dianas’.

Viewed from inside.

I really like the warm glow in the above picture. The evening sunlight coming through the tree, the leaves dappling the honey coloured light… ‘tis lovely!

Lunching, whilst working.

Backtracking a bit, above was today’s luncheon break. French toast, sliced apple, and cream o’tomato soup. Yum! The door became a temp’ table, in the manner of Alan Partridge’s ‘Apache Solutions’ pitch to Dante’s Fireplaces (what’s the burning issue!?). Like Alan, I didn’t have a hat hard-on…

So, recapitulating the process:

A new opening is cut out.

The new opening was wider than the original window. So I had to add a new vertical structural member. And I didn’t have the exact right timber, to match the rest of the framing.

The internal view: note new right hand beam.
Offering up the as yet un-trimmed door.

As you can see, in the above pic, the door was too tall. So I had to trim a few inches off the bottom. But luckily the bottom was oversized (ooh, matron!), so I could shave a bit off. And to finish, a side by side of before and after.

I’m very pleased with this change.

I’m chuffed with how this turned out. And I might also add windows at this end, poss’ even on both sides… Hmmm!?

Potential colour scheme?

And finally (again!), a potential colour scheme. On the left is ‘Wood Pigeon’, and on the right ‘Tell Me A Secret’. Both are Valspar, B&Q’s paint range. Which I really like. And I love the colour names. Silly, perhaps. But satisfying!

HOME/DiY: Shed!

Yesterday I got the two back panels of the shed roughly in situ’. I kind of wanted to go further. But I didn’t have the right fixtures (coach-bolts!). So I ordered some from Screwfix.

They arrived today. So it was on with the show… This shot shows how the tree at the back of the Arden overhangs this newest shed.

Note the little brace, on the left panel. I had a few others in different places, just holding stuff roughly in plane. I did all this assembly on my own. It was quite tricky!

All the panels needed the bottom framing element – at the furthest end, above – replacing, as the shed was pretty old, and the bottom was a bit rotten in places (very rotten in some!). I did all that before assembly, except for this final panel.

I moved a few bits inside the shed, so I could work on it internally.

Got the larger of the two side doors in place. I’m not sure about retaining the doors in the long side, as that doesn’t suit our long narrow garden too well. I’ll come back to this later!

The longer and lower side of the shed, running along Sean’s – our northern neighbour’s – fence.

Note how the panel on the left has five verticals, whilst the one on the right had just four. Evidence of this being a self-build project, perhaps, by whoever made this shed originally?

This panel, originally the left of the shed, is what’s now the back, facing the far end of our long garden. I’m thinking about putting a pretty large window in. So we can see to the back of the garden, enjoy evening sunlight, and see the big old tree that’s only feet away.

This larger opening has two smaller doors that go in it. Again, I’m thinking I might change the layout a bit, in the fullness of time. These two doors are the last major components of the shed walking ‘as is’ that remain to do. Then there’s the roof and floor!

One of the new timbers is very obvious in the above image. Also worthy of note is that the window in this photo survived transit and re-assembly unbroken. Whereas the other window – below – didn’t!

Note another supporting brace, in the above picture. This was the right end, but is now the front facing aspect of the shed, that you see as you come down the garden. As can be seen in the next pic’, below.

There’s another highly visible new bit of timber along the bottom of the above panel. Plus the lowest piece of timber cladding on this face was rotten, and fell off/to bits! That’ll need replacing.

The whole shed might want shifting, about three or four inches towards the fence. I’ll defola need help doing that! But in the meantime, there’s a bit of a gap here.

The neighbours fence is falling down in places along this part. Is there sufficient gap, I wonder, to allow for minor repairs and weatherproofing painting/treatment?

The strip of garden south of the shed, ‘twixt the shed and Ruben and Anne’s garden is pretty narrow! If I can shift the whole shed towards Sean’s, we’ll gain a bit more space here. Albeit only three or four inches!

Teresa arrived home whilst I was chatting to Chris and his partner, our relatively new neighbours, at no. 66. She was really impressed that I’d ‘got it up’ all by my own! Not that you can tell that from this pic’.

Looking into the shed interior as we go down to the rear/far end of the garden.

Teresa’s approbation of my efforts is more visible here, methinks. Also visible here are the two doors yet to be affixed to the larger side openibg.

Looking back towards the house. My what a tight passage we have! If we can shift the whole shed back a few inches, it’ll help ease our passage…

This is the view, sat in our deckchairs, behind the shed, looking up at the venerable aulde tree, around 7pm this evening. What a beauty, eh!?

So, sometimes it really does pay to be a scavenging hoarder! This old door, a Freecycle acquisition going back four or five years, perhaps, is going to be ideal – with some judicious trimming – as the new front door, probably roughly where I’ve leaned it in the above picture

HOME/DiY: ‘Clent Wiston’ is Dirty Hairy, in Sleepers in March

Diggin’ in th’ doit, like a doity dawg!

Further work on the railway sleepers, raising them up out of the dirt on gravel. Which I should’ve done from the off. Making a rod to beat myself with there, eh!?

Wearing a mask due to the dust raised whilst doing the work. It’s hard heavy work. Back bent as I dig or rake the soil out of the way. Then raising the sleepers, then putting three bags of gravel down, and raking that lot that flat.

I actually quite the aesthetics of the speckled dirt on my skin, with the hair over it all! Am I weird!? In real life – at least as I perceive it – qin the sunshine and dappled shade, my skin is more bronzed and hair more golden than in these photos.

Anyway, all six sleepers are now an inch or two higher than before, with gravel underneath each of them. They’re still level (enough for my satisfaction, and hopefully enough for keeping the shed square?) in both directions.

Four sleepers done…

The whole lot seemed to move a couple of inches eastwards, towards the house. Actually that’s alright. As the final sleeper was a bit further apart than all the others. So having them shuffling along a bit has wound up with them all better spaced.

One annoying thing is that I’ve referenced a the sleepers off a splash-board on the neighbours (very dilapidated) fence. If this is misaligned, as it probably is, then all my sleepers are as well. I was actually aware of this from the start. But couldn’t be arsed trying to remedy it.

All six raised on gravel.

Just went and got more Facebook/Gumtree free gravel! Yesterday I went to Bourne (Lincs), twice, and got twenty bags. From a nice Latvian chap. And today I got two big plastic tubs full, plus one bag, from Upwell area, a little closer to home.

I decided to scoop aside the earth along the sides of the sleepers and infill more gravel, so they’re not just sat on gravel, but in gravel. Hoping this’ll better protect them form moisture, to some extent. Will it? I really don’t know!

Gravel along the sleeper edges. House end view.
And viewed from the far end.

Anyway, that’s enough work on that lot for today! Yesterday and today have been, for me at least, pretty hardcore, in terms of exhausting energy sapping hard physical labour. So, to end, one last ‘go ahead, make my day,’ Dirty Hairy moment…

A visible glove line!

HOME/DiY: Sleepers, Bark-Chip Path

Started laying bark-chips for a pathway.

Today I brought the infill levels up between the sleepers, with earth from either side of where the shed is. I also popped over to Wisbech and bought four bags of large bark-chips, for a path along the southern edge of the shed/garden.

Raising the infill levels.

I also did a good chunk of my Stick Control Summer Challenge. I’ve been doing a page a day most days I’ve done it. I need to be doing more than one page a day to finish before next term starts!

HOME/DiY: Sleepers For Shed Base

Ta-dah!

Got the sleepers roughly in place. They need tweaking to get them properly spaced and levelled out. They’re close though. Cross-wise they’re all pretty good, but along the length of the shed there’s a slight decline, as you get further from the house.

Workman’s hands!

It was pretty quick n easy, doing the sleepers, in the end. Somewhat surprisingly so. Teresa helped me shift the first one. But after that I was on my own. Just ‘drag n’ drop’, like Photoshop!

The foreman checks over my work. Seems to approve.

It was very sweet when Chester saw what I’d done. He evidently enjoyed clambering over them all, and even snuggled up to one for a little spell. I’m glad I have the guv’nor’s blessing!

CARS: MX5 Nipple Reduction Surgery

I used plasticine to profile the inside of my ‘nipple’.

A few days back I posted about how annoying this particular little job was becoming: first I get two new parts, but the one that prompted the work – the ‘nipple’ for the really poorly fitting/closing latch – breaks almost immediately. Back to square one!

Another view; hopefully the different shapes are slightly clearer here?

So I order a new part. But it’s different, and doesn’t actually fit. It’s a more ‘pointy’ shape. At least this clarifies for me the type of latch and nipples (oo-er!) I had installed before, i.e. the more rounded type.

These differences in shape mean that the screw hole in the nipple doesn’t align with the threaded hole in the latch, necessitating either a different part, or making changes to one of the parts, so they do align.

The holes don’t align!

According to some sources it’s only the pointy type that are easily and widely available now. I don’t know if there’s any truth in that or not, as I definitely can get the other sort elsewhere. And, indeed, I already have done (on my first attempt).

The ‘male’ latch part filed down a bit.

Anyway, as I’m broke, rather than buy a third one (or pair), I decided instead to file the metal on the latch to conform to the ‘nipple’, instead. That took a bit of work, but I think it achieved the desired goal.

Viewed from t’other side.
After some filing, the two holes align nicely.

This job turned out to be a right pain in the rump. Firstly, with parts breaking or not fitting. Then, when I’d filed the latch to fit the nipple, I discovered that the entire soft-top frame seems somewhat out of alignment. I had to wrestle with it a fair bit to make everything align better.

Reassembled and back in place.

Is this the price I’m paying for loading my little MX5 with all kinds of stupid burdens over the years? I’ve had all sorts, from fence-panels, timber, doors, to trees, chests of drawers, fridges, and lord knows what else, on the back of Maisie. Often sitting atop the folded away roof. Have I bent it all out of whack?

After struggling with this latter issue for a while, and fiddling with the latch adjustments, so that both are quite tight, but neither are fully tightened, I’ve finally managed not just to close the top, but to eradicate the very large (and formerly plainly visible) gap, on the driver’s side.

Sooo much better! Green algae points to next job.*

I can’t find any before pics (although I’m certain I took some!?), alas. But above and below are some after shots. Trust me, it looks waaay better!

I’m hoping it’s improved the ride as well, as before the sound of wind coming through said gap was really, really, REALLY, REALLY annoying! It was sooo loud – it literally roared – that music or conversation were pretty much out at over 55/60mph.

Passenger side, looking as it did both before and after.

I’ll be taking her out for a spin later to see how all this nipple play has affected things!

… A bit later the same day… Well, I took her out, with Teresa, for a brief spin. And, my oh my, what a difference! No roaring airflow, nor can I even feel any draught. And – although we’re currently in a heatwave – this’ll mean no more ingress of rain. Wahoo!

* Next? Either adding some of the silicone pipes I got from BOFIracing a whiles back , or using the Auto Glym products I have to clean and re-waterproof the soft-top. Hmmm!??

CARS: MX5 Roof-Latch ‘Nipple’!?

For quite a long time now the soft-top roof on my MX5 has not closed very well. It’s apparently a common issue. There’s a rubber or plastic ‘nipple’ (!?) that wears away, allowing the latch to become floppy and loose.

I recently replaced this part, on both sides, with a new pair. Can’t recall who I ordered them from (I ought to find out; I think they’re Jass parts via BOFIracing?). But I’m pretty miffed that one of them – the dodgy one on my side – failed almost instantly.

I’ve subsequently ordered yet another one, this time as I got an individual one, not a pair. Wound up costing nearly a tenner, for a £1.95 part! Really annoying. But even more annoying. It doesn’t bleedin’ fit!

My ‘only option’, at least via MX5parts.co.uk.

I’ve contacted Autolink, who I got the more recent one from, to let them know (via email). Not had a reply as yet. I’ve also contacted MX5parts.co.uk, and they say there’s no longer a choice of two parts, but just the one:

I know that there used to be, and via some channels – e.g. Autolink – there still are, two different parts that have formerly been sold, that do this job. One is curved, the other is more ‘pointy’ (but still a bit curved).

These are the two types.

So, what do I do? Keep buying these little bits? I can’t actually afford any expenses right now. Even a tiny trickle such as this has become. Or do I modify the metal part of the latch; file it down and make the latch fit?

I might be forced to go the latter route, for purely economic reasons.