
Is this Fury, only set in a panzer? And on the Eastern rather Western Front? Well, yes and no. Mostly no.
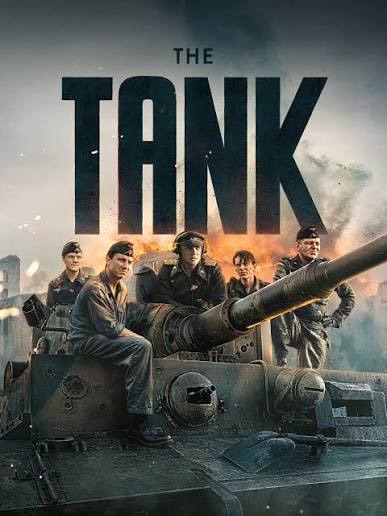
The IMDB blurb for the film sums up the basics very succinctly: ‘The five-man crew of a German Tiger tank is sent on a secret mission far behind the fiercely contested front line. Fueled by the Wehrmacht’s methamphetamine, their mission increasingly becomes a journey into the heart of darkness.’
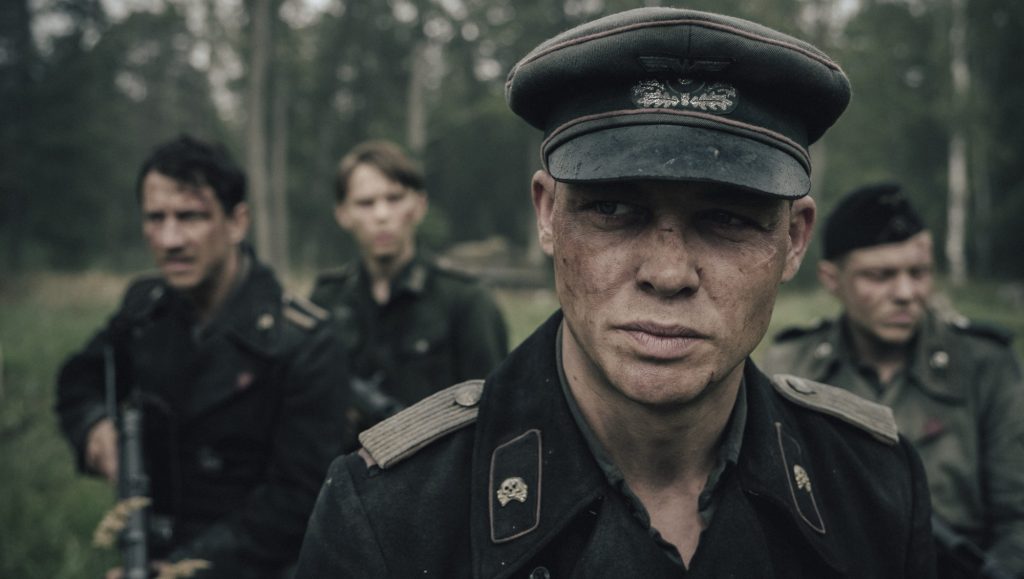
The ‘yes’ aspects are the stock war movie clichés (at least of this era): a bleakly elegiac score; taciturn gruffly spoken men covered in grease, mud and blood; and slightly laboured attempts to confront moral issues.
The ‘no’s are more varied: the all German cast are unfamiliar, at least to a non-German audience (and very much as opposed to Fury’s star-studded all American roll-call); it also looks like the budget was, by many orders of magnetite, far smaller; this movie also has what hints of what seem at first to be supernatural elements, but which finally resolve as more metaphysical, or even philosophical aspirations.
Overall this film seems to me to suffer from falling between stools, so to speak. Is it a straight ahead WWII action film? Well, mostly/kind of. Or is it perhaps aspiring to be a German version of Elem Klimov’s awesomely powerful Come And See? Partially, perhaps. And if so, much less successfully or powerfully.
It’s certainly of interest in terms of a German made film dealing with WWII and their own Nazi ‘I was only obeying orders’ history, as well as the nature of war more generally, and war of a type that was particularly virulent on the Ostfront, where two horrifically barbarous empires spent lives in a statistical race to the top coupled with a moral race to the bottom.
It also quite literally shares a few elements with Come And See: the village massacre by fire, and the innocent animal, glimpsed amidst war’s carnage (a deer here, and a strange bird in C&S).
Ultimately this was, to me, a bit what I call lustlacquer… a bit flaccid and off the mark. But it certainly wasn’t utterly shite. Indeed, I kind of enjoyed it.
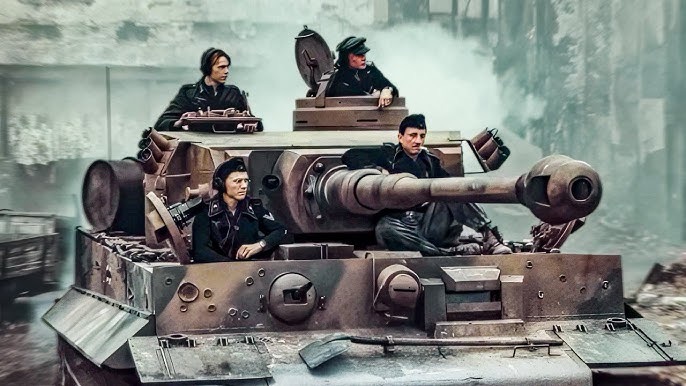
NB As a panzer-buff, I was impressed with the authentic looking armour. I read, somewhere, that the tank used in this film is a Russian tank – poss a T-55?* – dressed up as a Tiger. If that’s really so, they did a very good job.
*For another war film centred on a German tank crew that uses a T-55 as a tiger, but without the ‘make up’, check out Wheels of Terror.