After the crushing disappointment of yesterday, having re-assembled everything only to find the engine still not working, I was back at it again today.
I do feel I’ve learned a bit. As I was able to dis-assemble everything I needed to, tweak it – the timing, in particular – and then re-assemble it all, much much more quickly and competently than I did first time.
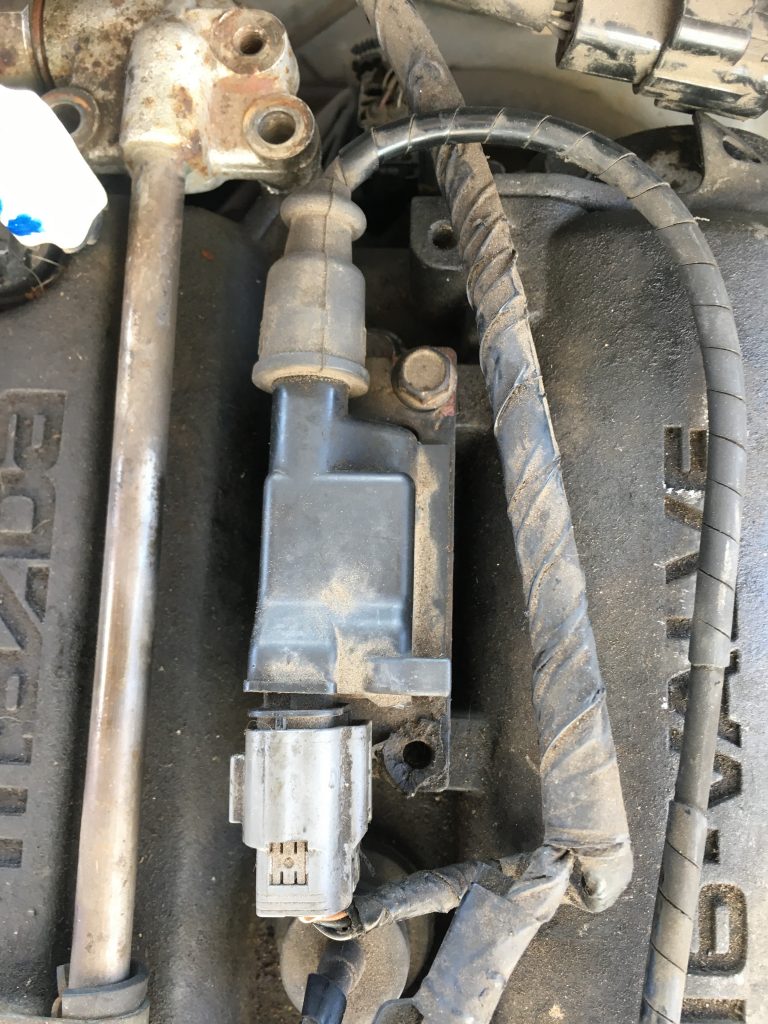
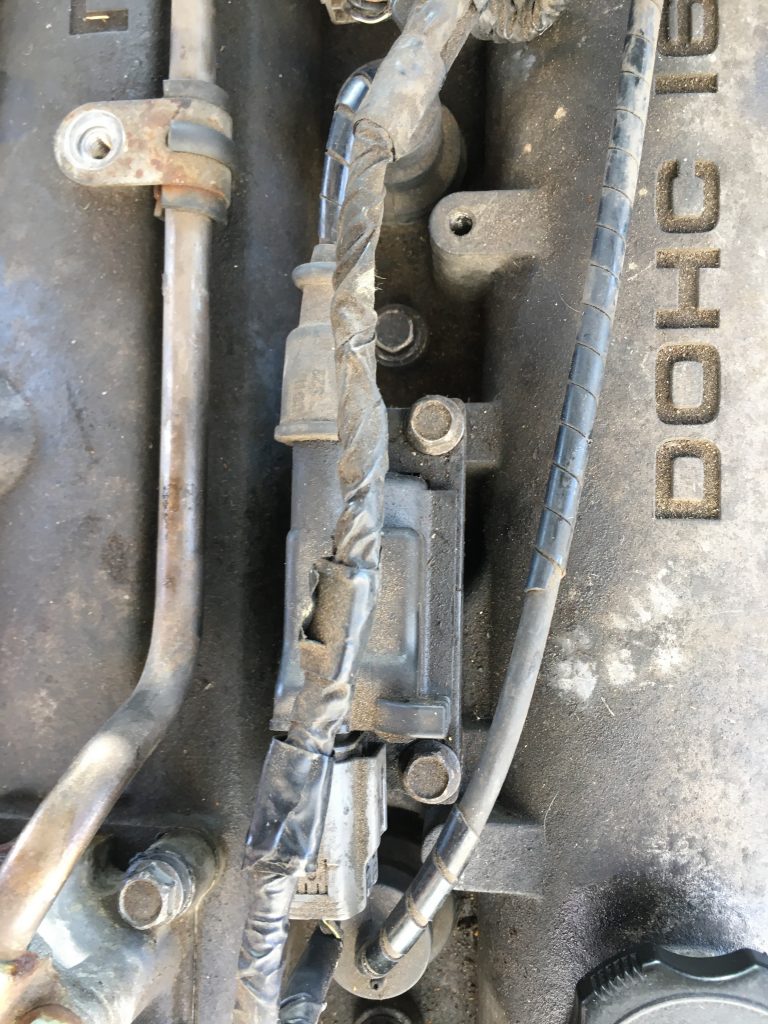
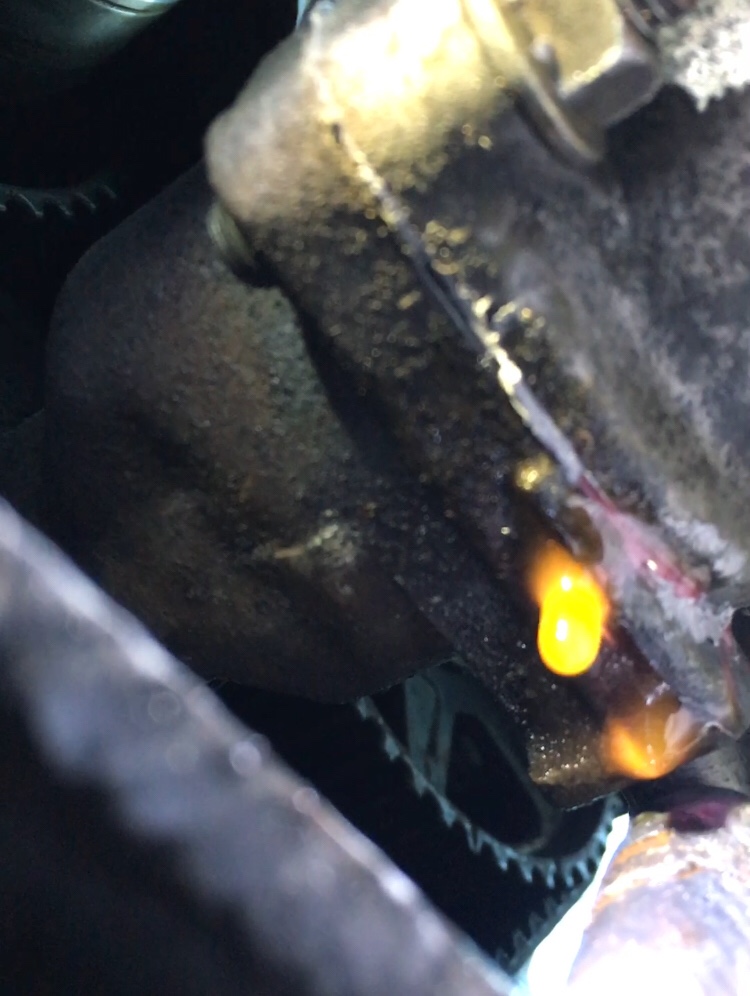
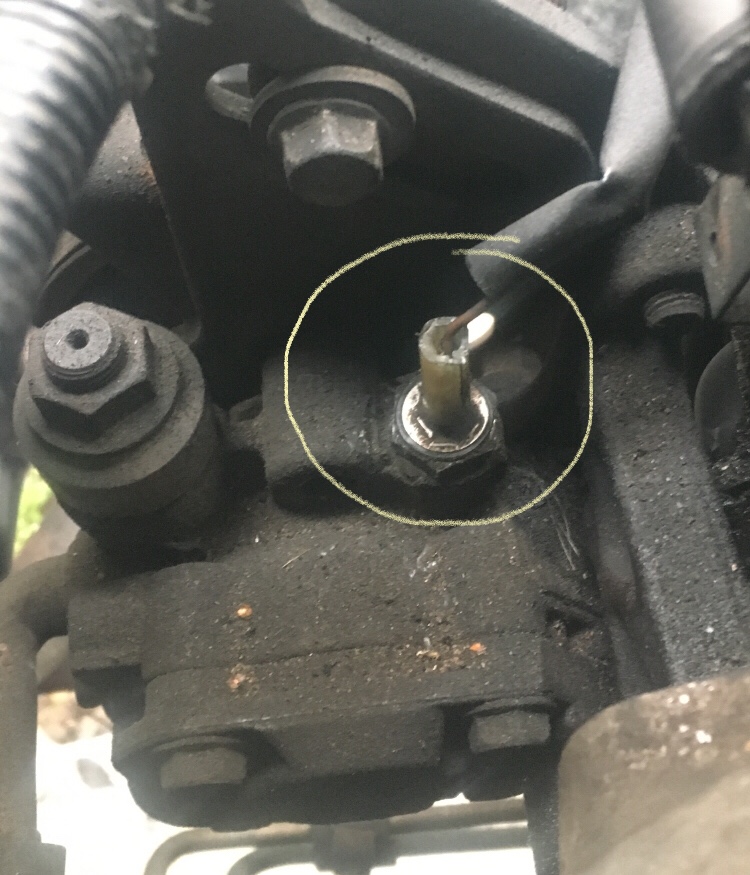
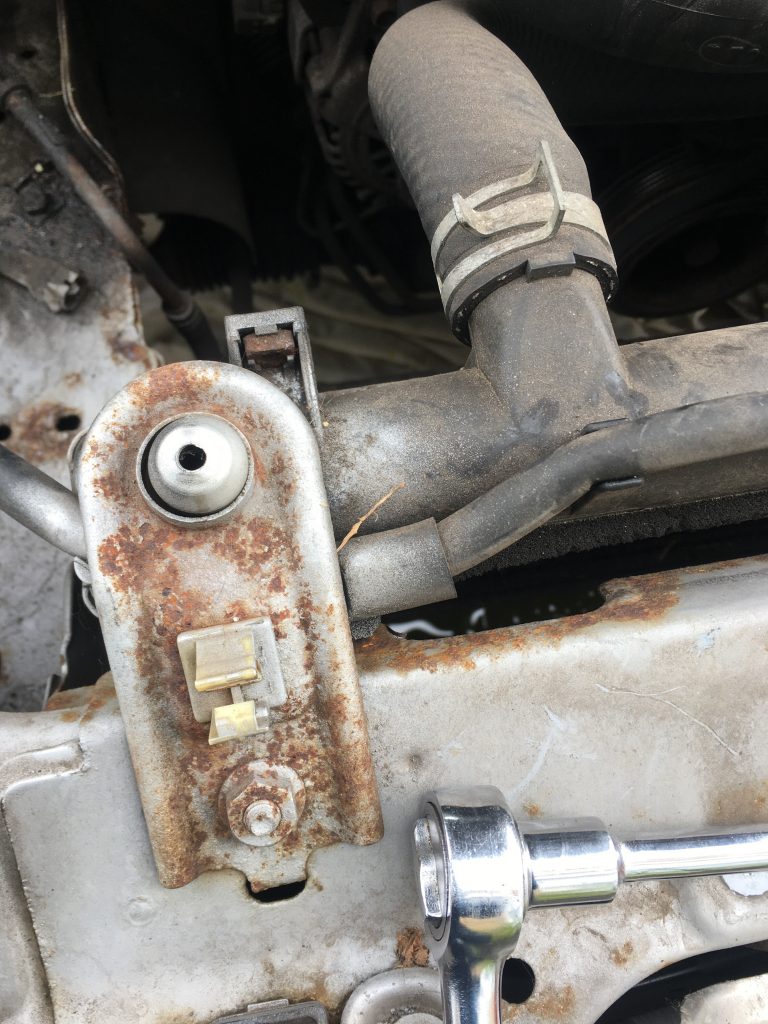
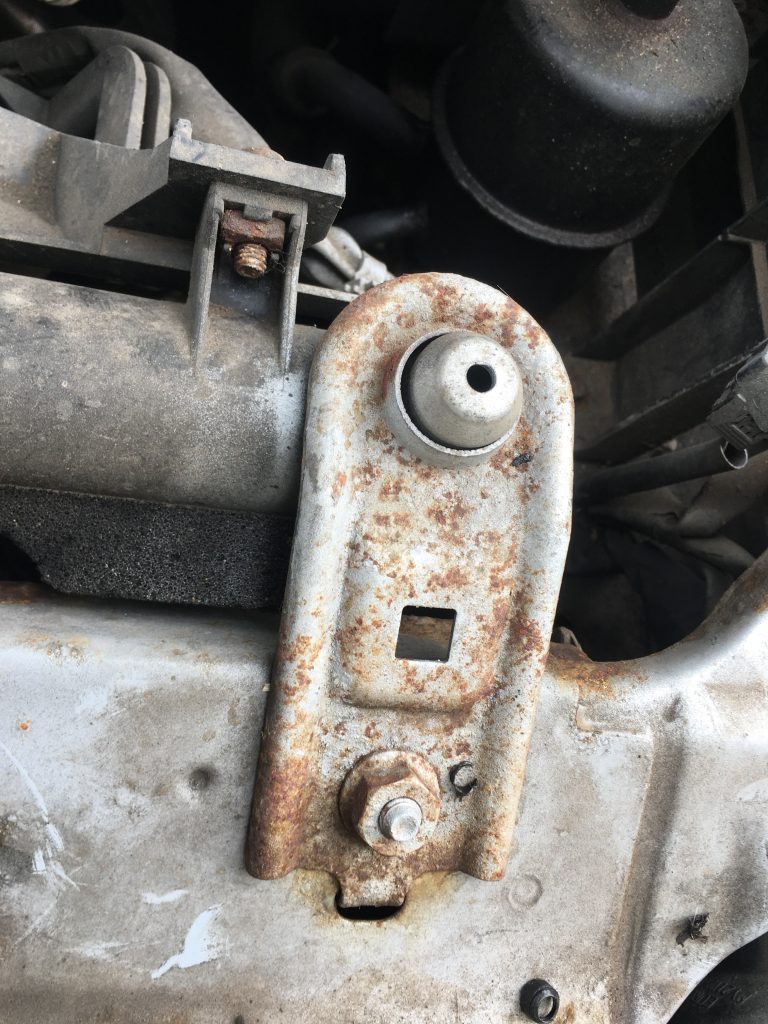
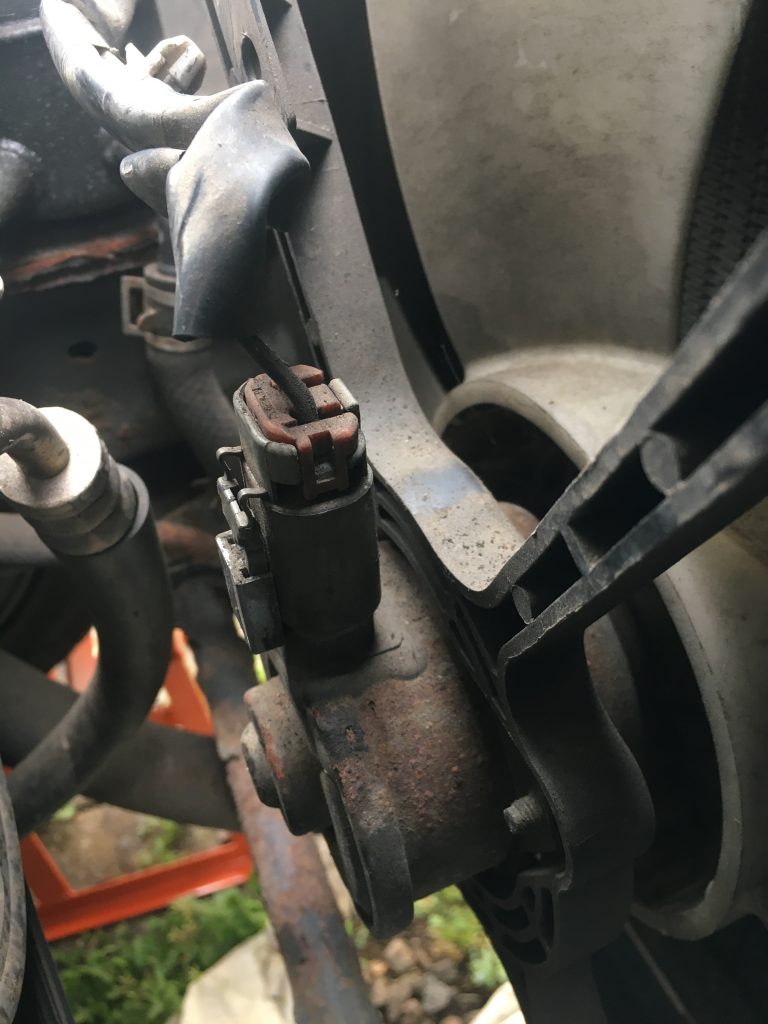
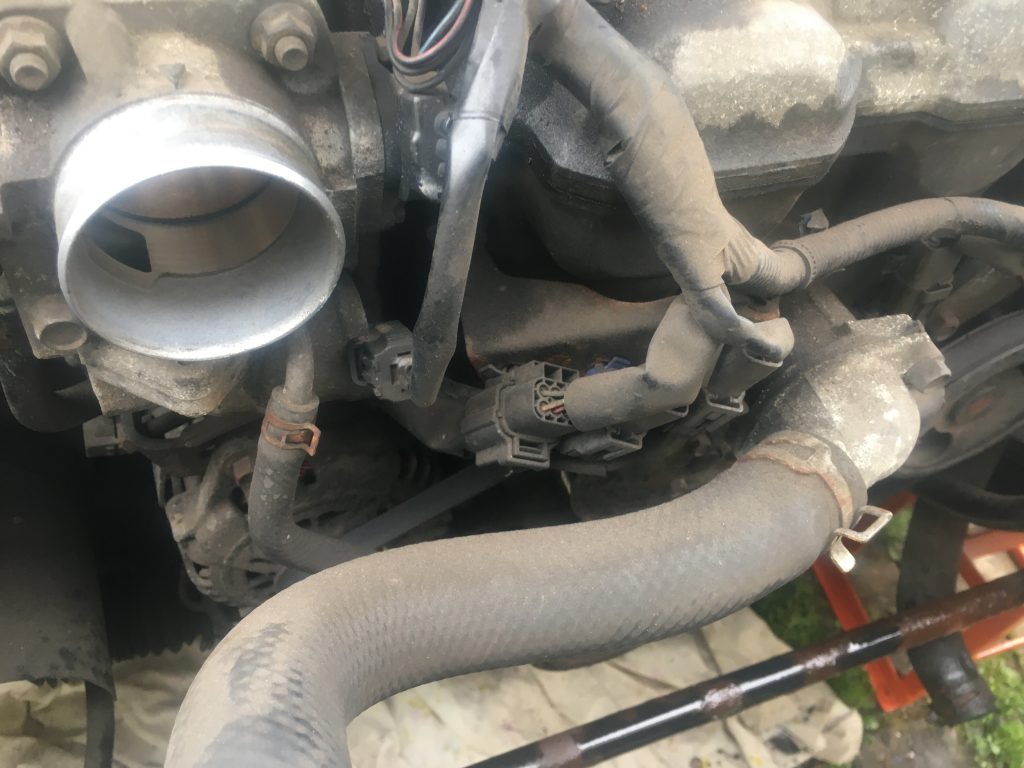
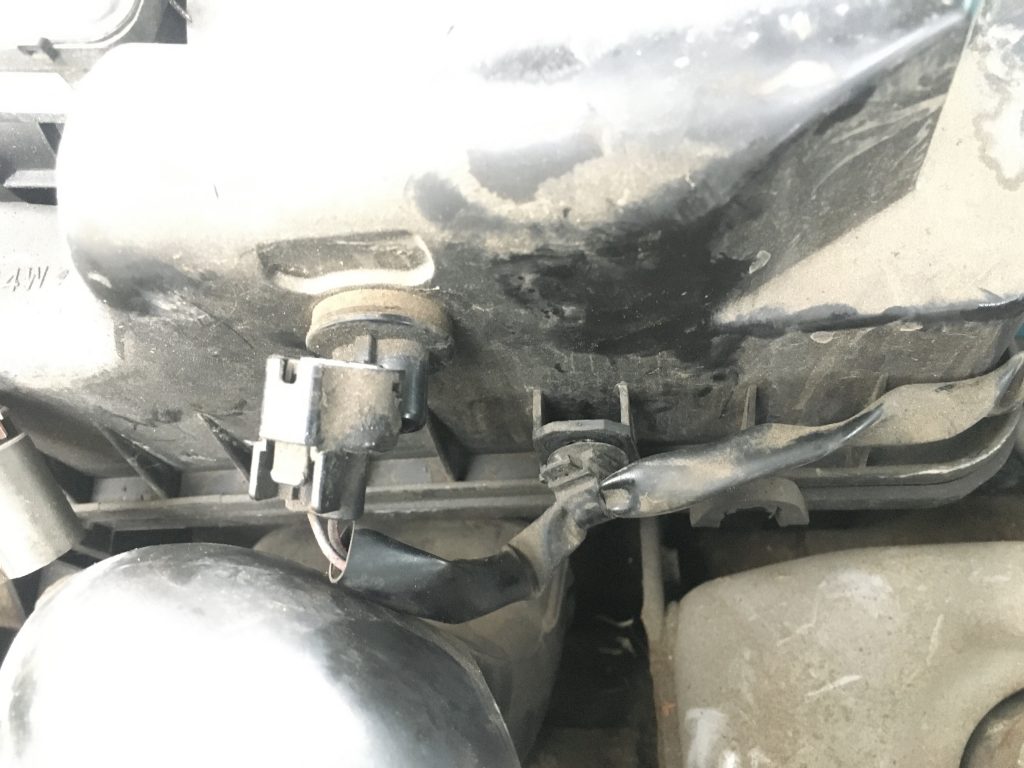
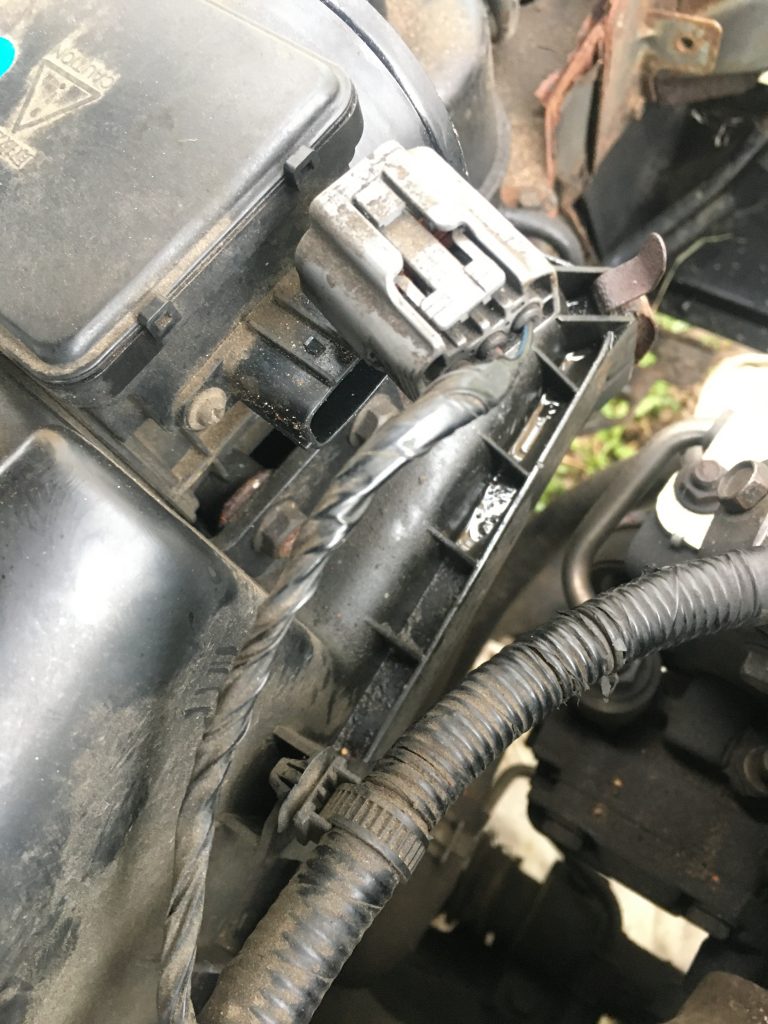
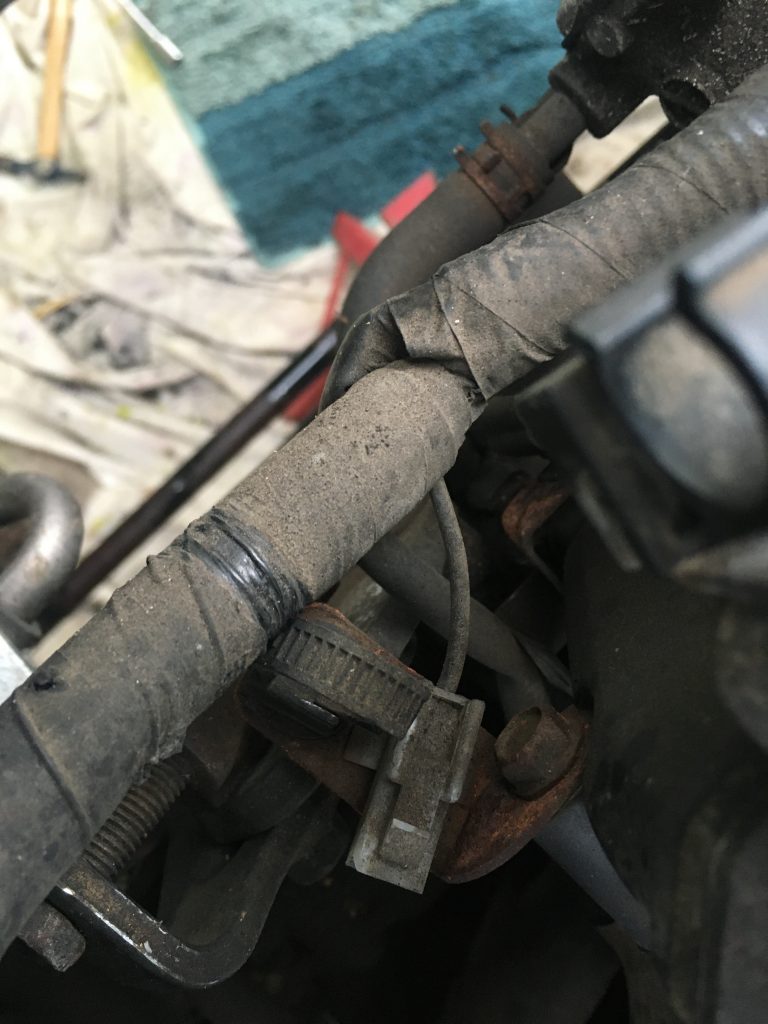
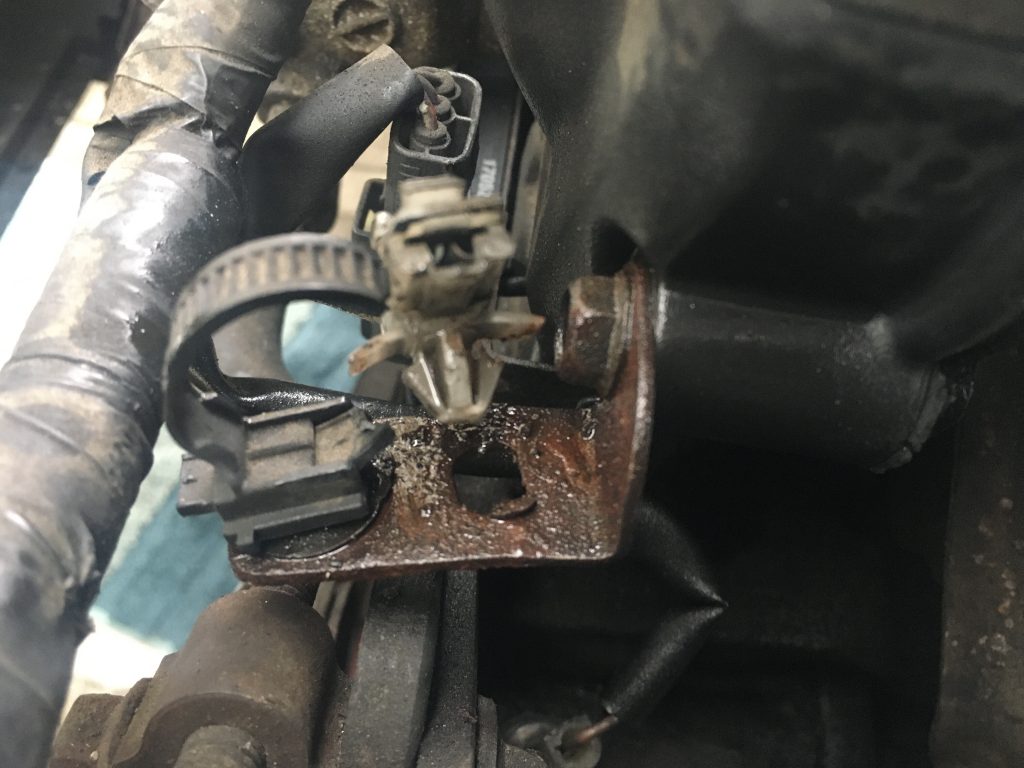
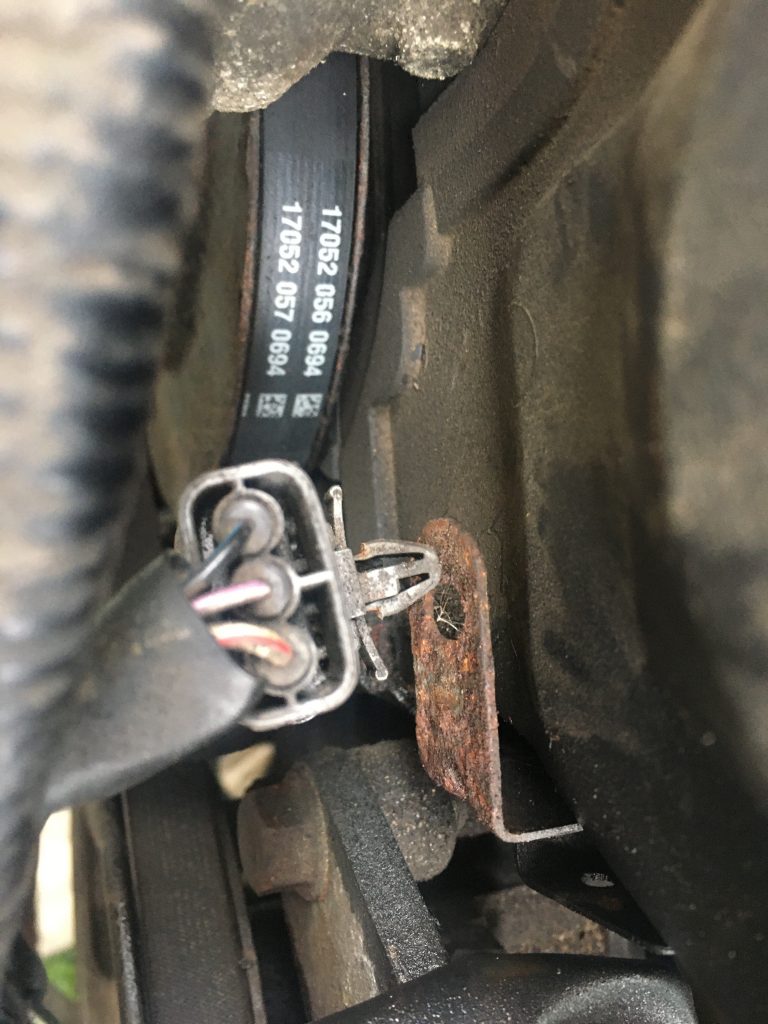
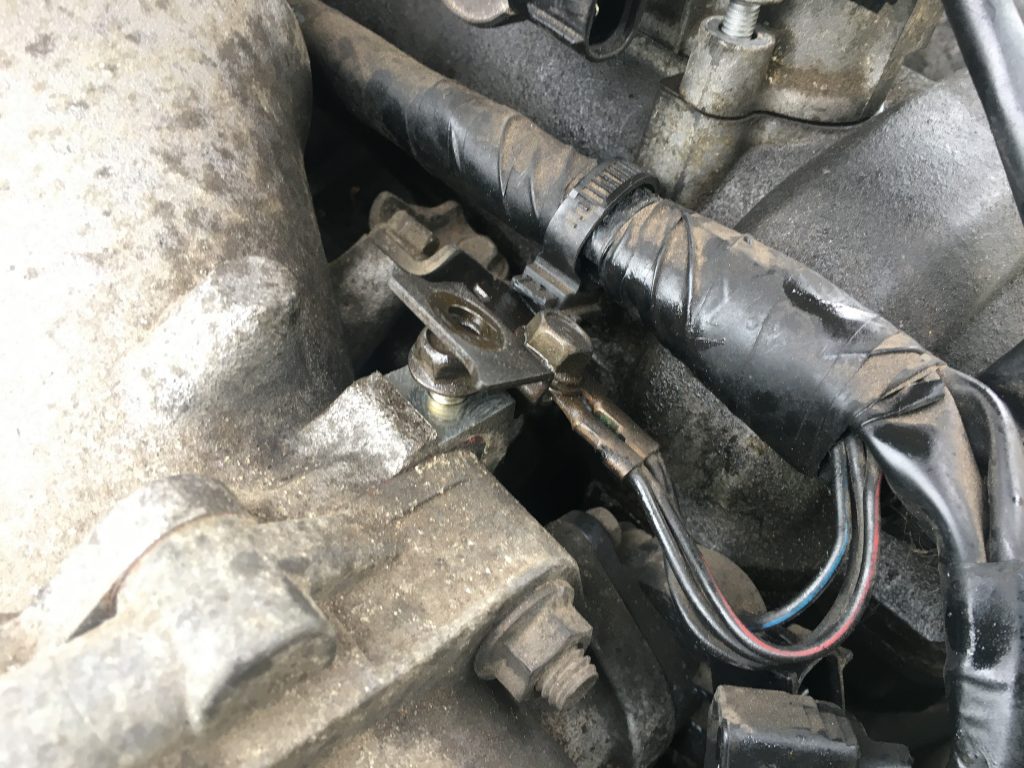
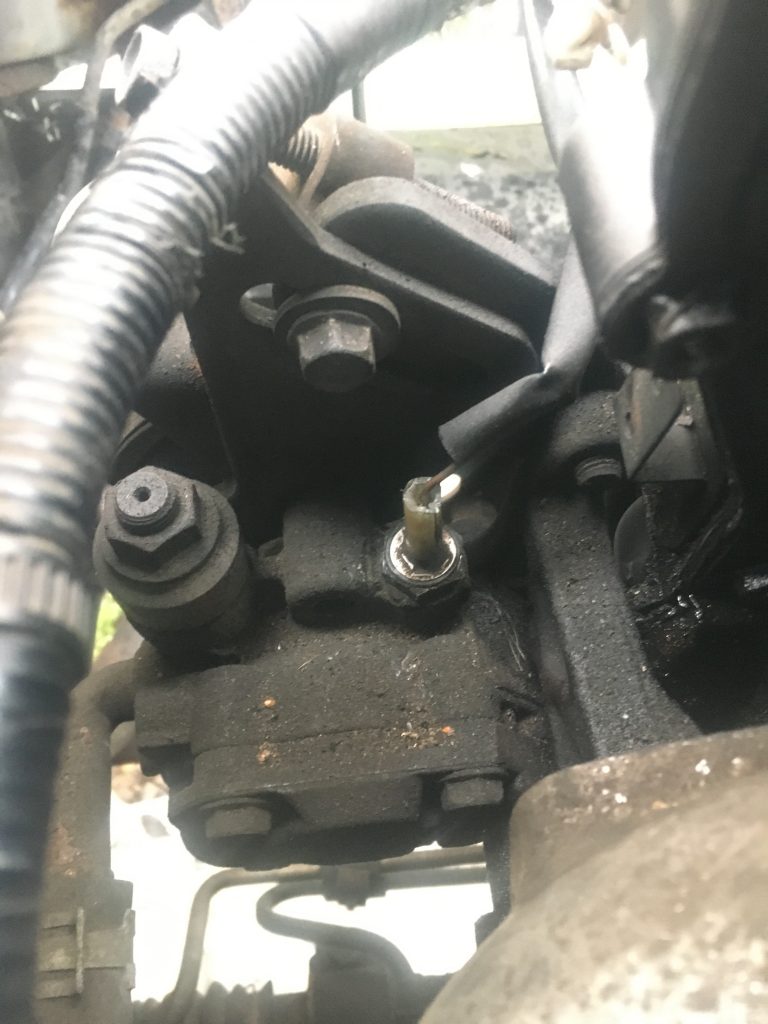
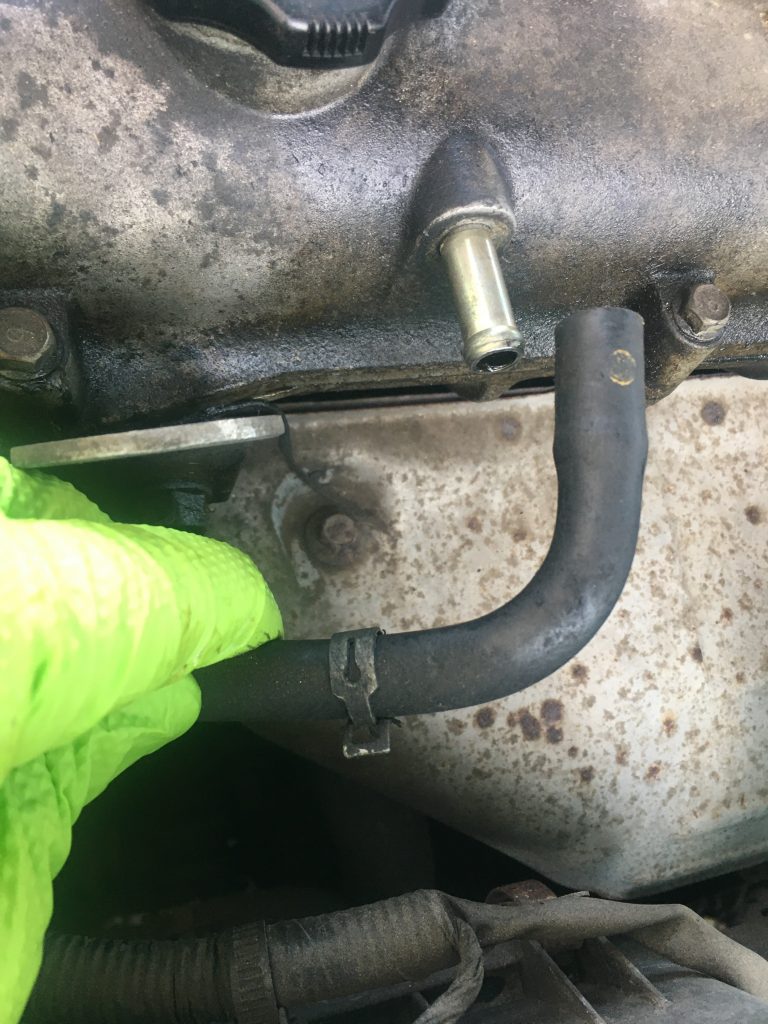
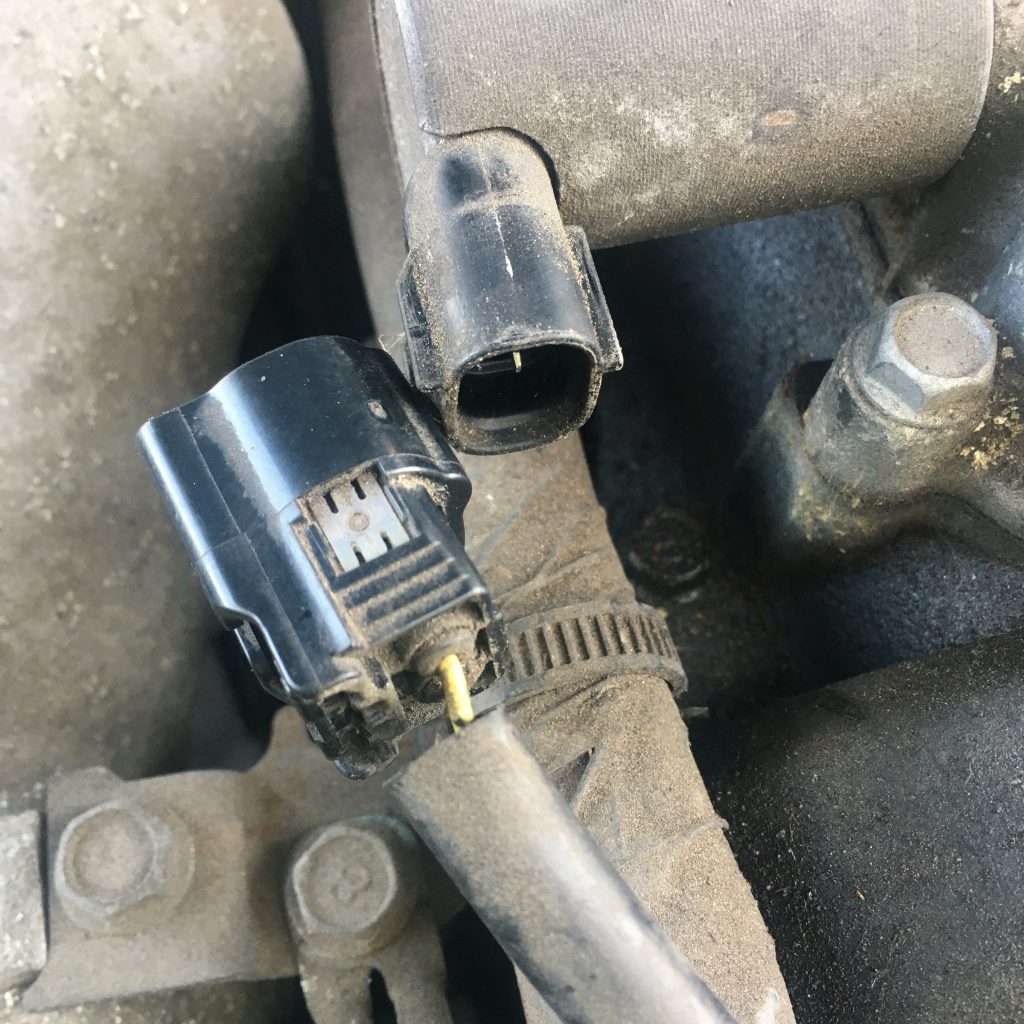
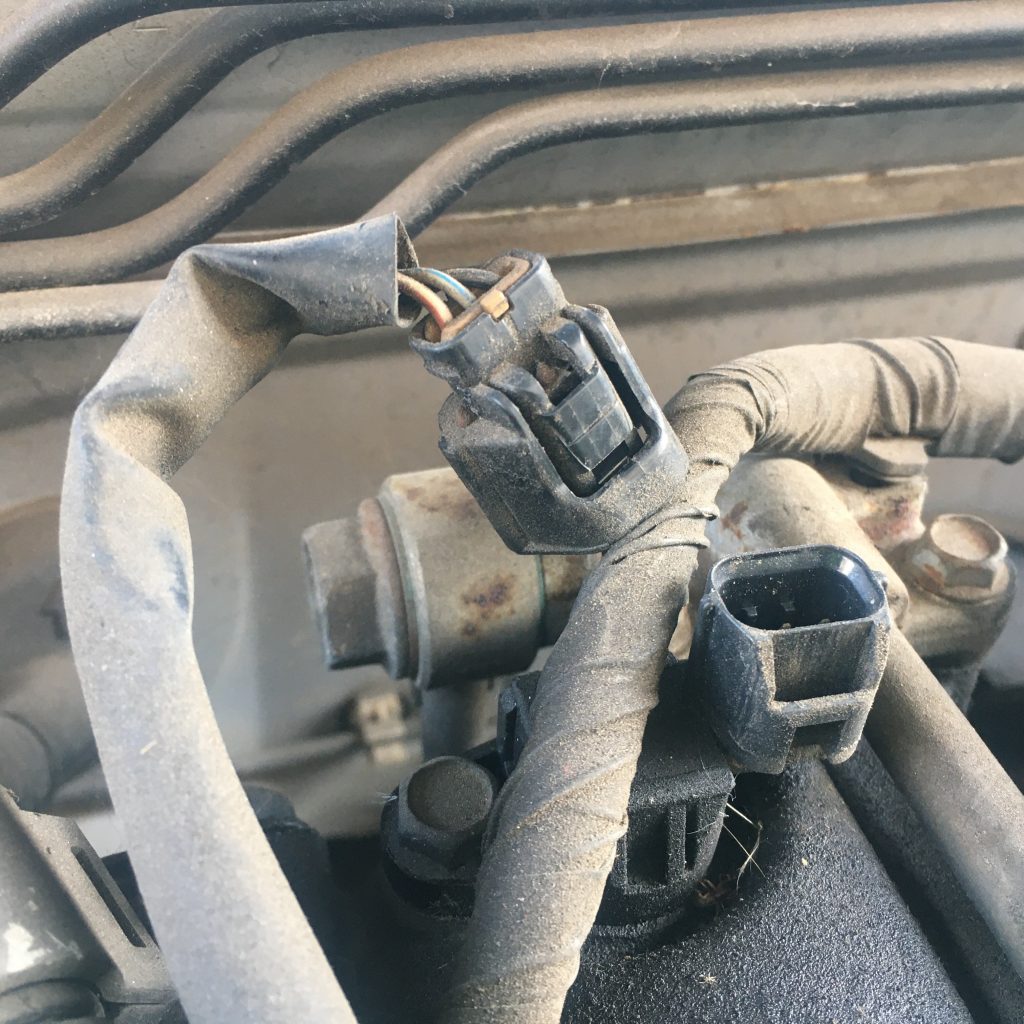
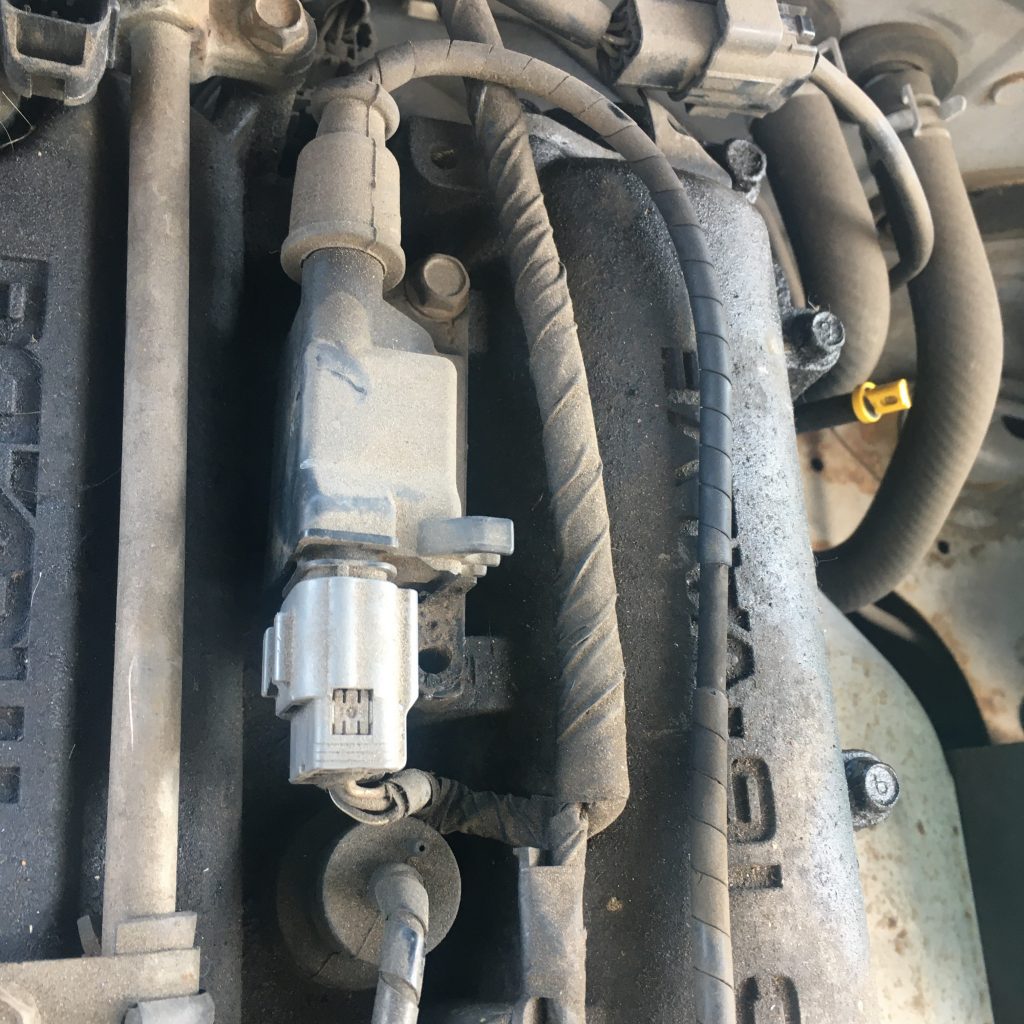
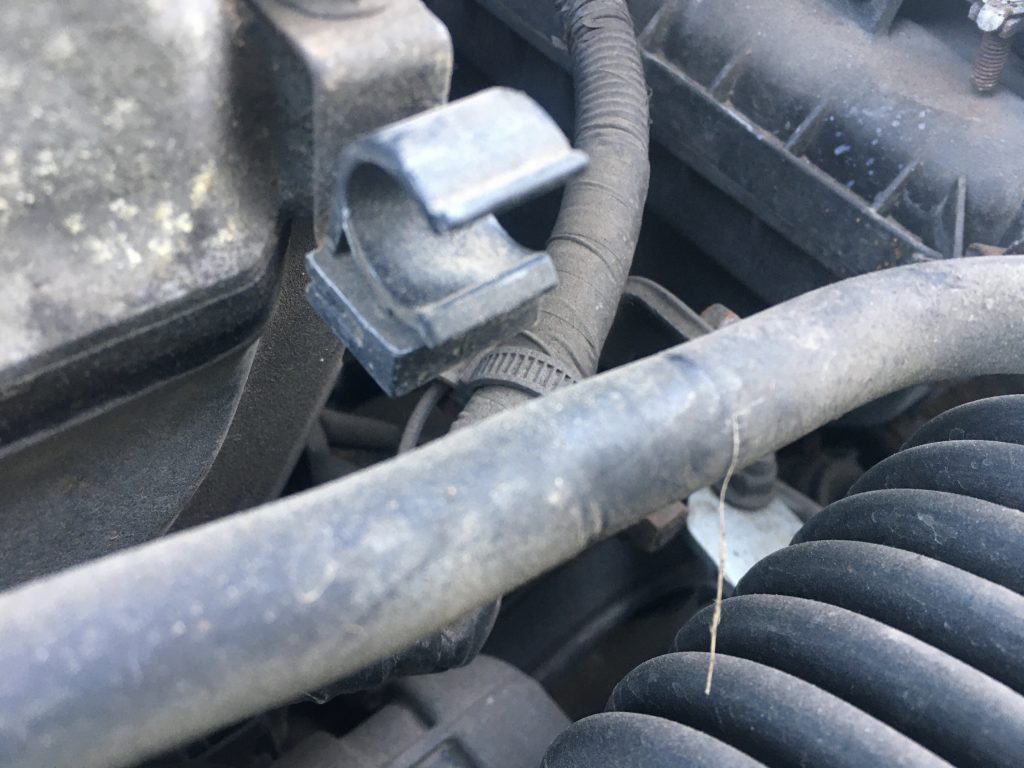
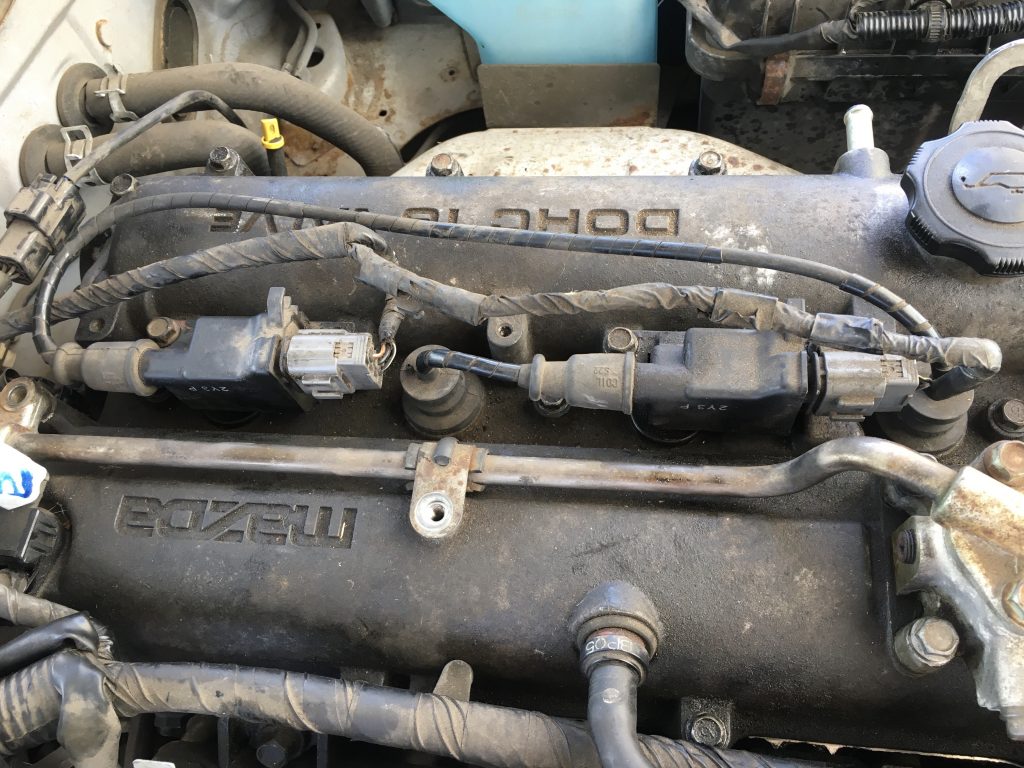
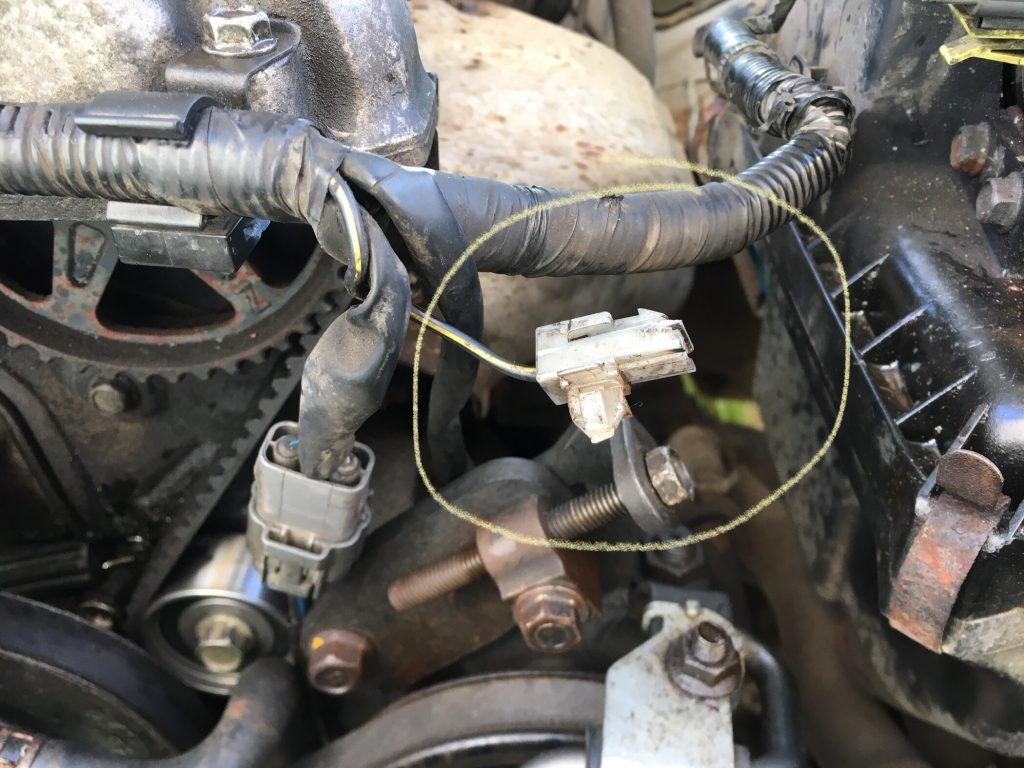
I called BOFIracing, and also emailed both them and MX5parts with a pic, regarding an extra and errant lead/connector that I can’t match up with a socket. Neither could tell me straight off what it was (BOFI got back to me saying it’s something to do with AC). But it was suggested that whatever it is, it isn’t the reason the engine still doesn’t start.
Talking to BOFI was a bit different today. I bought the cambelt set and cam cover gasket from them. And they’ve been pretty patient and helpful thus far. But the guy I spoke to today seemed a bit impatient. He recommended I watch a video that would tell me ‘everything you need to know’.
The video he linked to (here) is a carpassion video that I’ve already watched several times. And whilst it has some helpful info, it’s far from ‘everything you need to know.’ In order to get all the necessary knowledge, I’ve had to watch loads of YT videos, and cobble together an entire process from many disparate bits and bobs.
By way of explanation, the VVT timing belt video the BOFI guy recommended – linked to above – is done with the engine outside the vehicle. So there’s nothing in it about how to remove the cam cover top, VVT swing arm doodad, or loosen the alternator, etc, to remove the belts.
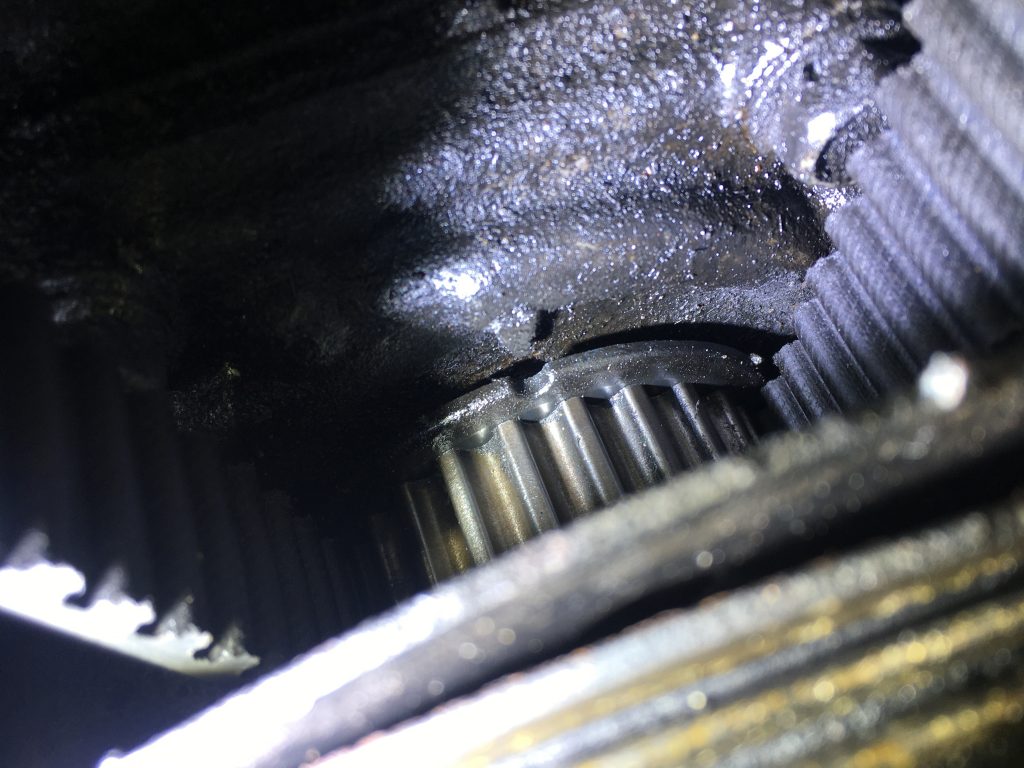
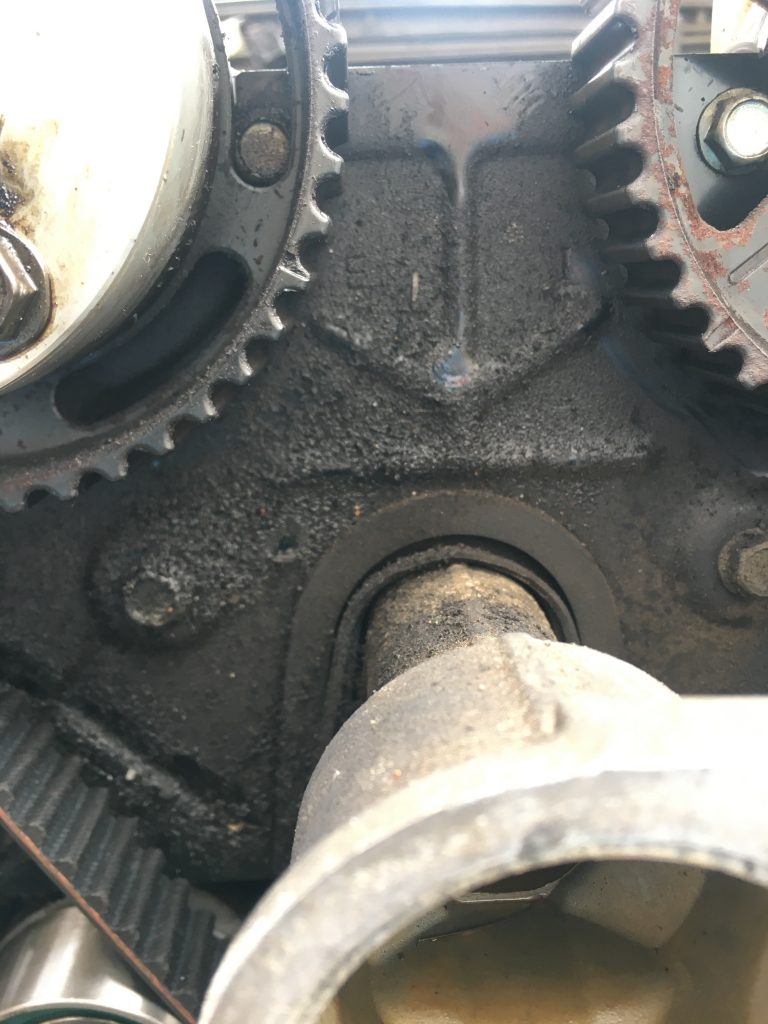
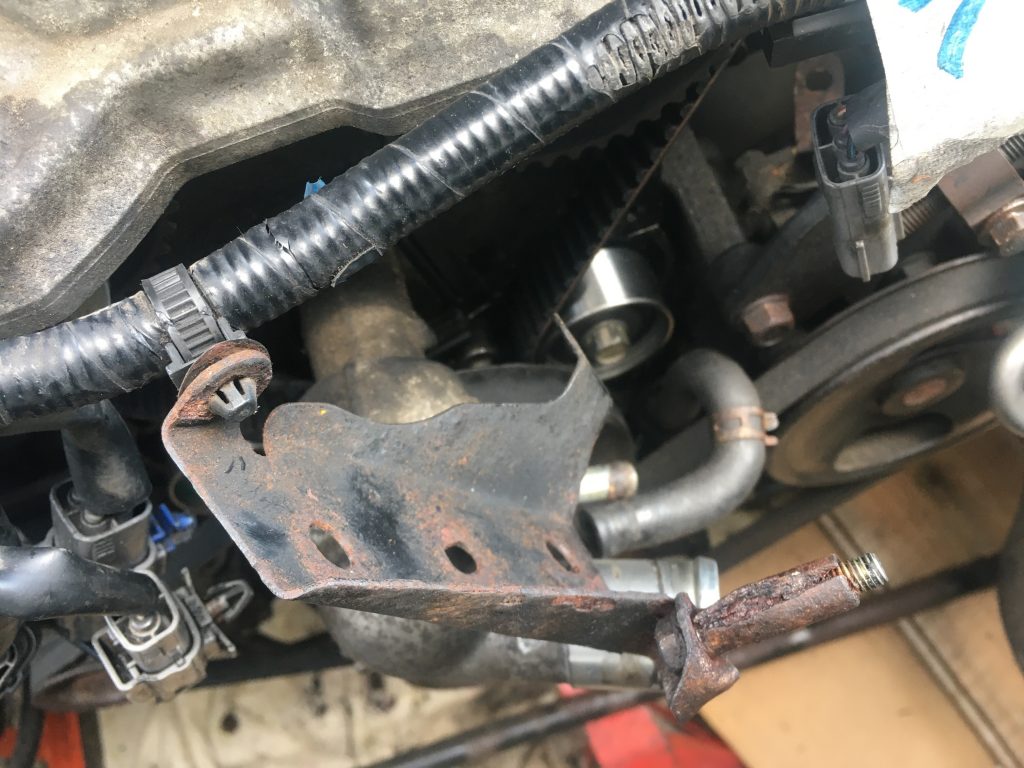
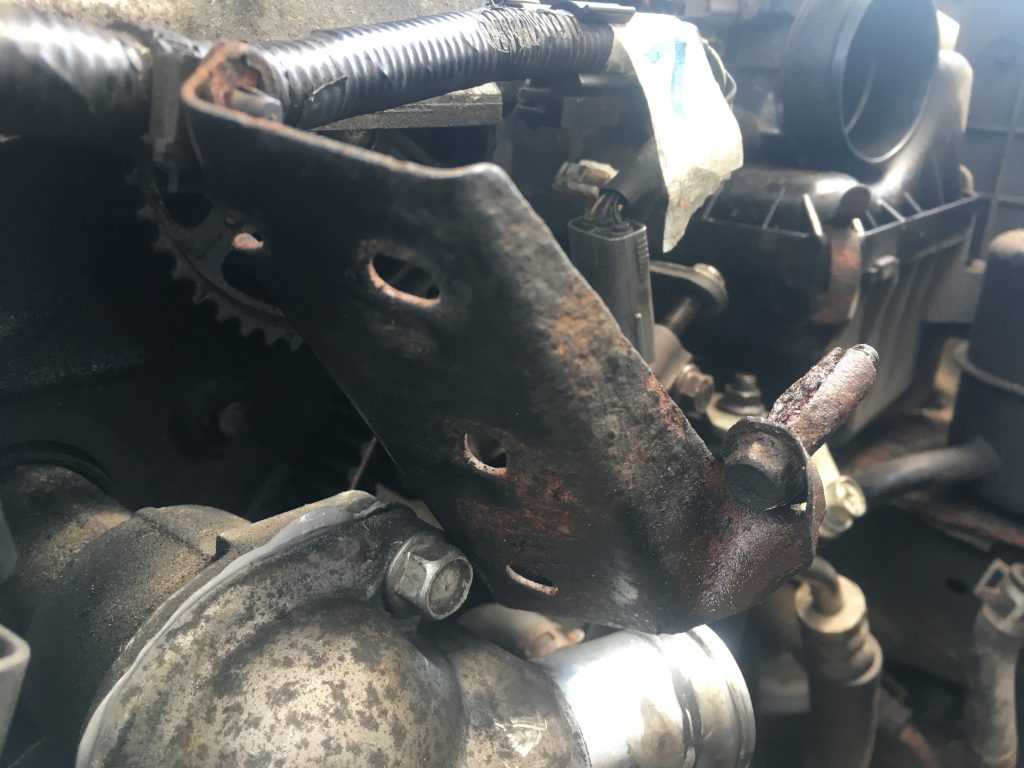
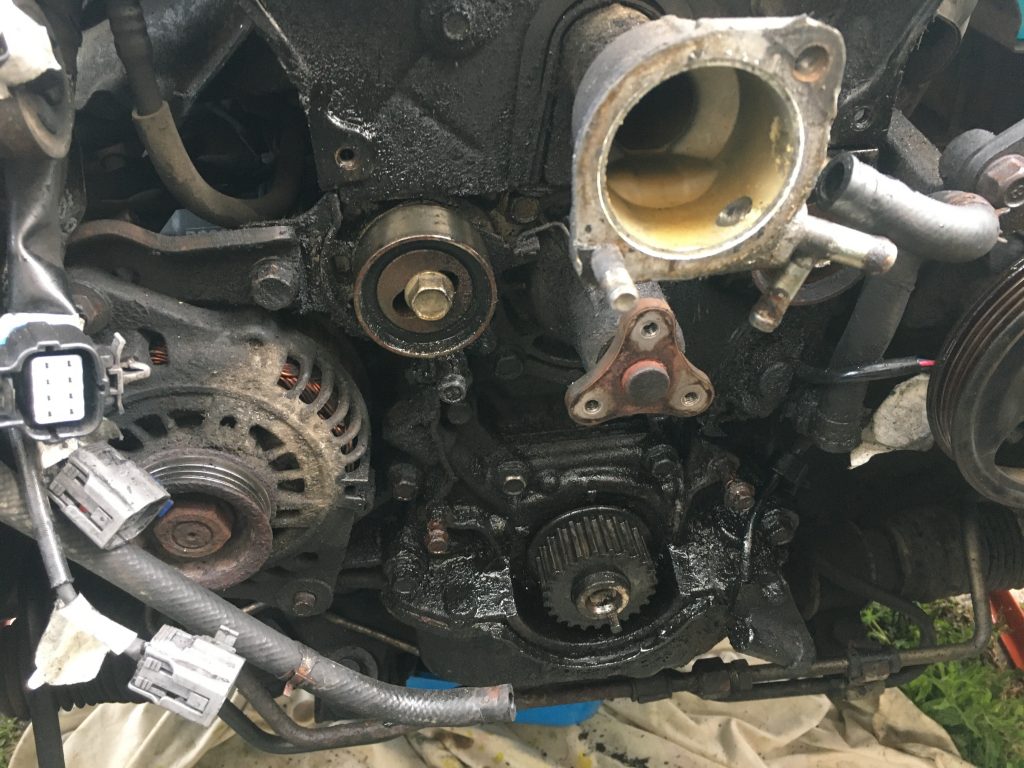
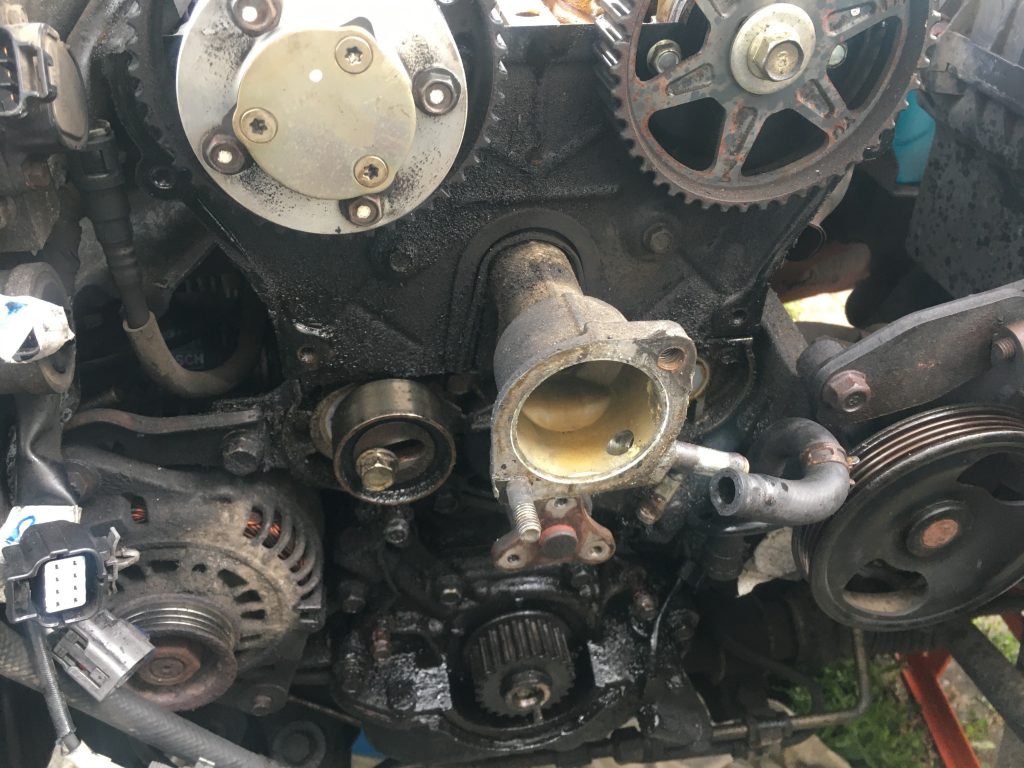
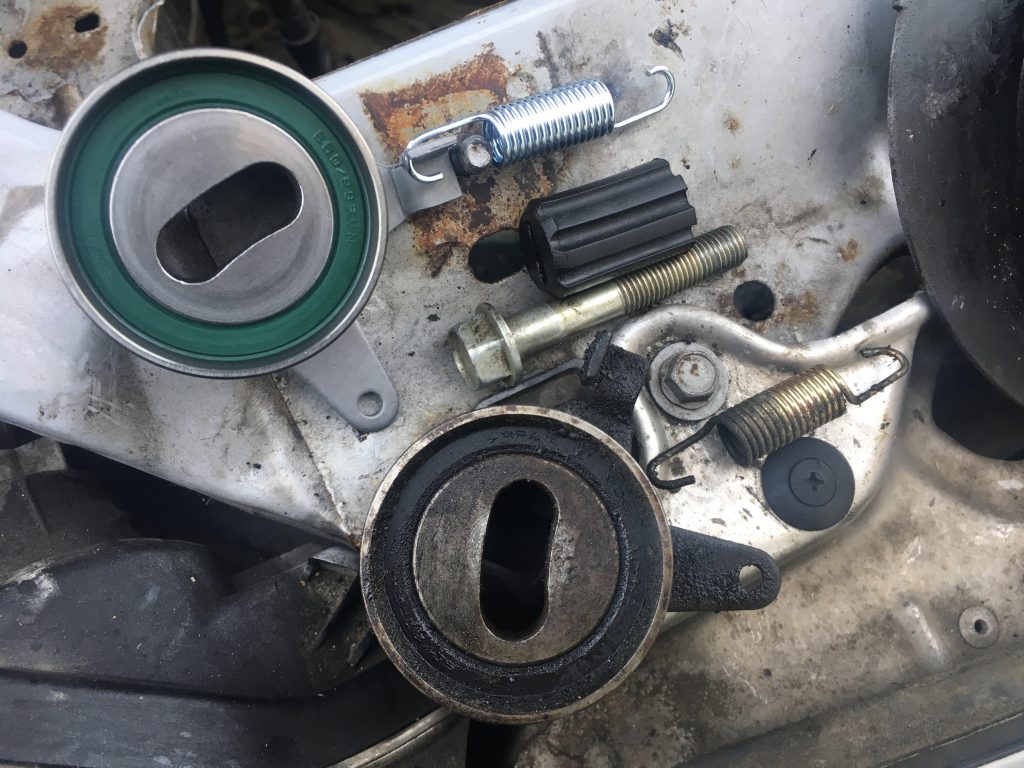
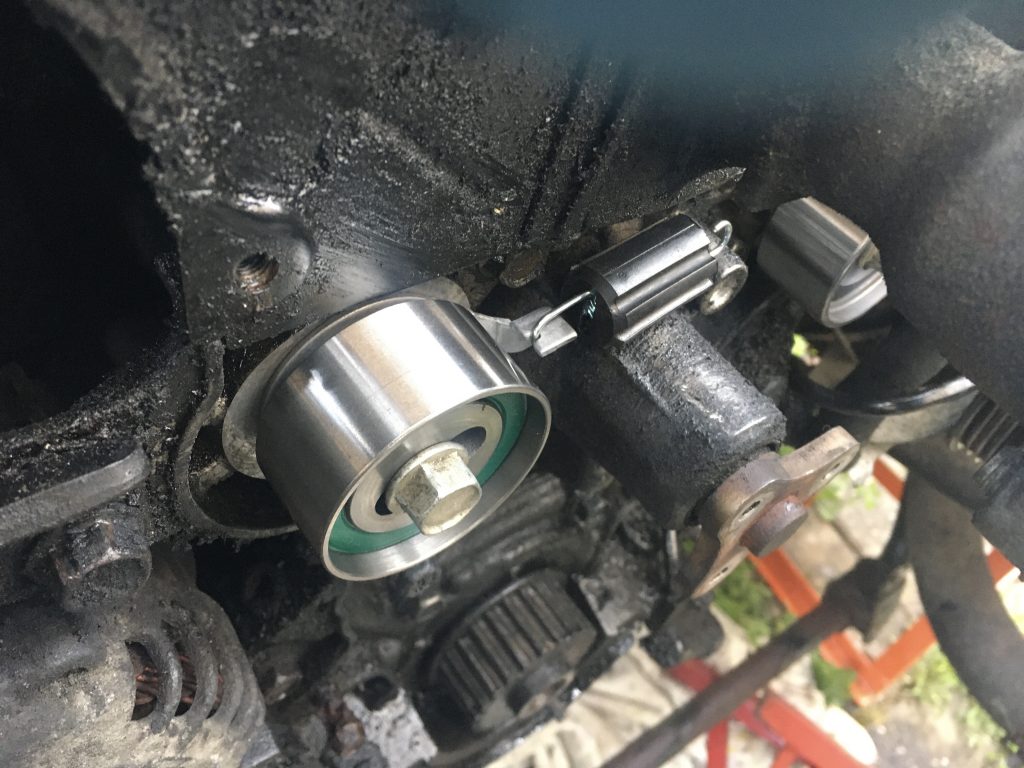
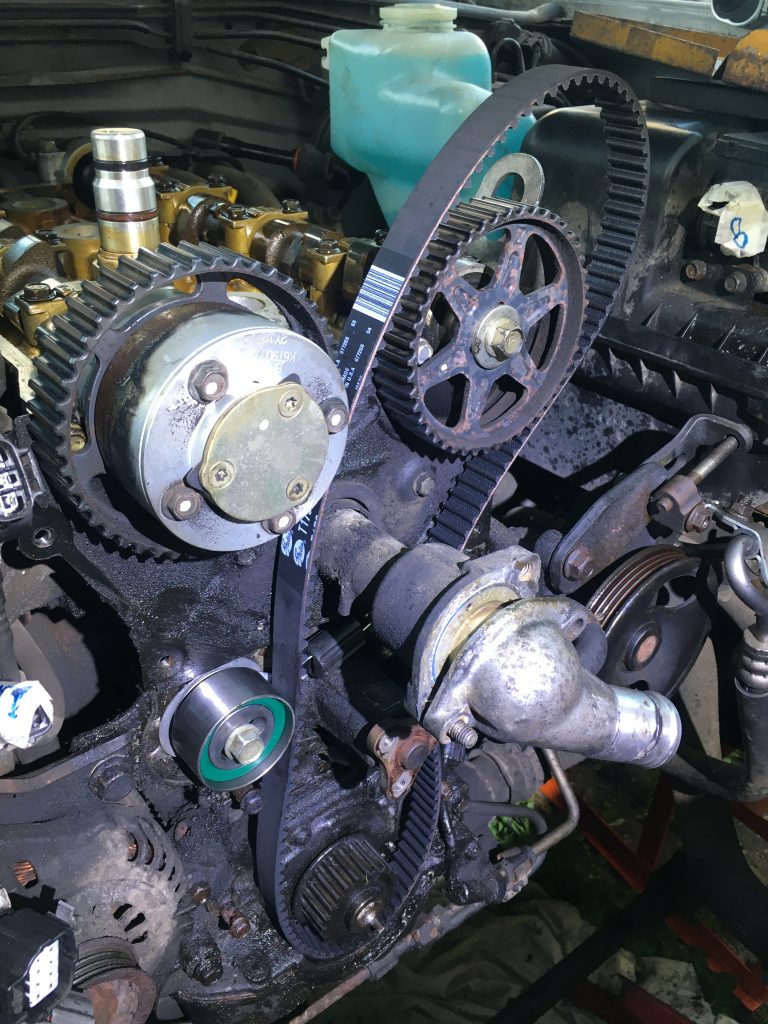
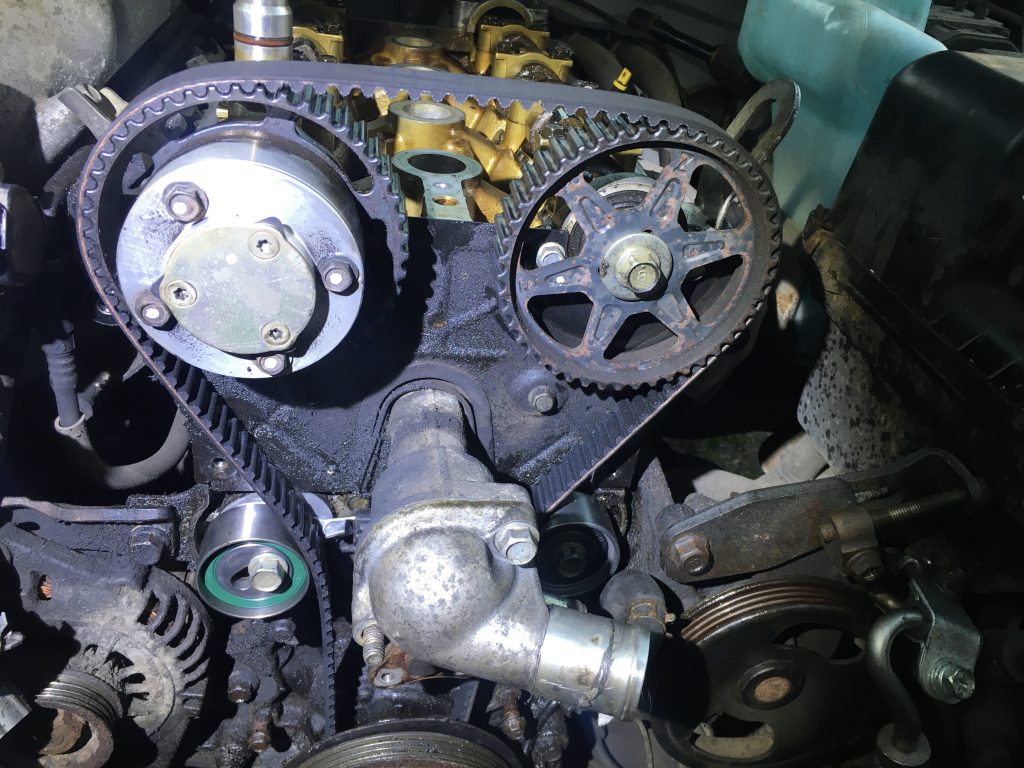
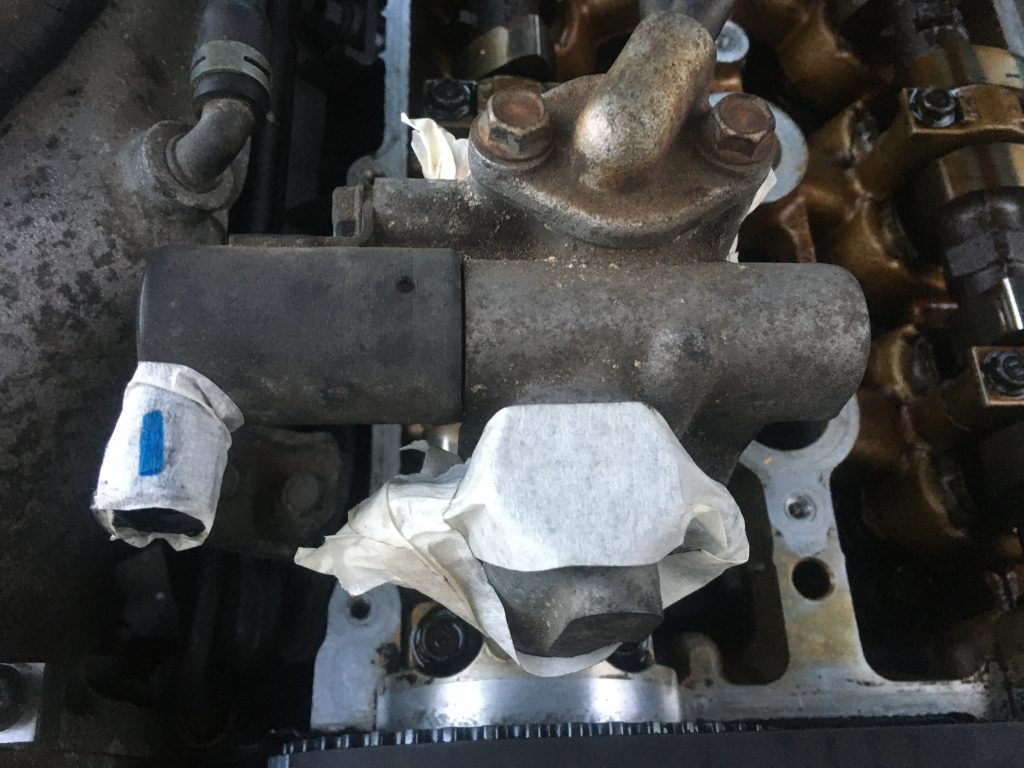
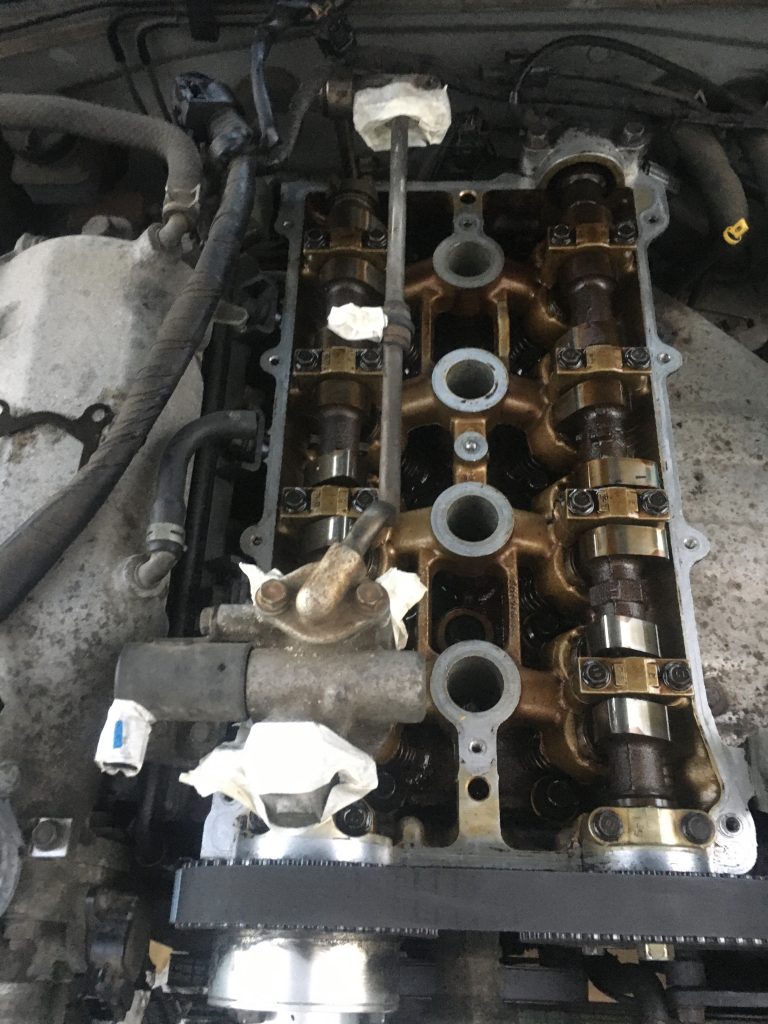
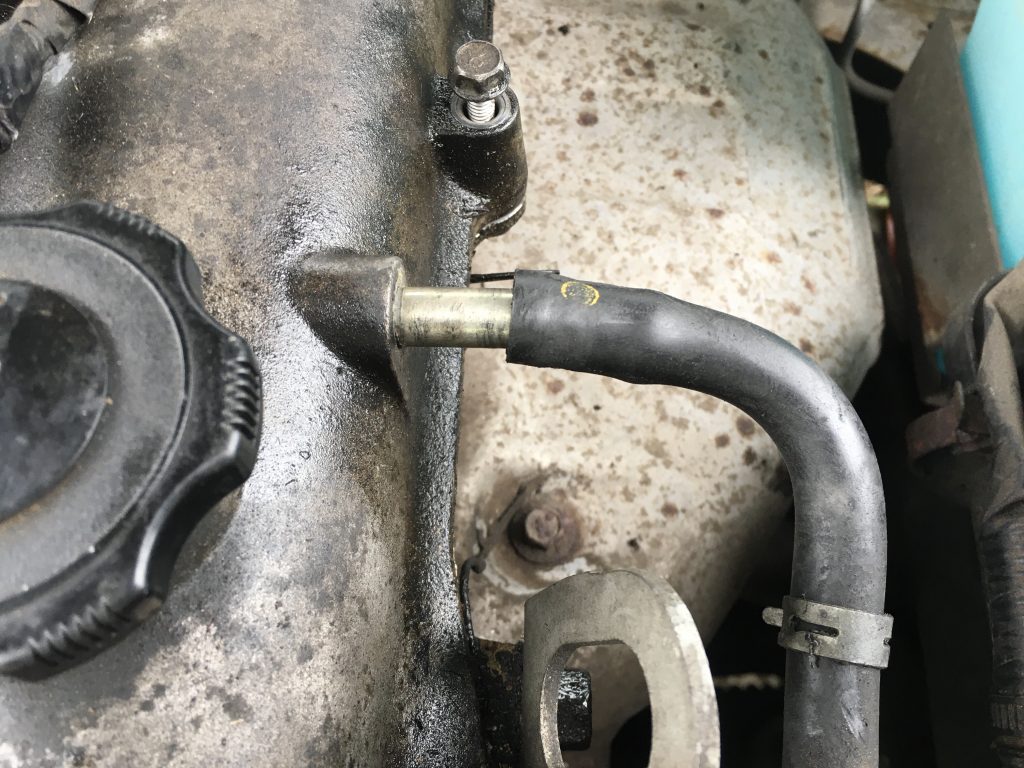
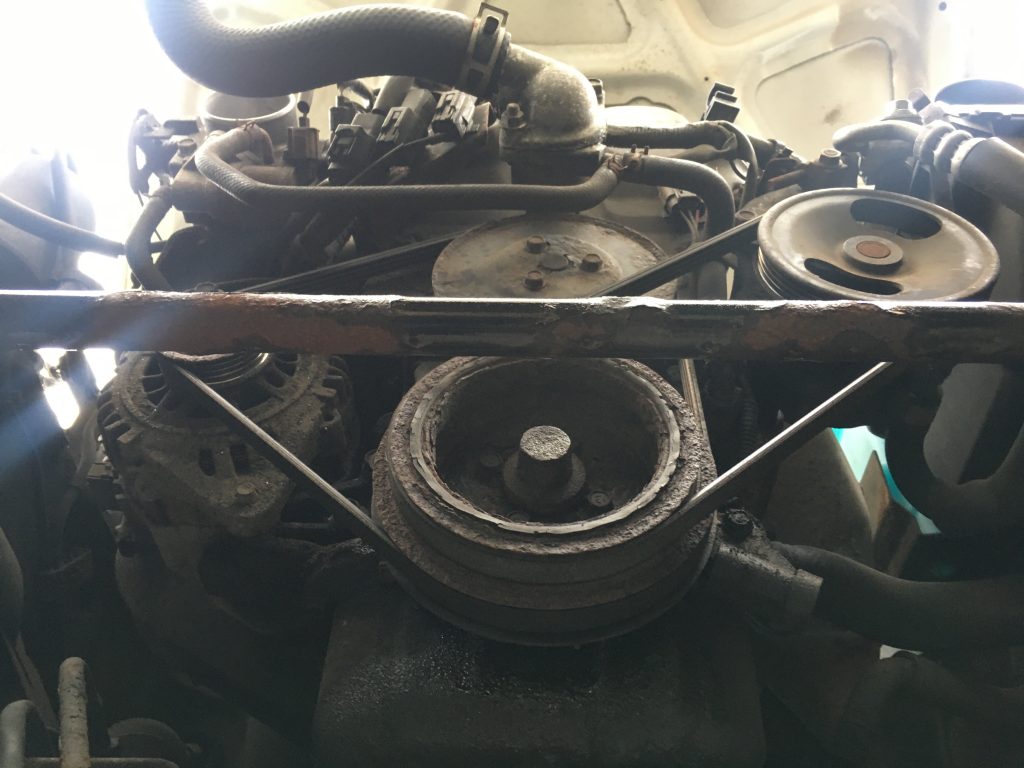
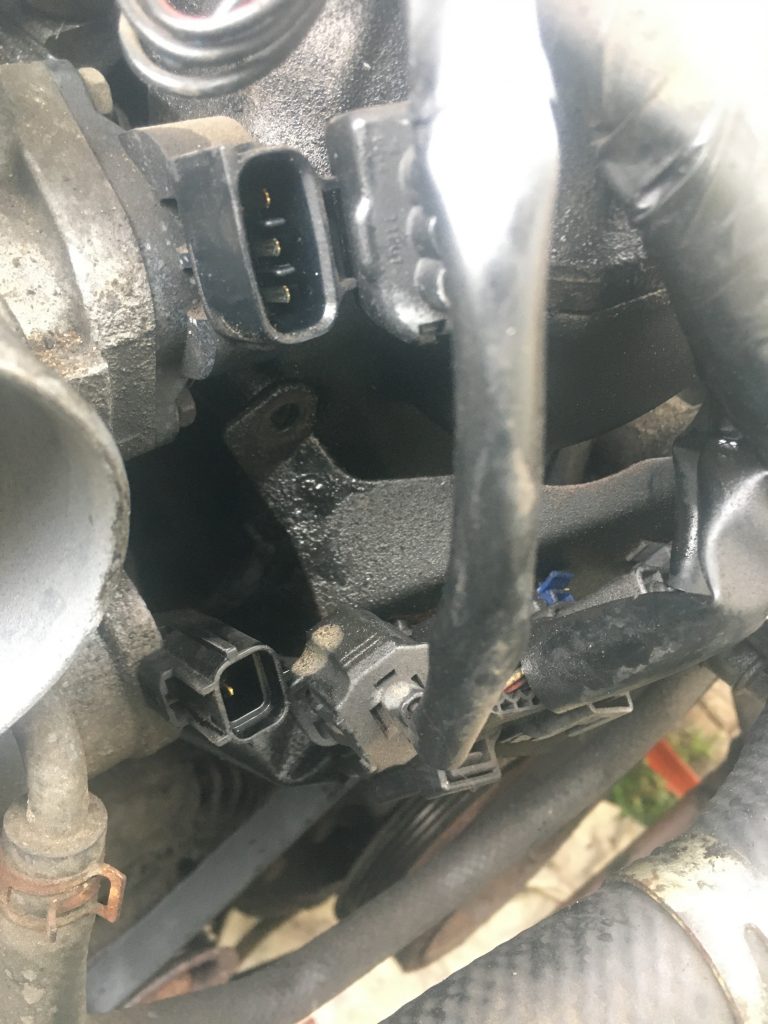
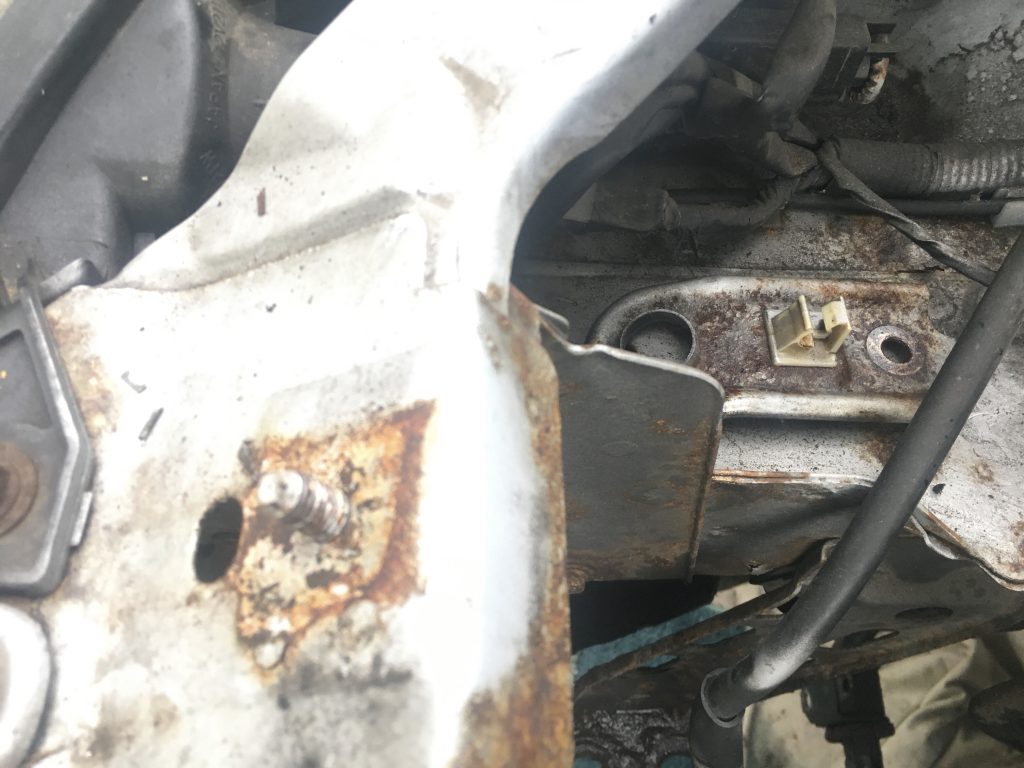
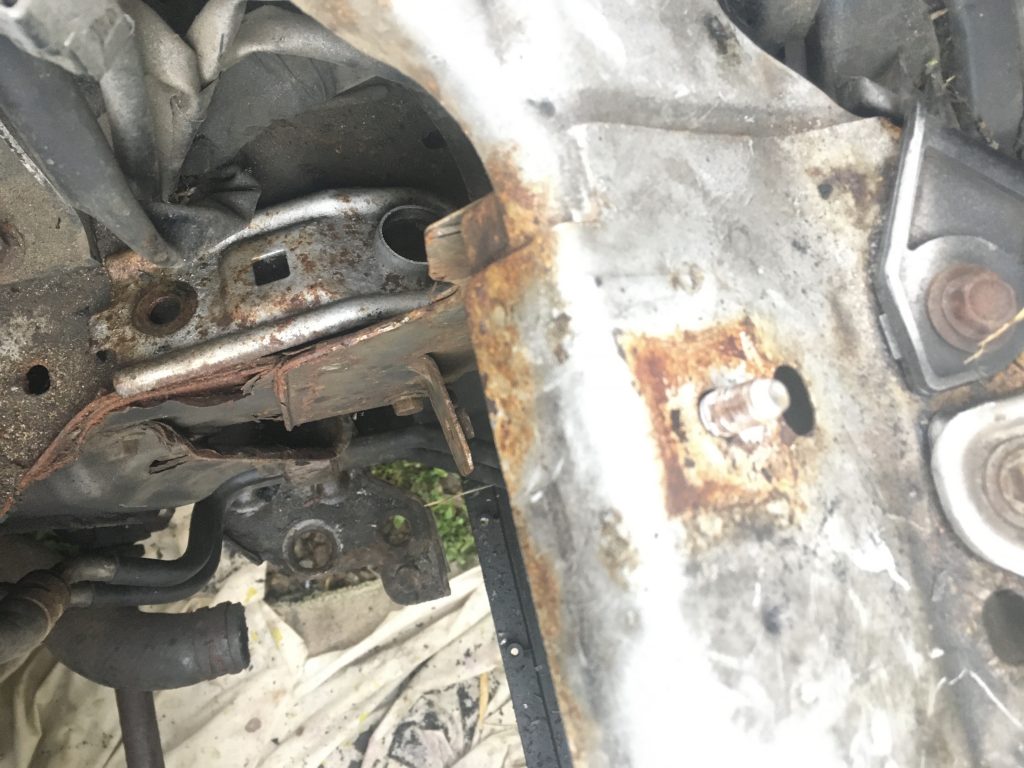
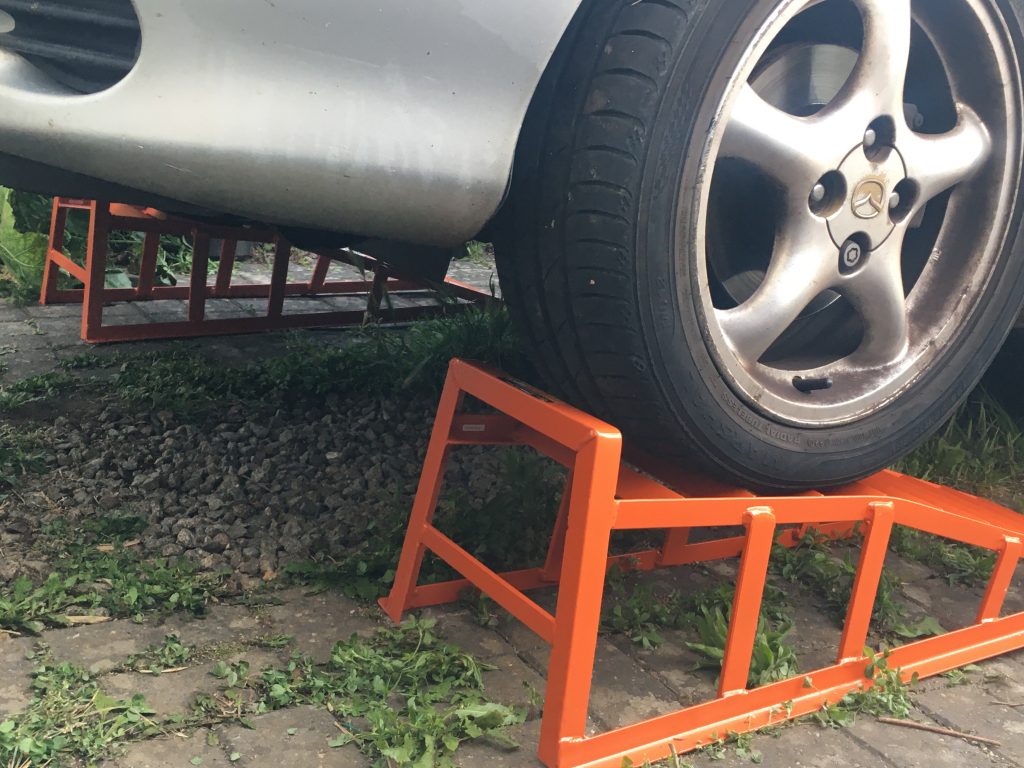
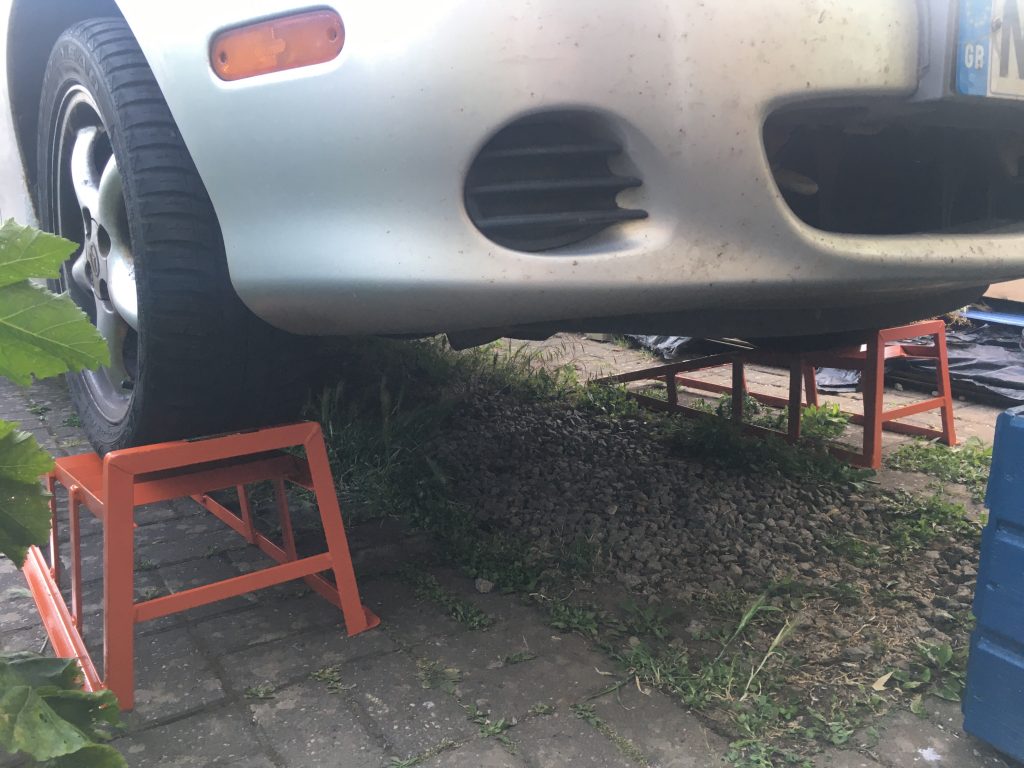
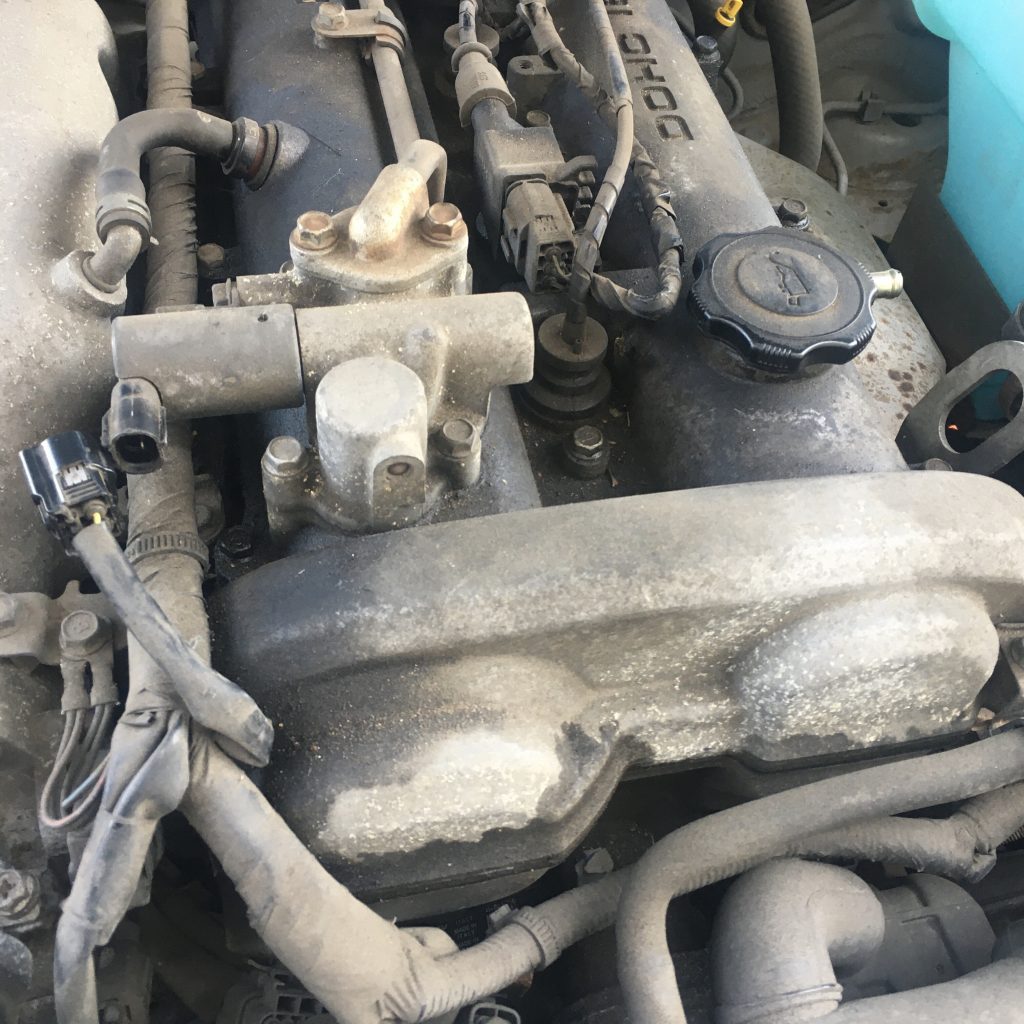
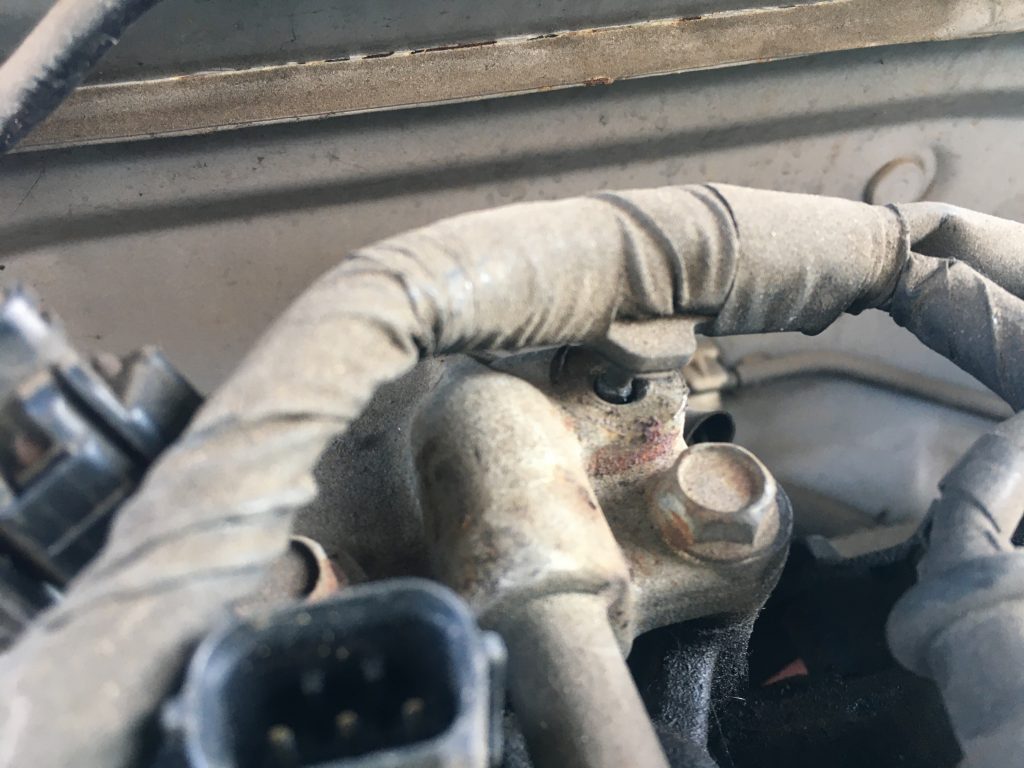
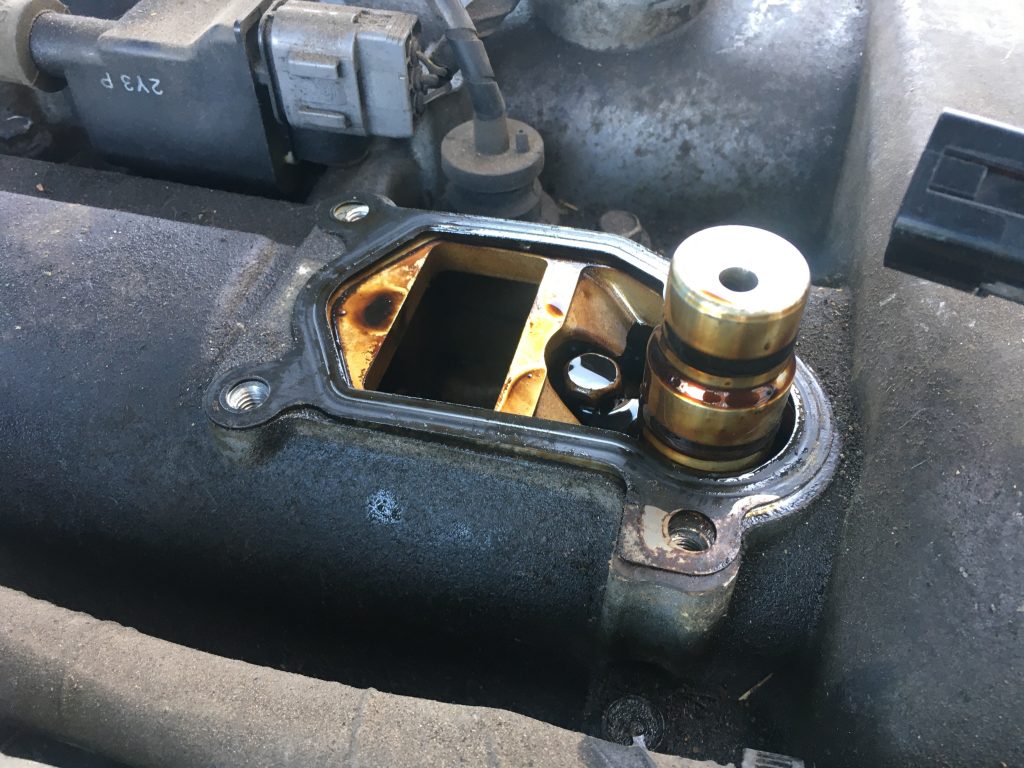
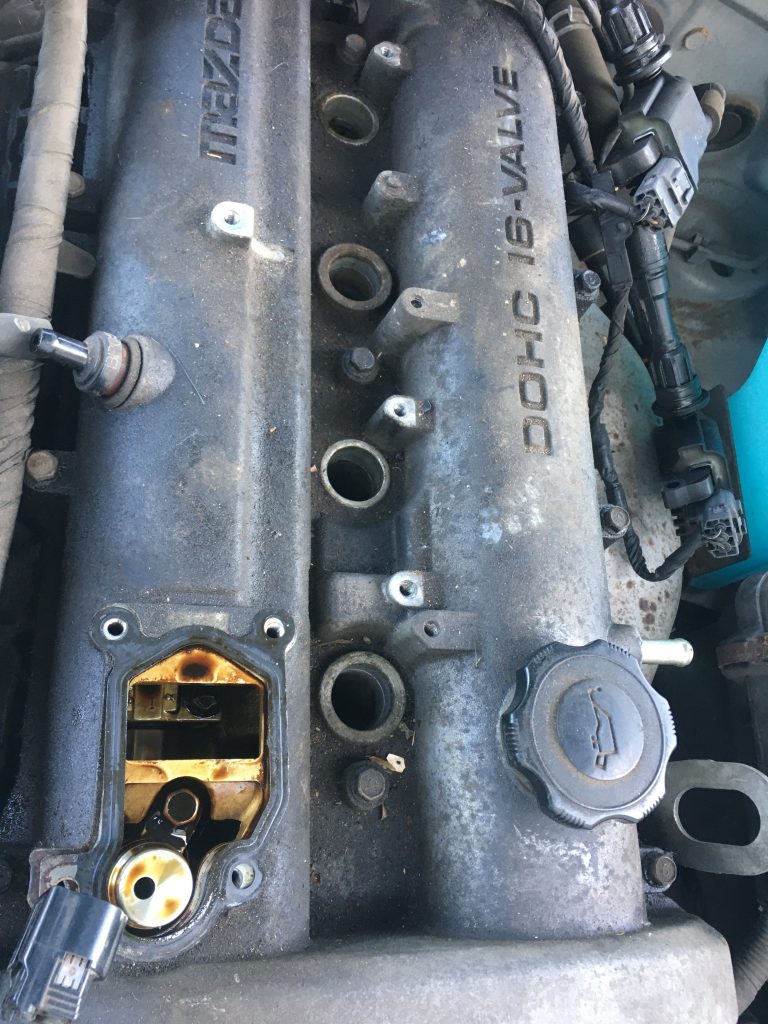
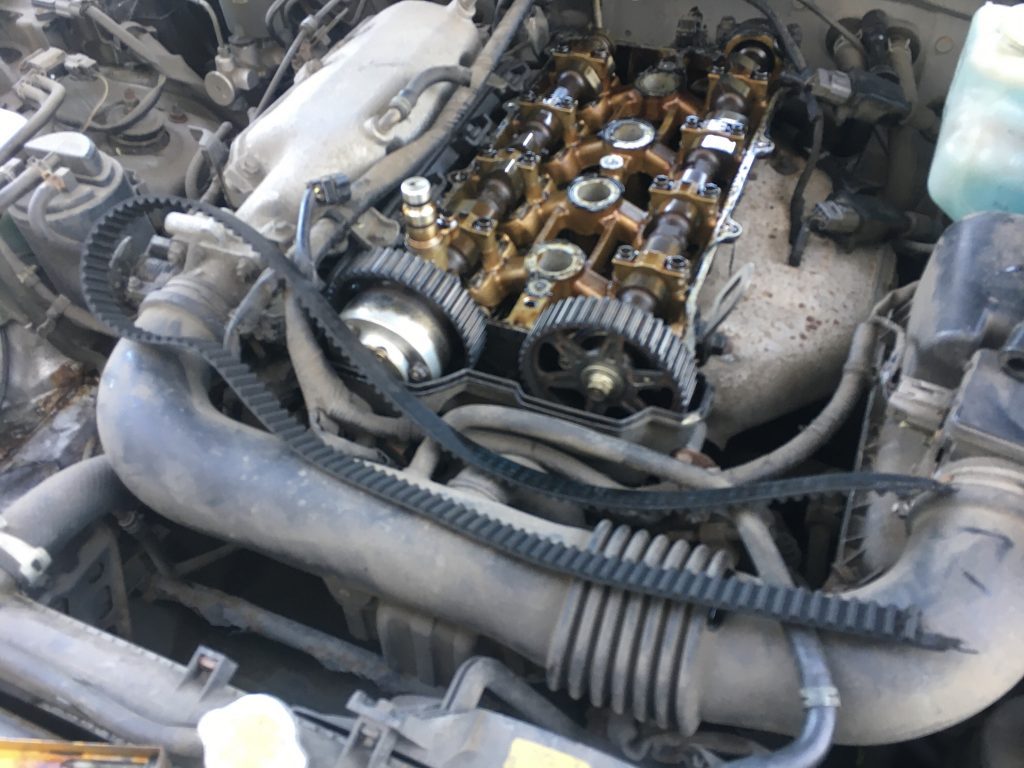
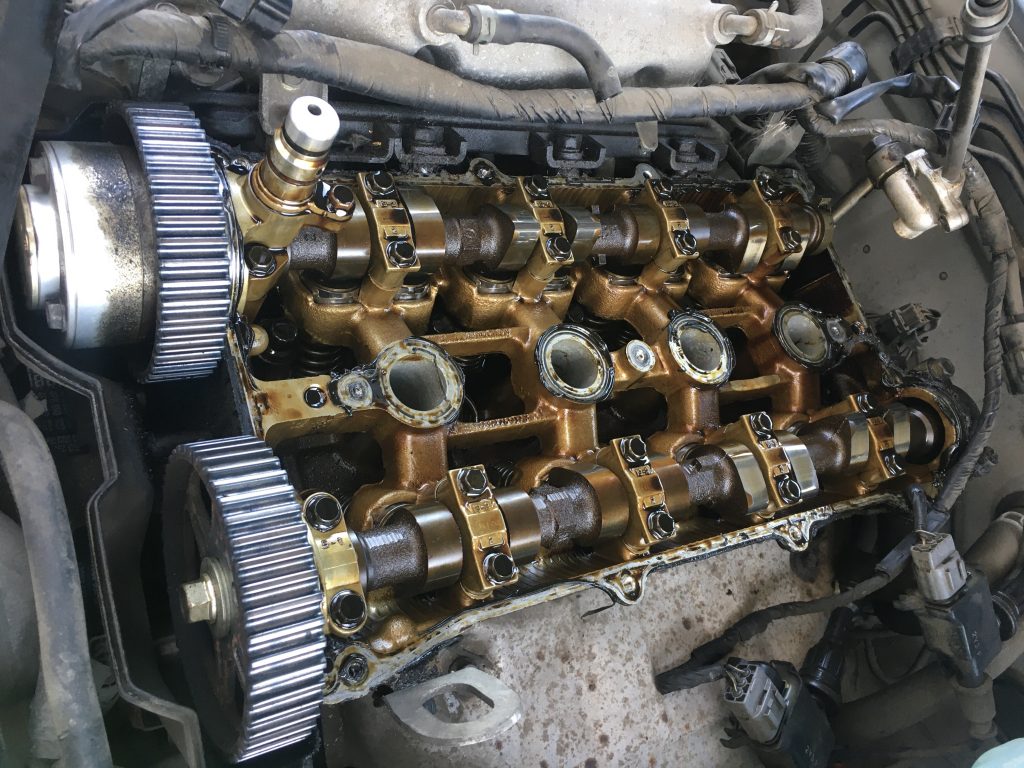
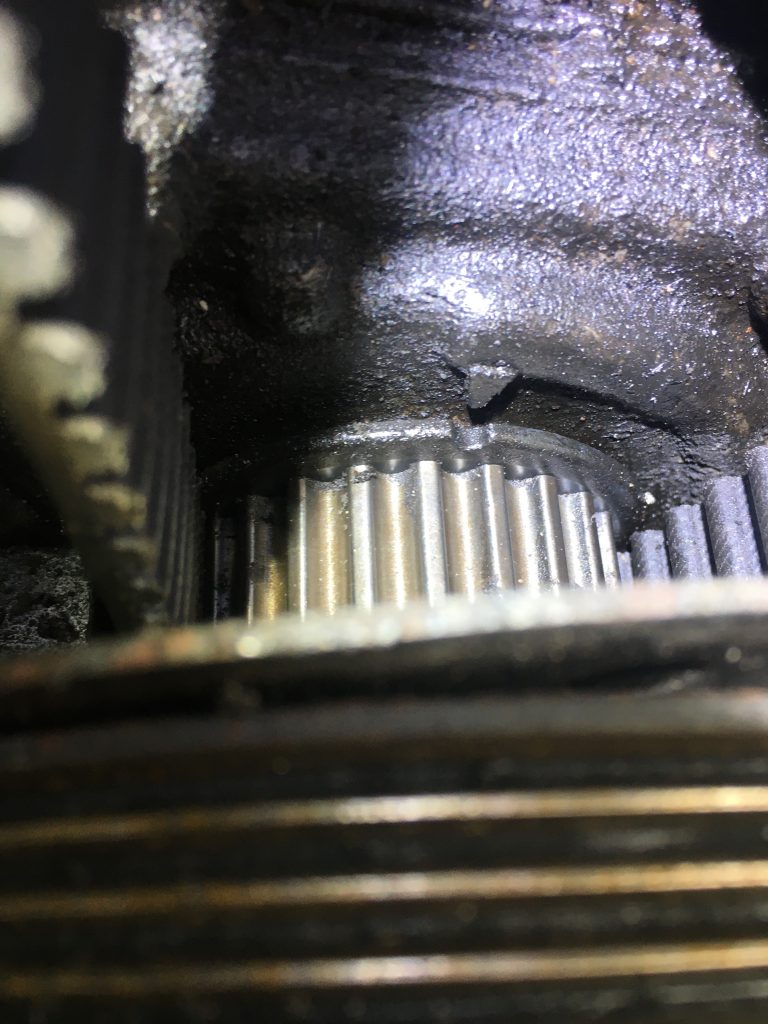
Anyway, today’s work went a lot quicker and smoother than on previous days. And as the first two photos directly above attest, the timing wasn’t aligned as it should have been.
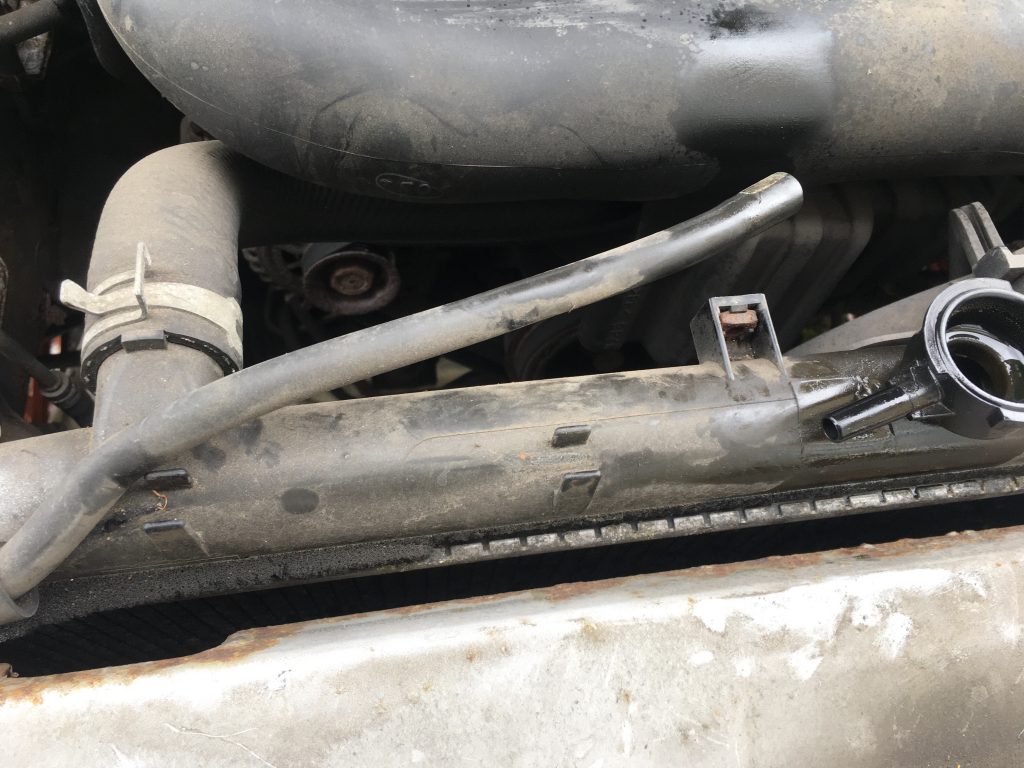
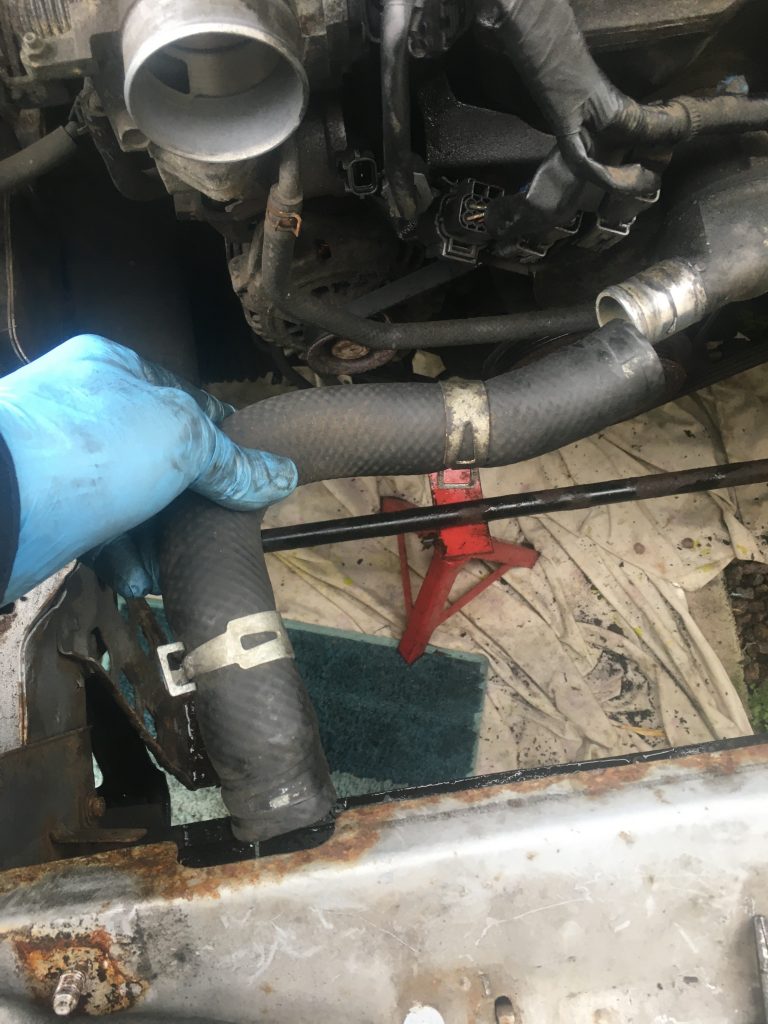
But to find this out required, as previously, quite a lot of dis-assembling: I drained the coolant again, and took the rad’ off, again. I also drained the (new!) engine oil. The latter was leaking a little under the sump. But despite the little leak the main thing was I’d bought and wanted to fit a new oil filter.
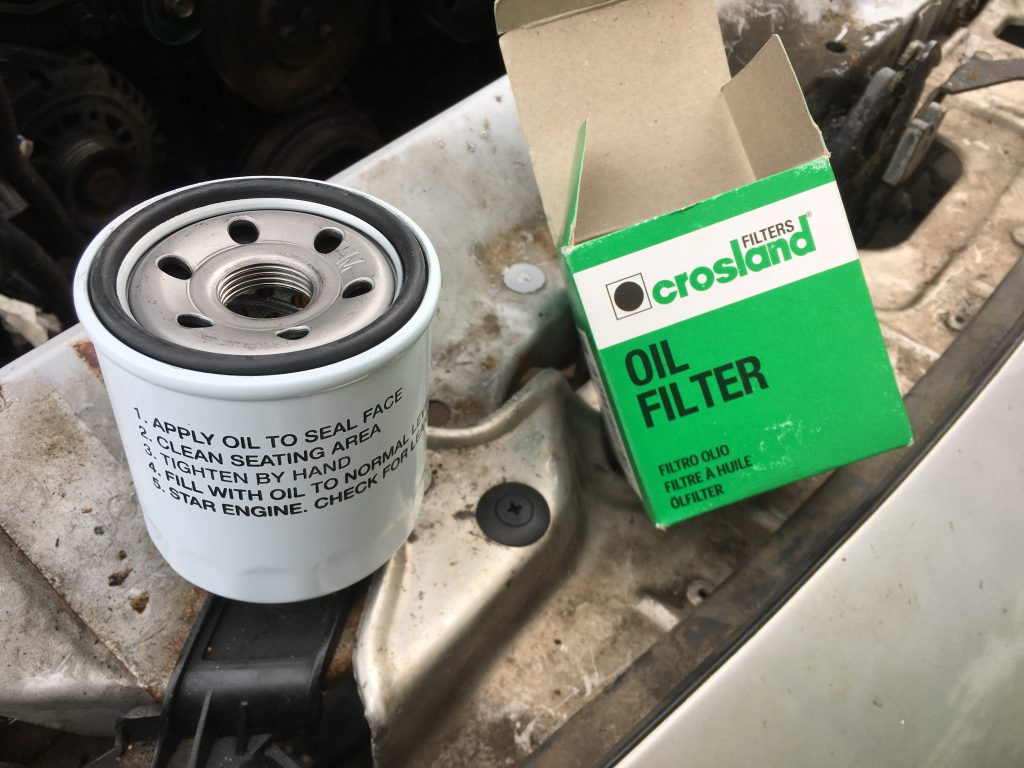
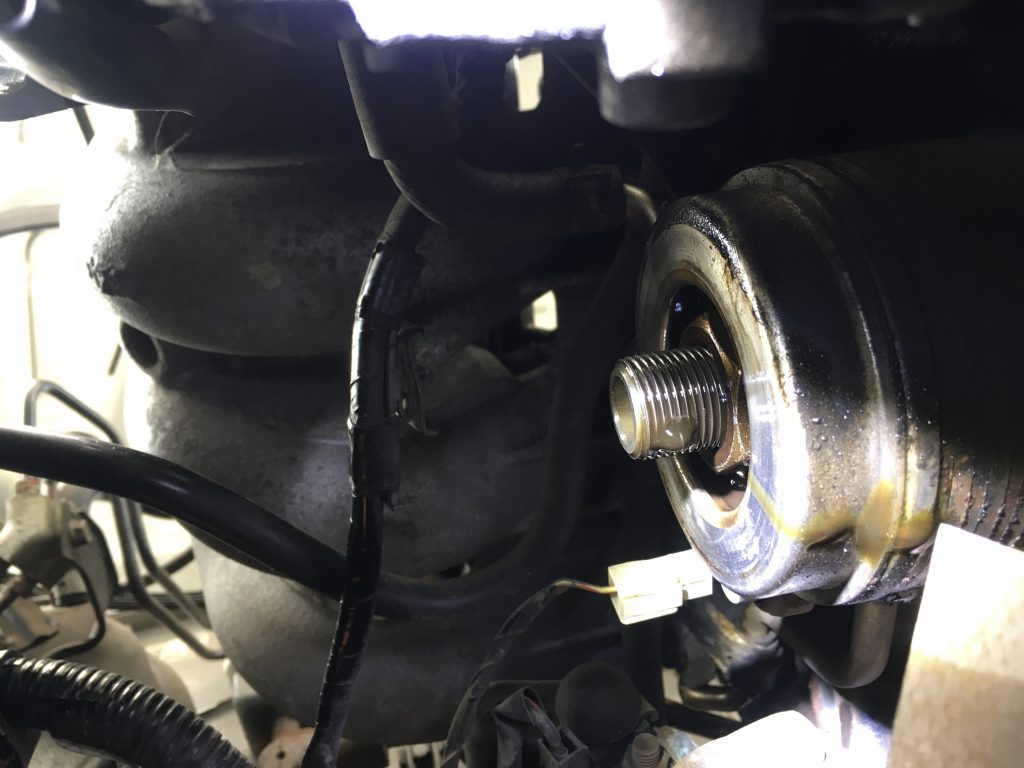
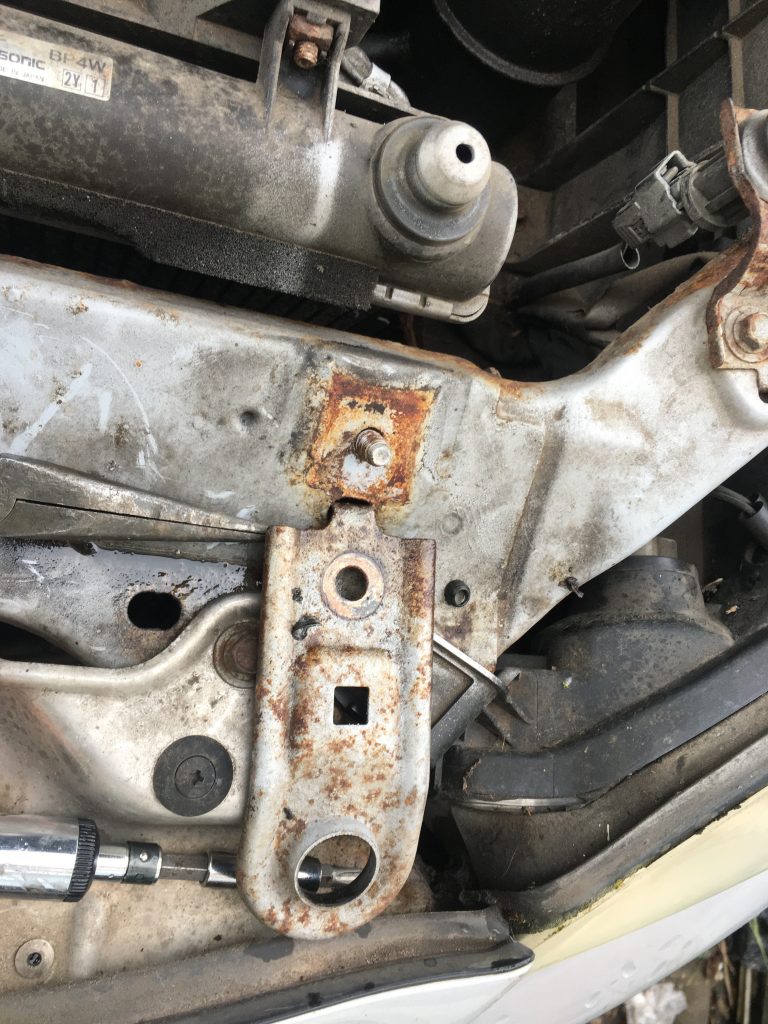
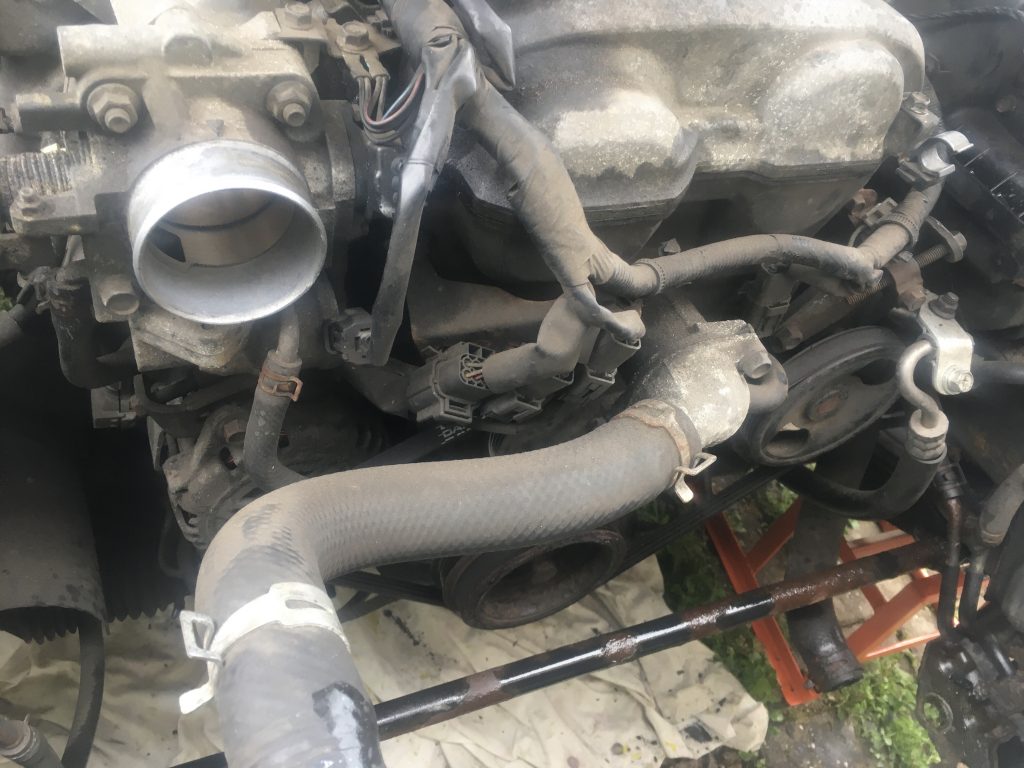
To get the old oil filter off, and the new one on, I had to remove a chunky metal part (the intake manifold brace, acc. to Greg Peters). Prior to this I couldn’t get a grip on the old filter. The extra bit of space created by removing the mysterious metal member meant I could not only remove the old filter, but I could also install the new one. Very little of this job has been easy!
So my disassembly this time was a wee bit more complex and involved than before. But this ultimately made others tasks easier. I drained the coolant and oil, recycling both, as both were new in yesterday (and not cheap!). I had to filter the coolant, as some crud had gotten into it.
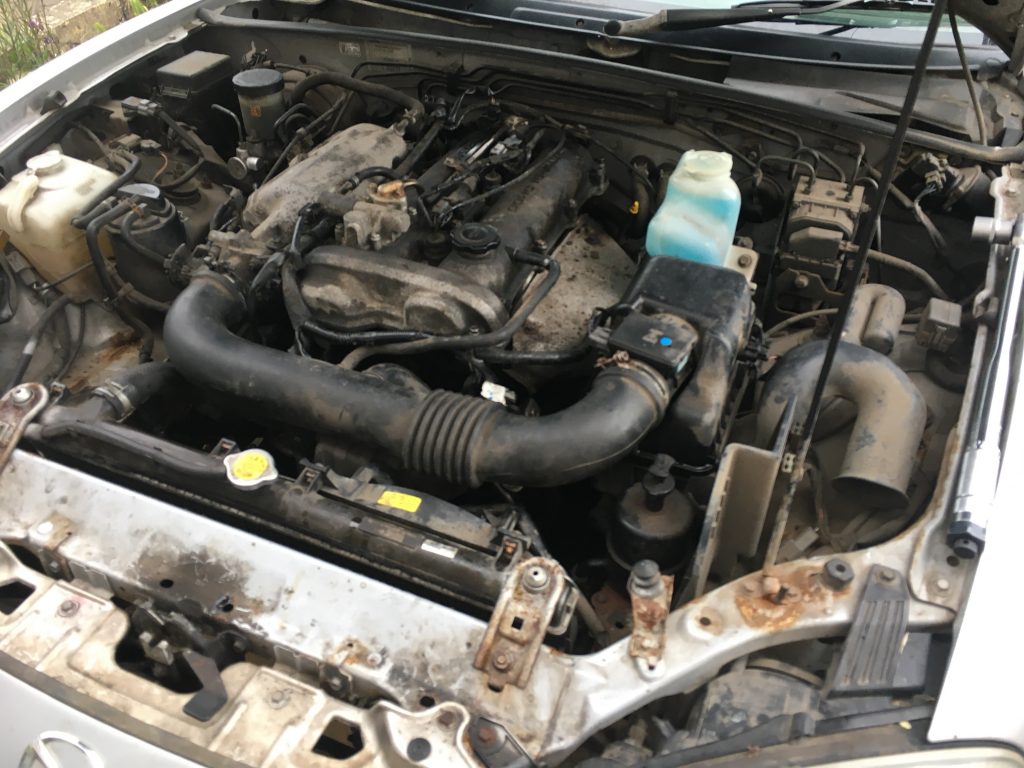
All the usual rigmarole was required: I took off the negative terminal of the car battery; the spark-plugs were removed, the VVT stuff lifted out of the way. I loosened off the alternator and the other thing (AC?), to get those two front belts off. This then allows the water pump wheel to be removed. With this, and all the pipes and wiring removed or disconnected, I could concentrate on re-setting the timing.


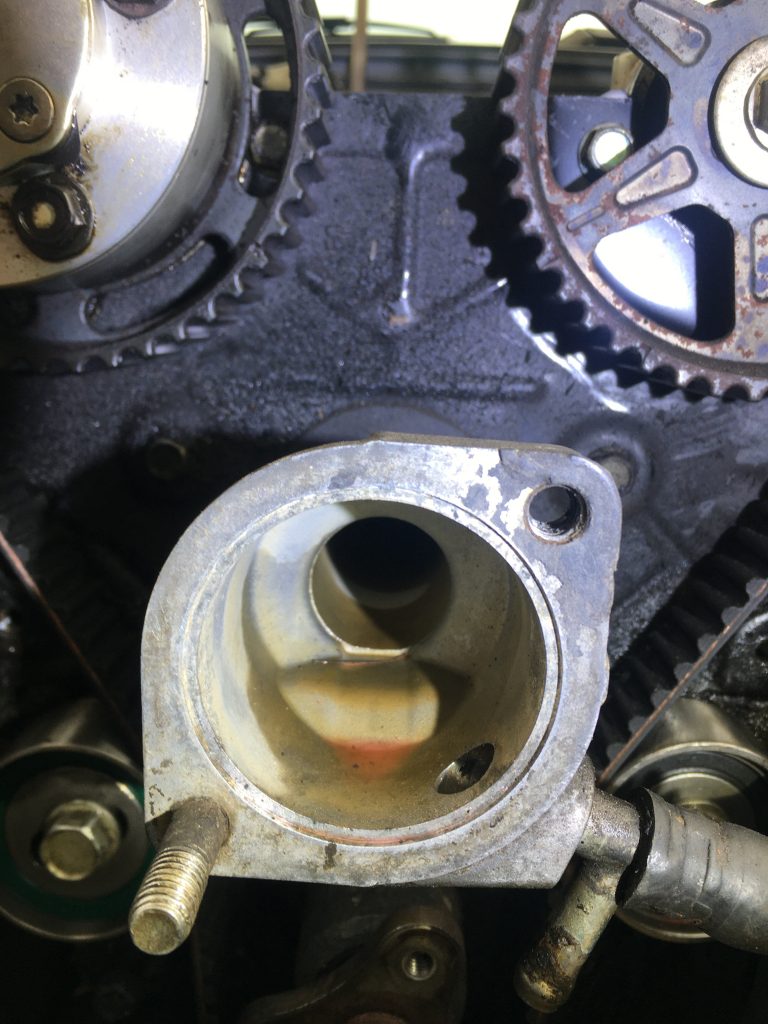
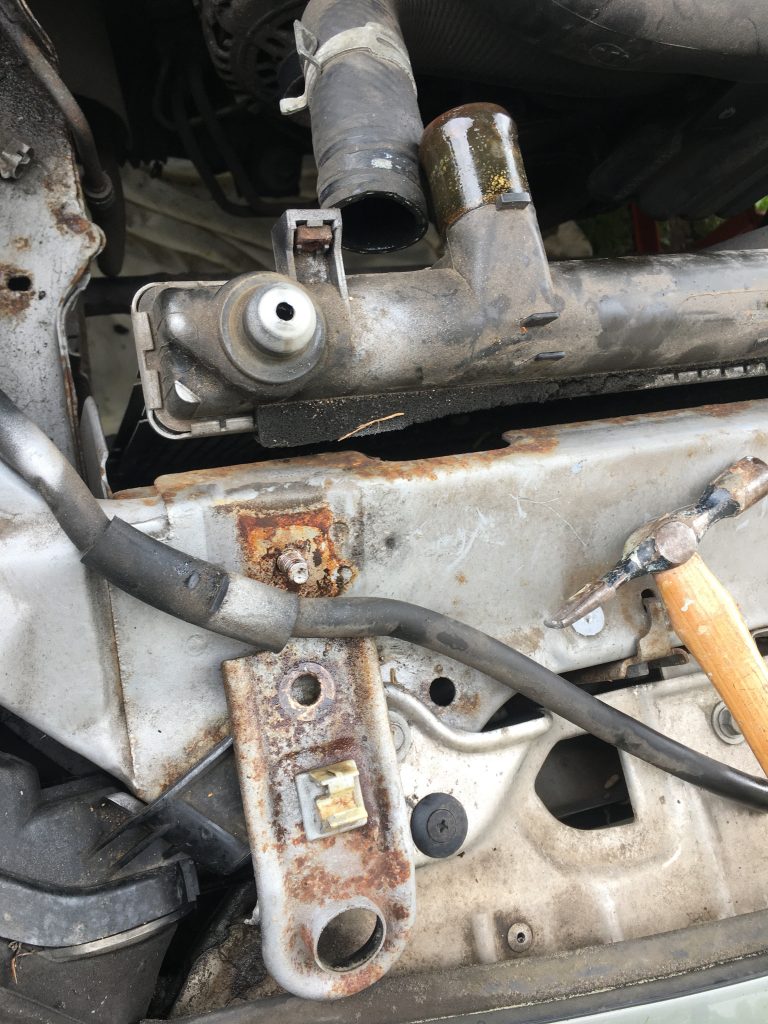
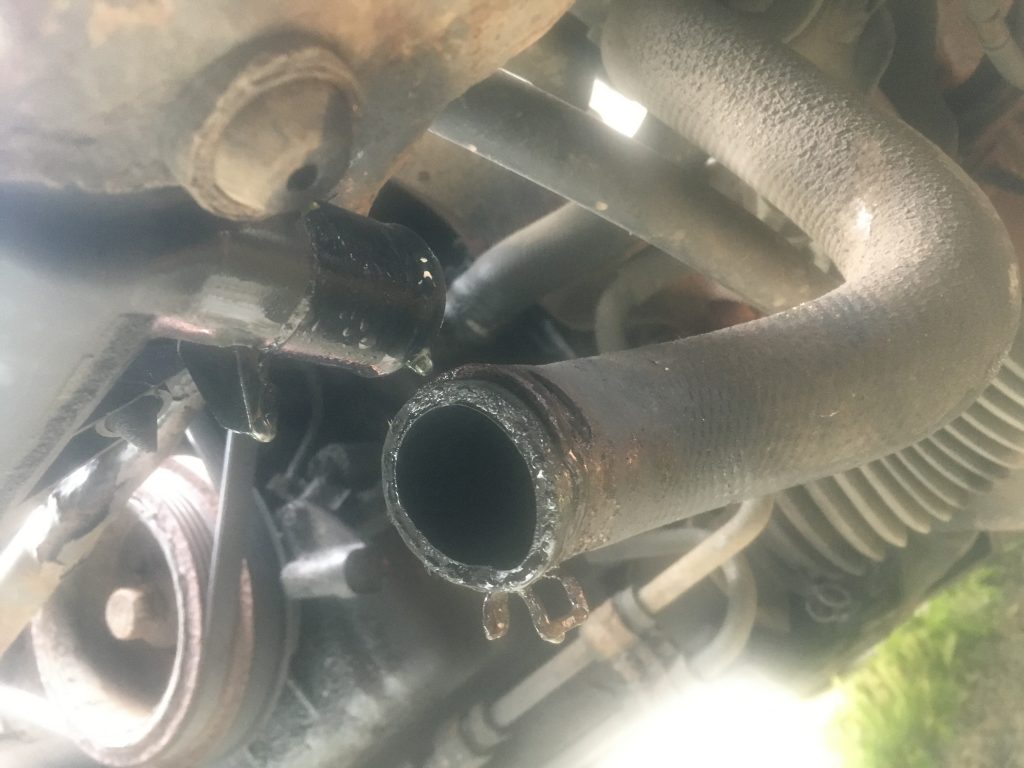
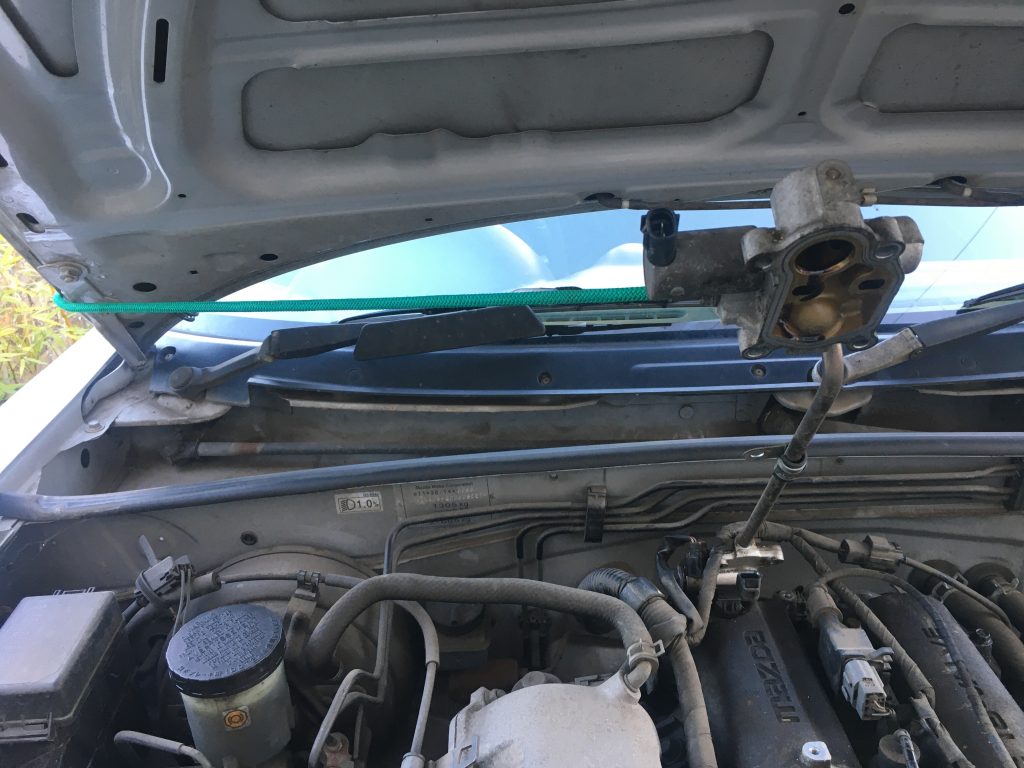
There were sundry things along the way, such as taking apart the thermostat housing, and cleaning the now set liquid sealant from where the two parts meet. The temporary gasket idea didn’t work! I also totally trashed the little plastic radiator drain plug. It had been in a lousy state from the get go. And deteriorated rapidly when used.
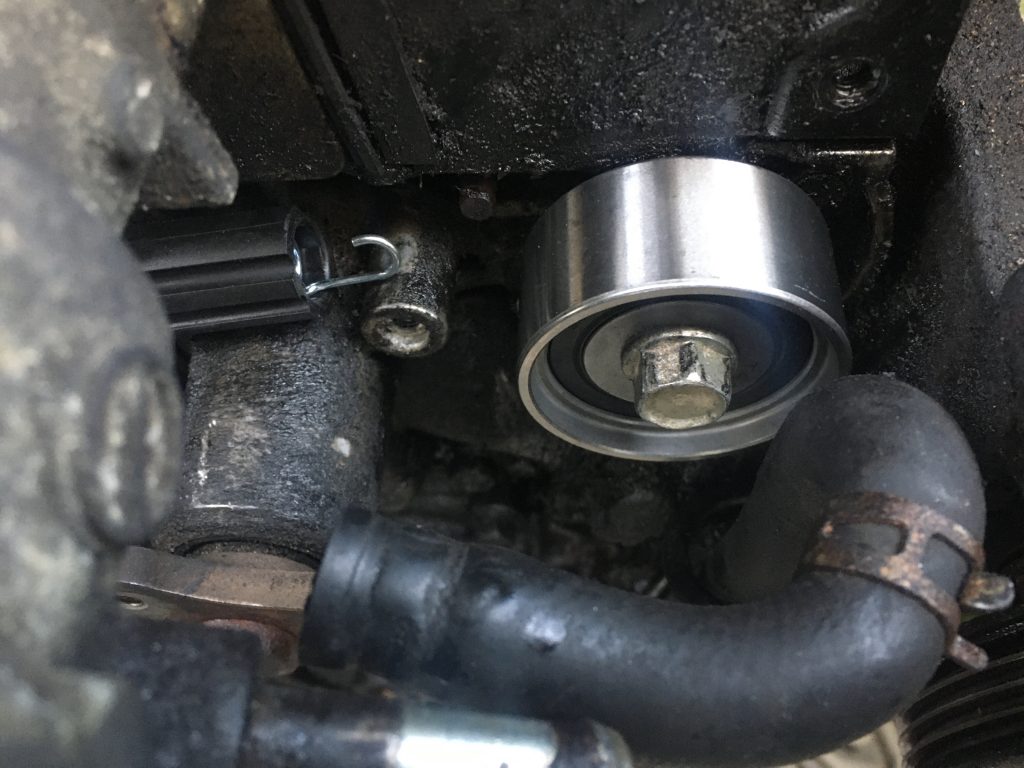
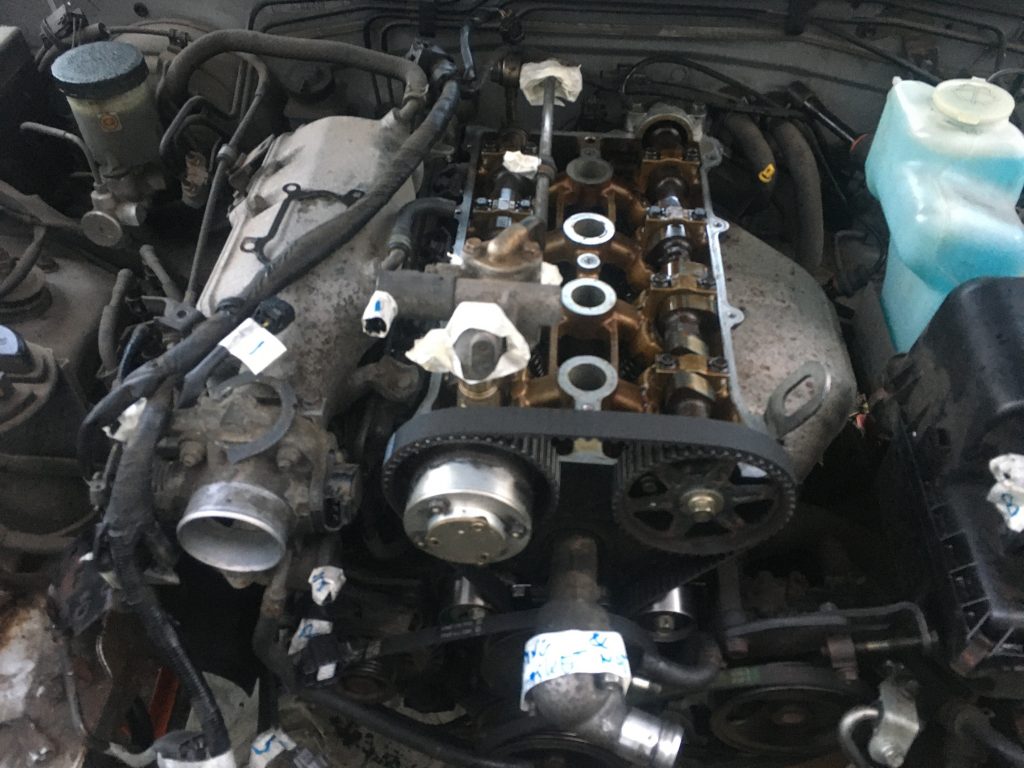
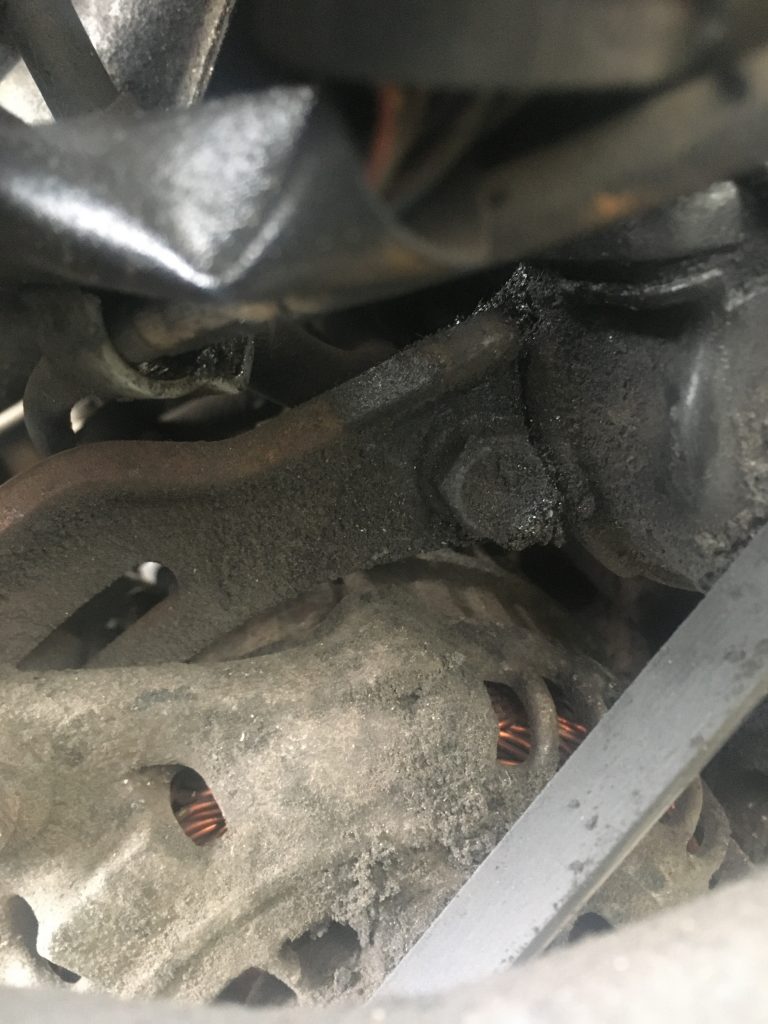
Anyway, as the three or four pics directly above show, first I aligned the cam pulley with the notch and lone locator tooth, lining them up as best as I could. Then, with the two idlers loose, I set the right (E for exhaust) cam and pulley wheel. This was a tooth or two out before. I zip-tied it off, Greg ‘carpassion’ Peters style.
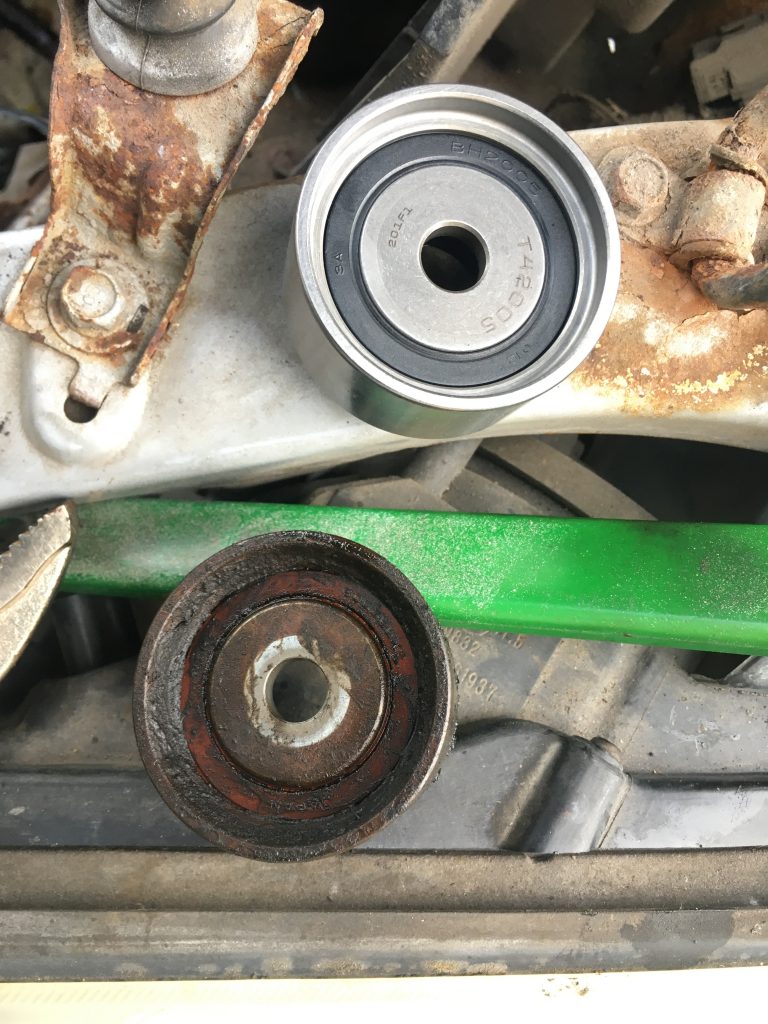
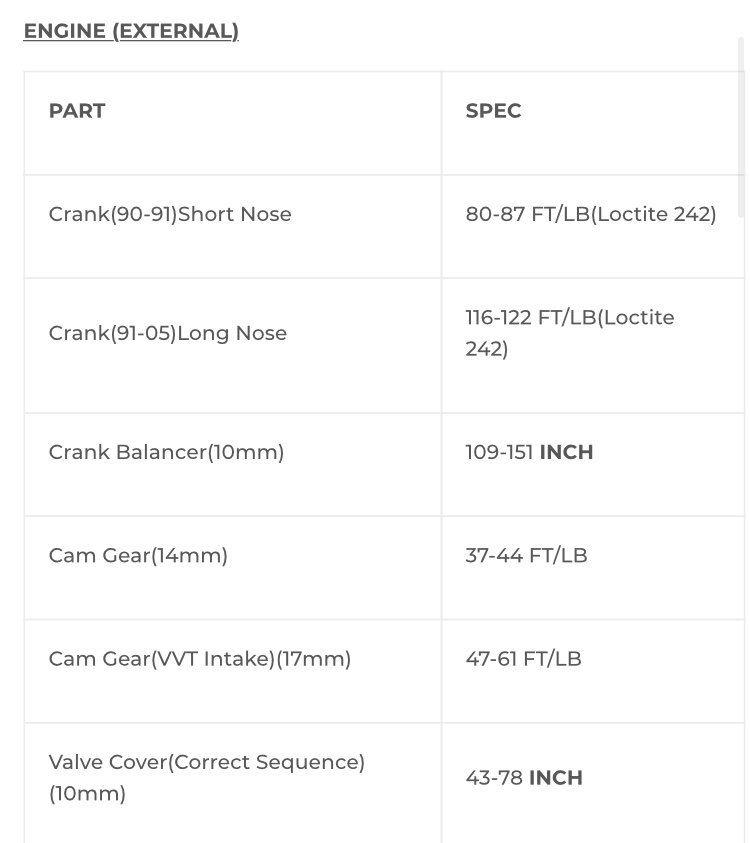
Next I torqued the right non-moving idler to its specified 32 ft/lb or 42 NM (using torque settings I found here). I then adjusted the intake cam (I, and also VVT, in my case), which was a whisker out. Once that was right, I re-attached the tensioner spring on the left idler, let that find its natural position/tension, and torqued that up as well.
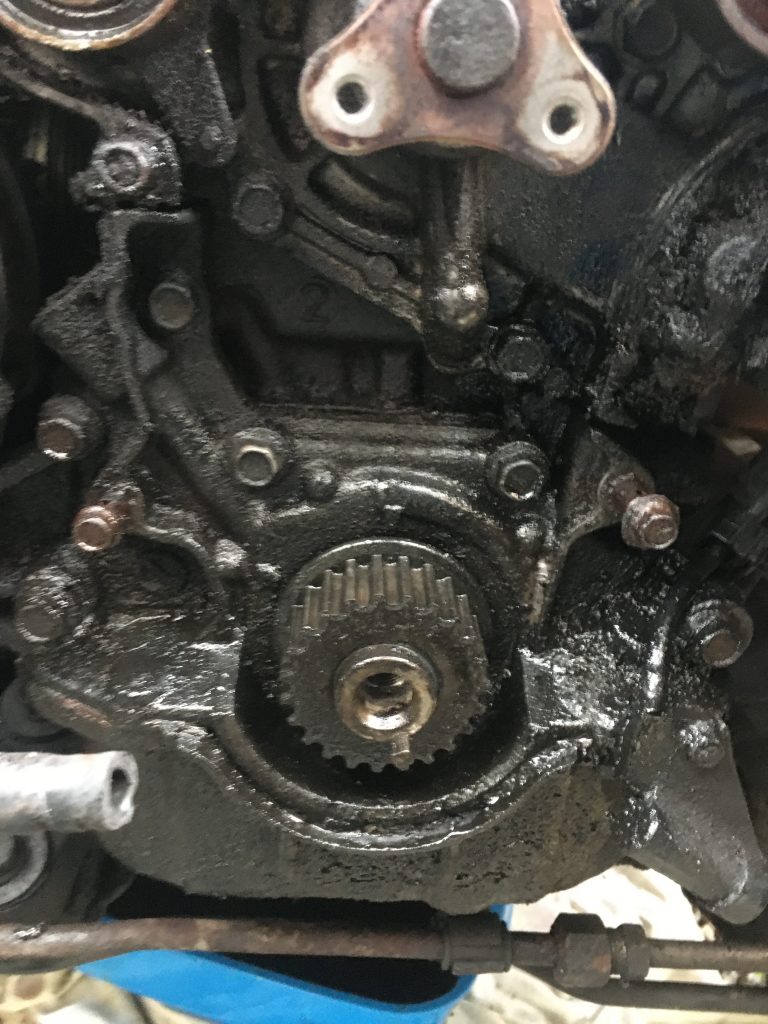
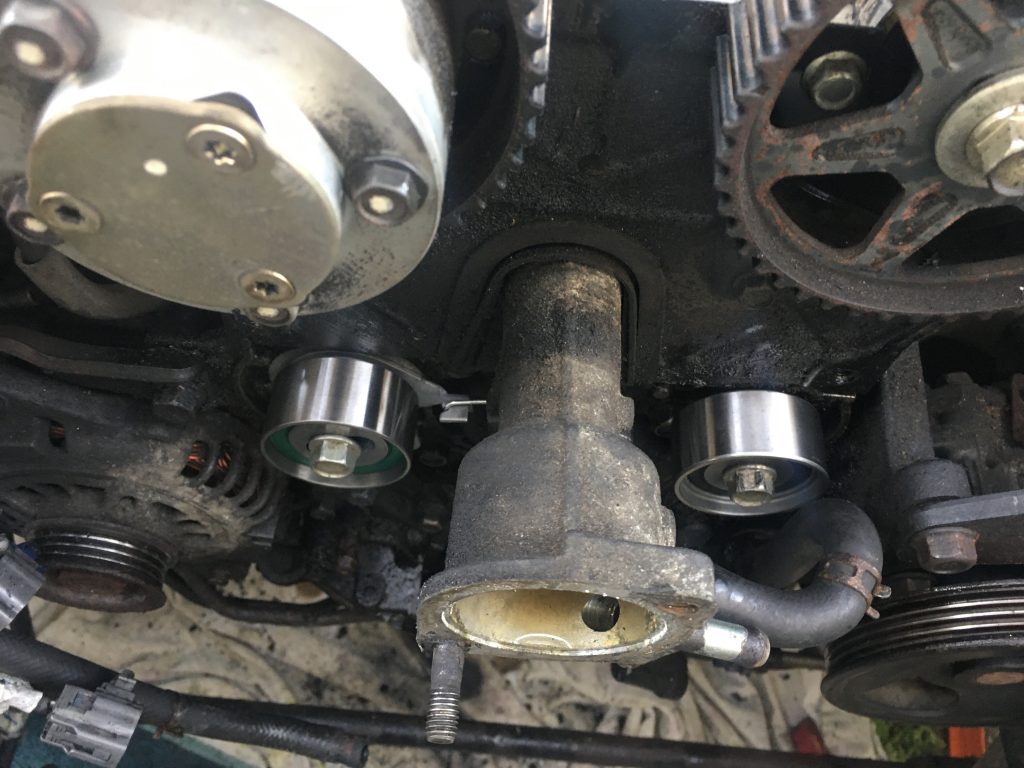
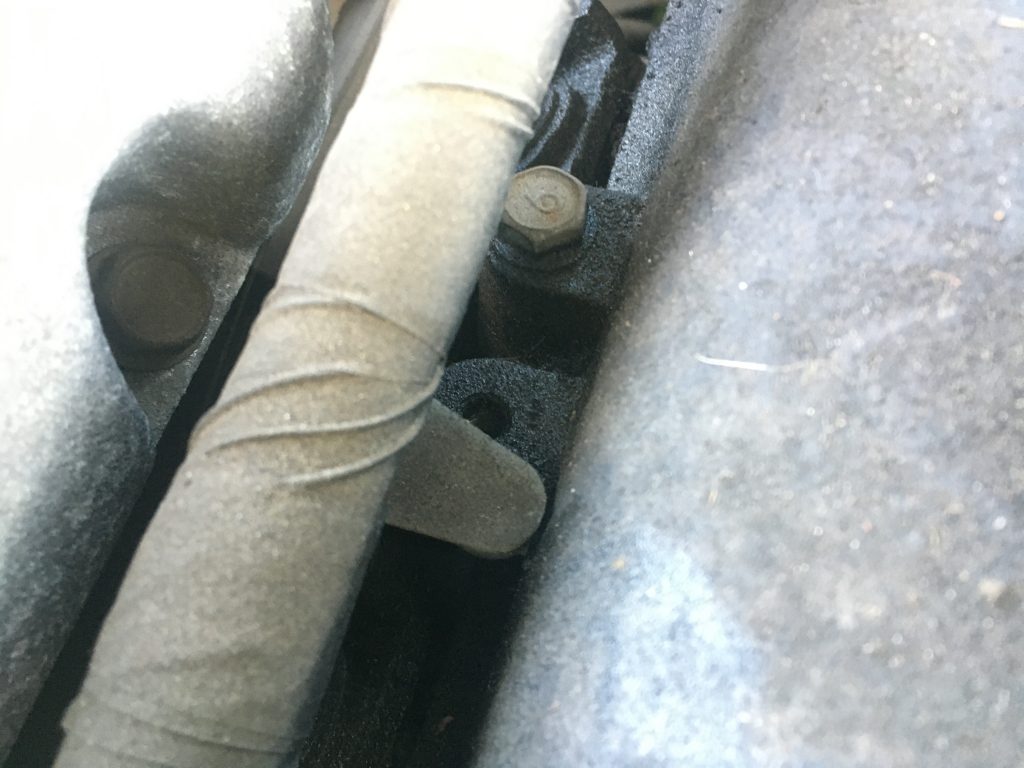
Snipping the zip-ties off, I then put the whole lot through two full rotations. Some folks say you should do 1 & 5/6ths rotations, but that only works – I think? – when checking against some marks on part of the cambelt cover I didn’t re-install (because those bit were all busted up!). After two full rotations everything was still aligned as I’d set it. And, as the fourth of the above pics shows, the camshaft pulley remained TDC.
I also counted 19 teeth between the two TDC (top dead centre) points. This isn’t easy on a VVT engine such as mine, because whilst the the exhaust cam pulley has an E marked at the appropriate point, the I/VVT side doesn’t. But both have marks lower down that can be aligned with recesses on the backing plate.
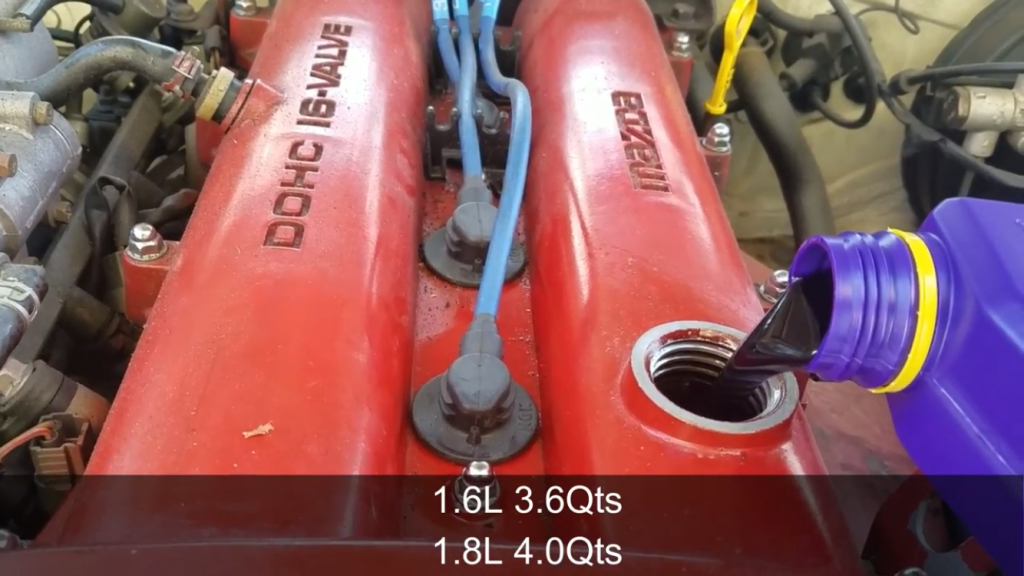
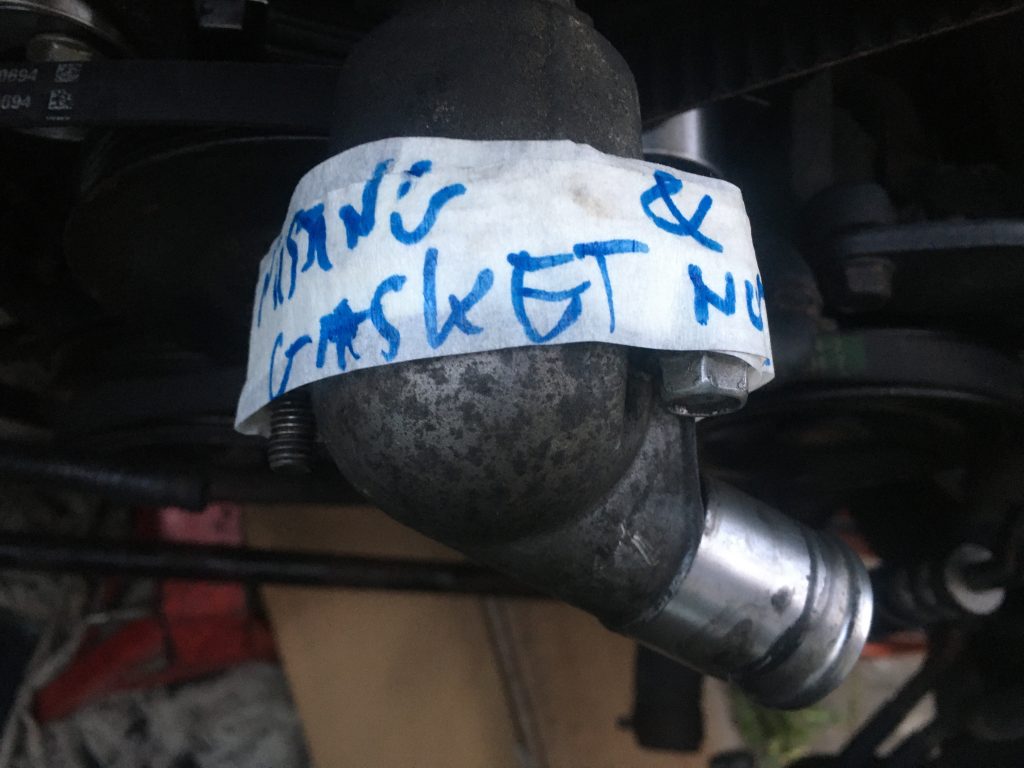
With the timing set up as it should be, I re-assembled everything else. Having eventually added a new oil filter, I refilled the oil. Some has been lost, inevitably. I haven’t added the coolant however, as I need a new radiator drain plug and thermostat housing gasket. The old plug is totally, erm…. pluggered!
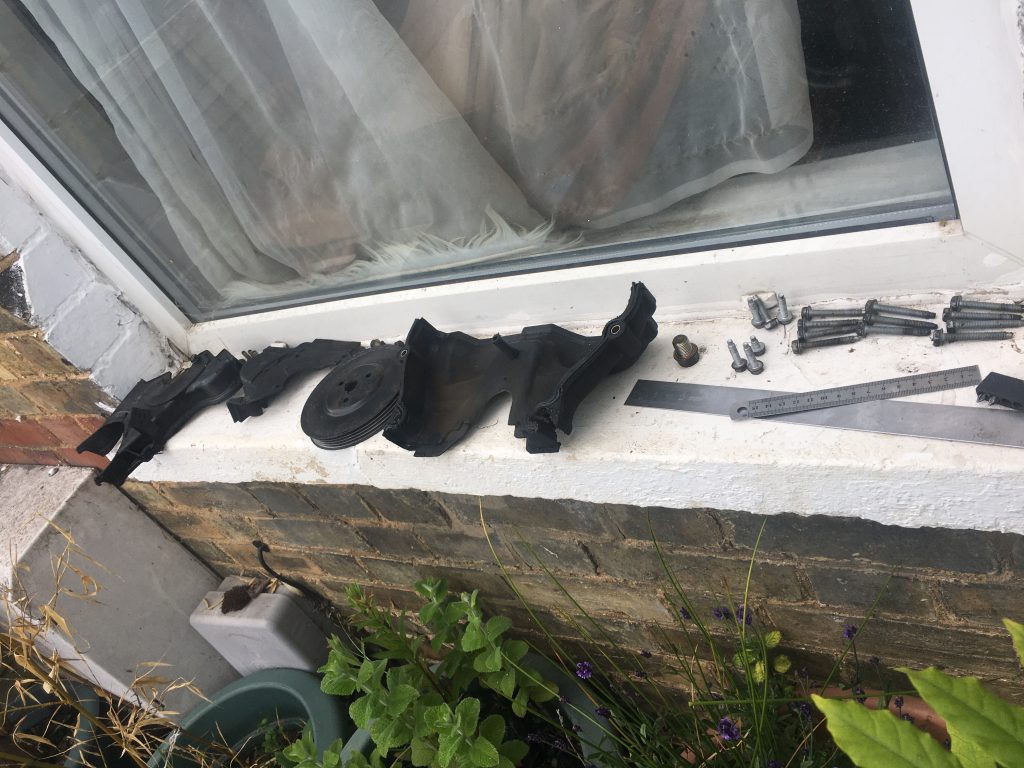
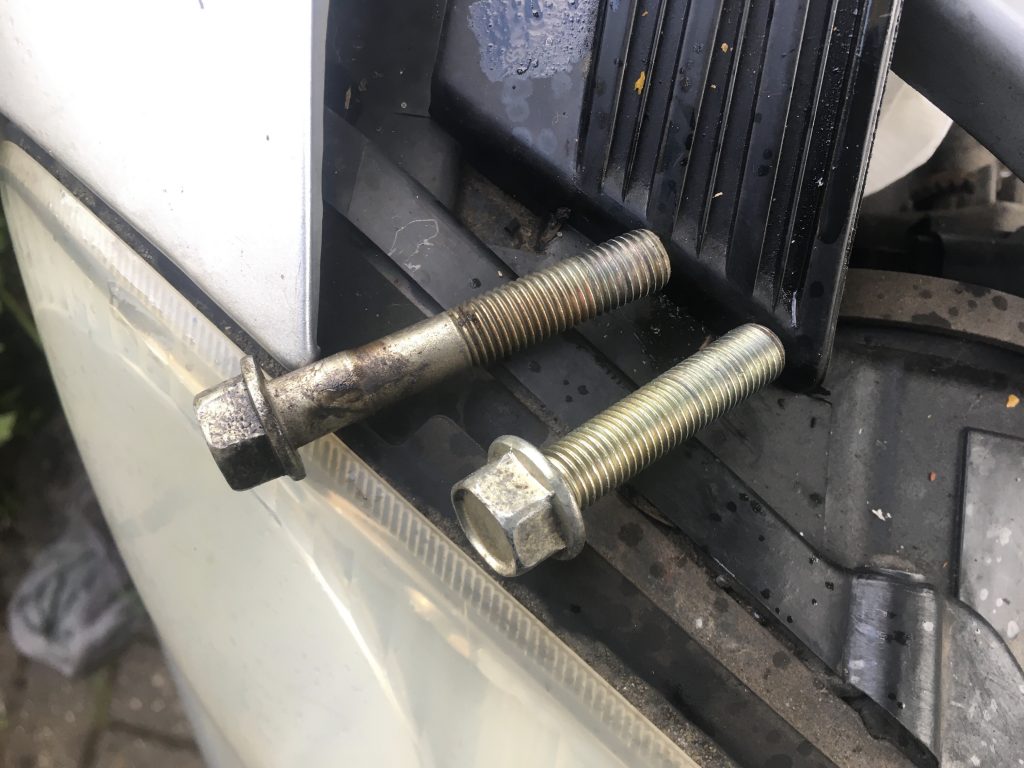
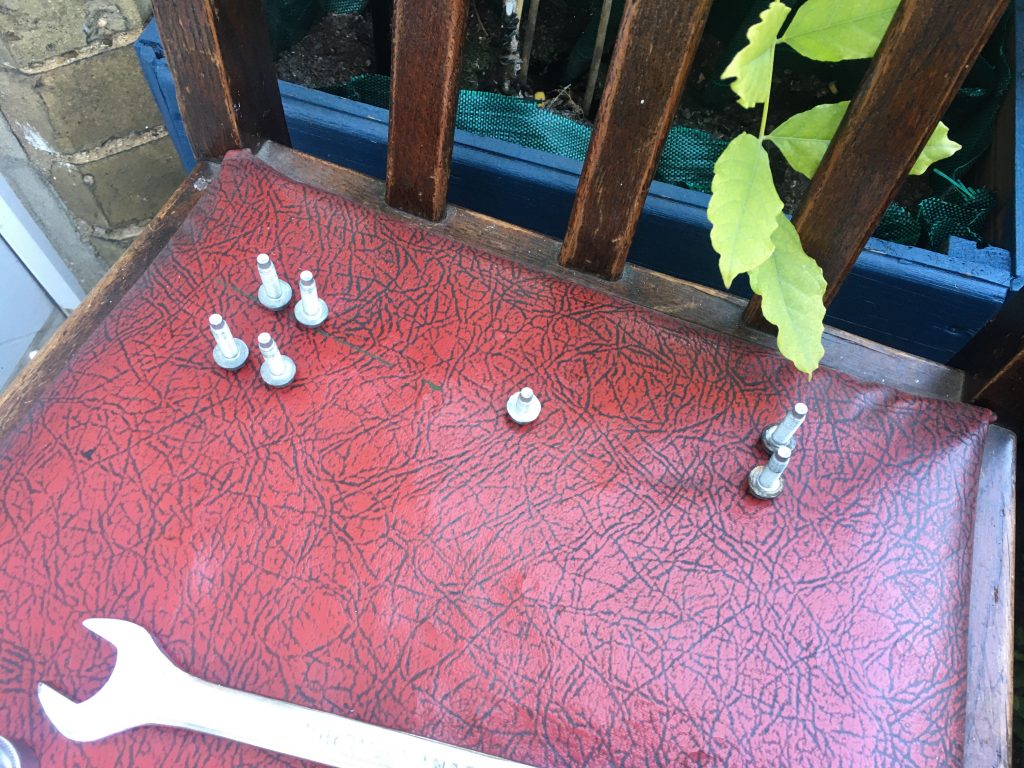
I’ve ordered a new thermostat housing gasket, from MX5parts. Whilst I was getting that, I also ordered four new bolts for the plastic engine under-tray. The latter was held on by just two bolts and a cable-tie! It should be fastened at six points!
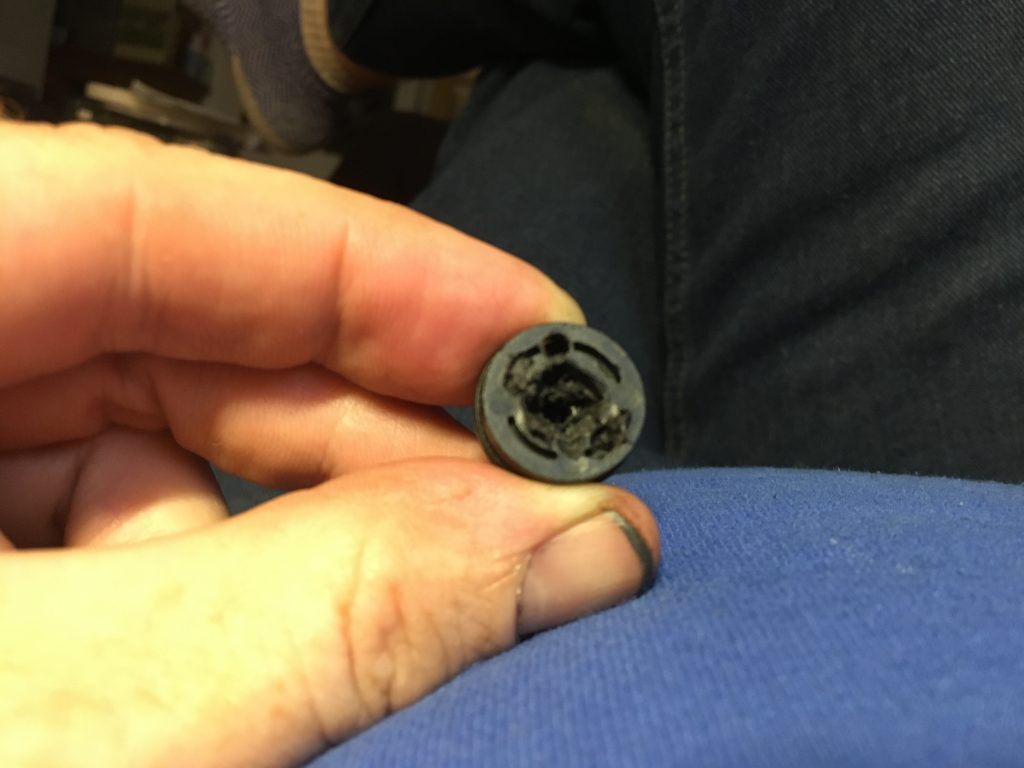
So what remains to be done? First I need to replace the radiator plug, which was damaged to start with, and has deteriorated beyond rescue now. Then I need to install the thermostat housing gasket. With both of those things done, I should be able to refill the rad’ wi’ coolant.
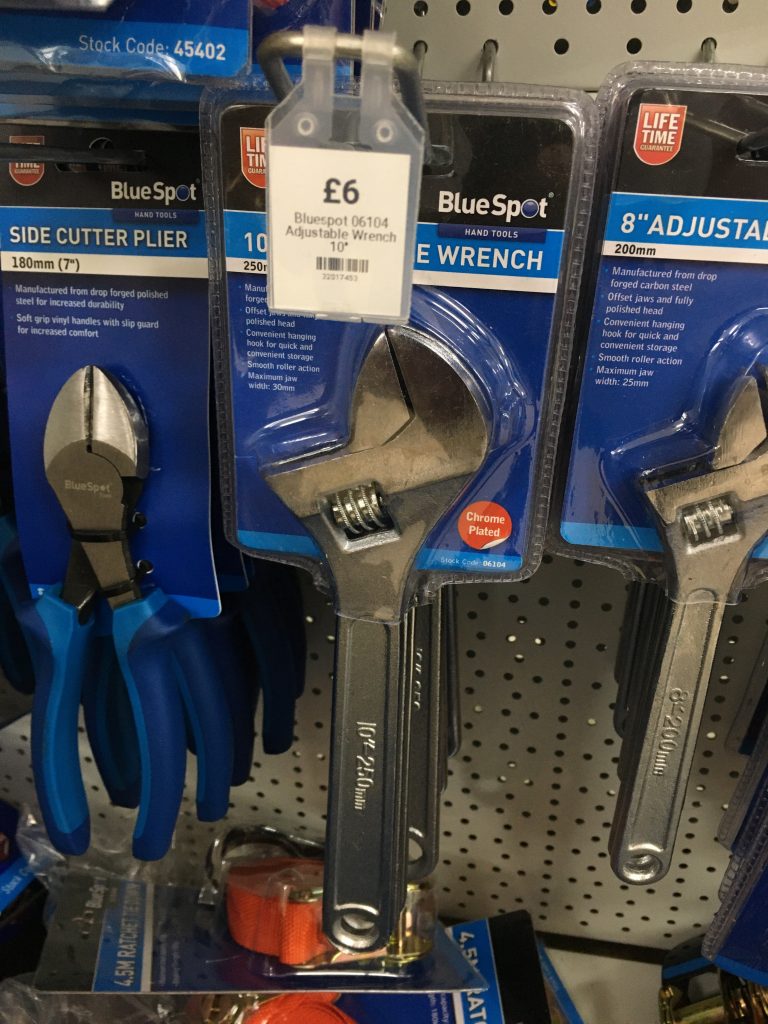
I also need to torque the camshaft bolt, to roughly 168-9 NM. This is one operation I’m a bit confused and cagey about. Do I do it purely against the natural resistance of the engine? Or should it be in gear with the handbrake on? Or do I lock it off with spanners and a wrench?
I might also need to torque the engine oil sump plug. I think I already did this? But I’d better check for oil leaks and re-check the torque setting tomorrow. And talking of torques, I better also check the cam-cover gasket bolts as well!
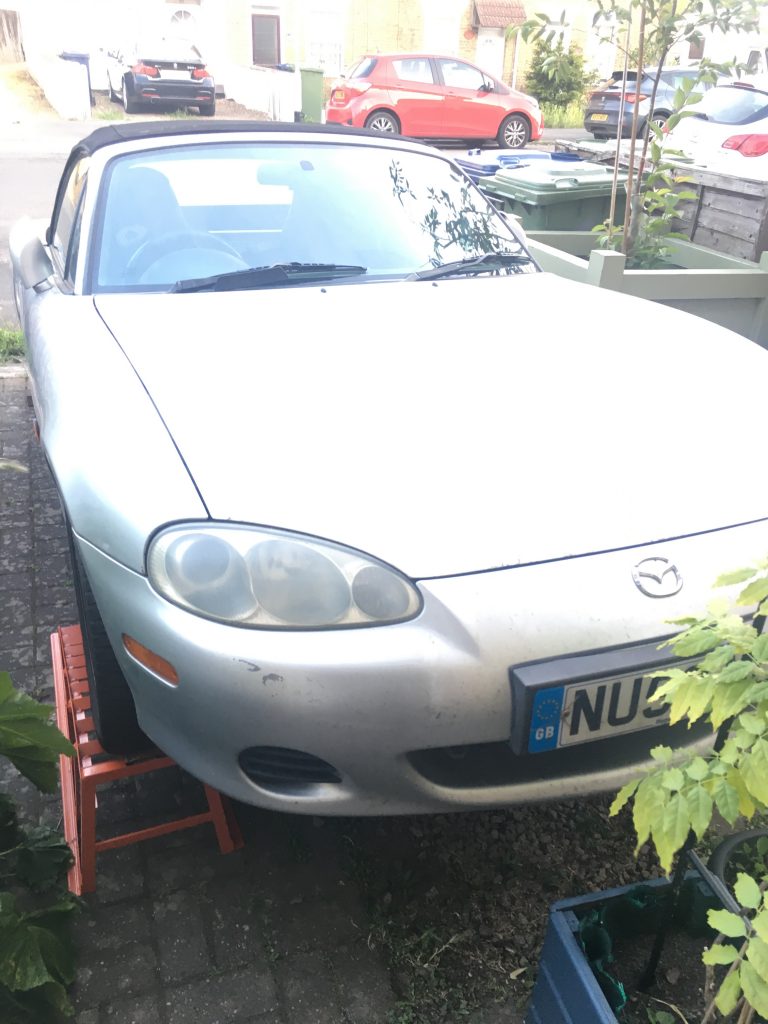
I don’t think I’ll bother putting the engine under-tray back on until I’ve got the car running again. Ditto for the cam belt guards. Please, oh ye Gods of the Mazda MX5… please start!