
Ok, so I figured I’d better document the MX5 maintenance. In the hope it’d help me put things back together again. So here goes…
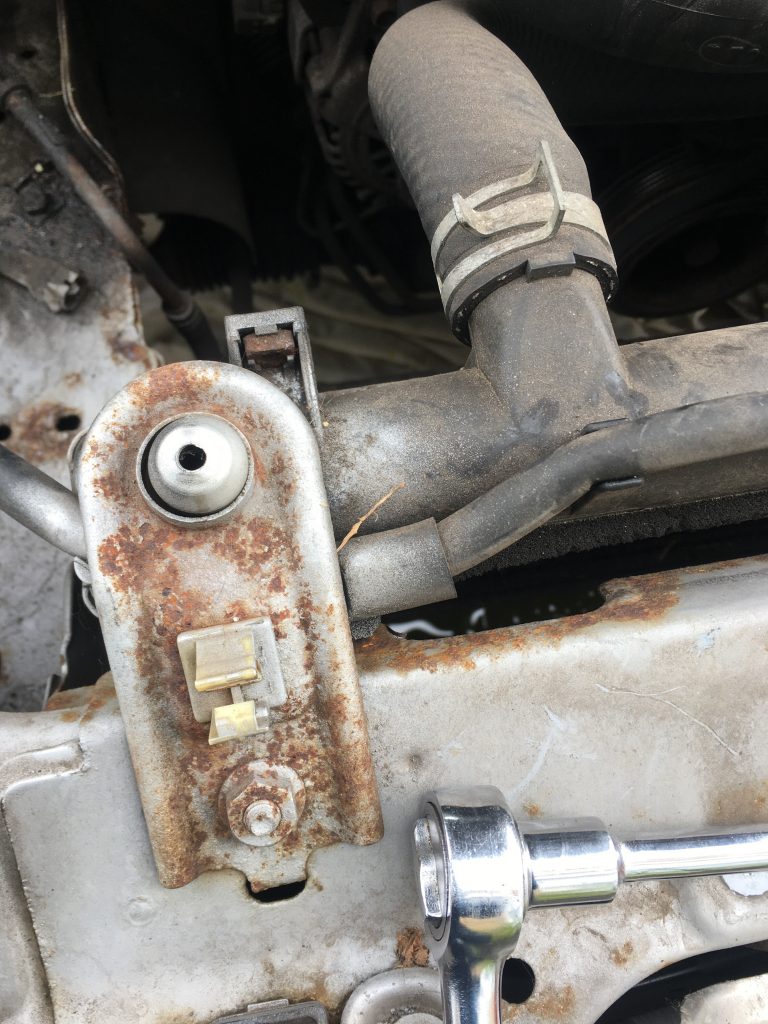
This is one of the clips (top left) that keep the radiator in place. 10mm nuts, which seem to be the most common on this engine.
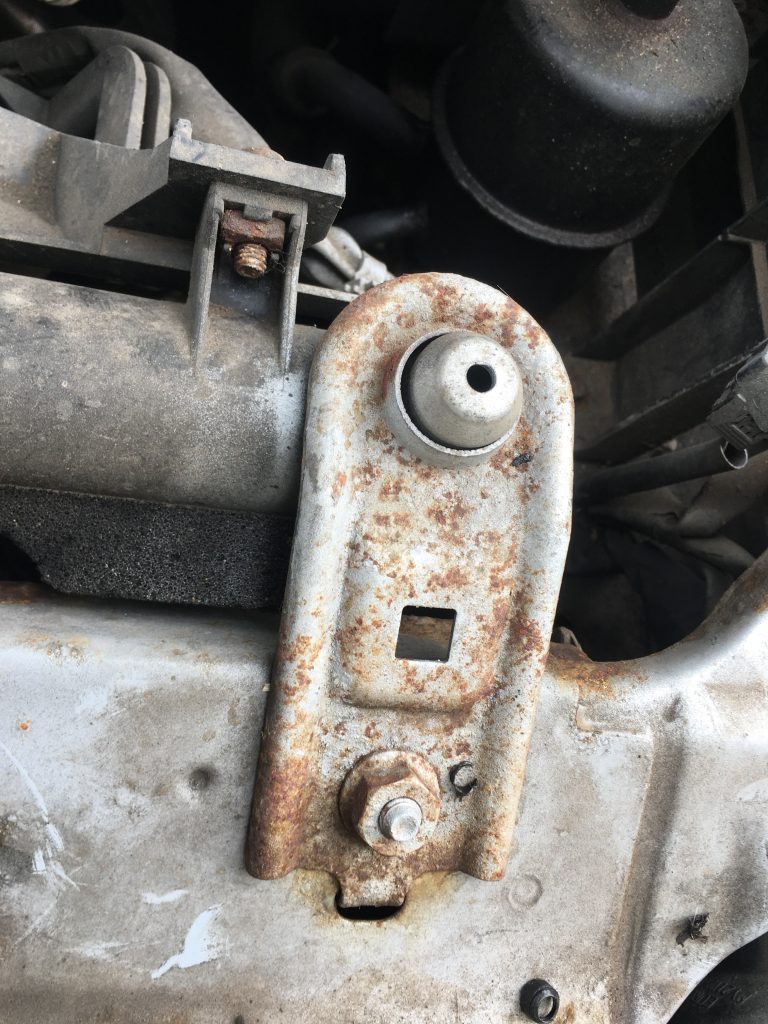
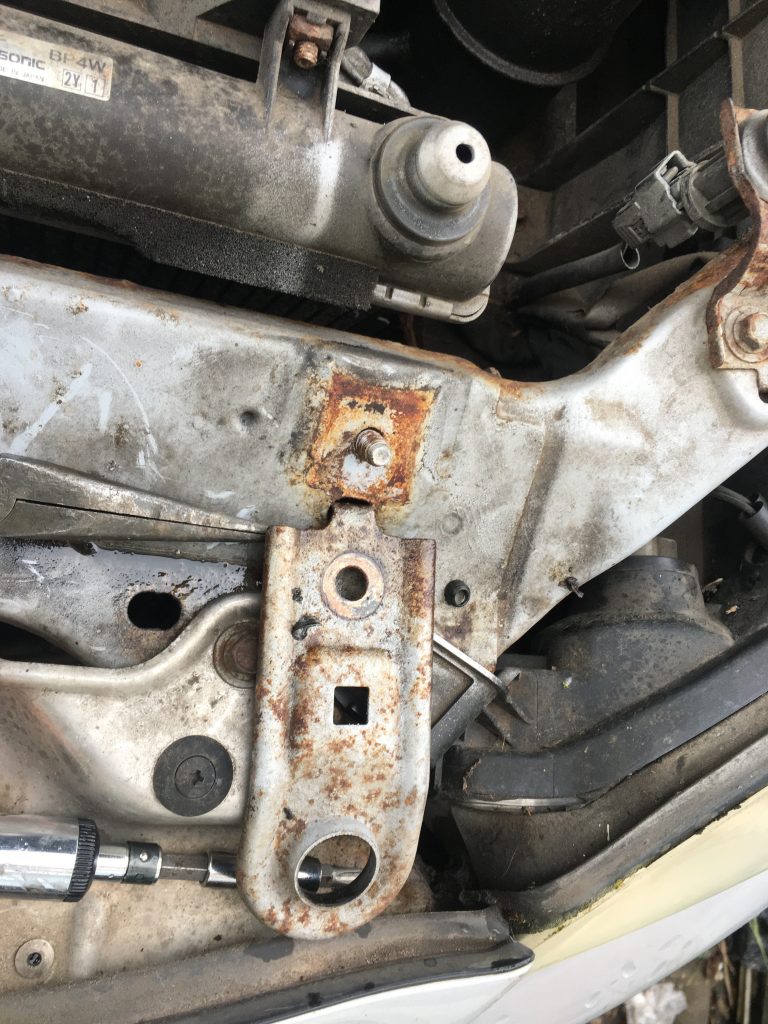
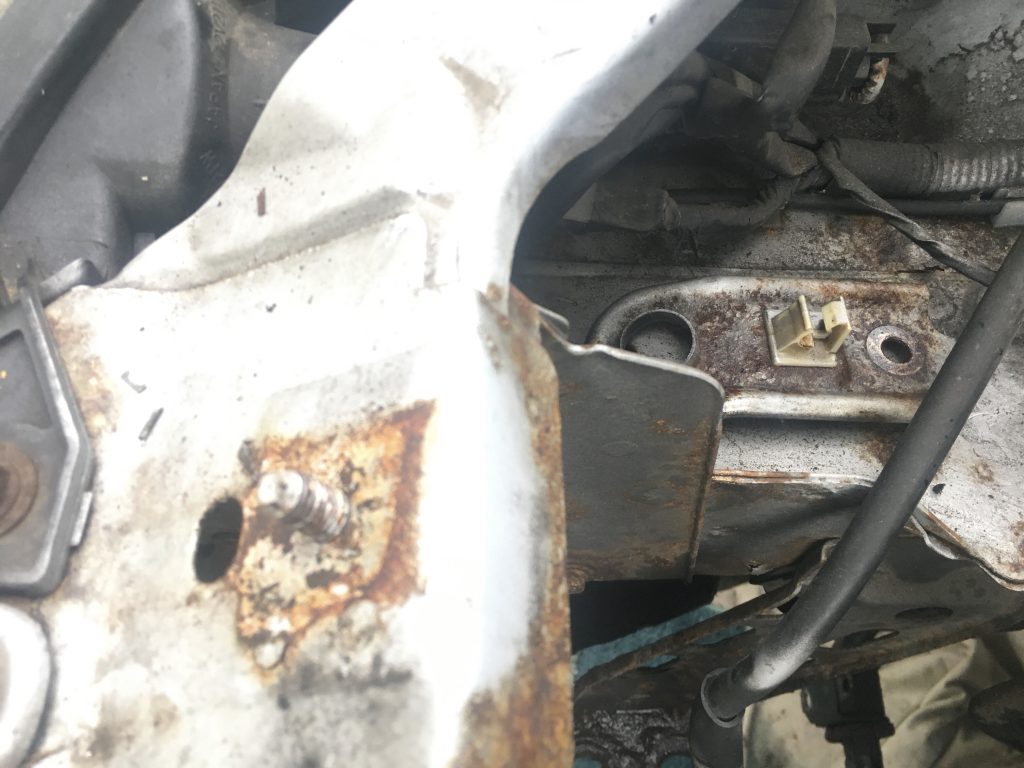
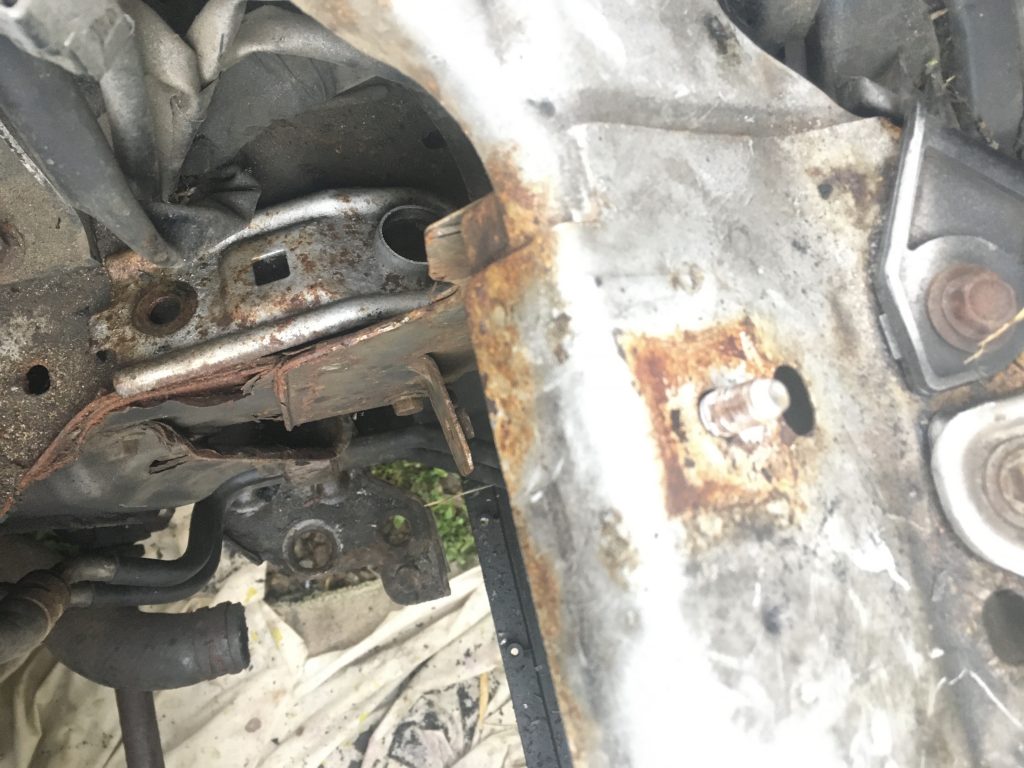
Radiator bracket, right. WD40 helps loosen rusted nuts!
The radiator overflow, disconnected. Main top cap off. Then I drained the coolant, using the plug at the bottom. Did’nae photograph that though.
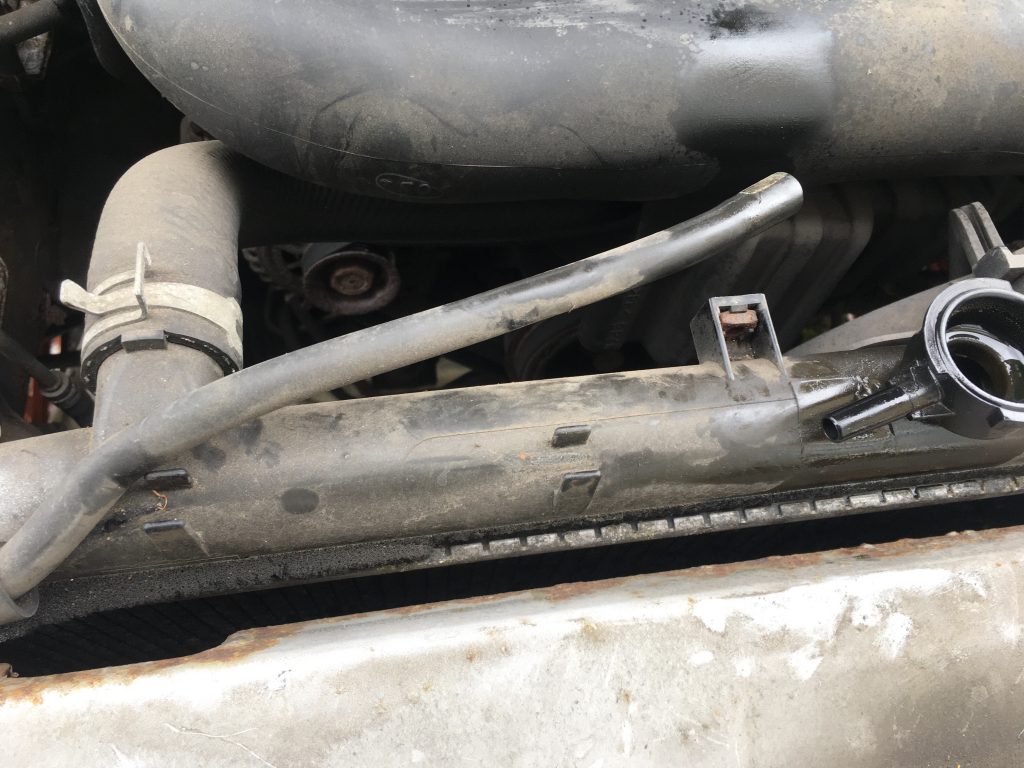
Disconnecting the main radiator pipe. Turned the radiator clips through 180°.
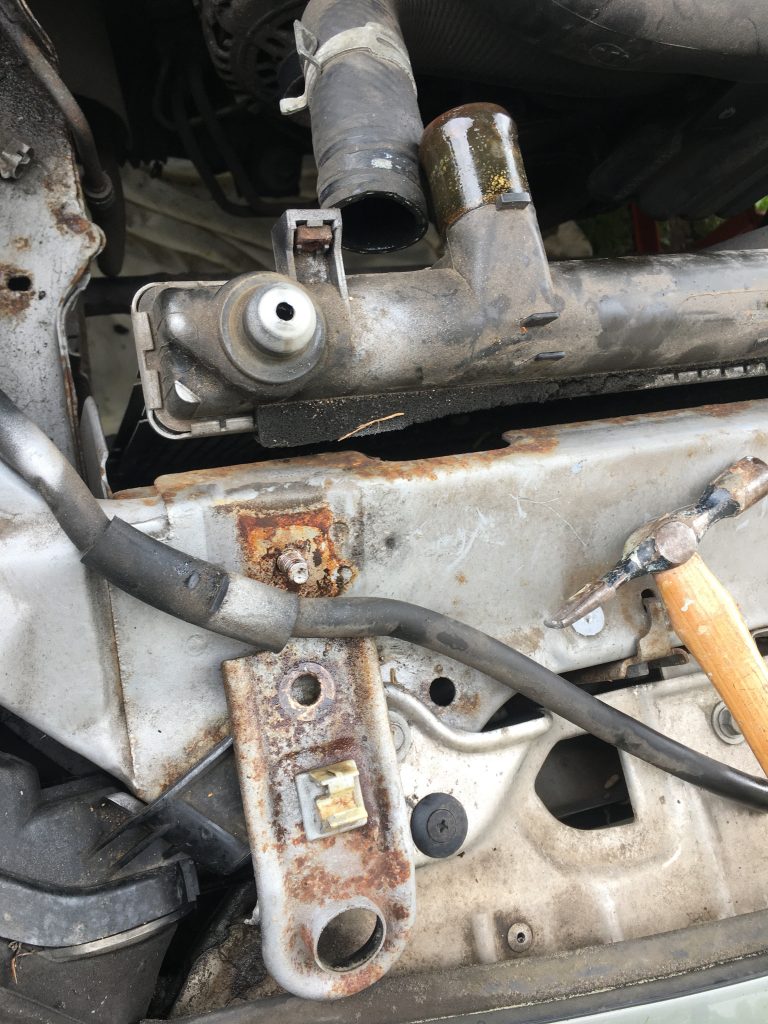
Ditto the right radiator clip.
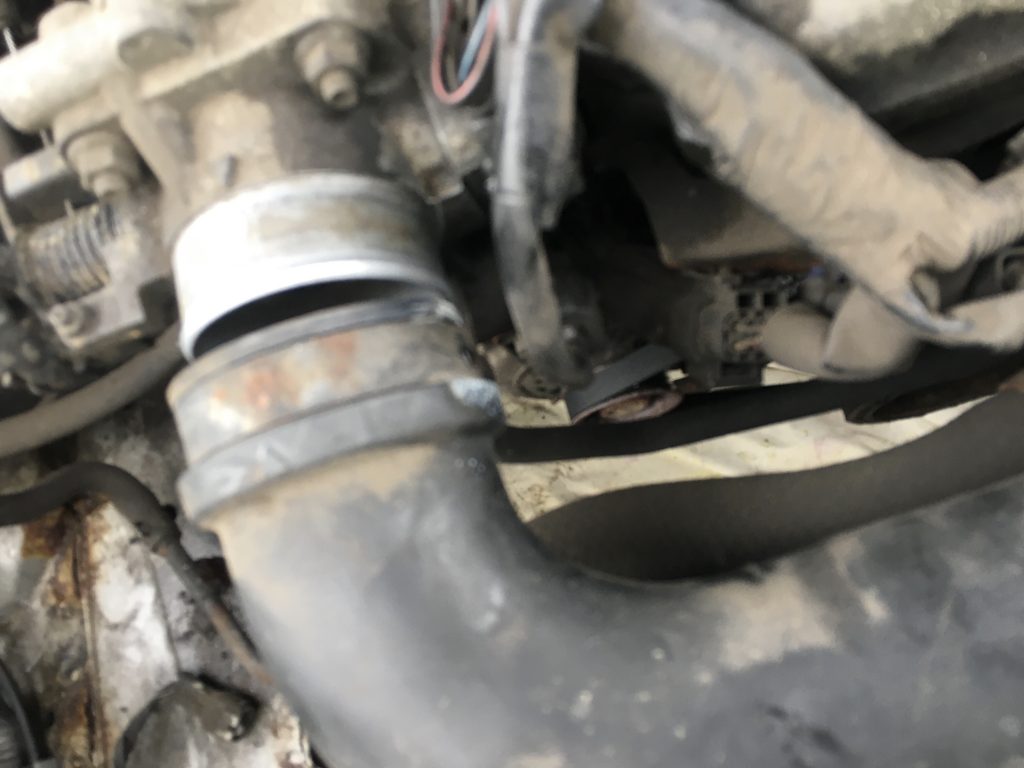
Removing the main hose in the front engine area. What’s this one called/for?
Popped this thinner tube out of a plastic clip.
Disconnected the right end of the large tube. Popped it in the passenger seat. This clip was a real mother! I might want to replace it with a different sort, when it comes time to reassemble things.
Popping off another of the simpler smaller tubes.
A lead that runs to the fan clips in place behind said fan. There are one or two plastic doodads that clip into a plate at the front.
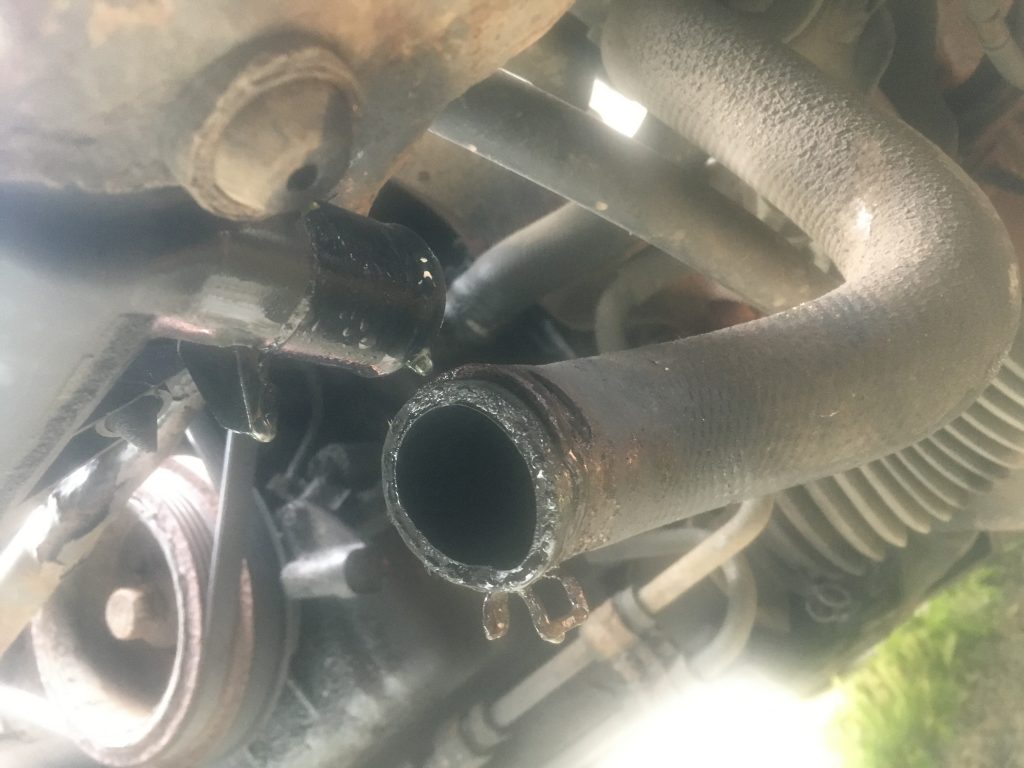
And, lastly, removing a larger pipe from the bottom of the radiator, and draining more coolant! This pipe isn’t in the best condition. And the clip holding it in place is even worse. If the car can be brought back to life, these parts are prime candidates for upgrading.

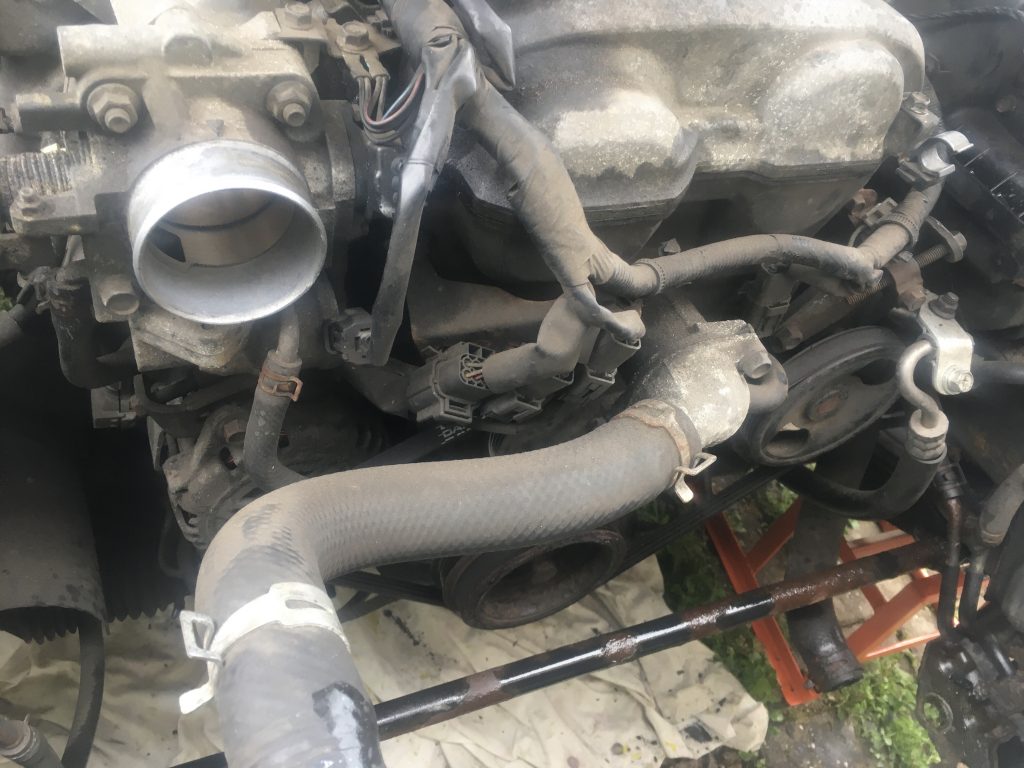
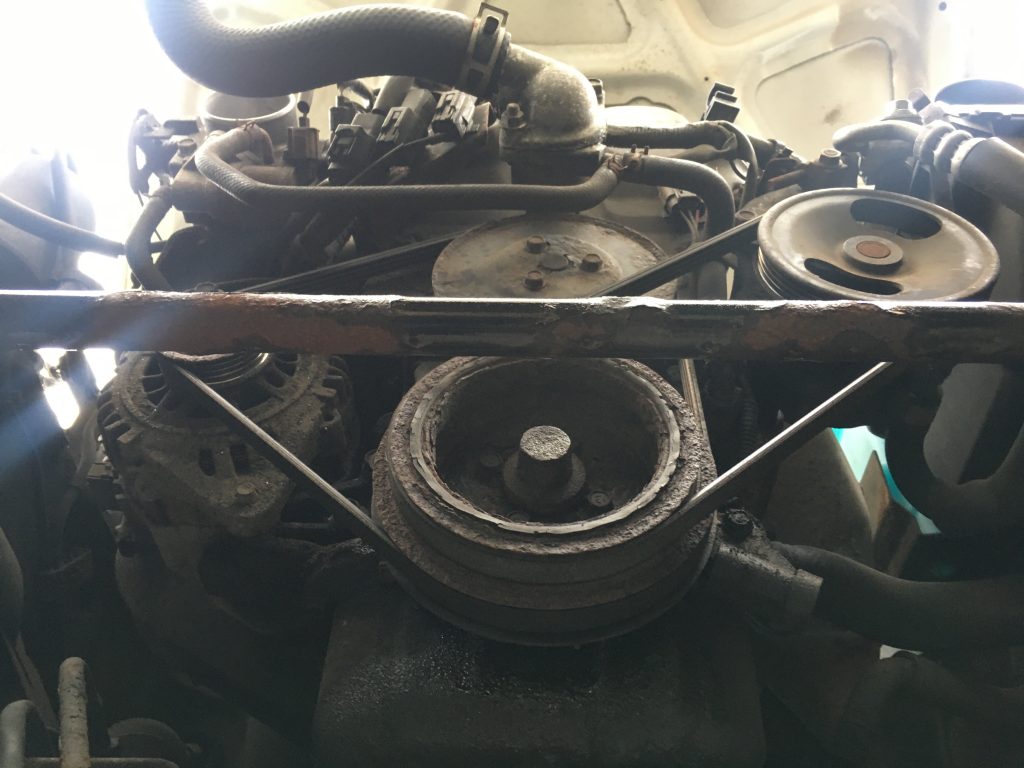
Just a general shot, trying to keep track of engine layout. The bar along the bottom of this shot is called a ‘sway bar’, and keeps the front wheels in proper torsion and alignment. The silvery doodad in the centre is the thermostat housing. Two thin pipes go into this, one to the right, the other directly below.
With the radiator out, and the biggest of the pipes removed, it starts looking a bit more spacious up front. This extra space should be great for working at the the front of the engine. Which I’ll be getting to later, hopefully.
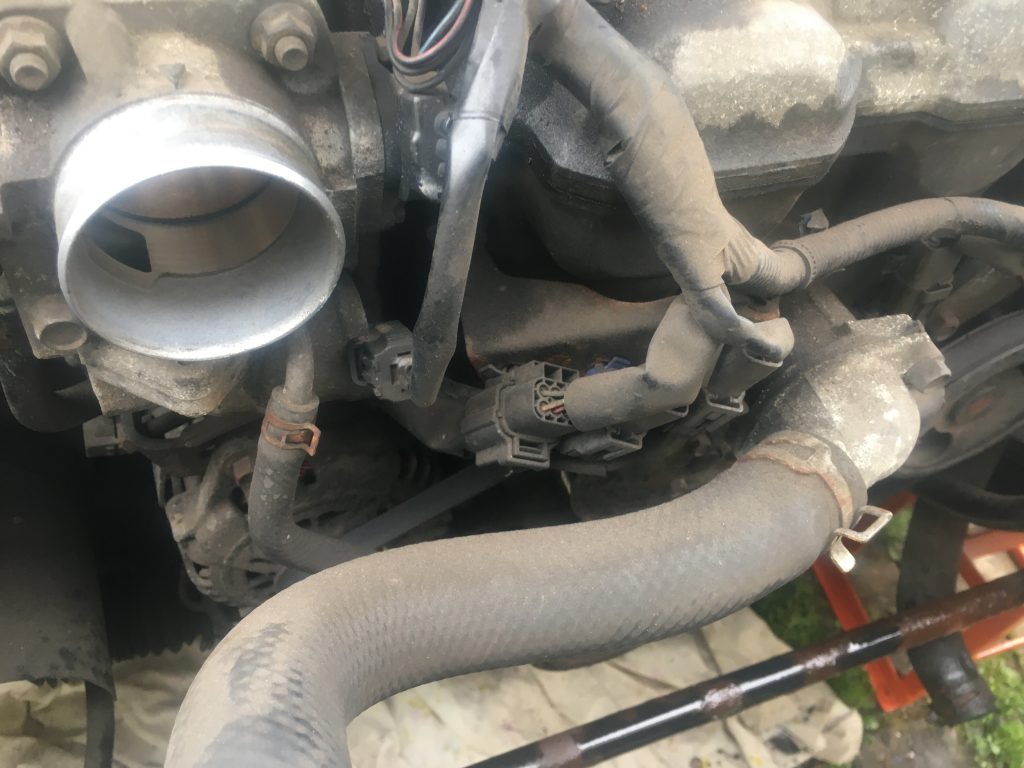
Zooming in a bit. Look at all the electrical leads/cabling (and adaptors/connectors!), and the several sundry pipes. Lots to keep track of!
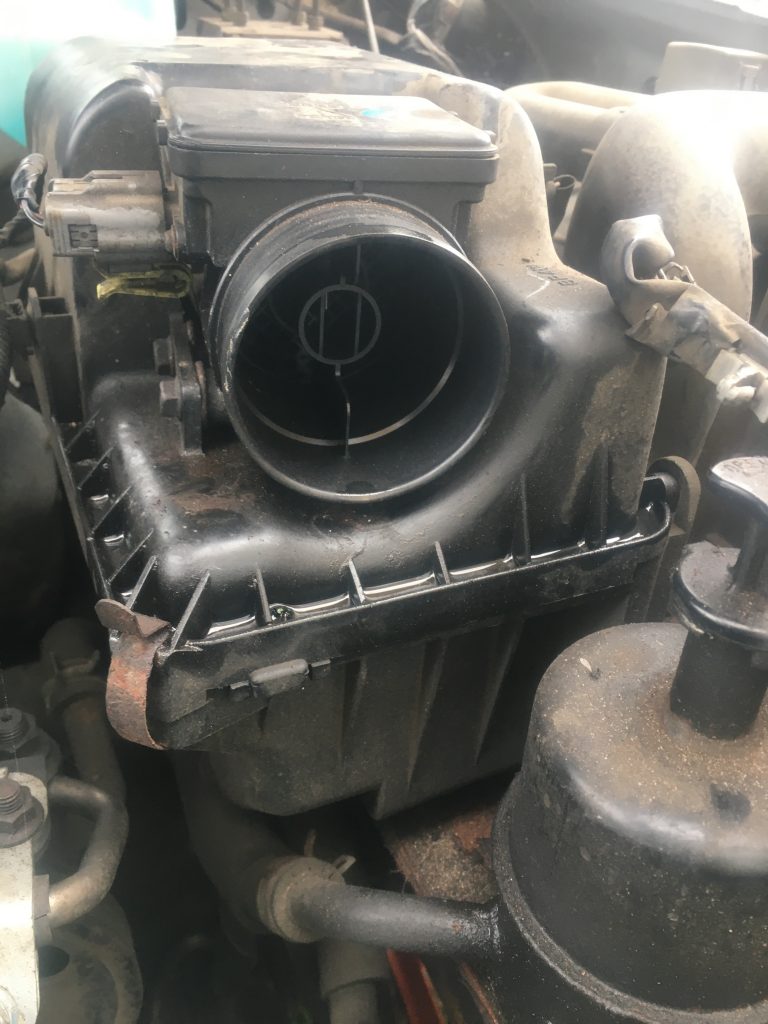
Clips and leads on the air filter.
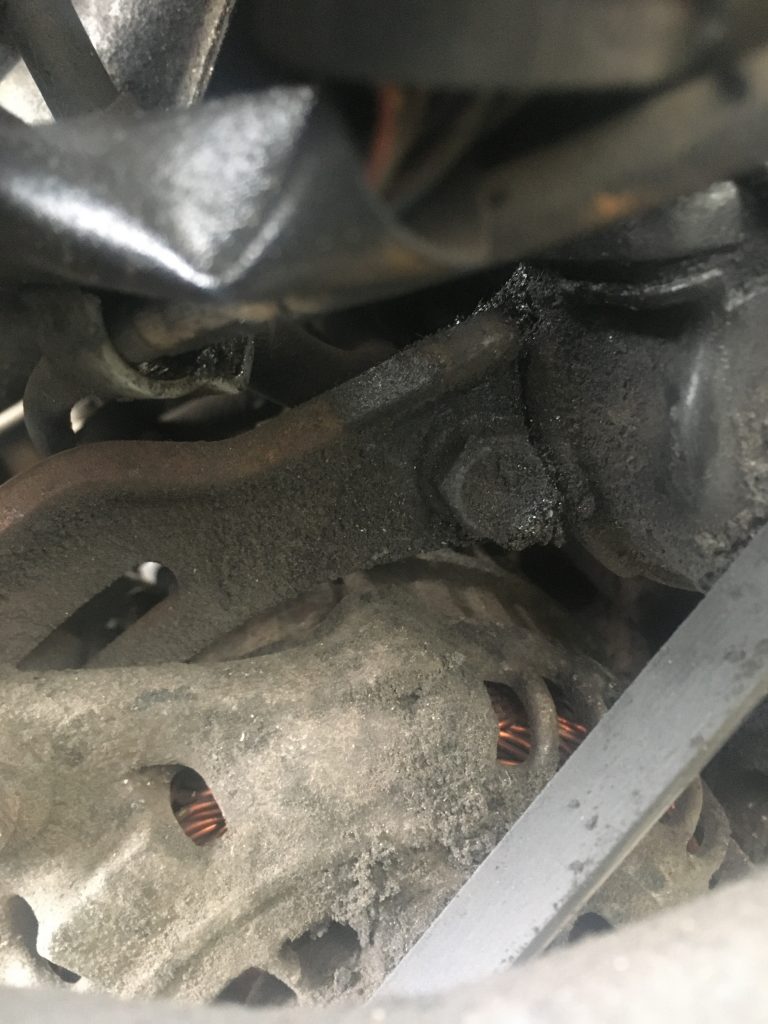
I wanted to capture a general view of the engine as seen from below, under the car. Cool! As can be seen, the sway bar will be in the way of loosening the bottom wheel.
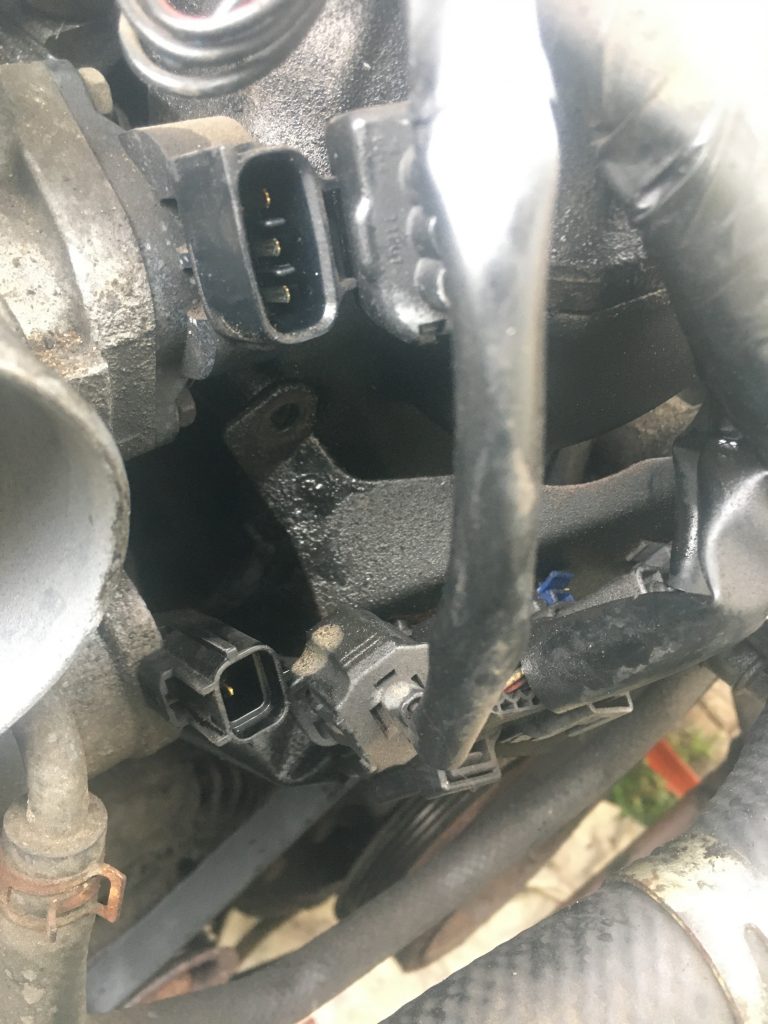
Right side of the air filter. Or is that the left side?
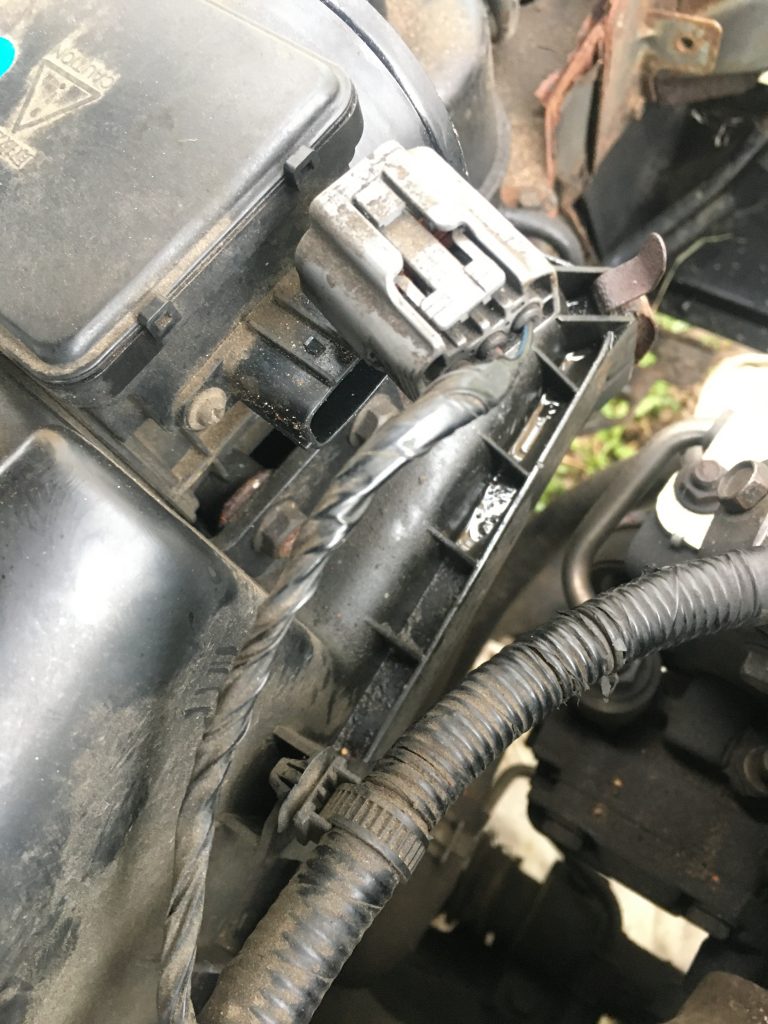
Umm… getting confused. Where is this!? Is this the left or right of the air filter, and adjoining wiring.
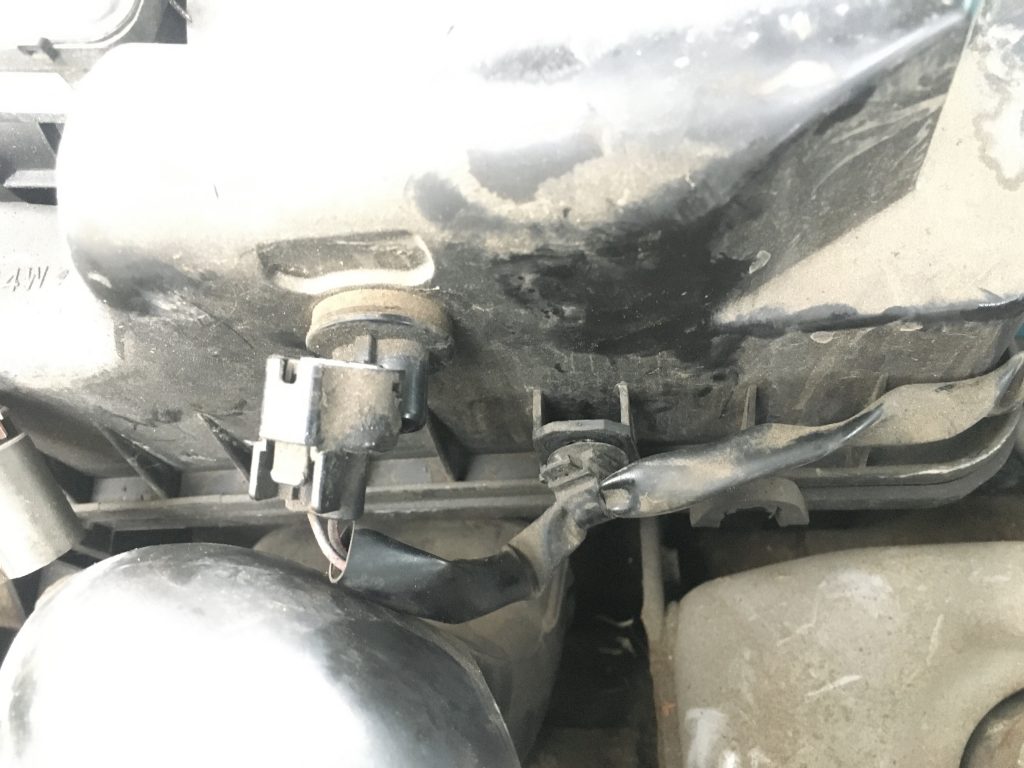
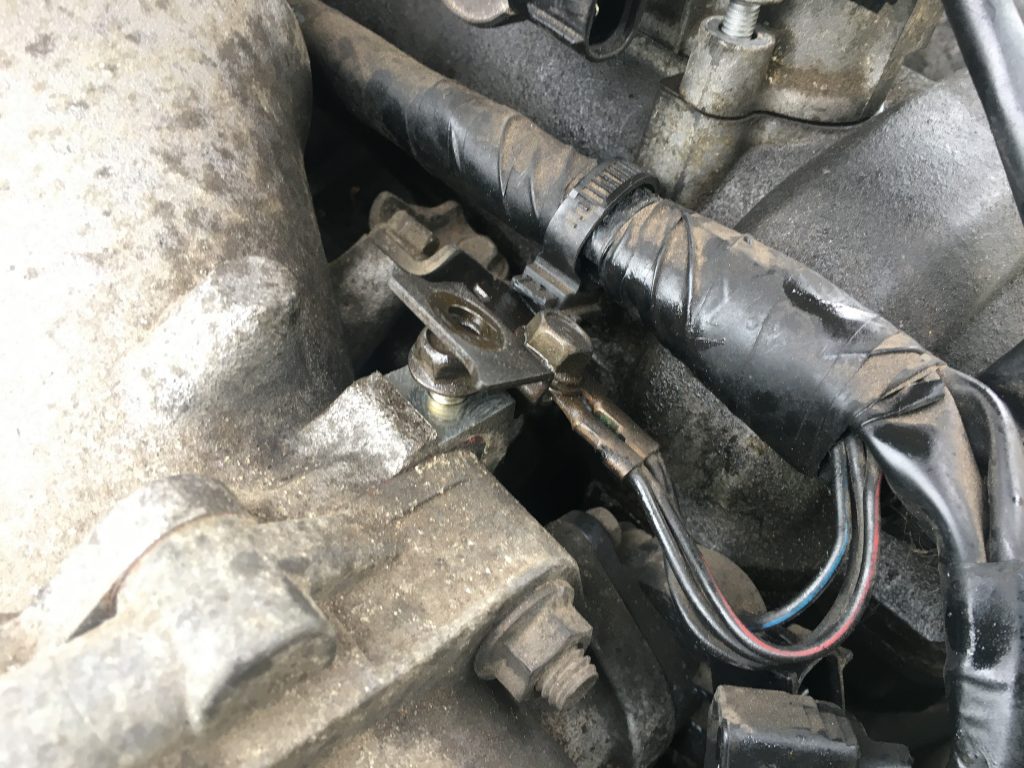
A broken clip, and a tricky one. The second being the off white one, to the right of the broken black plastic ring. Can’t recall how I got that one out!?
The same as the above, with the tricky clip out, and the broken one more clearly visible.
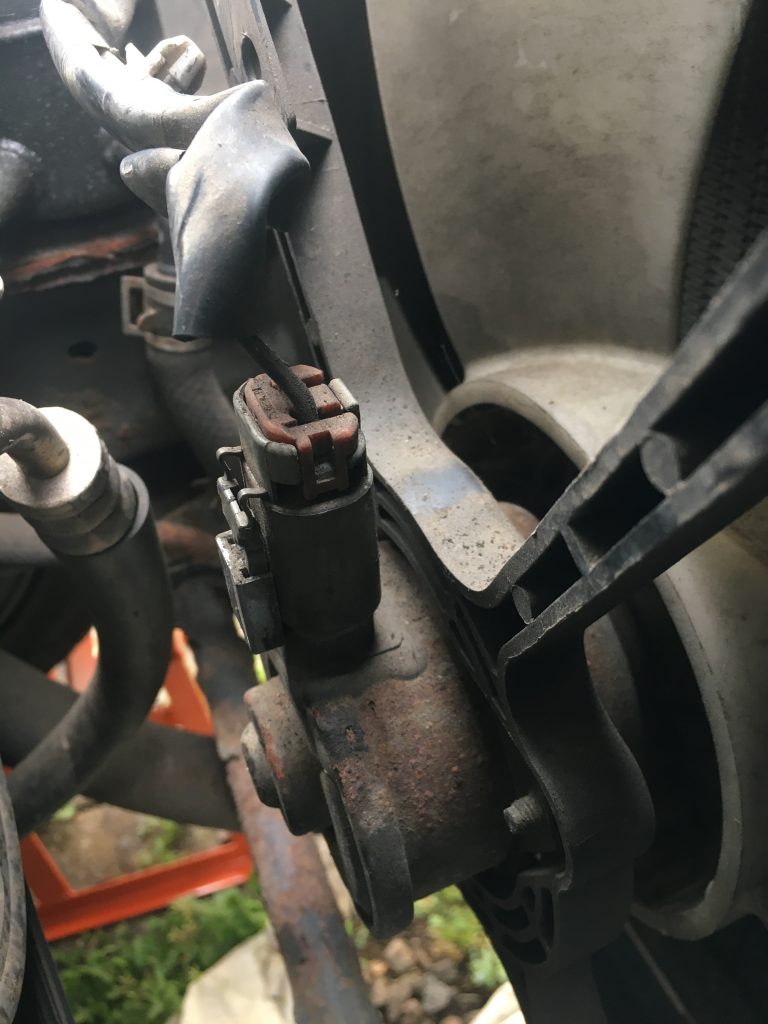
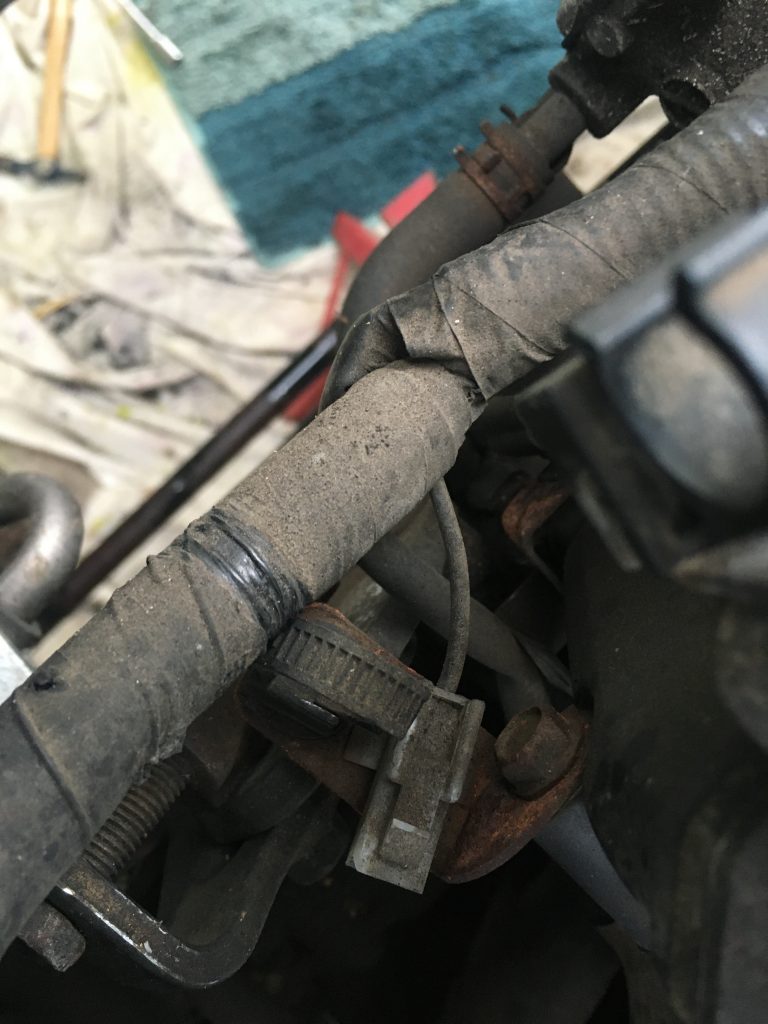
Numerous electrical connections had these weird sprung clips. They’re tricky to pop out. I used pliers to squeeze them together, which helped.

Some of the hoses and hose clips were pretty stubborn. BTW, the red jack stand, visible under the ‘sway bar’, supports the latter, which I needed to loosen up, so it wouldn’t be in my way.
Thought it’d be easier to remove the above wiring, as pictured, i.e. still attached to the clip.
More photos of parts of the wiring loom.
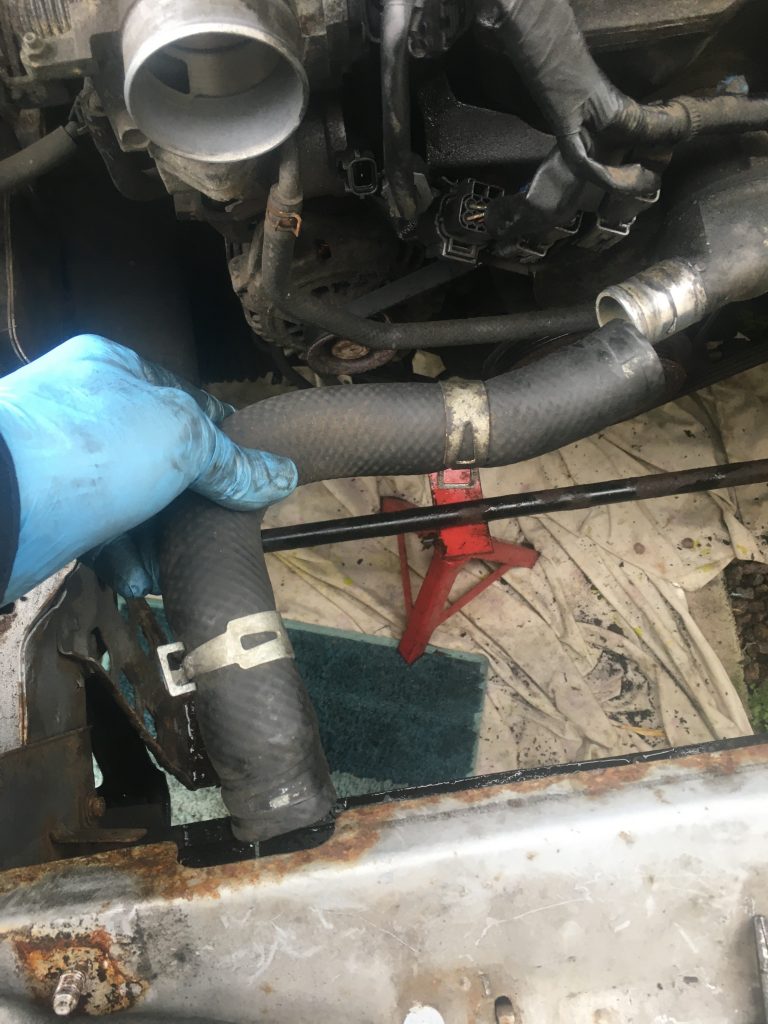
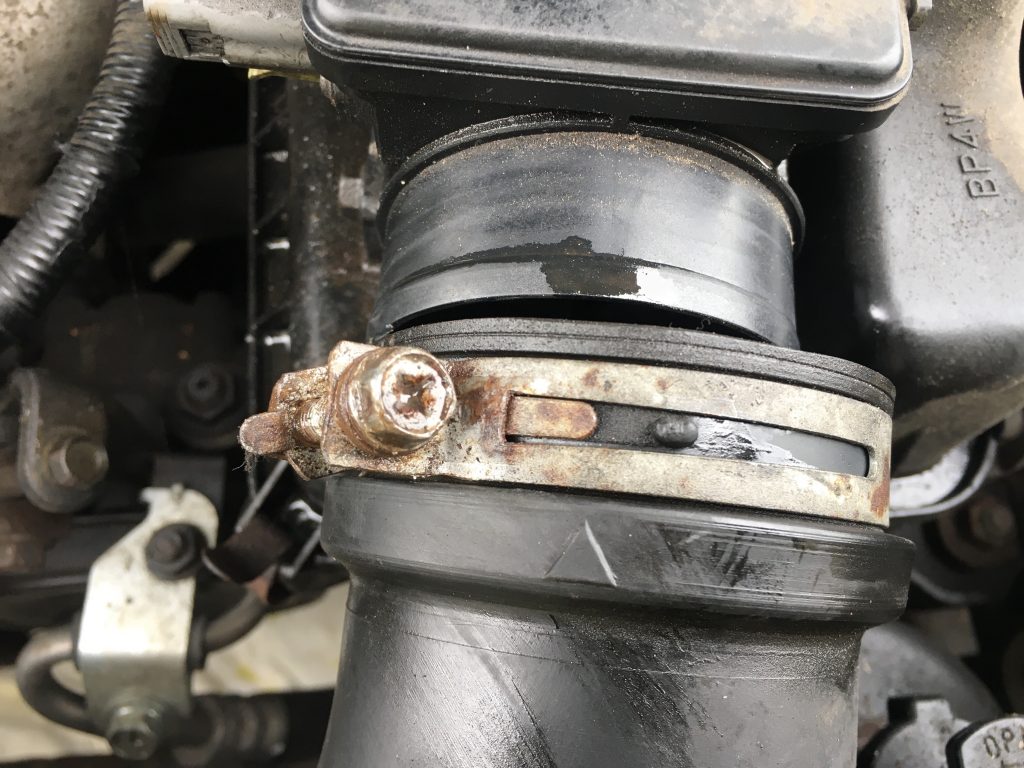
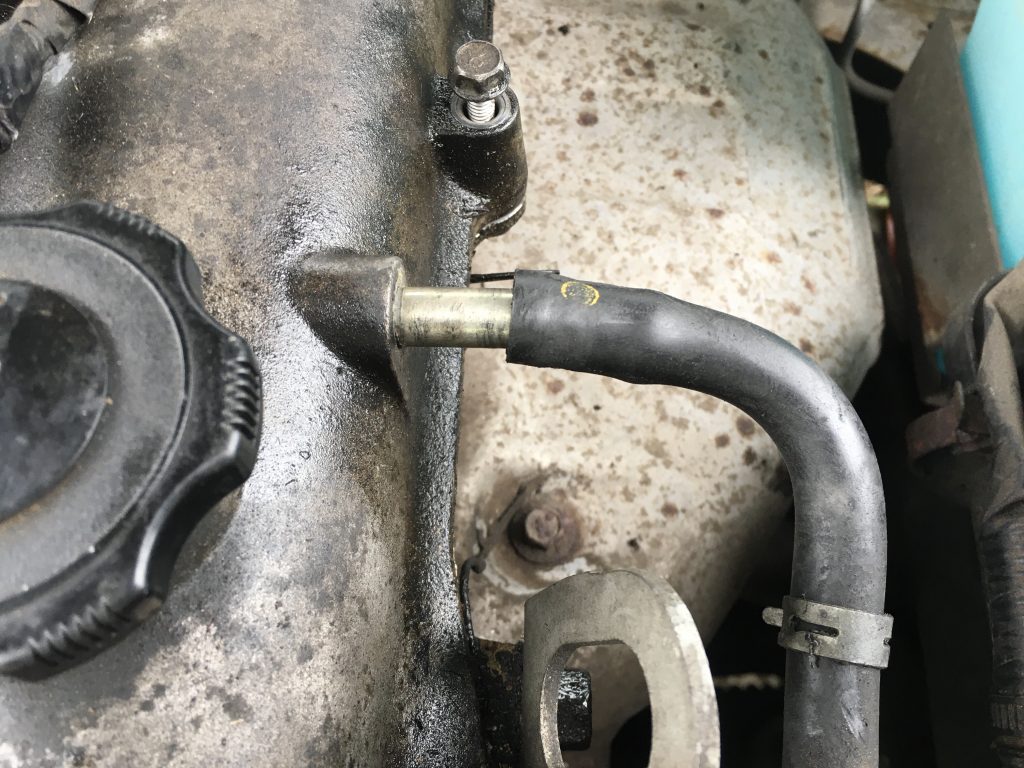
Removing another chunky coolant pipe. Note that there are markings on the pipe which align with little nodules on the metal piping.
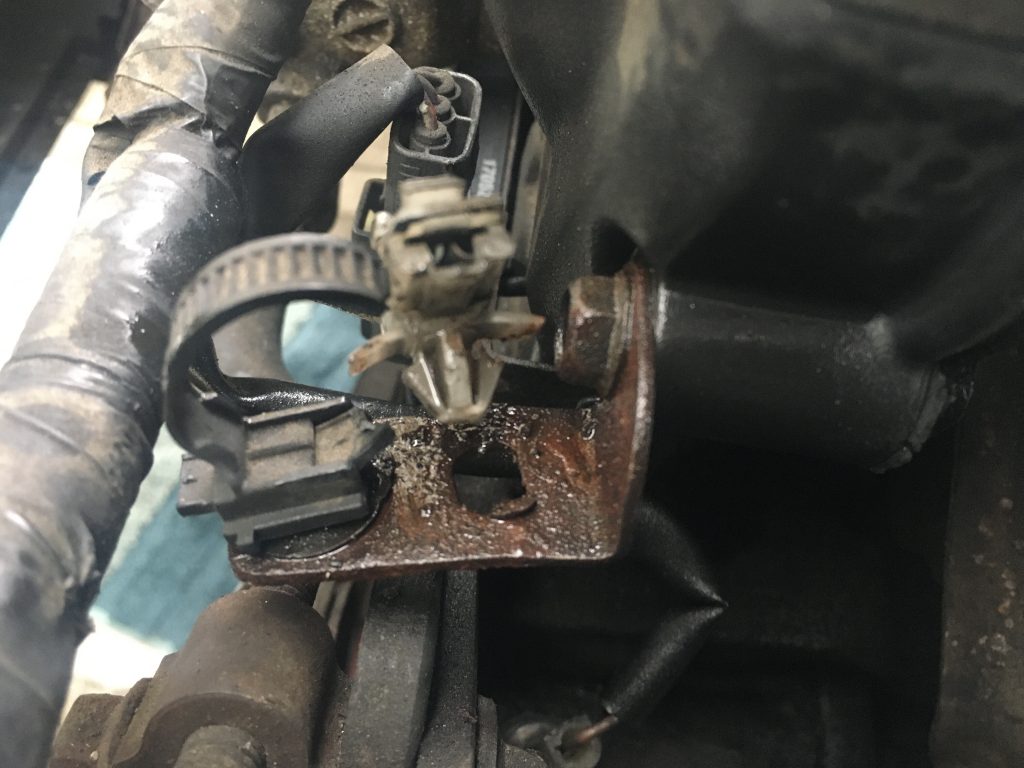
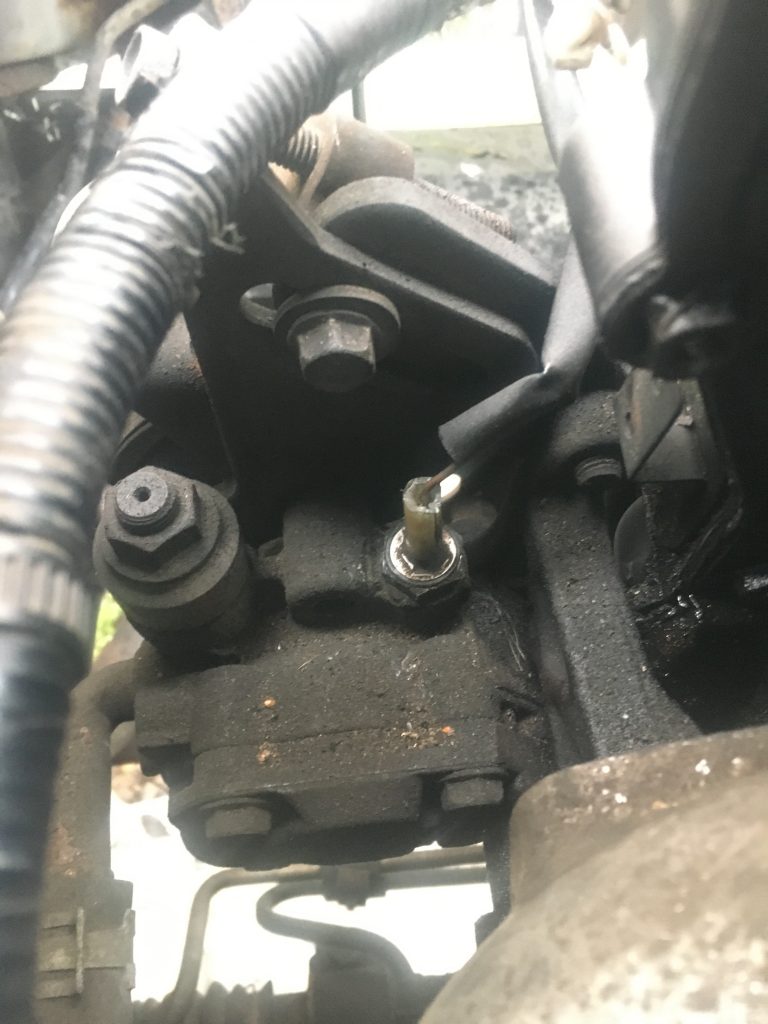
Can’t recall why I photographed this nut? Possibly this is the lower and harder to see/access nut, for the plate that’s on the front of the engine cover, which holds many parts of the wiring loom.
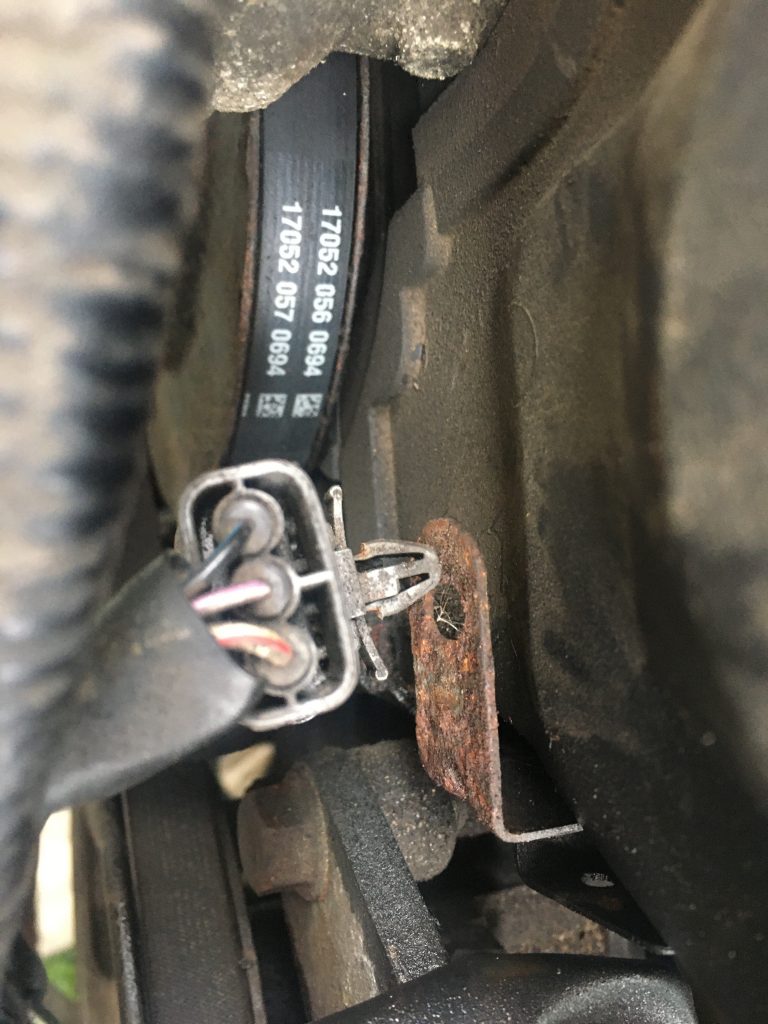
This tubular plastic lead junction has caused me some grief. I can’t work out how to disconnect it. And until I do, it’s not possible to finish getting the wiring loom out of the way.
Her you can see I’ve put the radiator clips inside the engine bay. Just so as not lose them!
And the other one!
So that’s it for tonight. A few other things I did, but didn’t photograph, include numbering all the wired connections in pairs.
Tomorrow I’ll drain the oil out of the engine. And disconnect the negative pole of the car battery. Then there’s more disassembling before doing the gasket and cambelt.