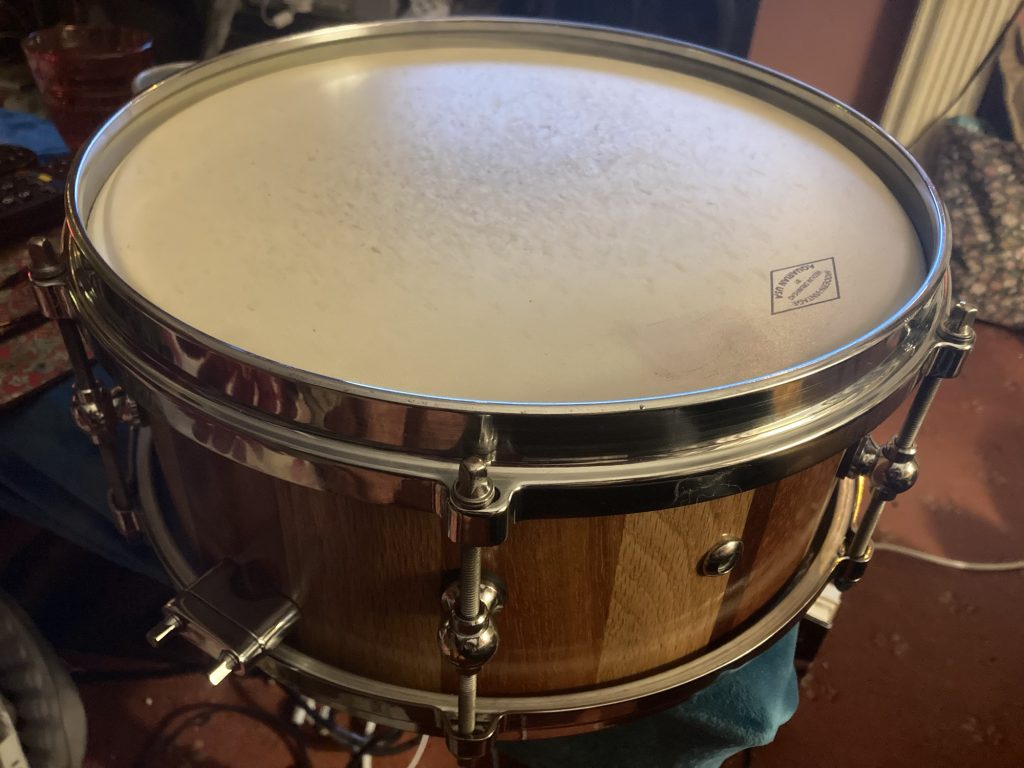
Still sans new snare side head, snare wires (& snare bed). But in situ. She sounds fabulous, tuned high, tight and dry. I’m really happy!
A much more pleasing sound right off the bat than my Keruing snare. I can see that drum will need some serious fettling. Poss’ recutting the snare beds?
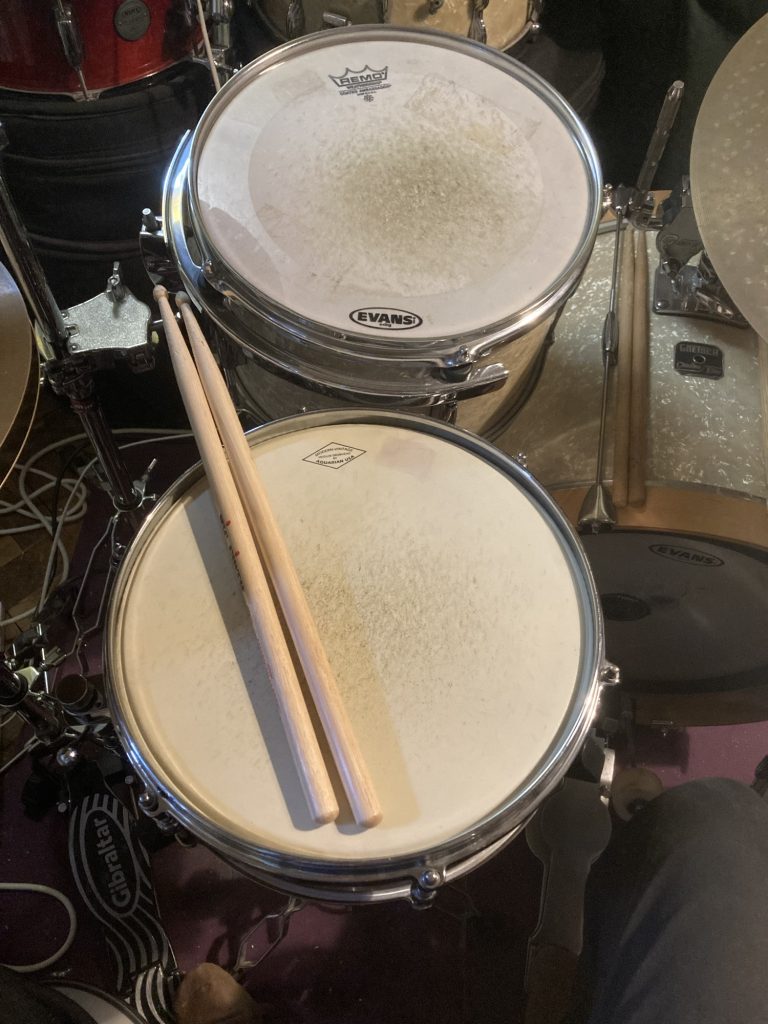
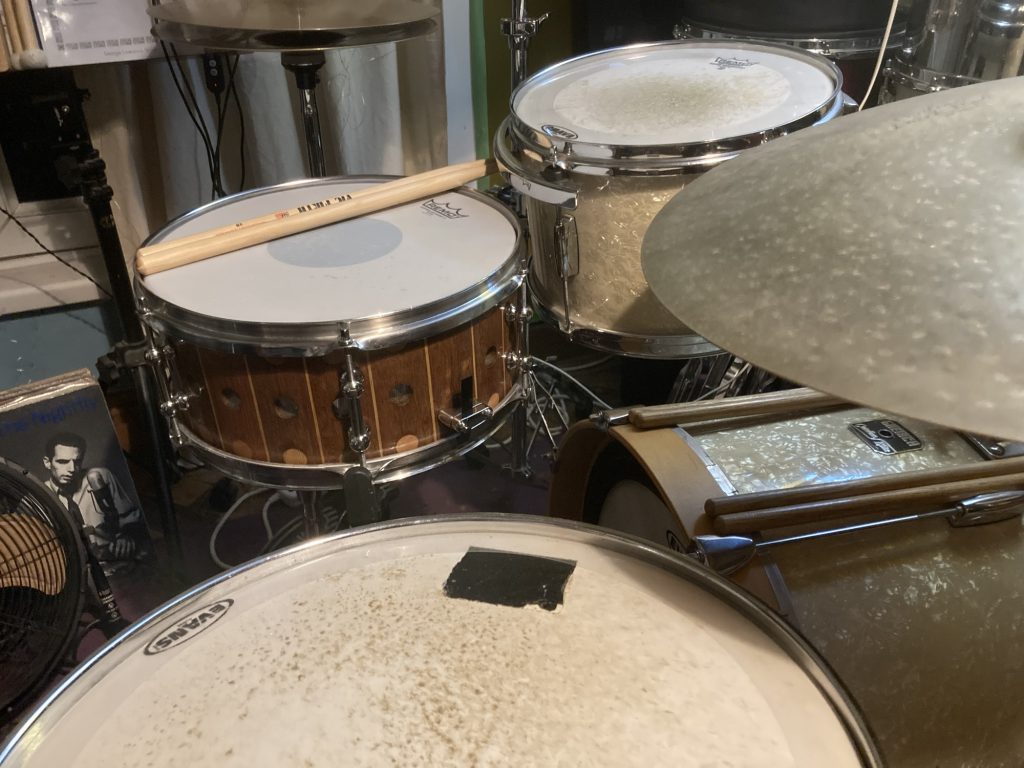
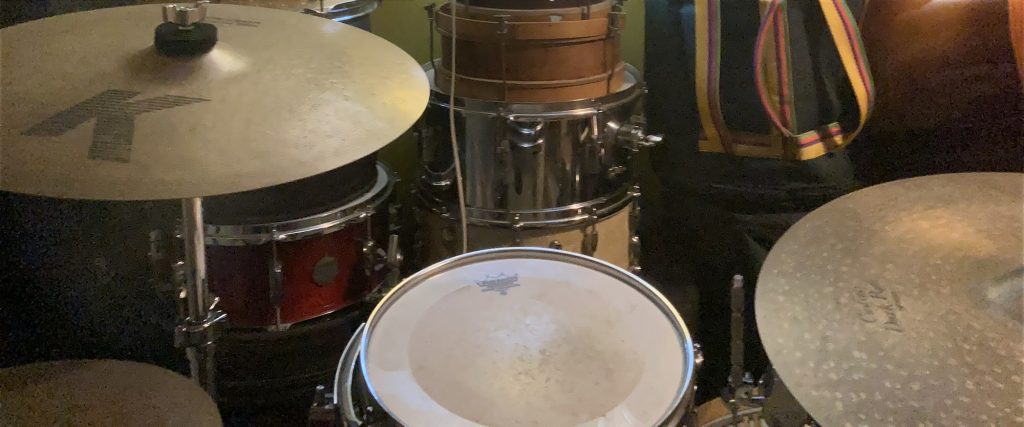
Cockpit view .
A 12” snare is noticeably dinky. And, to my eyes and ears, actually quite cute.
Very chuffed! Will post videos with audio when both drums are properly finished.
Today I made some new gaskets for the lugs on this drum. This involved the tricky operation of slicing thin (and old, possibly brittle?) rubber gaskets in half!*
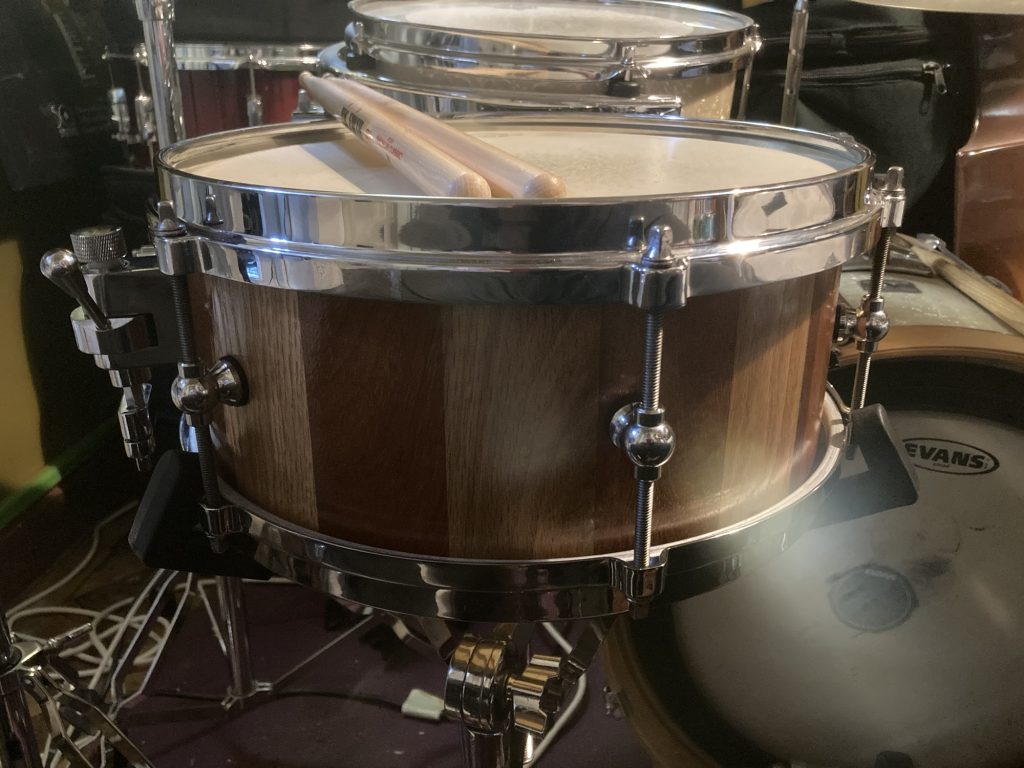
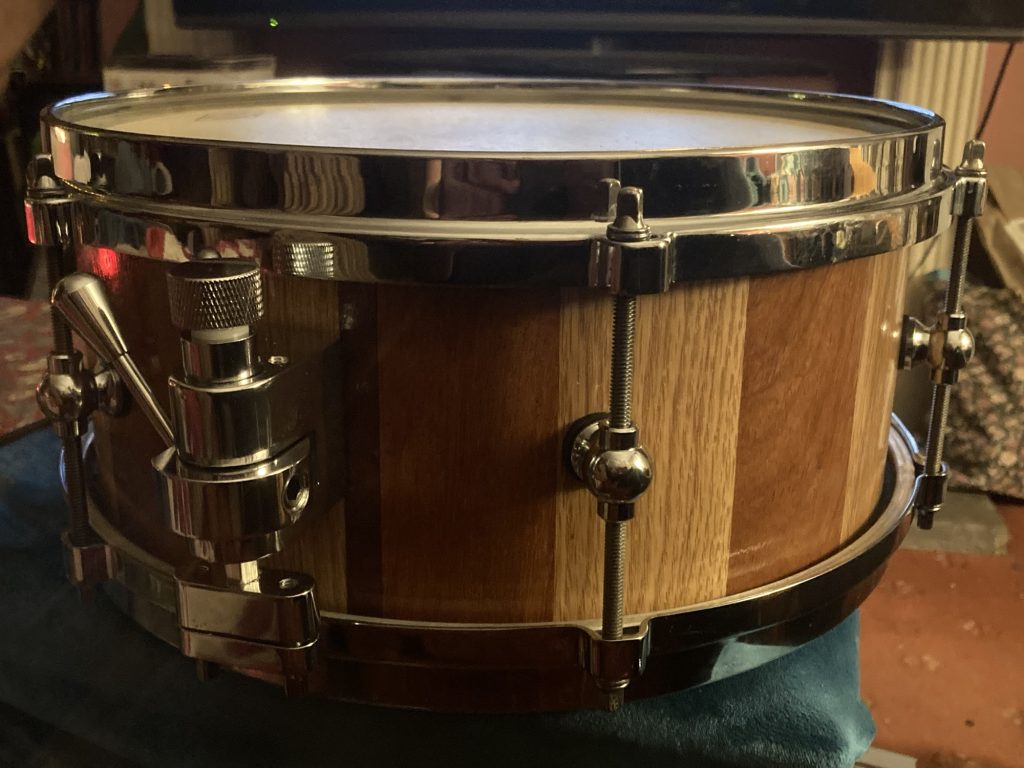
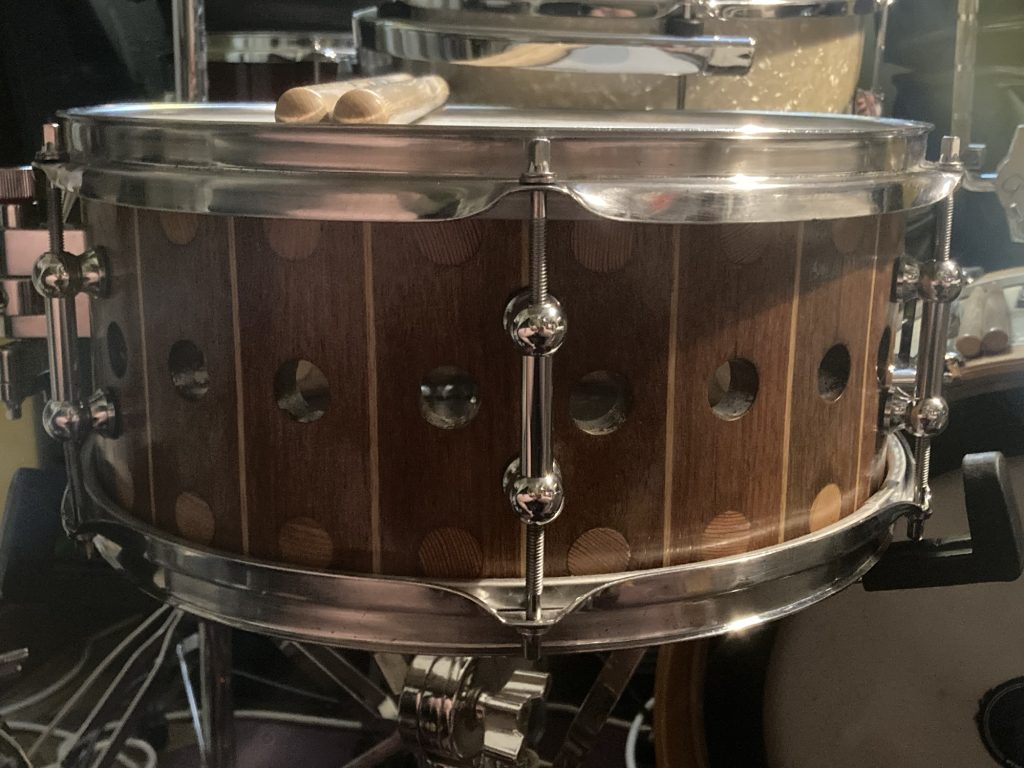
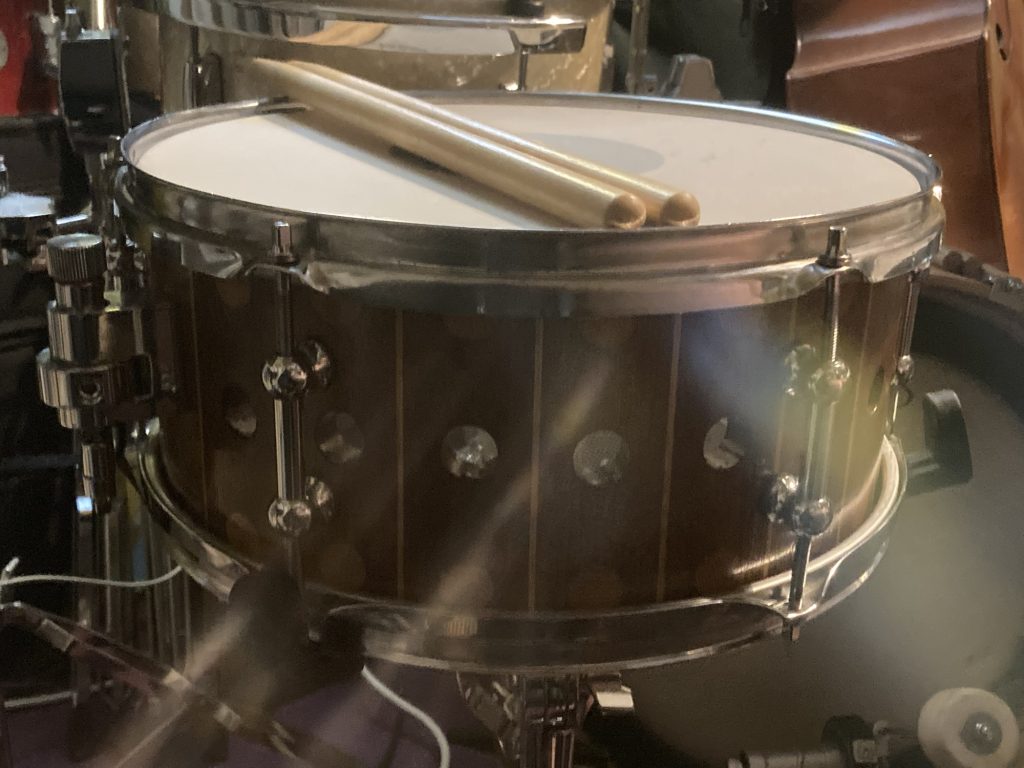
The 13”x5” shell is rosewood and white oak staves, with mystery splines. I went with triple-flanged hoops on the other (Keruing) snare. This one sports die-cast hoops. And don’t they look utterly fab!
Looking damn sexy, I reckon.
I’m loving how this drum is looking. Can’t wait to get the snare wires, and a new/better snare side head. I’ve still yet to cut the snare beds. Definitely going to make these shallower and wider than I did on the Keruing drum.
Phwoar!!!
It’s NYE… in fact it’s now 1st Jan’, 2026. I can’t wait to try this drum out in the context of my drum set, later…
*The gaskets that the came with the lugs were too thin, hence the need for new ones. I had some spares, but they were too thick!
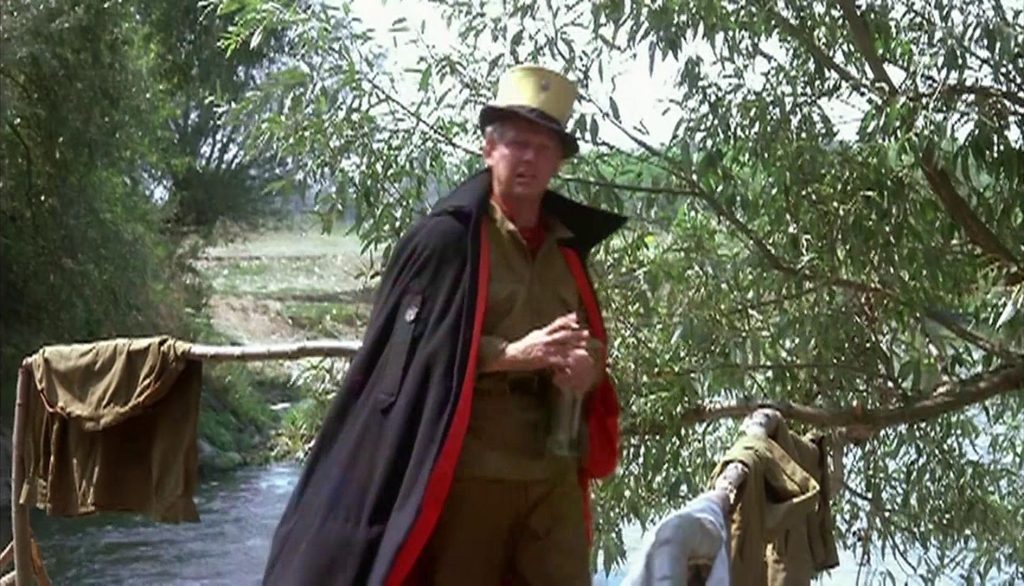
What a strange film this is, to be sure. Or ought that be ‘to be unsure’?
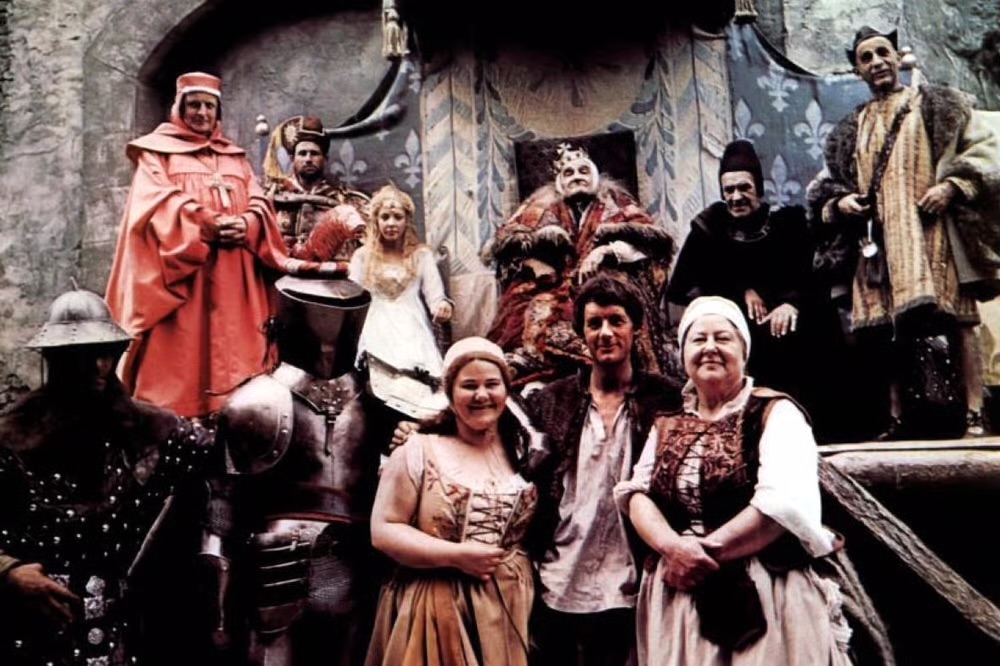
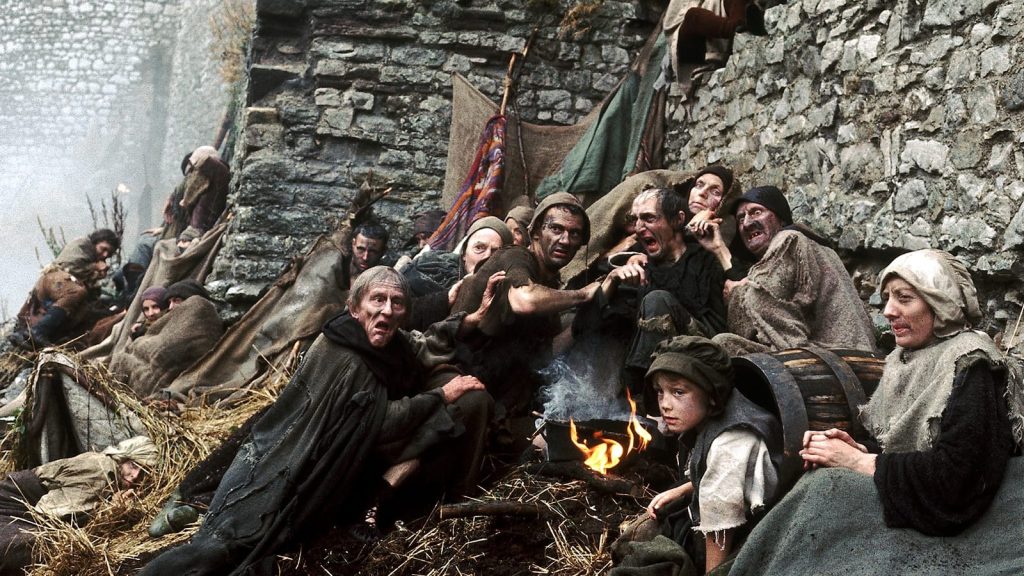
Some of the star-spangled cast.
The cast is amazing. Max Wall as King Bruno, John le Mesurier as his chamberlain, Passelewe, Michael Palin, doing his innocent bumpkin ‘everyman’, is Dennis Cooper, Warren ‘Alf Garnett’ Mitchell, Brenda Cowling (You Rang M’Lord, etc), even musician and Bonzo, Neil Innes (and David Prowse as The Dark Knight!).
And those are just some of the folk in the above photo. The cast also includes cameos for fellow Pythons, Terrys Jones and Gilliam (poacher and man with rocks/diamonds, respectively), as well as roles for Harry Corbett, John Bird, Bernard Bresslaw, Gordon Kaye and more.
Businessman Fishfinger, and apprentice cooper, Dennis.
This was Gilliam’s solo directorial debut, two years after co-directing The Holy Grail, with Terry Jones, in ‘75. This movie had twice the budget of The Grail, but made less than a quarter of what the latter made at the box office. Actually making slightly less than it had cost to film.
The two films have a fair amount in common: medieval settings, and Pythonesque humour, as well as Pythons in both filming and acting capacities. But Jabberwocky is also a clear departure.
Visually it’s a lot richer and more artistically shot, as befits Gilliam’s artistic visions. In fact – despite the deliberately grotesque visions of medieval squalor – it’s actually quite a beautiful film, visually. Well, I think it is!
Squalor under the city Walls.
The plot essentially follows everyman loser Dennis Cooper (Palin), disowned by his eponymous barrel-making father, on his deathbed, and cast out, sundered from his beloved (the grotesque and disinterested) Griselda, heading for the city, to make his way.
Via a series of ludicrous slapstick adventures, he eventually meets and defeats the titular Jabberwocky, gaining a Princess and half a kingdom along the way, and ultimately losing Griselda and a potato/turnip.
Vestiges of the Pythons skit-based humour are strongly evident, and it’s not a particularly slick film, à la Hollywood. But it is well put together, and well acted, albeit within a style or genre that’s a large part pantomime or farce.
The search for a champion knight is costly.
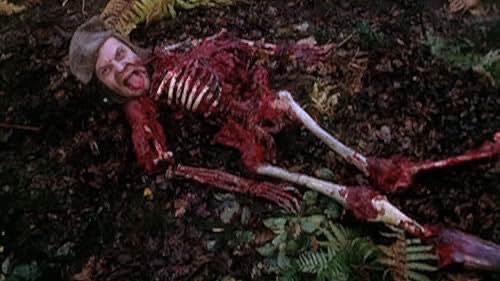
The portrayal of medieval or Dark Ages culture is hilarious, in its bloody and bowel movement obsessed way. On one level this is quite a gory film – even if only briefly – but it’s so comedic it’s funny rather than upsetting.
Bloody silly!
The fight at the film’s denouement – first ‘twixt ‘Red Herring’ and ‘Black Knight’, and then Black Knight (and Dennis Cooper) vs Jabberwocky* – is cutely dated, to modern eyes, used to seeing near-seamless CGI. But I don’t mind that at all.
And, to cap it off, our hero returns, triumphant, to the City, and gets his reward.
It’s really quite weird, and feels rather lumpen and uneven, at times. And yet I really rather like it.
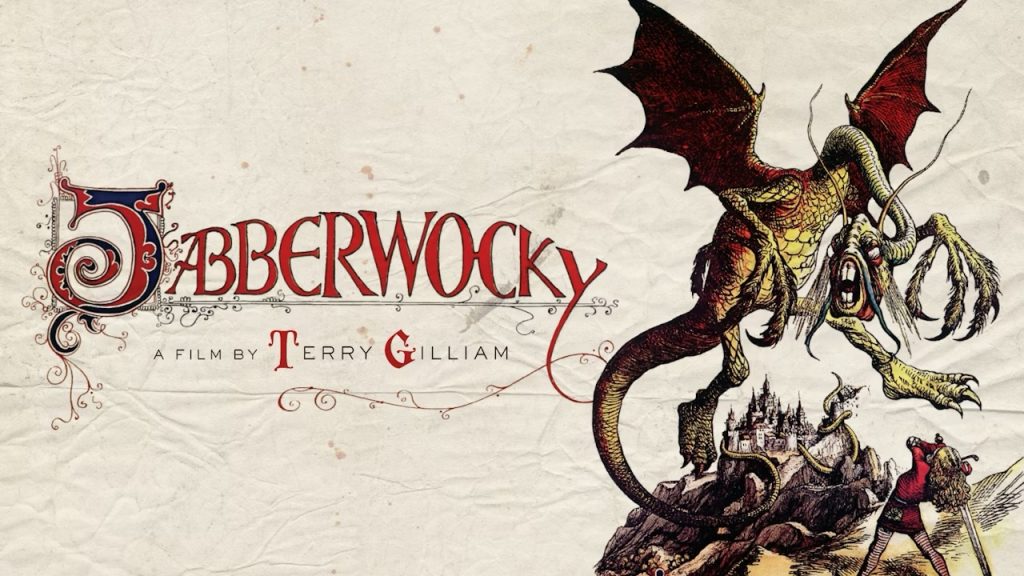
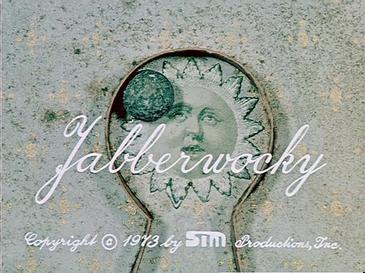
*It’s a pity they didn’t make the movie Jabberwocky more like Teniel’s magnificent beast. Esp’ as they used the latter in such promo imagery as the poster atop this post.
FOOTNOTE
Also worth watching…
I tried embedding the above, via YouTube, but I couldn’t. Jan Svankmajer’s 1973 rendering of Lewis Carroll’s work has both much in common with Gilliam’s, and yet is massively different. Both are well worth watching.
If you know Svankmajer at all, you’ll know he’s a famed Czech animator. This early work of his is already brimful of his wildly and surrealistically inventive visual imaginings.
Clocking in at under 15 minutes, there’s a surprisingly large and rich amount of ideas crammed into this short film. It also includes an English language reading of Lewis Carroll’s poem. Always great to hear.
We recently watched this, on Amazon Prime, paying £3.50 for the privilege. I felt robbed. I thought it might be worth watching, chiefly on account of believing Woody Allen is or was a fan.
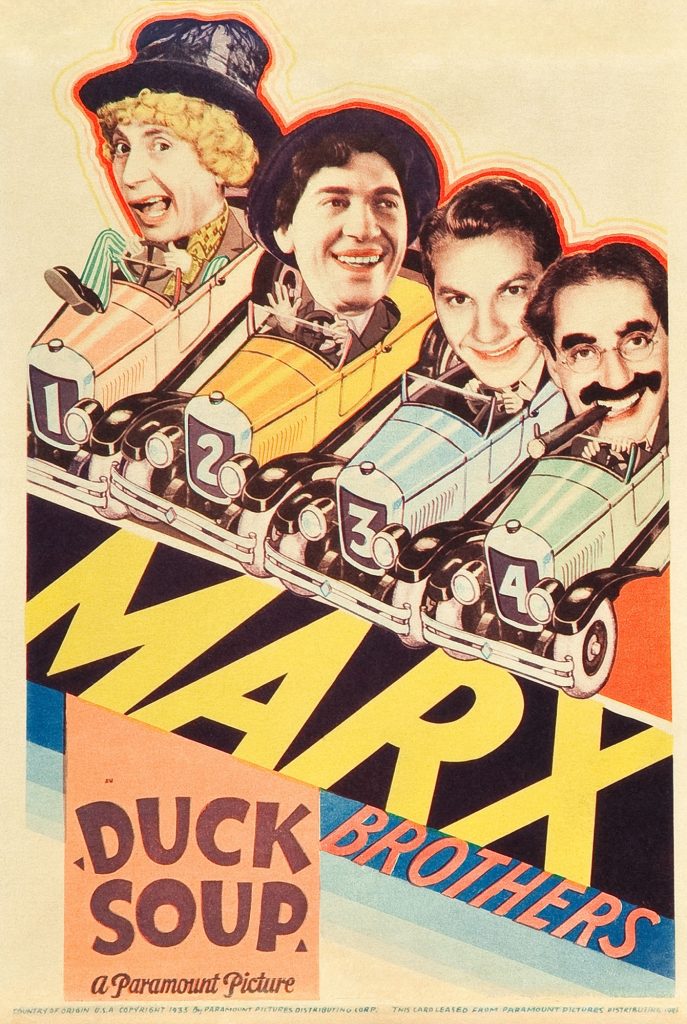
The Wikipedia page on the film notes that it was a bit of a disappointment at the time, commercially, and opened to mixed reviews. But, apparently, it has subsequently been reevaluated: ‘Duck Soup is now widely considered to be a masterpiece of comedy and the Marx Brothers’ finest film.’
Really!? I’m quite surprised. At just over an hour, it’s quite short. It’s certainly very slight. But it doesn’t feel short. There are segments – dreadful segments – where it decides it’s a musical, and others where it’s just a plain ol’ hokey talkie movie.
Groucho.
I have to confess that I found it awfully boring. Very rarely even remotely funny. And mostly just annoyingly dated.
It really hasn’t aged well.
Apparently Groucho himself said, regarding the ‘significance’ of it’s alleged political satire; ‘What significance? We were just four Jews trying to get a laugh.’ That’s how it looks to me.
It has always struck me that the best of Laurel & Hardy are the skits; attempts to ‘long-form’ their comedy into full-length films mostly come out turgid. Partly this is due to the dilution of their comedy with filler material, poor supporting acting, and the perceived need to embed the zaniness into some kind of coherent plot.
I think all of the above are happening here. And the sense of being very underwhelmed and disappointed reminds me of reading Voltaire’s Candide.
The four Marx Brothers.
There are some good lines. Groucho, unsurprisingly, getting practically all of them. But his relentless schtick grows wearisome. And there are even some funny physical clowning bits, mostly for Harpo. Zeppo’s straight-man role, as Rufus T Firefly’s hapless adjutant, is such that it feels like a Marx Bros trio circus outing, with Groucho, Harpo and Chico as the clowns.
How this has ever made any lists of the ‘top 100’ or ‘best ever’ bewilders me. I note that Peter Sellers nicked a few gags: for example, he has Inspector Clouseau repeat the ‘cracking the safe/radio’ scene, for example. Ironically I prefer his version of the joke. I think it’s much better executed.
Hitchcock coined the rather splendid term McGuffin, as a suitably intriguing yet clearly contemptuous name for the ‘engine’ of a film’s plot. The ‘plot-driver’ here, with Groucho as the aforementioned leader of Fredonia (Rutles P. Wildebeest, or summat), going to war with neighbouring Sylvania, doesn’t seem to me worthy of the slightest attention. After all, that’s what the makers of the movie accord it.
Plot? What plot…
It’s all so silly and nonsensical it seems far more a vehicle for wisecracking and buffoonery than even the remotest attempt at meaningful satire. Released in 1933, when America was deep in recession and depression, and with fascism running rampant around the globe, it looks to me much more like escapist fluff than satire.
Rarely has a film I’d hoped to enjoy dragged so slowly, despite being so short, that I’ve abandoned it. Well, I bailed out of Duck Soup…
(And this despite the fact we were actually eating duck soup that very same evening!)
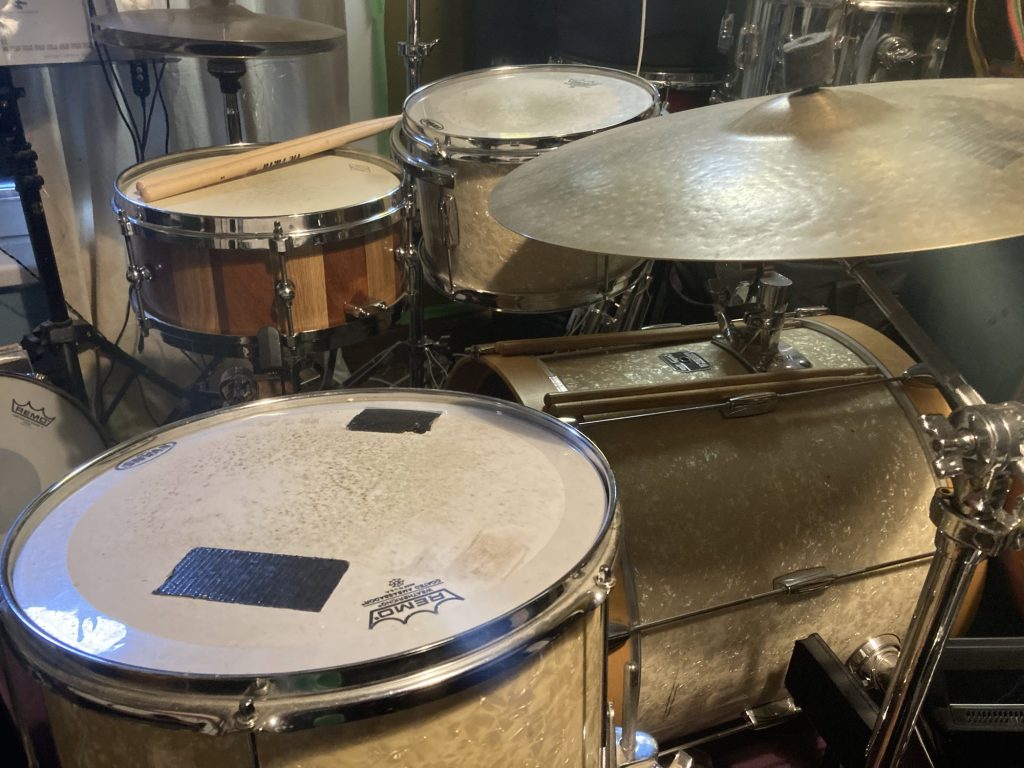
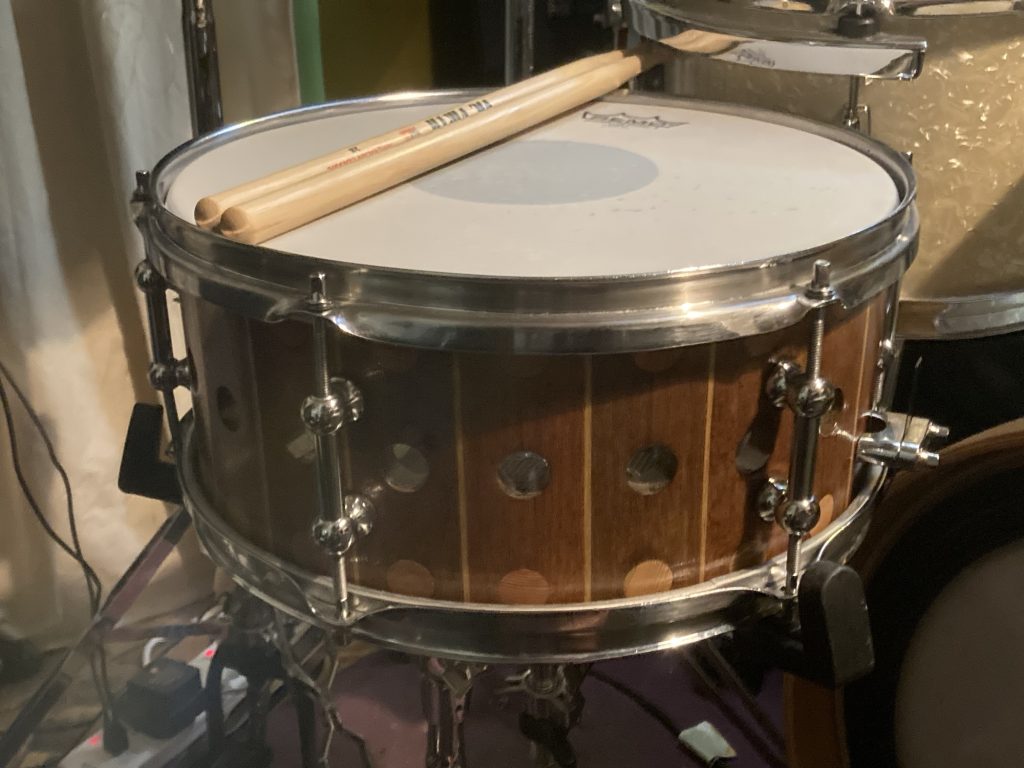
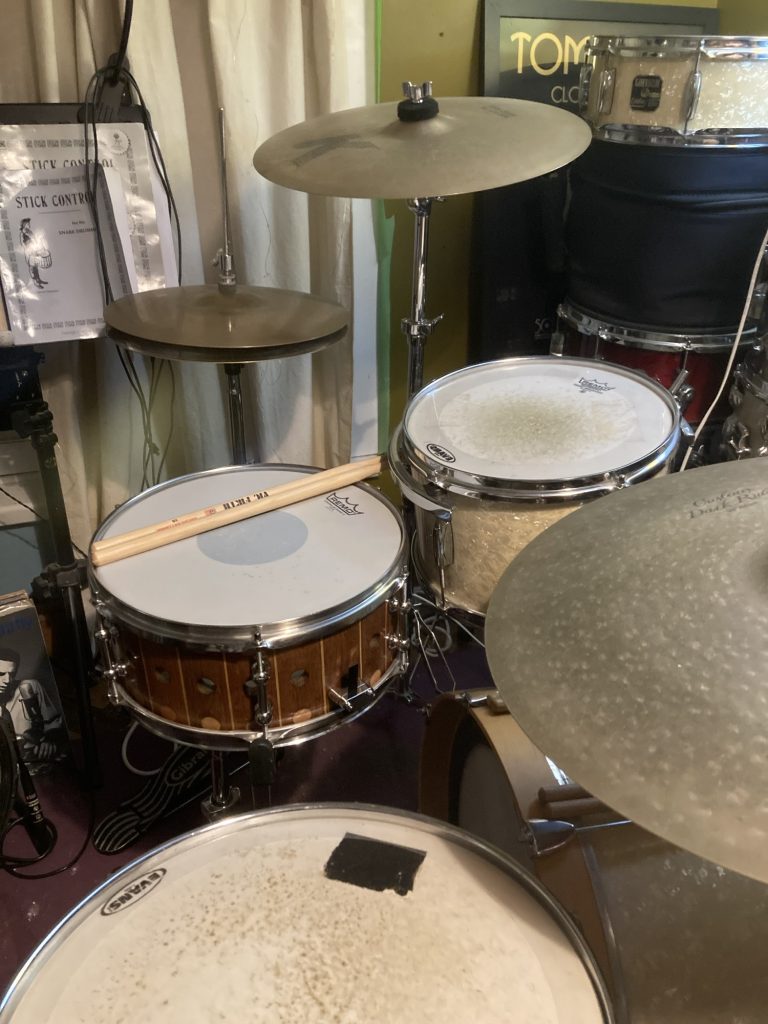
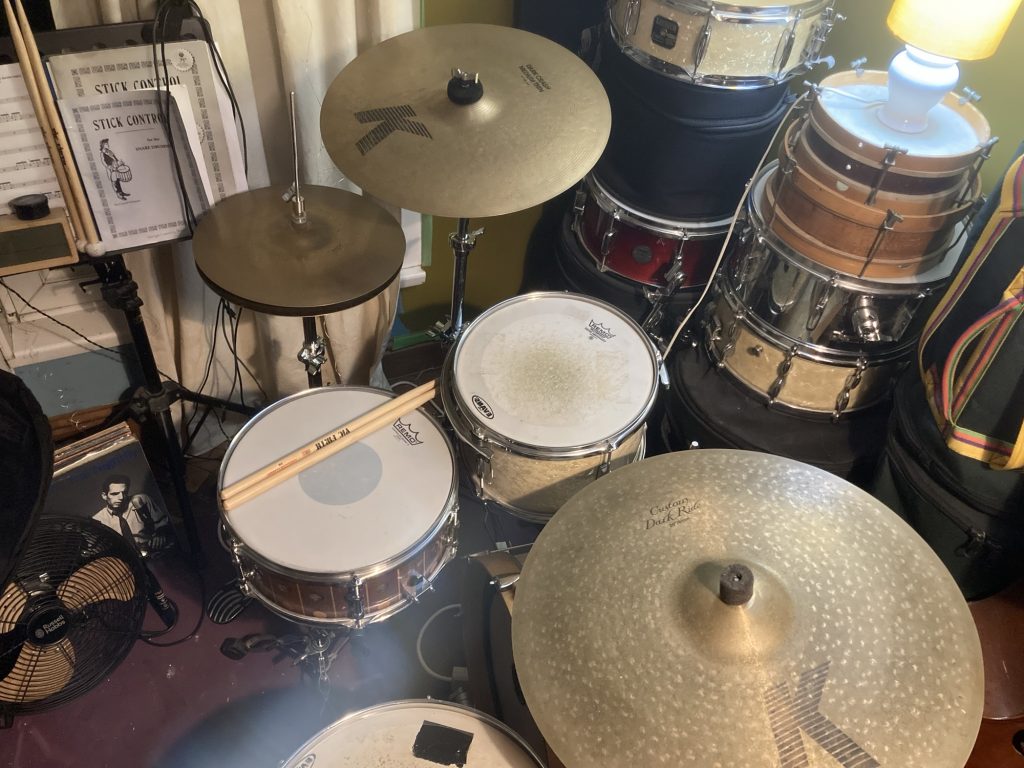
At last, I got this drum in situ, as part of my current drum set up. The rest of the kit is a Catalina Club Jazz four piece.
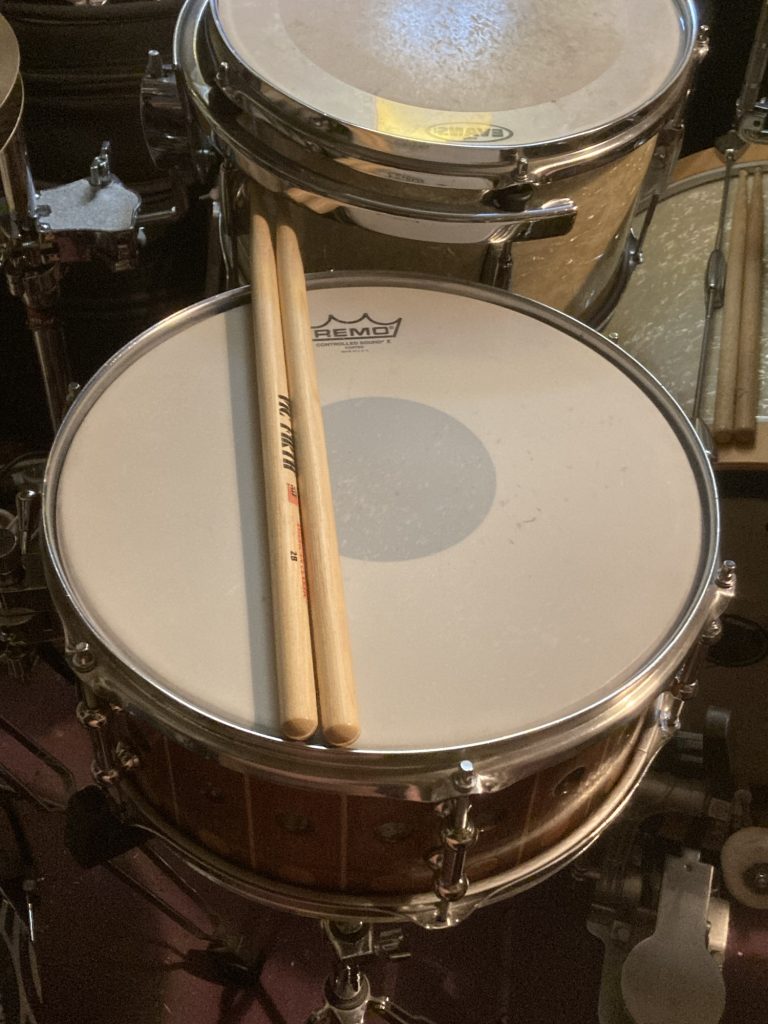
This snare is 13” x 5”, with the main body comprised of 22 Keruing staves, with White Oak pinstripes, and Pine(?) dots. There are twenty holes around the the drum, and thus no need for a vent.
The drum was finished with about 8-10 coats of clear shellac. She’s sporting a Remo CS dot batter side, and an Evans head snare side.
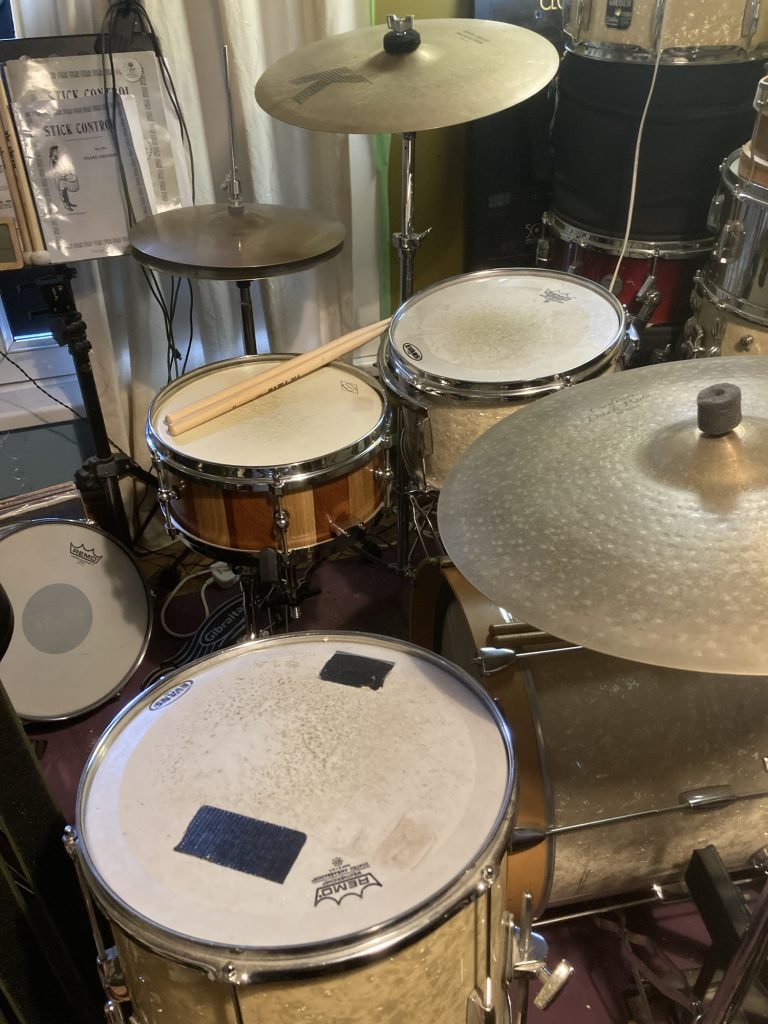
I played the snare, as part of a complete kit, for the first time today. On Xmas Eve, no less. And, overall, I’m pretty chuffed.
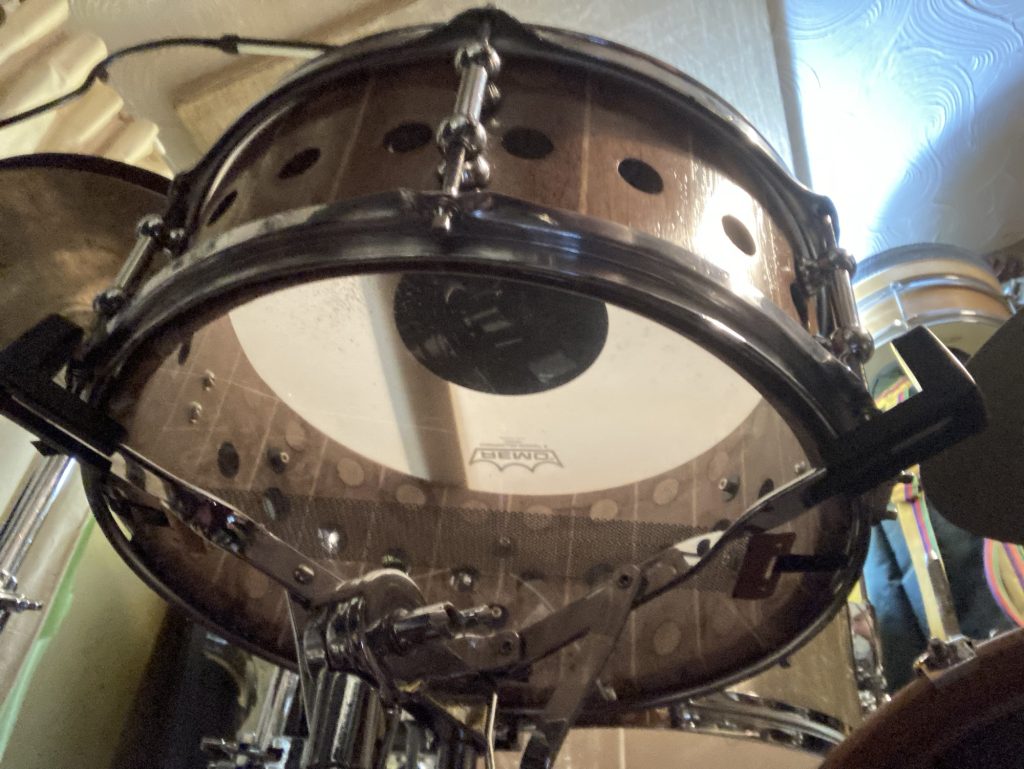
I quite like this view, from below. Here’s a wee gallery of images:
The whole kit needs a lot of attention. And I need to get ‘back in the saddle’, playing wise, as I’ve not played regularly for several years now.
It was great fun to play my first self-built snare drum in the proper full context of a drum set. There’s a way to go to getting it to a place where I’m completely satisfied – tuning, damping, snare settings, head choices, poss’ even modifying the snare bed, etc. – but it’s fab’ to have gotten this far.
And there are more drums being built, waiting in the wings. Exciting times!
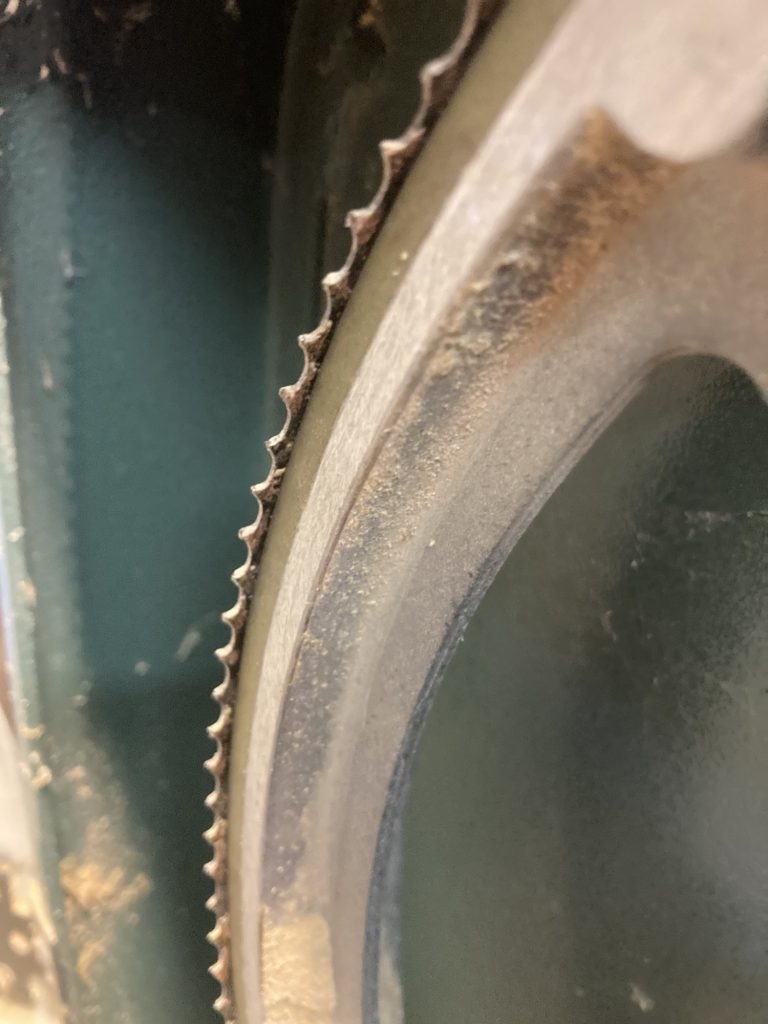
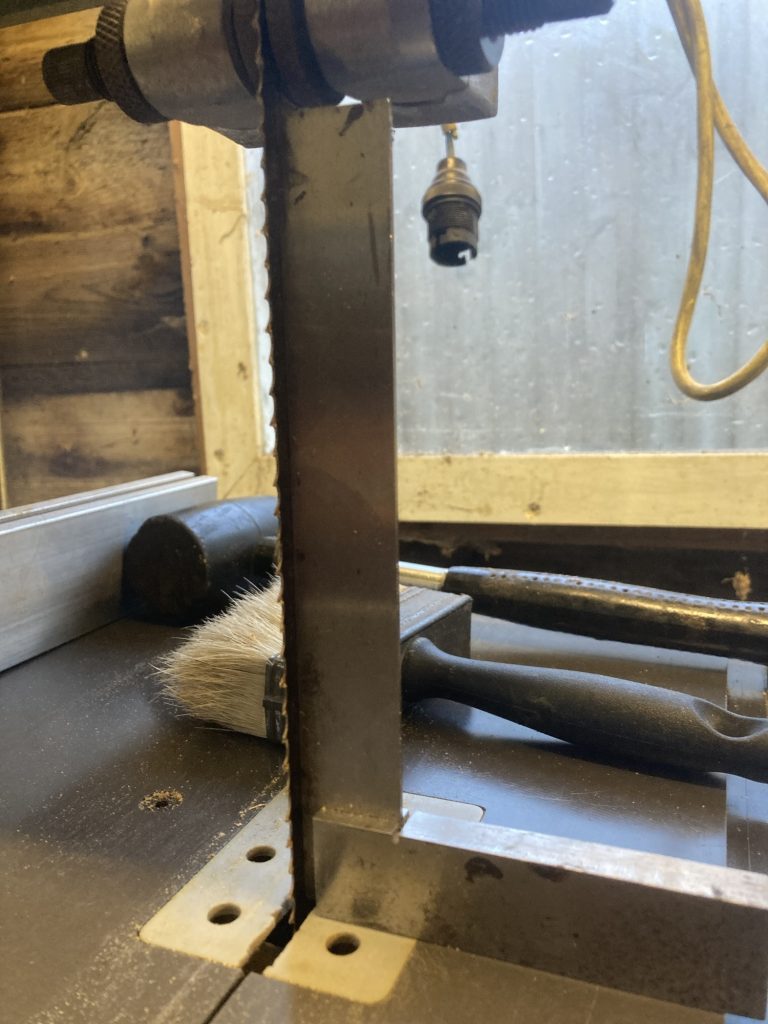
My Kity 613 has terrible blade drift. So bad it renders the machine utterly useless for some of the primary things I got it for: in particular re-sawing, and cutting accurate thin veneers.
Appalling!Very slightly improved.
After masses of fiddling and finagling with the set-up, I temporarily achieved a very minor improvement. Maybe I just need (another!) new blade?
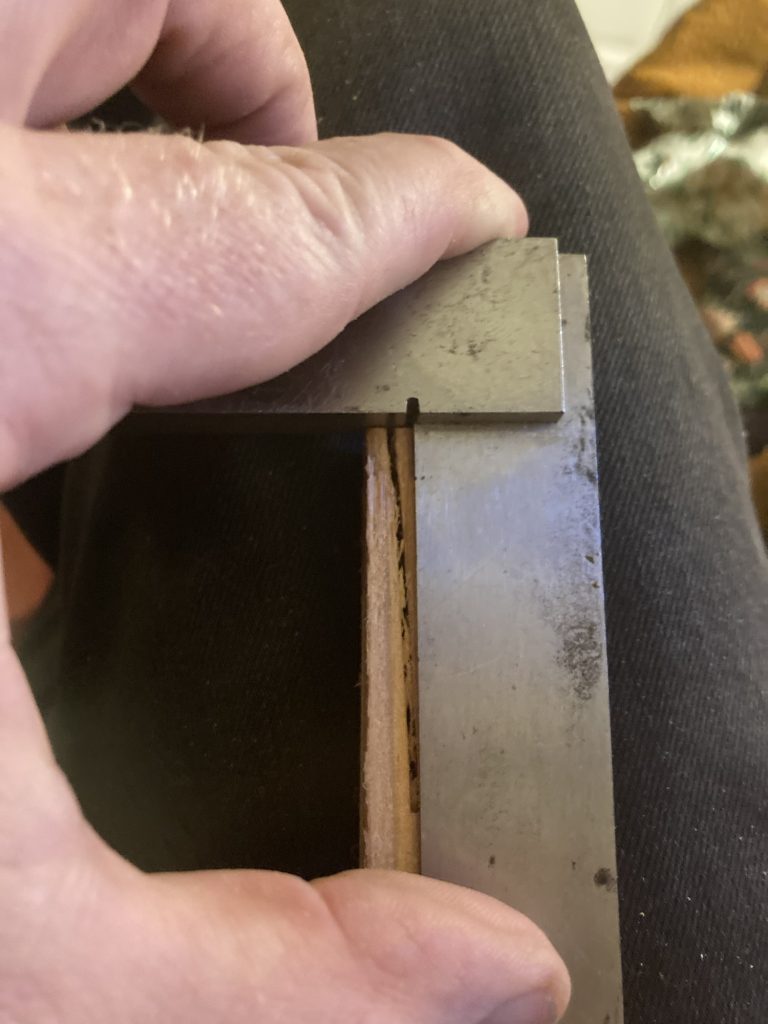
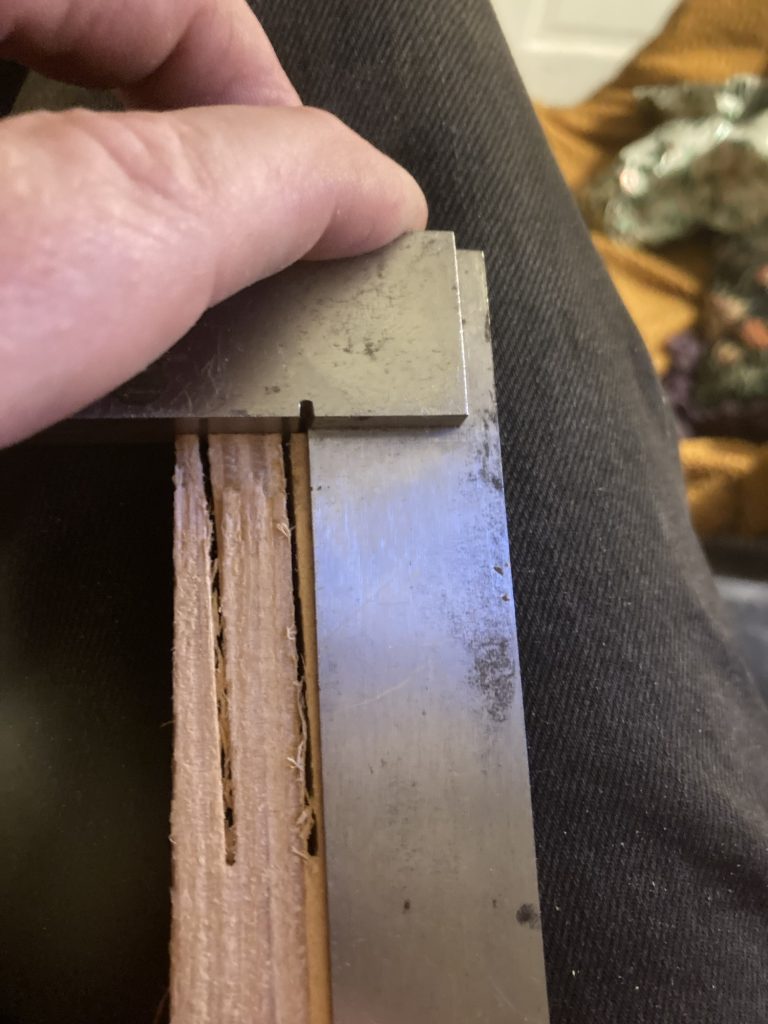
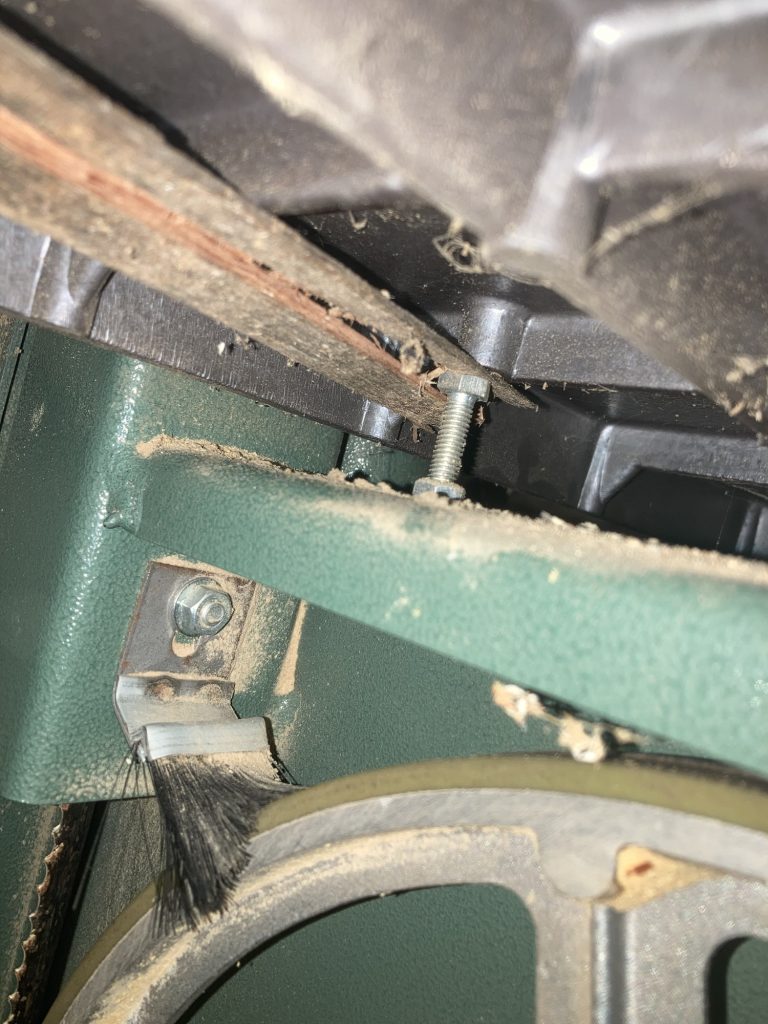
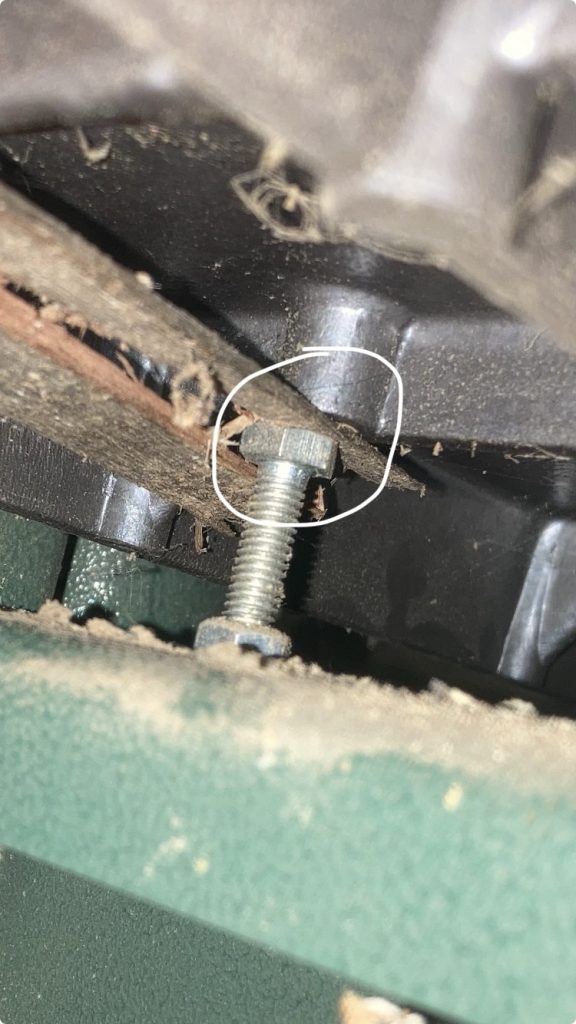
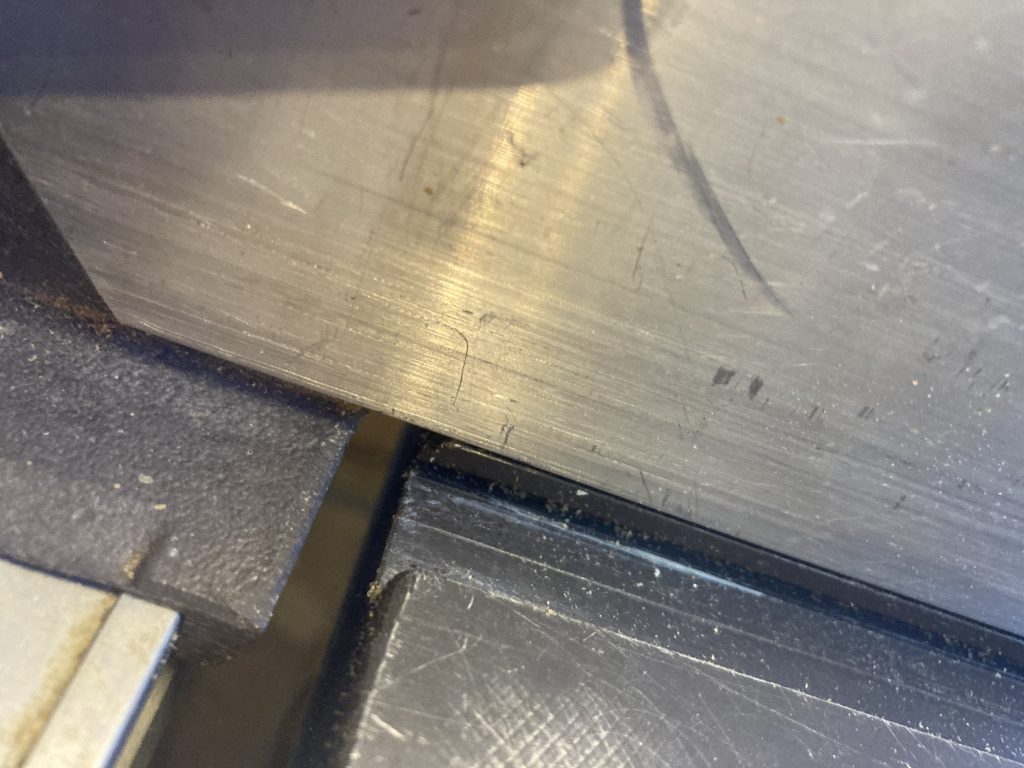
Table shimmed.Detail.Square to pillar.Square to blade.
I had to adjust a screw to get the bed of the table flat. Initially I shimmed it with a thin slice of wood. Then I managed to adjust the nuts/bolt, to get the correct level without the shim.
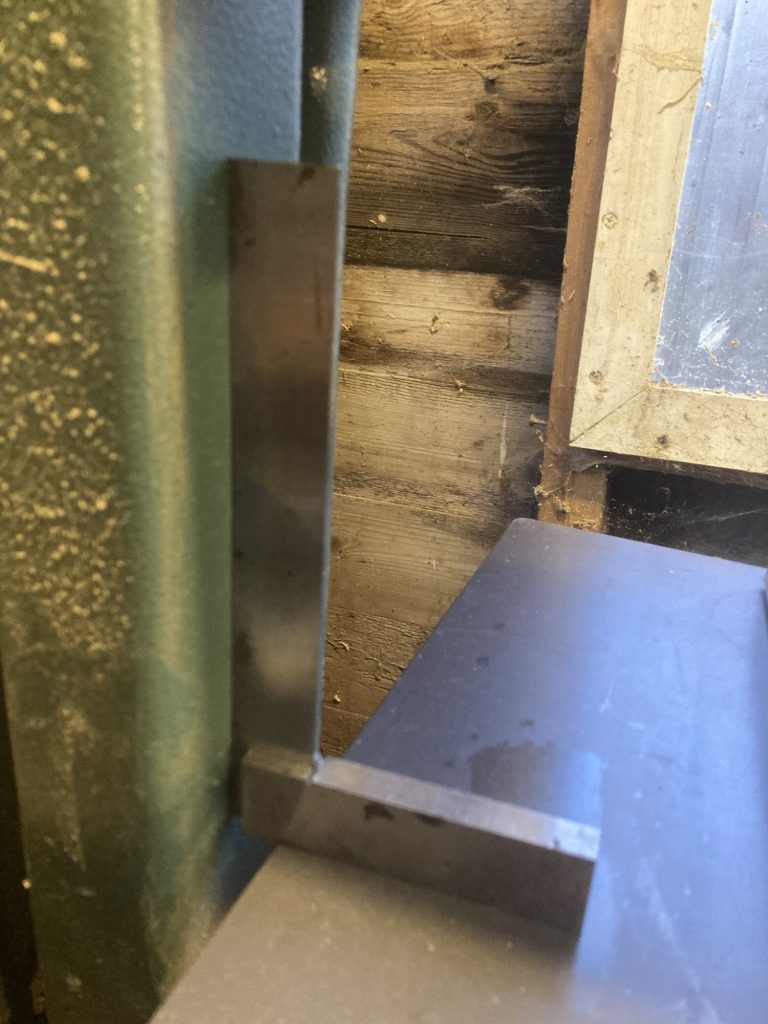
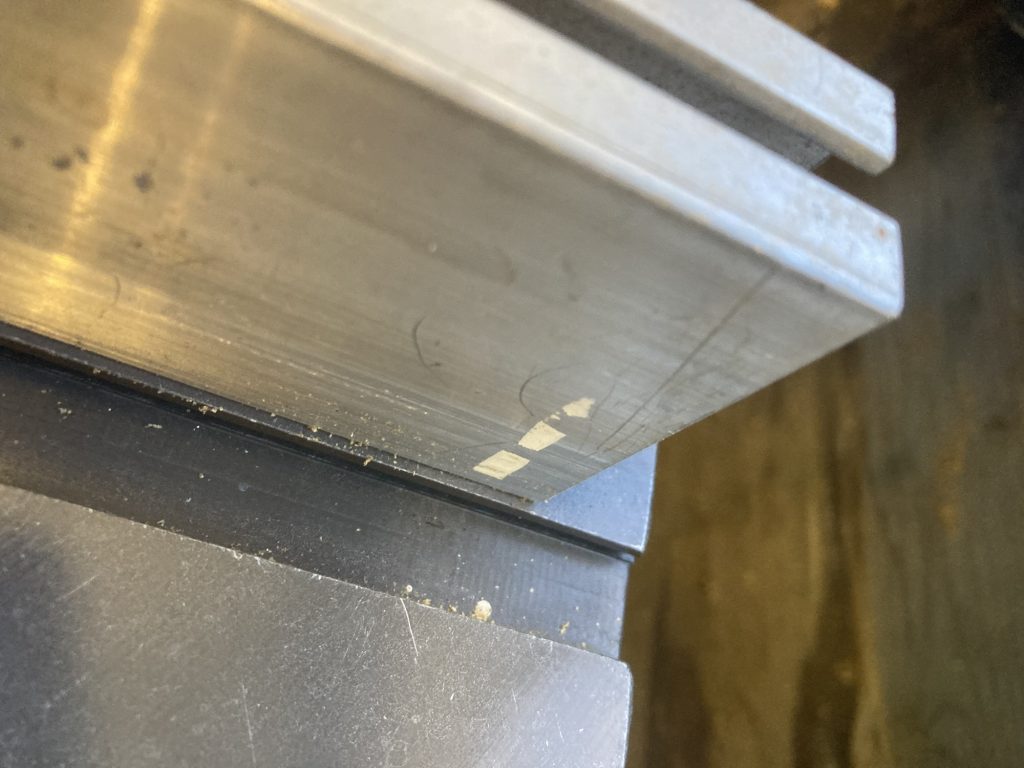
Dead on, clamp end.Slightly out, far end.Concave bow.Ditto.
The fence also needed a slight adjustment. It was out a whisker. Maybe a millimetre, at the far end? I adjusted and corrected that.
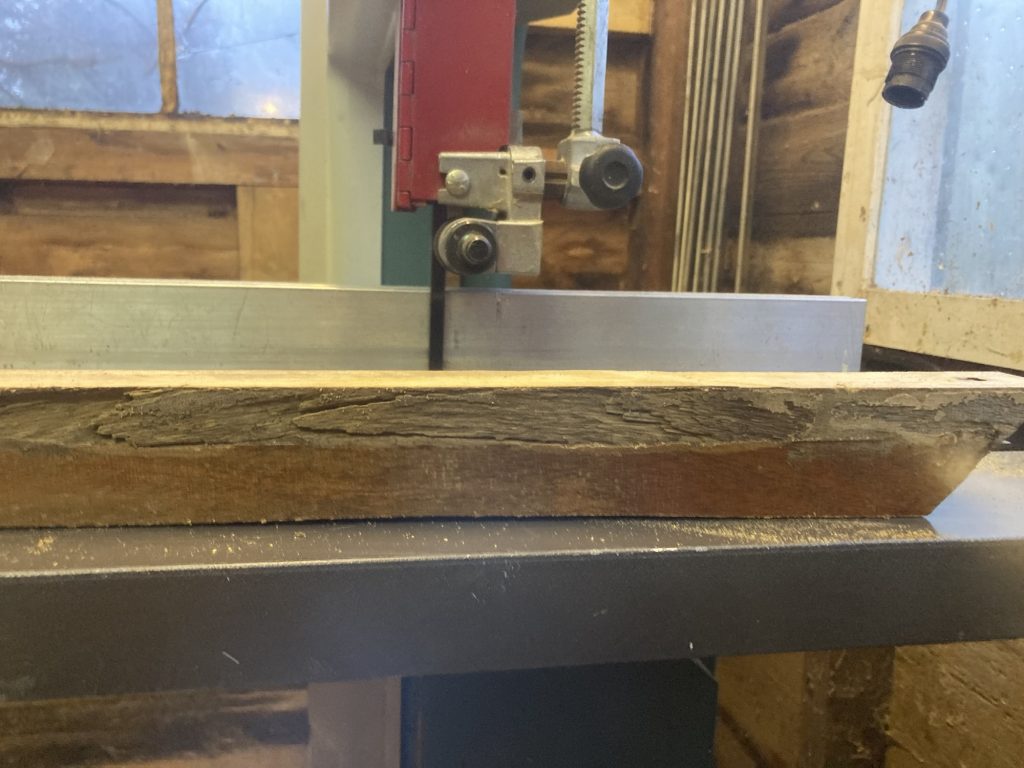
But, despite all these things, and setting up the top wheel tilt and tension, to get the blade running in the correct position; and adjusting all the guide bearings, etc, it still drifts like hell, and – when working at its best – results in a concave bowed cut.
We’re away for a one night city break. Just back from Pho Norwich, where we enjoyed a Vietnamese dinner.
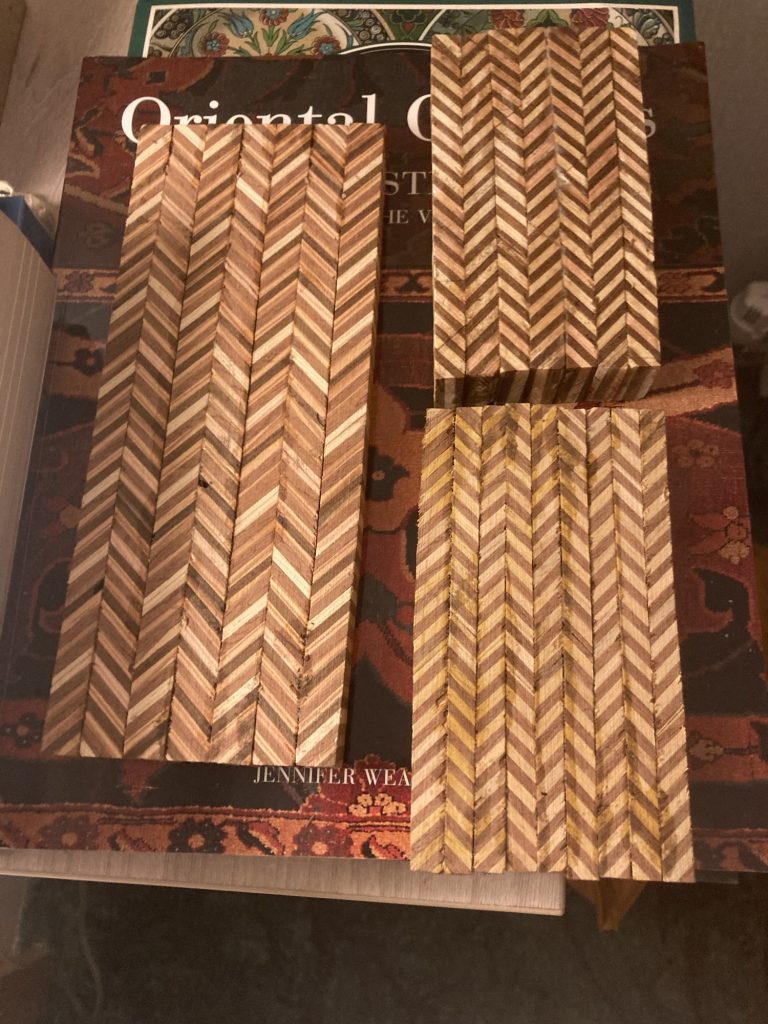
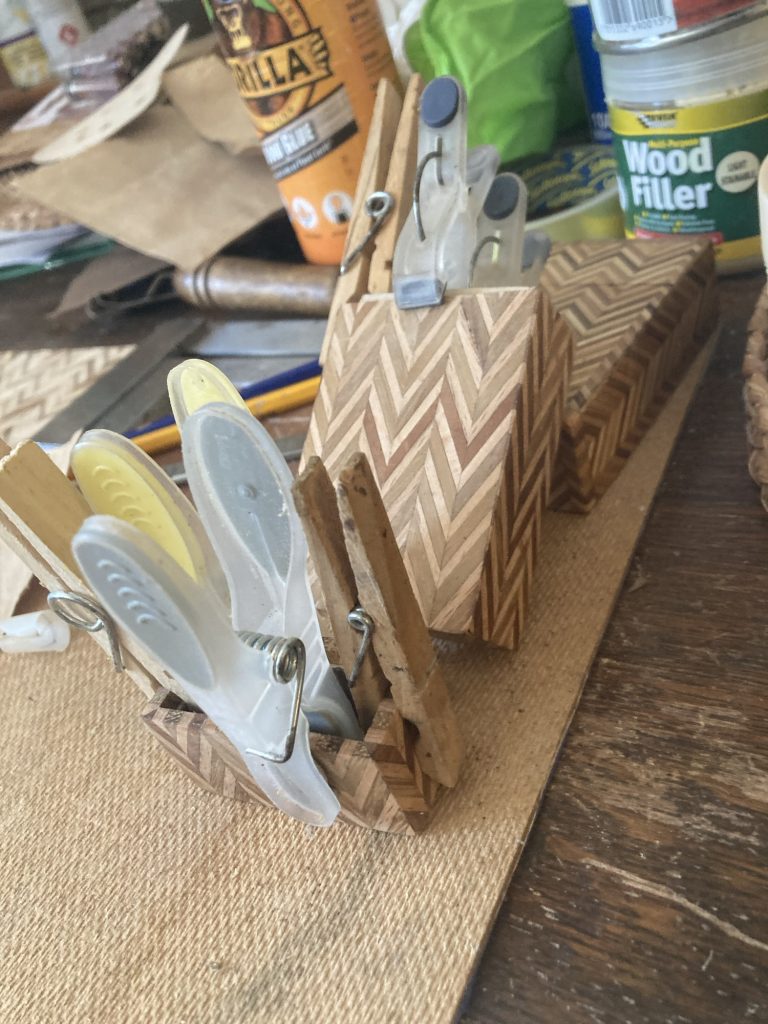
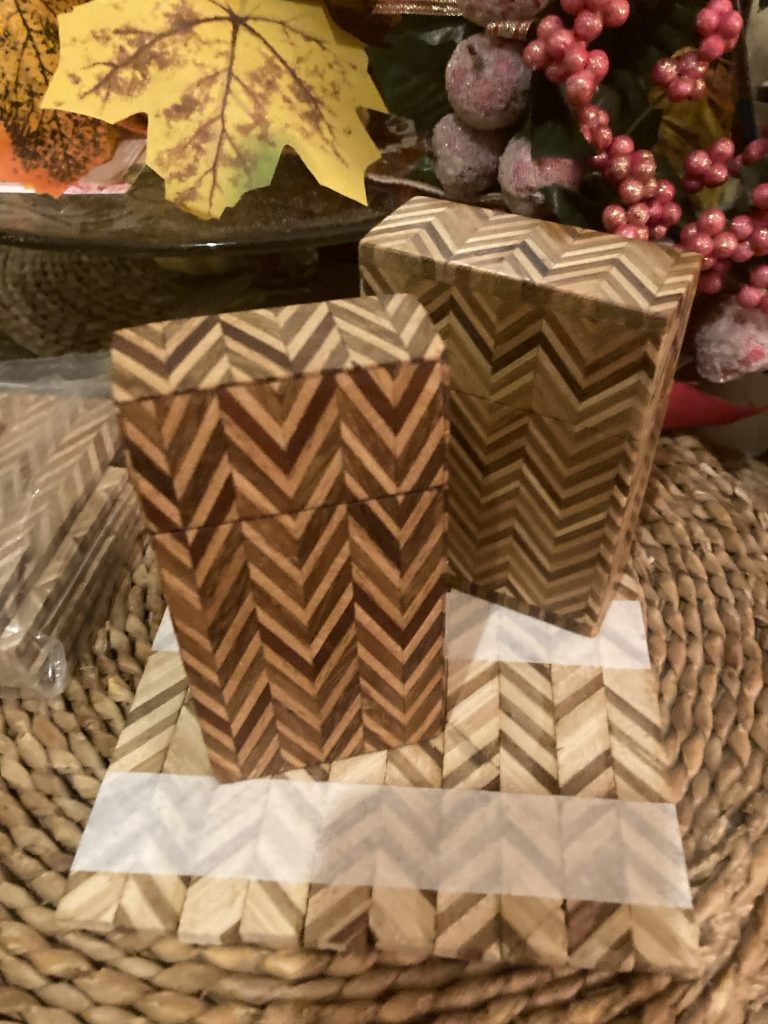
I brought these three new blocks of herringbone patterned plywood that I’ve created. I worked on all three at S&F, this morning.
That saw me turning ply laminate blocks into the herringbone patterns you see above. I’d have liked to cut a load of veneers, whilst there. But I ran out of time. And the blocks were still gluing when we left.
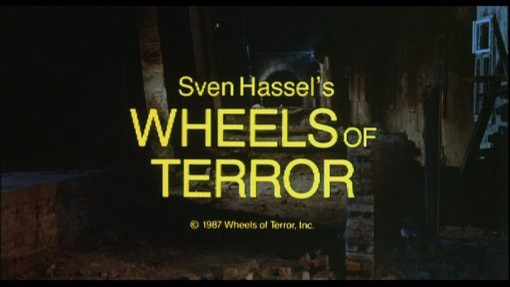
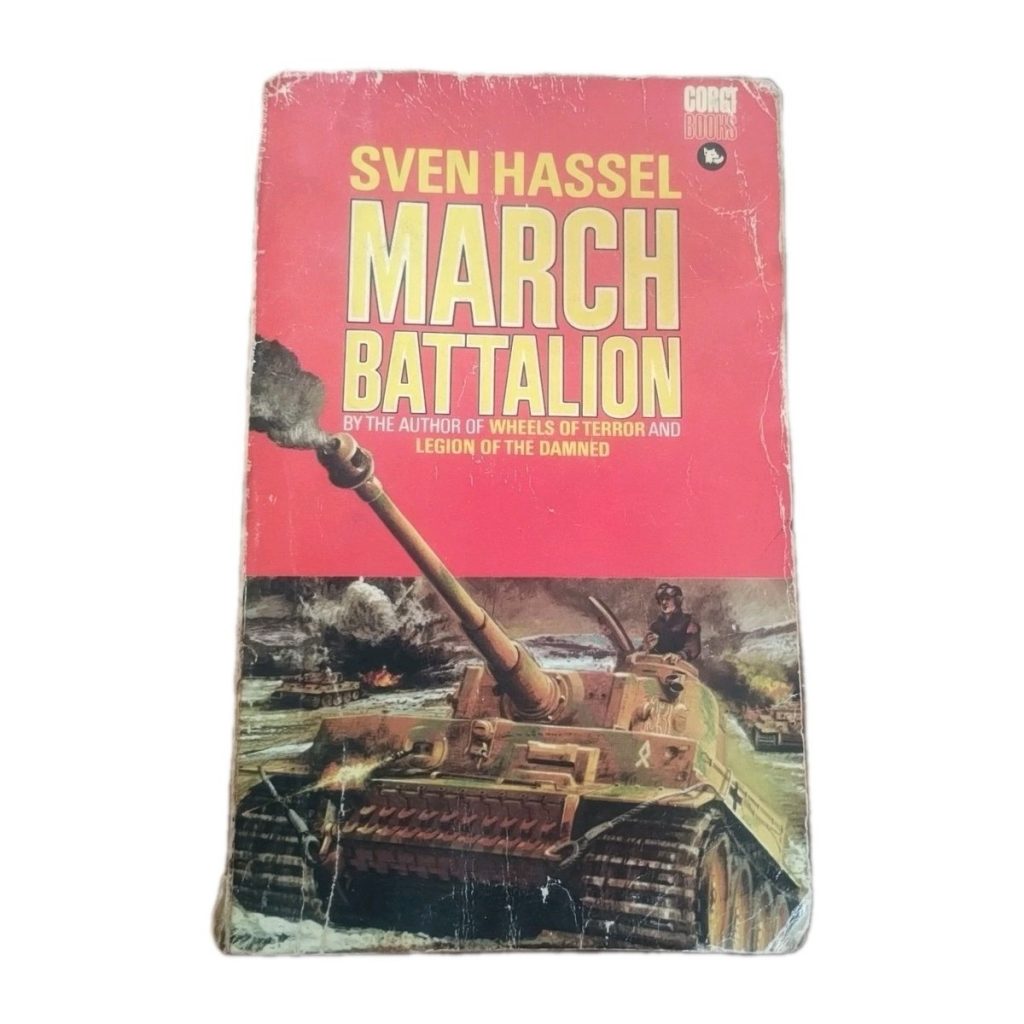
This movie is about on a par with the book it’s loosely based upon. Strangely enough, I only quite recently bought this very book, amongst several Hassel and Fleming (Bond) paperbacks. Or did I? I know I certainly have this one:
I’m actually quite enjoying this film. Even though it looks and feels rather low budget (stock footage is rather clumsily mixed in, occasionally). Sure, it’s farcical in its machismo, just like Hassel’s books. But it’s also fairly unique, in all honesty.
The main cast includes a bunch of quite familiar faces – e.g; Bruce Davison, David Patrick Kelly – who, I think, acquit themselves just fine. The big guns include David Carradine, as Col. Weisshagen, and Oliver Reed, in a brief cameo.
Carradine, as Weisshagen.
There are several things I think make it worth watching: the mere fact that a film of a Sven Hassel book exists, at all, for starters. Then there’s the portrayal of the action inside a tank, long before Fury.
The central mission of the film – as described above in most movie ‘blurbs’ – doesn’t get started until about an hour in. And that’s some time after a rather lame-ass segment focusing on a visit to a brothel. I guess that part is in keeping with the book/rest of the movie, but it feels a bit like a distraction/waste of time.
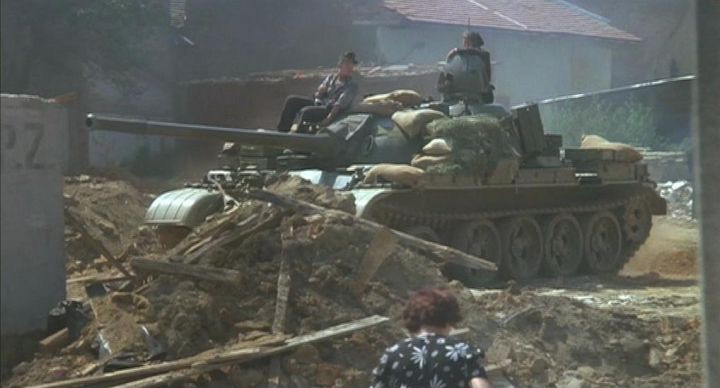
Wheels of Terror, filmed on location in Yugoslavia, is also unusual in how it makes use of Russian materiel, for both Russian and German armour, etc. which is mildly galling to a buff like me.
T55 as a Panzer.
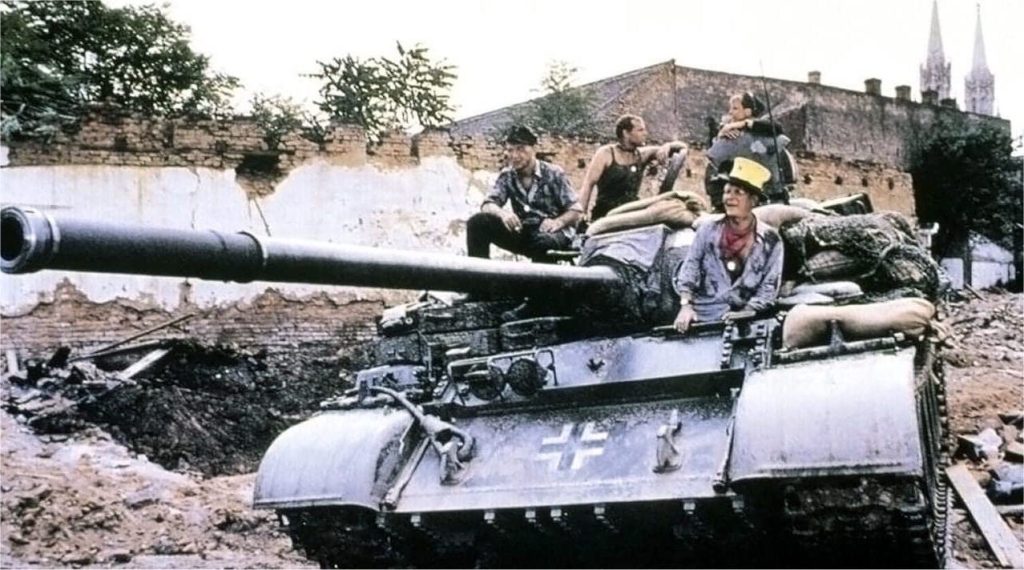
Ok, this is along way from being classic. Or even very good. But, perhaps rather strangely, it’s still worth watching. There are even a couple of half decent scenes, such as the attack on the munitions base, the encounter with beaucoup de Russkis in the woods.
There’s another gratuitous nudity interlude, when they stumble on a crowd of Russo-German ex-military non-combatants, that’s borderline surreal. But perhaps such things did occasionally occur?
Another thing that grates slightly, like the Russian tanks passed off as Krauts, is the unvarnished American accents of the actors. I think some rudimentary nod towards Germanic accents would’ve been nice.
The thing is, I stuck with it. And I enjoyed it. I’ve bailed out of loads of crap modern movies. This is some slightly older crap. But it’s nowhere near as crap as a lot of modern drivel.
So, this isn’t a glowing recommendation. But on the other hand, if you like WWII movies, and perhaps even more so Eastern Front films, and better yet those from a German perspective… well, in several senses of the phrase, it’s a no-brainer!
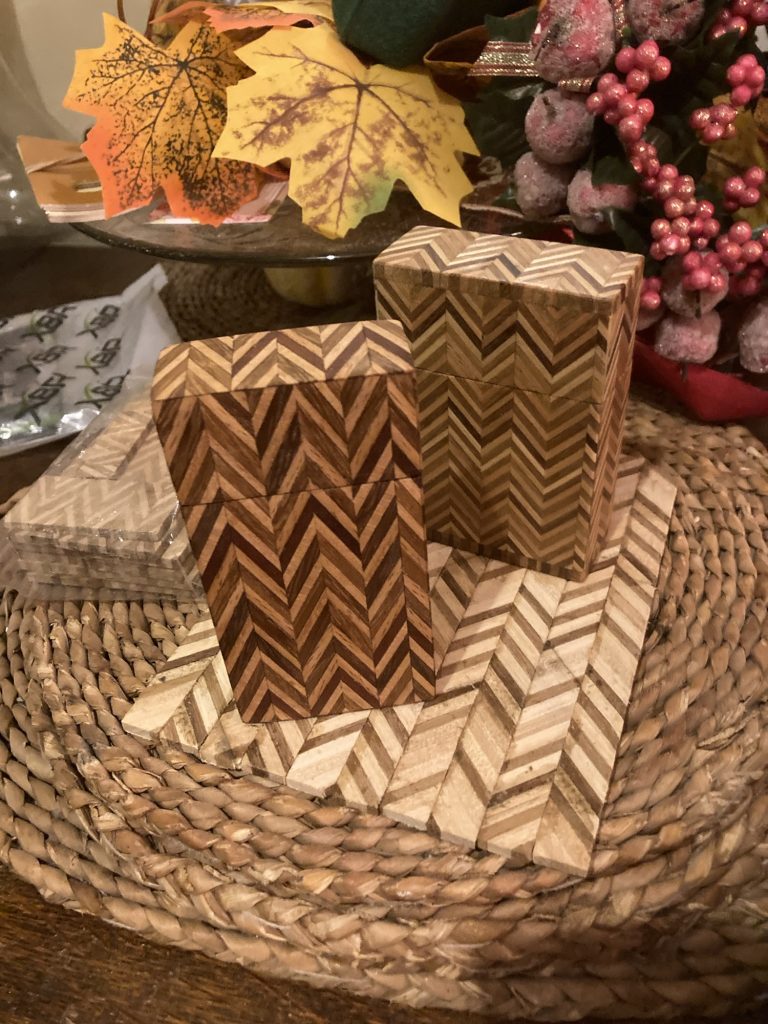
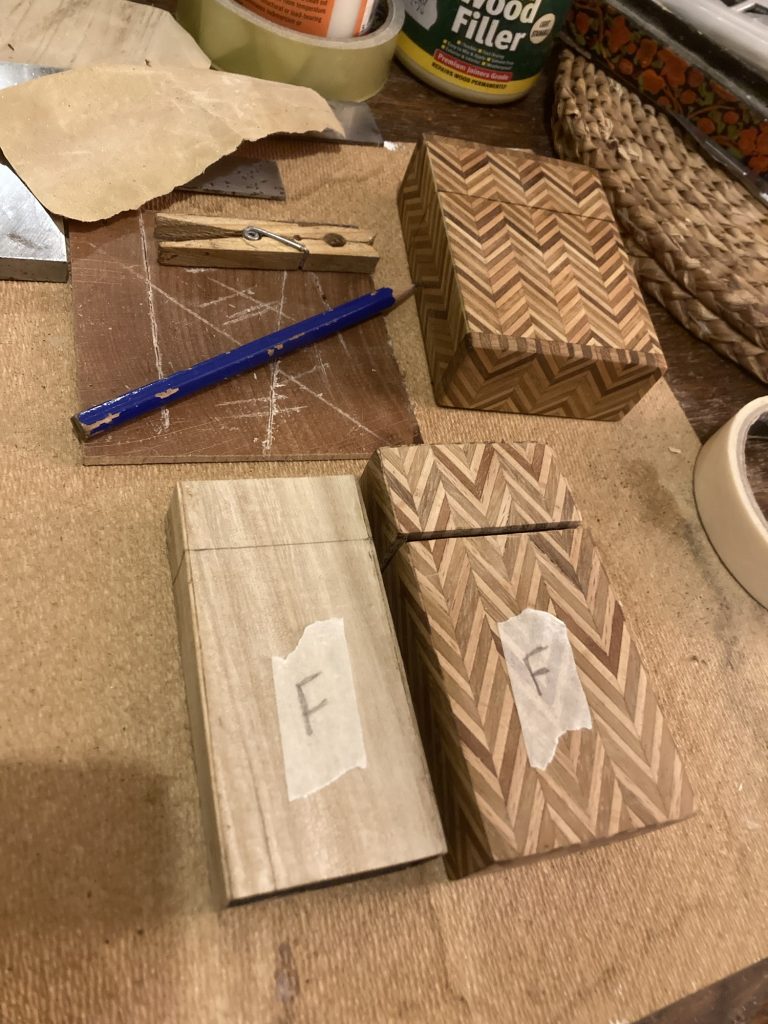
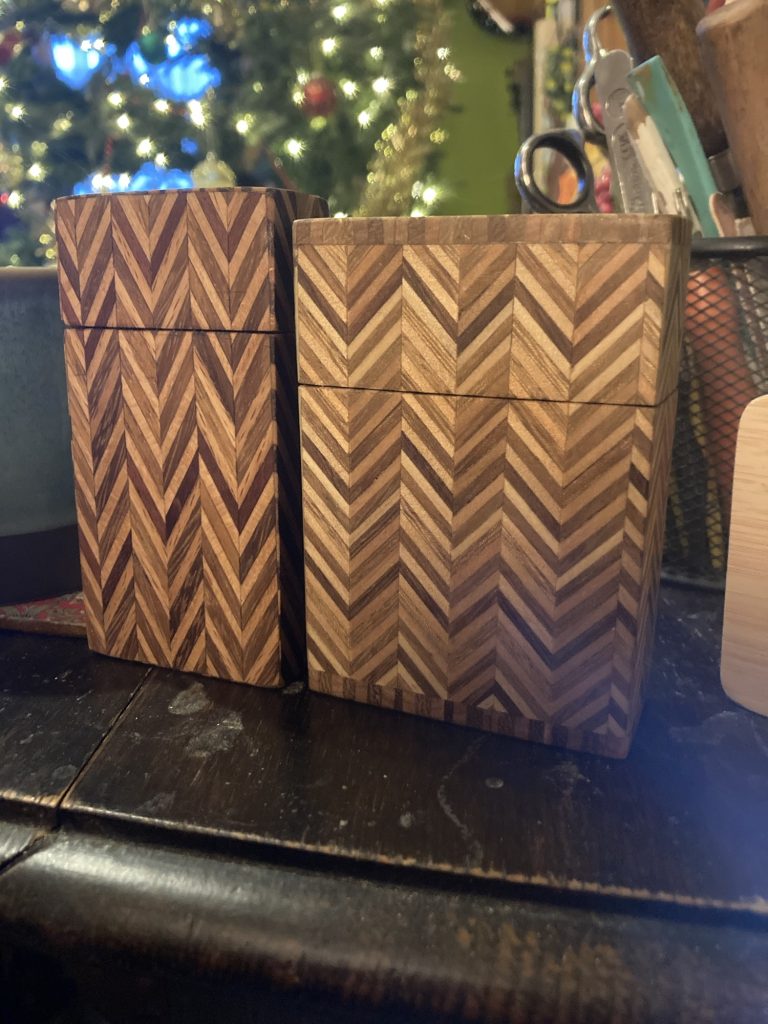
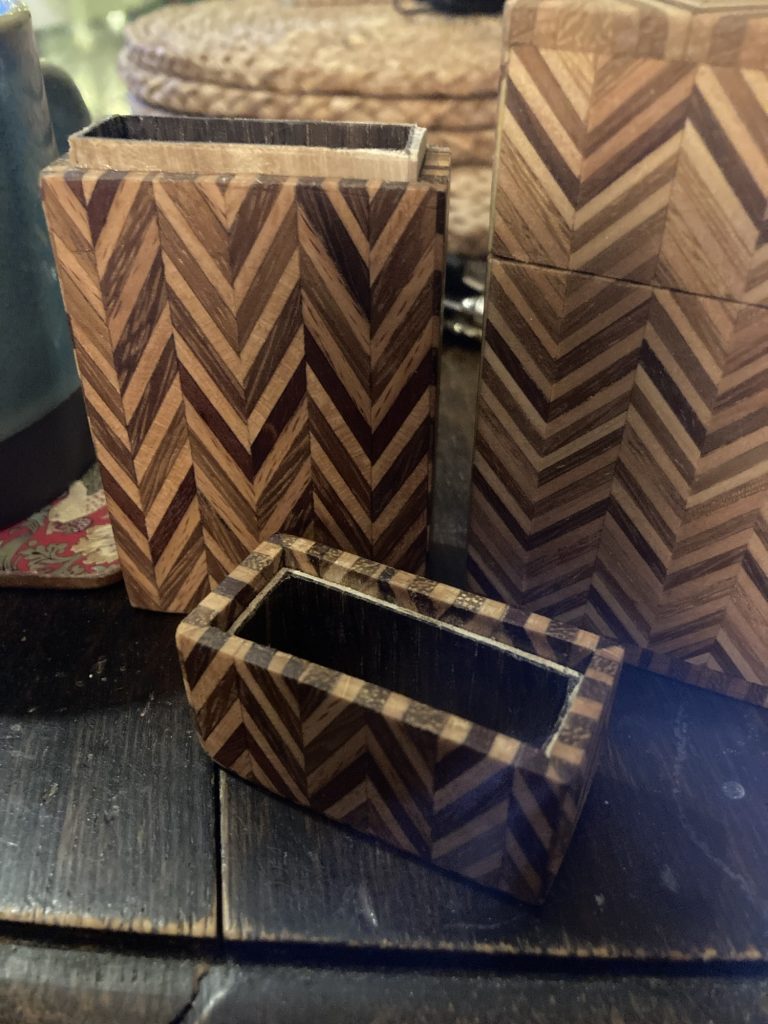
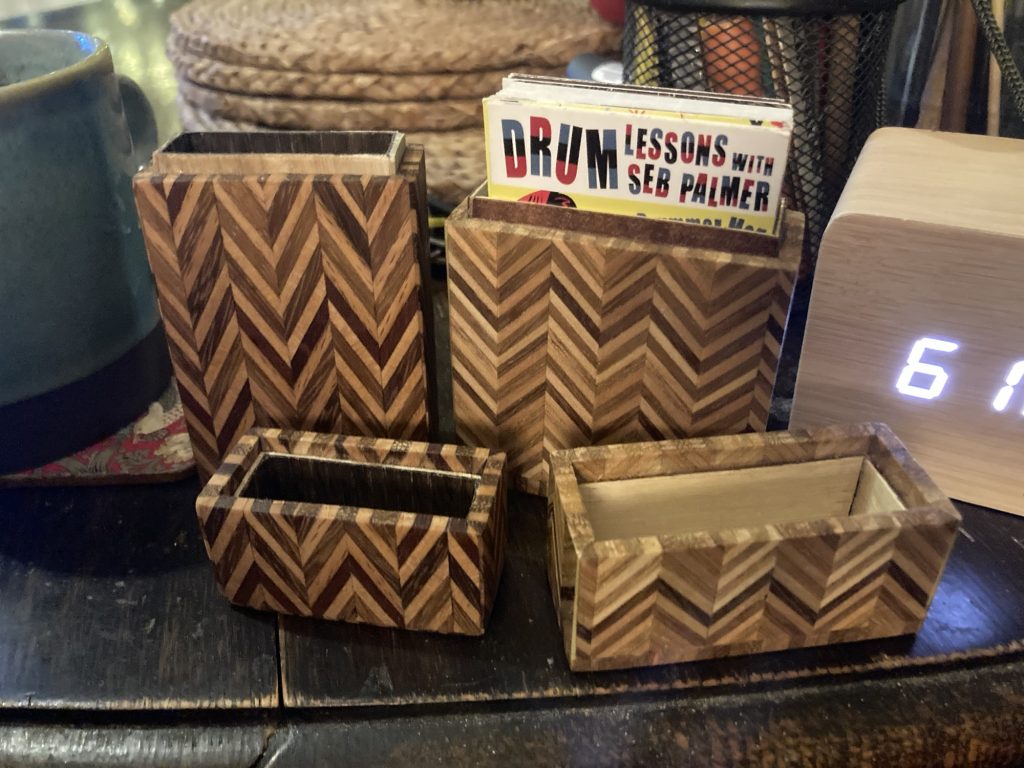
I’m dead chuffed with these little boxes. My first was a practice/learning run. And has come out lovely. The second is a commission. And improves on the first in some ways (all edges bevelled!).
Cutting these boxes is quite hard. I think I need to learn how to do that better. And the subsequent sanding needs to be better as well.
Case #2 has been given a coat of teak oil. But nowt else. Should I varnish or shellac it? Maybe I’ll see what Walter thinks?
Yummy!
Which is better, I wonder: the lighter, or the darker lining? Or maybe they’re equally nice, in differing ways? Hmmm…