
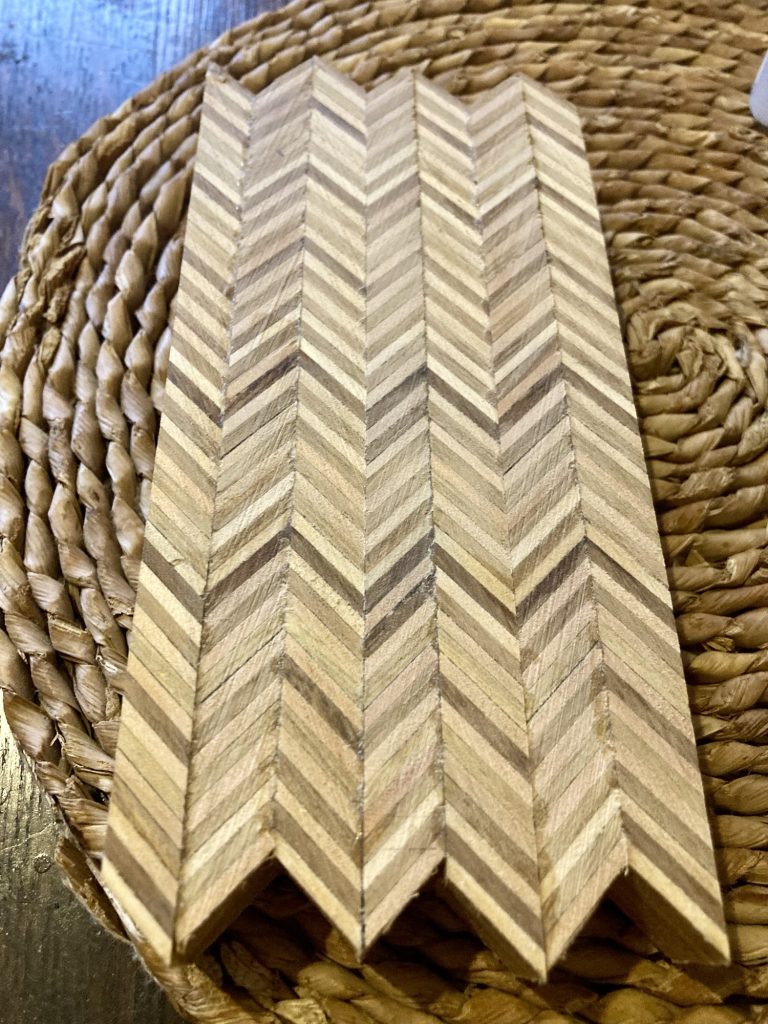
I’ve been wanting to make up my own herringbone ply veneers for many years. I finally got around to trying the idea out.
This first attempt is made from two lots of scrap-wood timber: one dark, one light, ripped into thin strips on the table saw at Shedders & Fixers, and glued up as a long strip.
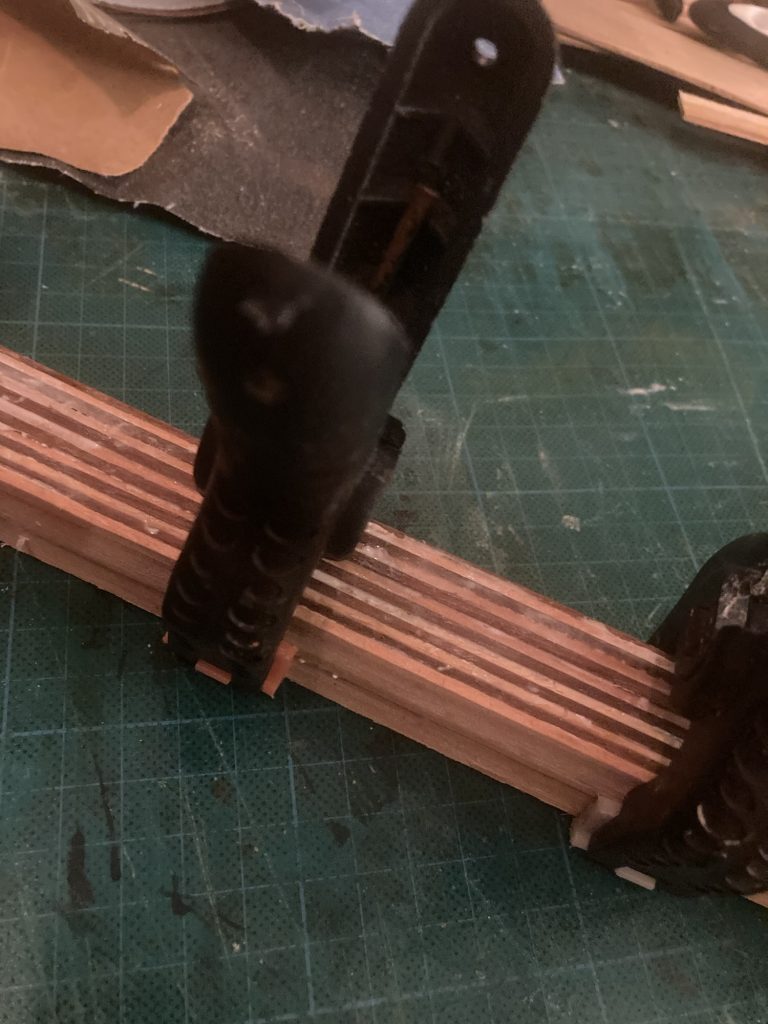
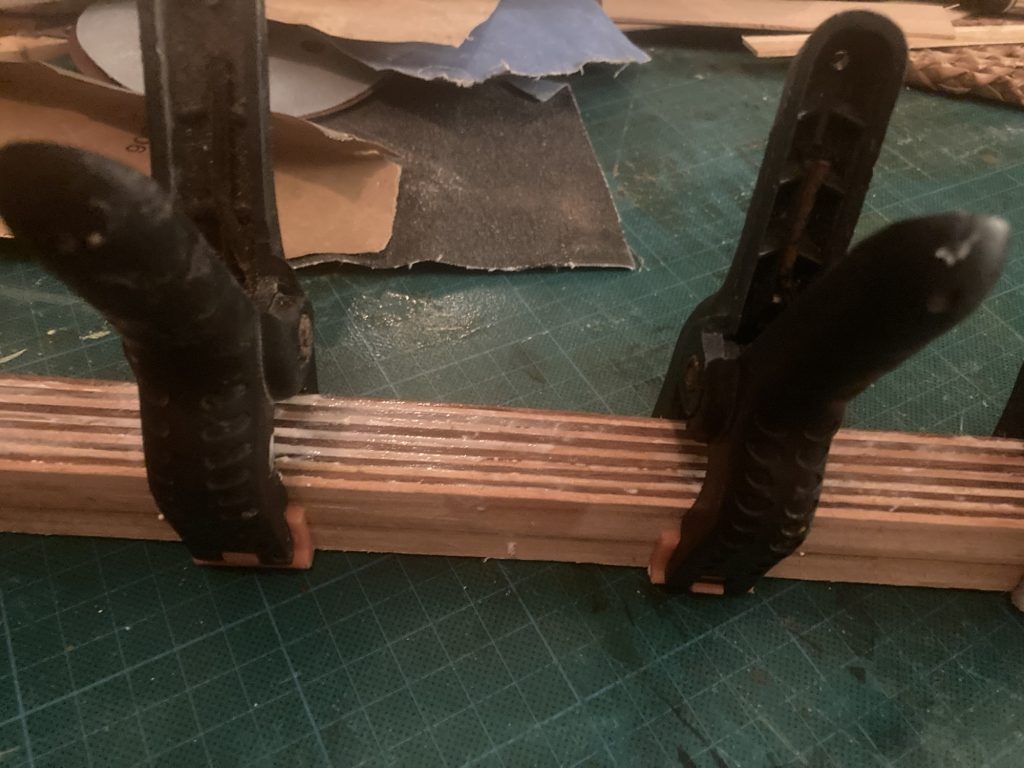
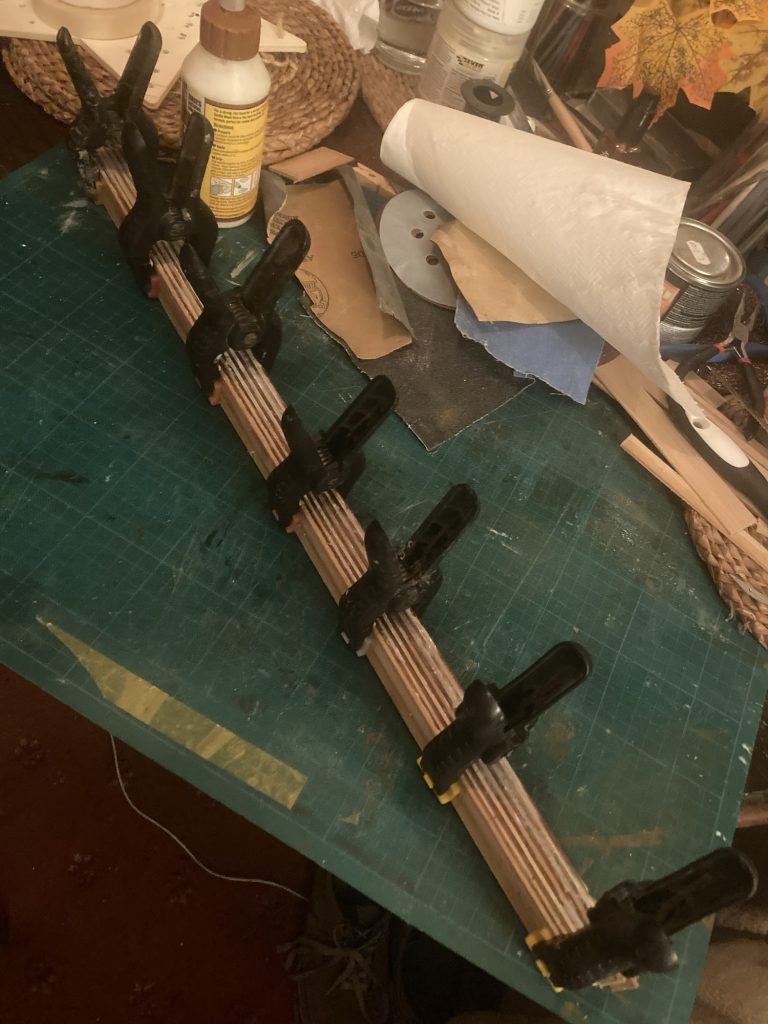

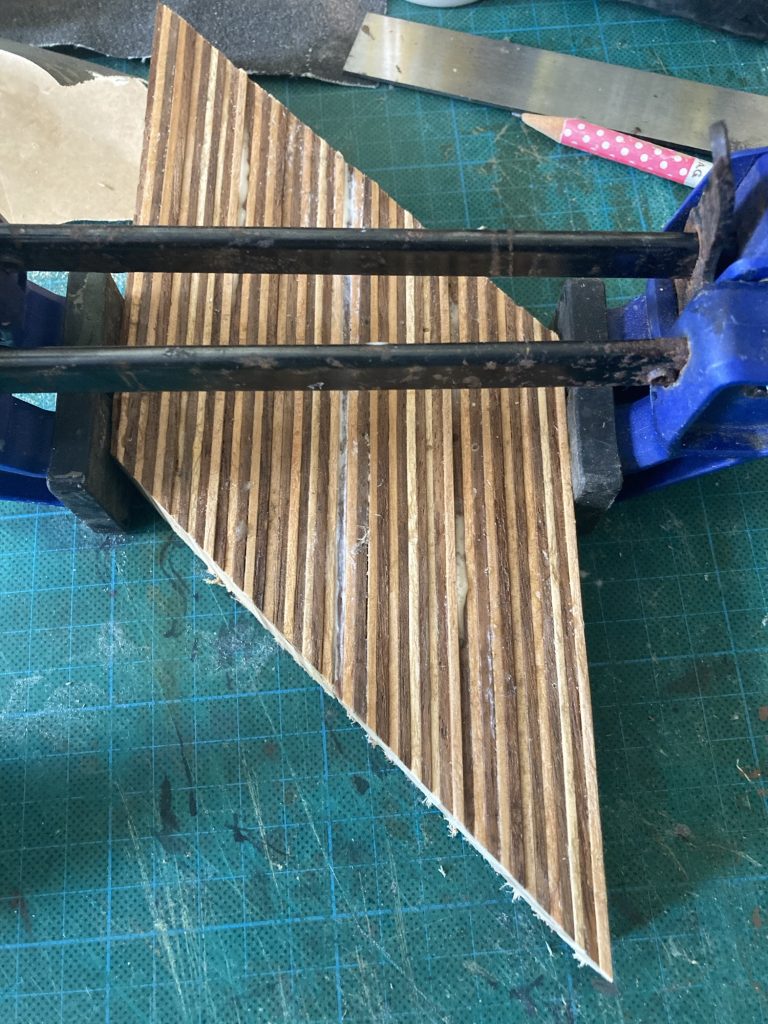
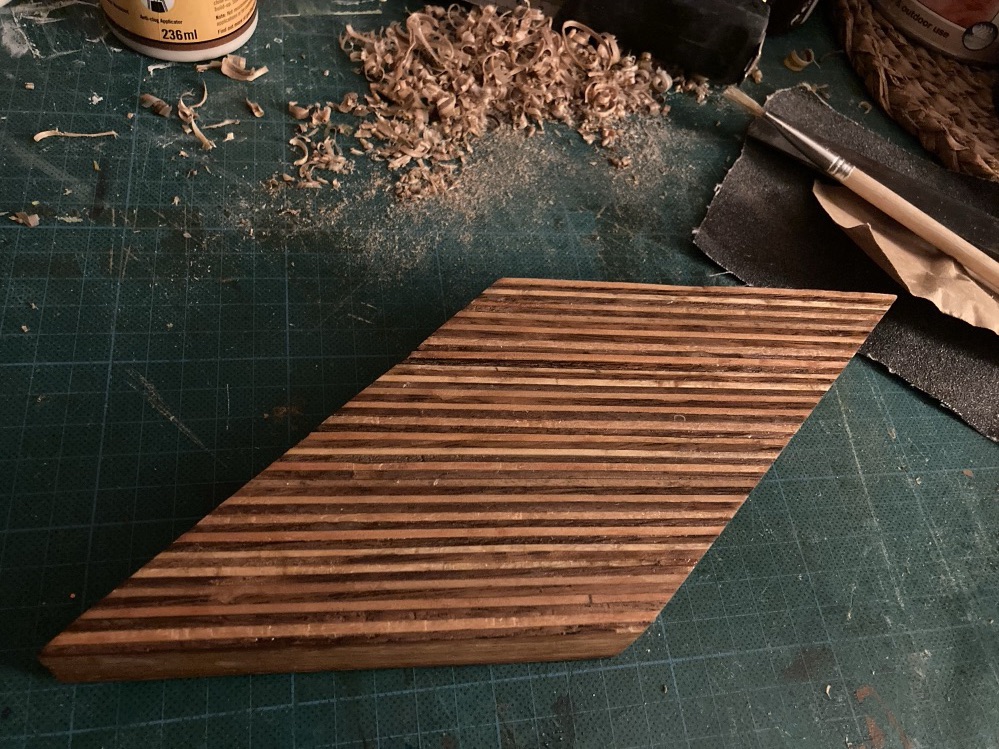

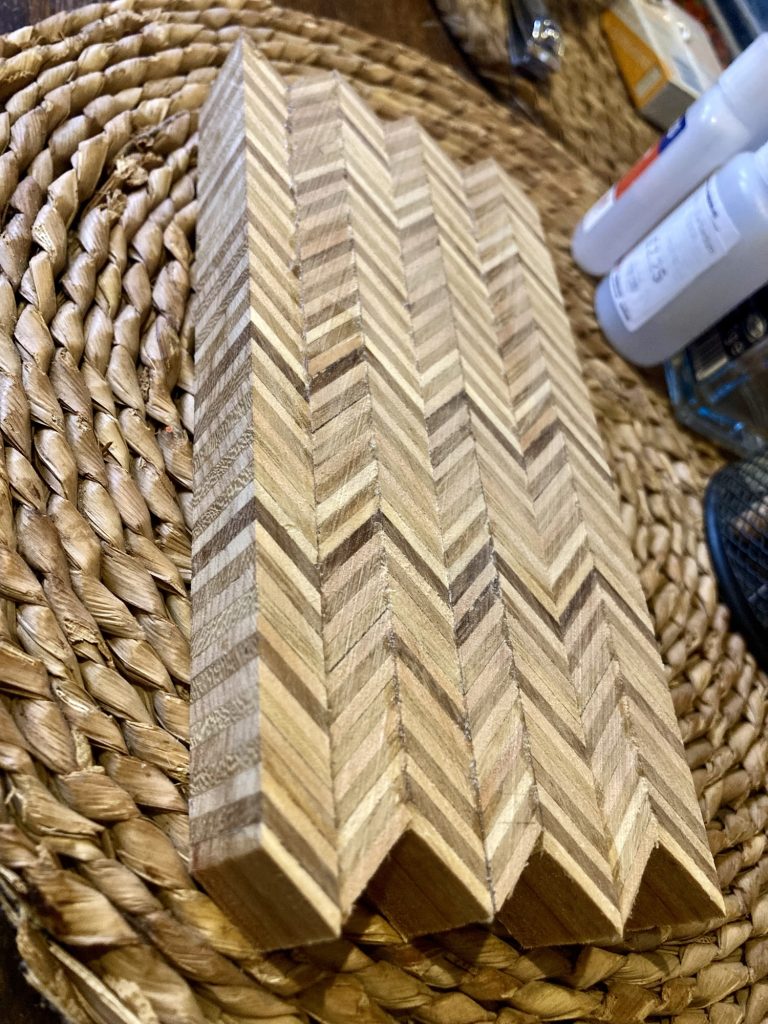
This first strip is 12 plys thick. I glued them on a slight slant. I neatened up the ends, cut across at the same slanted angle, midway, and then glued the block again. Giving a new slanted block 24 plys thick. Repeat, for 48 plys.
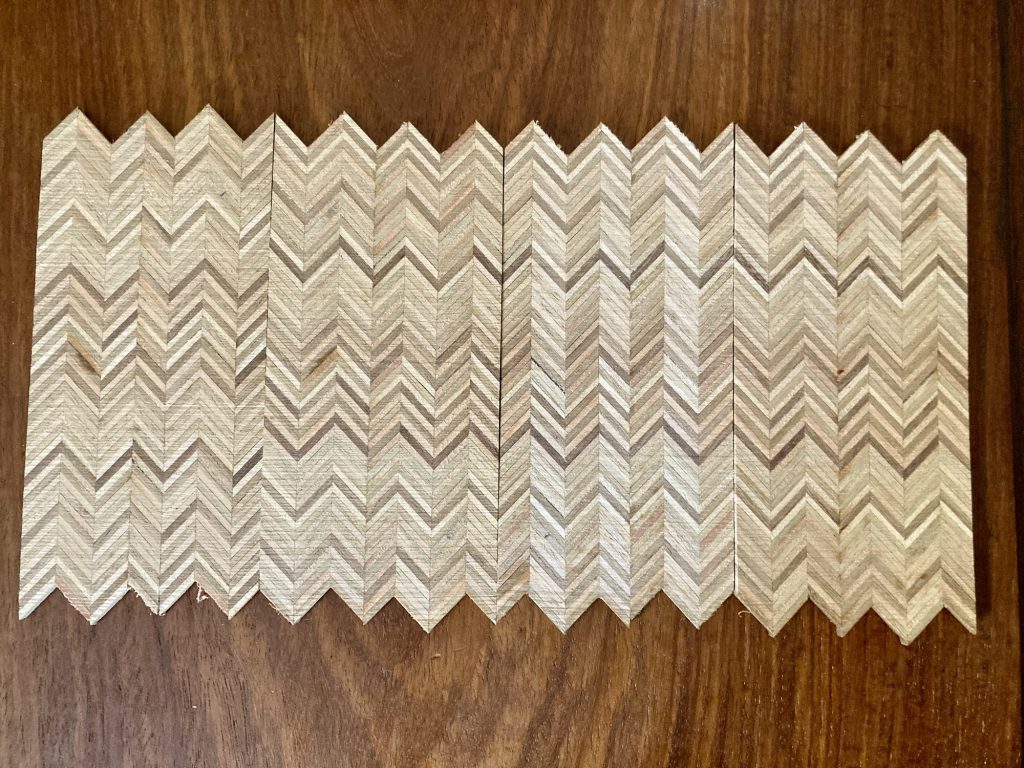
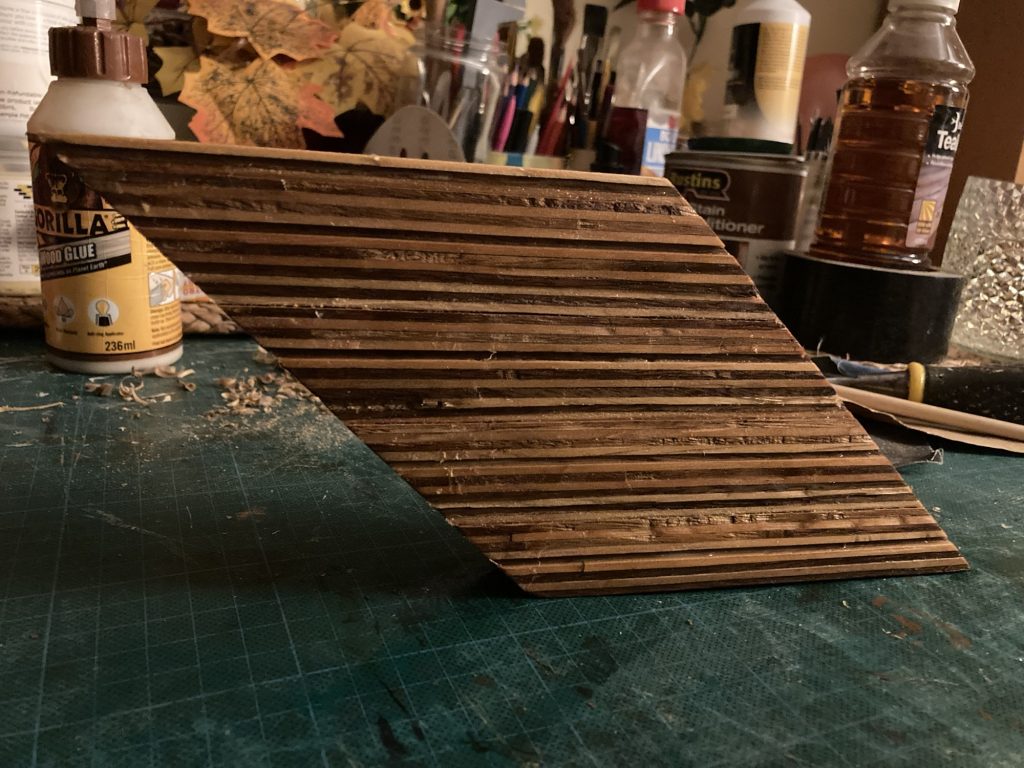
The next step is to slice the resulting block into strips. I ended up with seven. One is ever so slightly thinner than the others. I put that on the left, as can be seen below.

The final step is cutting the resulting block into sheets of veneer. Again, I did this at S&F, on their bandsaw. I owe Mick O’Brien thanks, for showing me how to successfully do this.
For a project like a drum wrap, or a guitar, I’ll need a heck of a lot more. But for this first attempt – as much about learning how to do it, as anything else – a small amount is fine.
Might make a little box for carrying playing cards in, with what this has yielded.