
Some while ago I got a pool table off Freecycle, with a view to restoring it. I then bought some green felt. Since dismantling the table, which I did very soon after getting it, the project stalled.
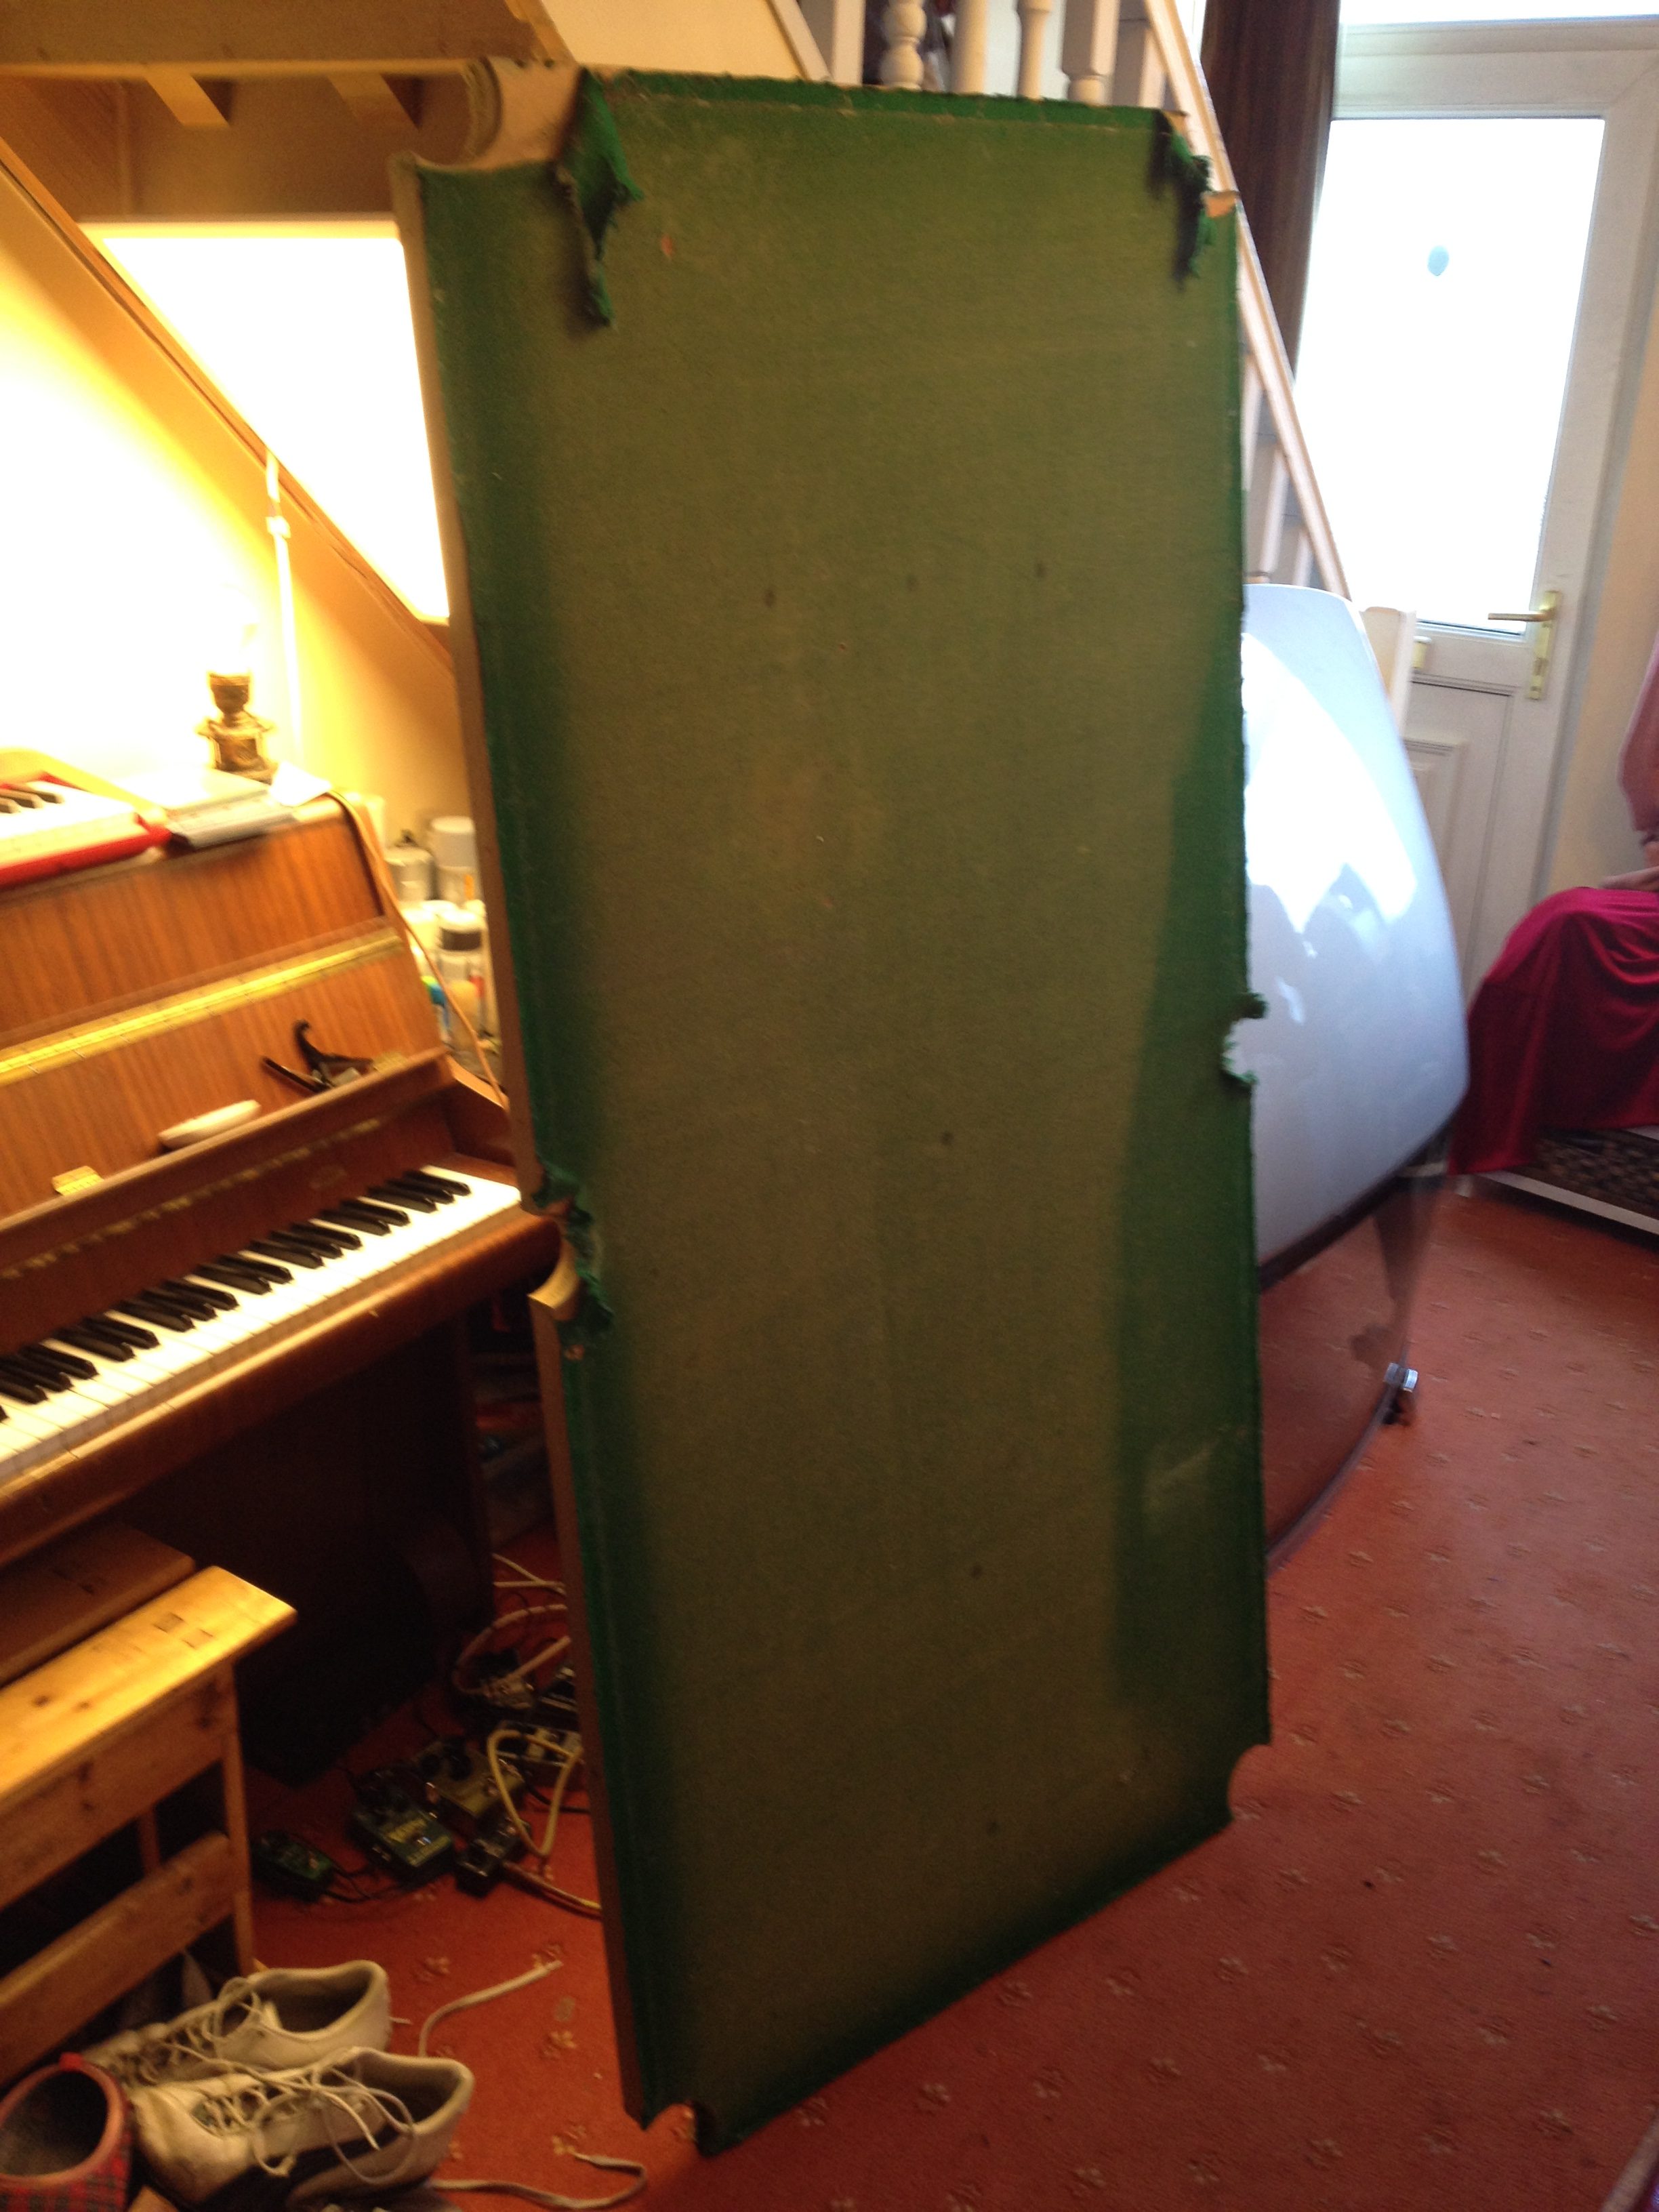 The old felt, ready to come off.
Today I finally got the table top out of the shed (acquisition of a Triton Mk3 workbench required a rearrangement of the contents of the shed, to get the workbench in!). I removed the felt, and then laboriously removed all the tiny little staples with which it had been fixed to the table-top.
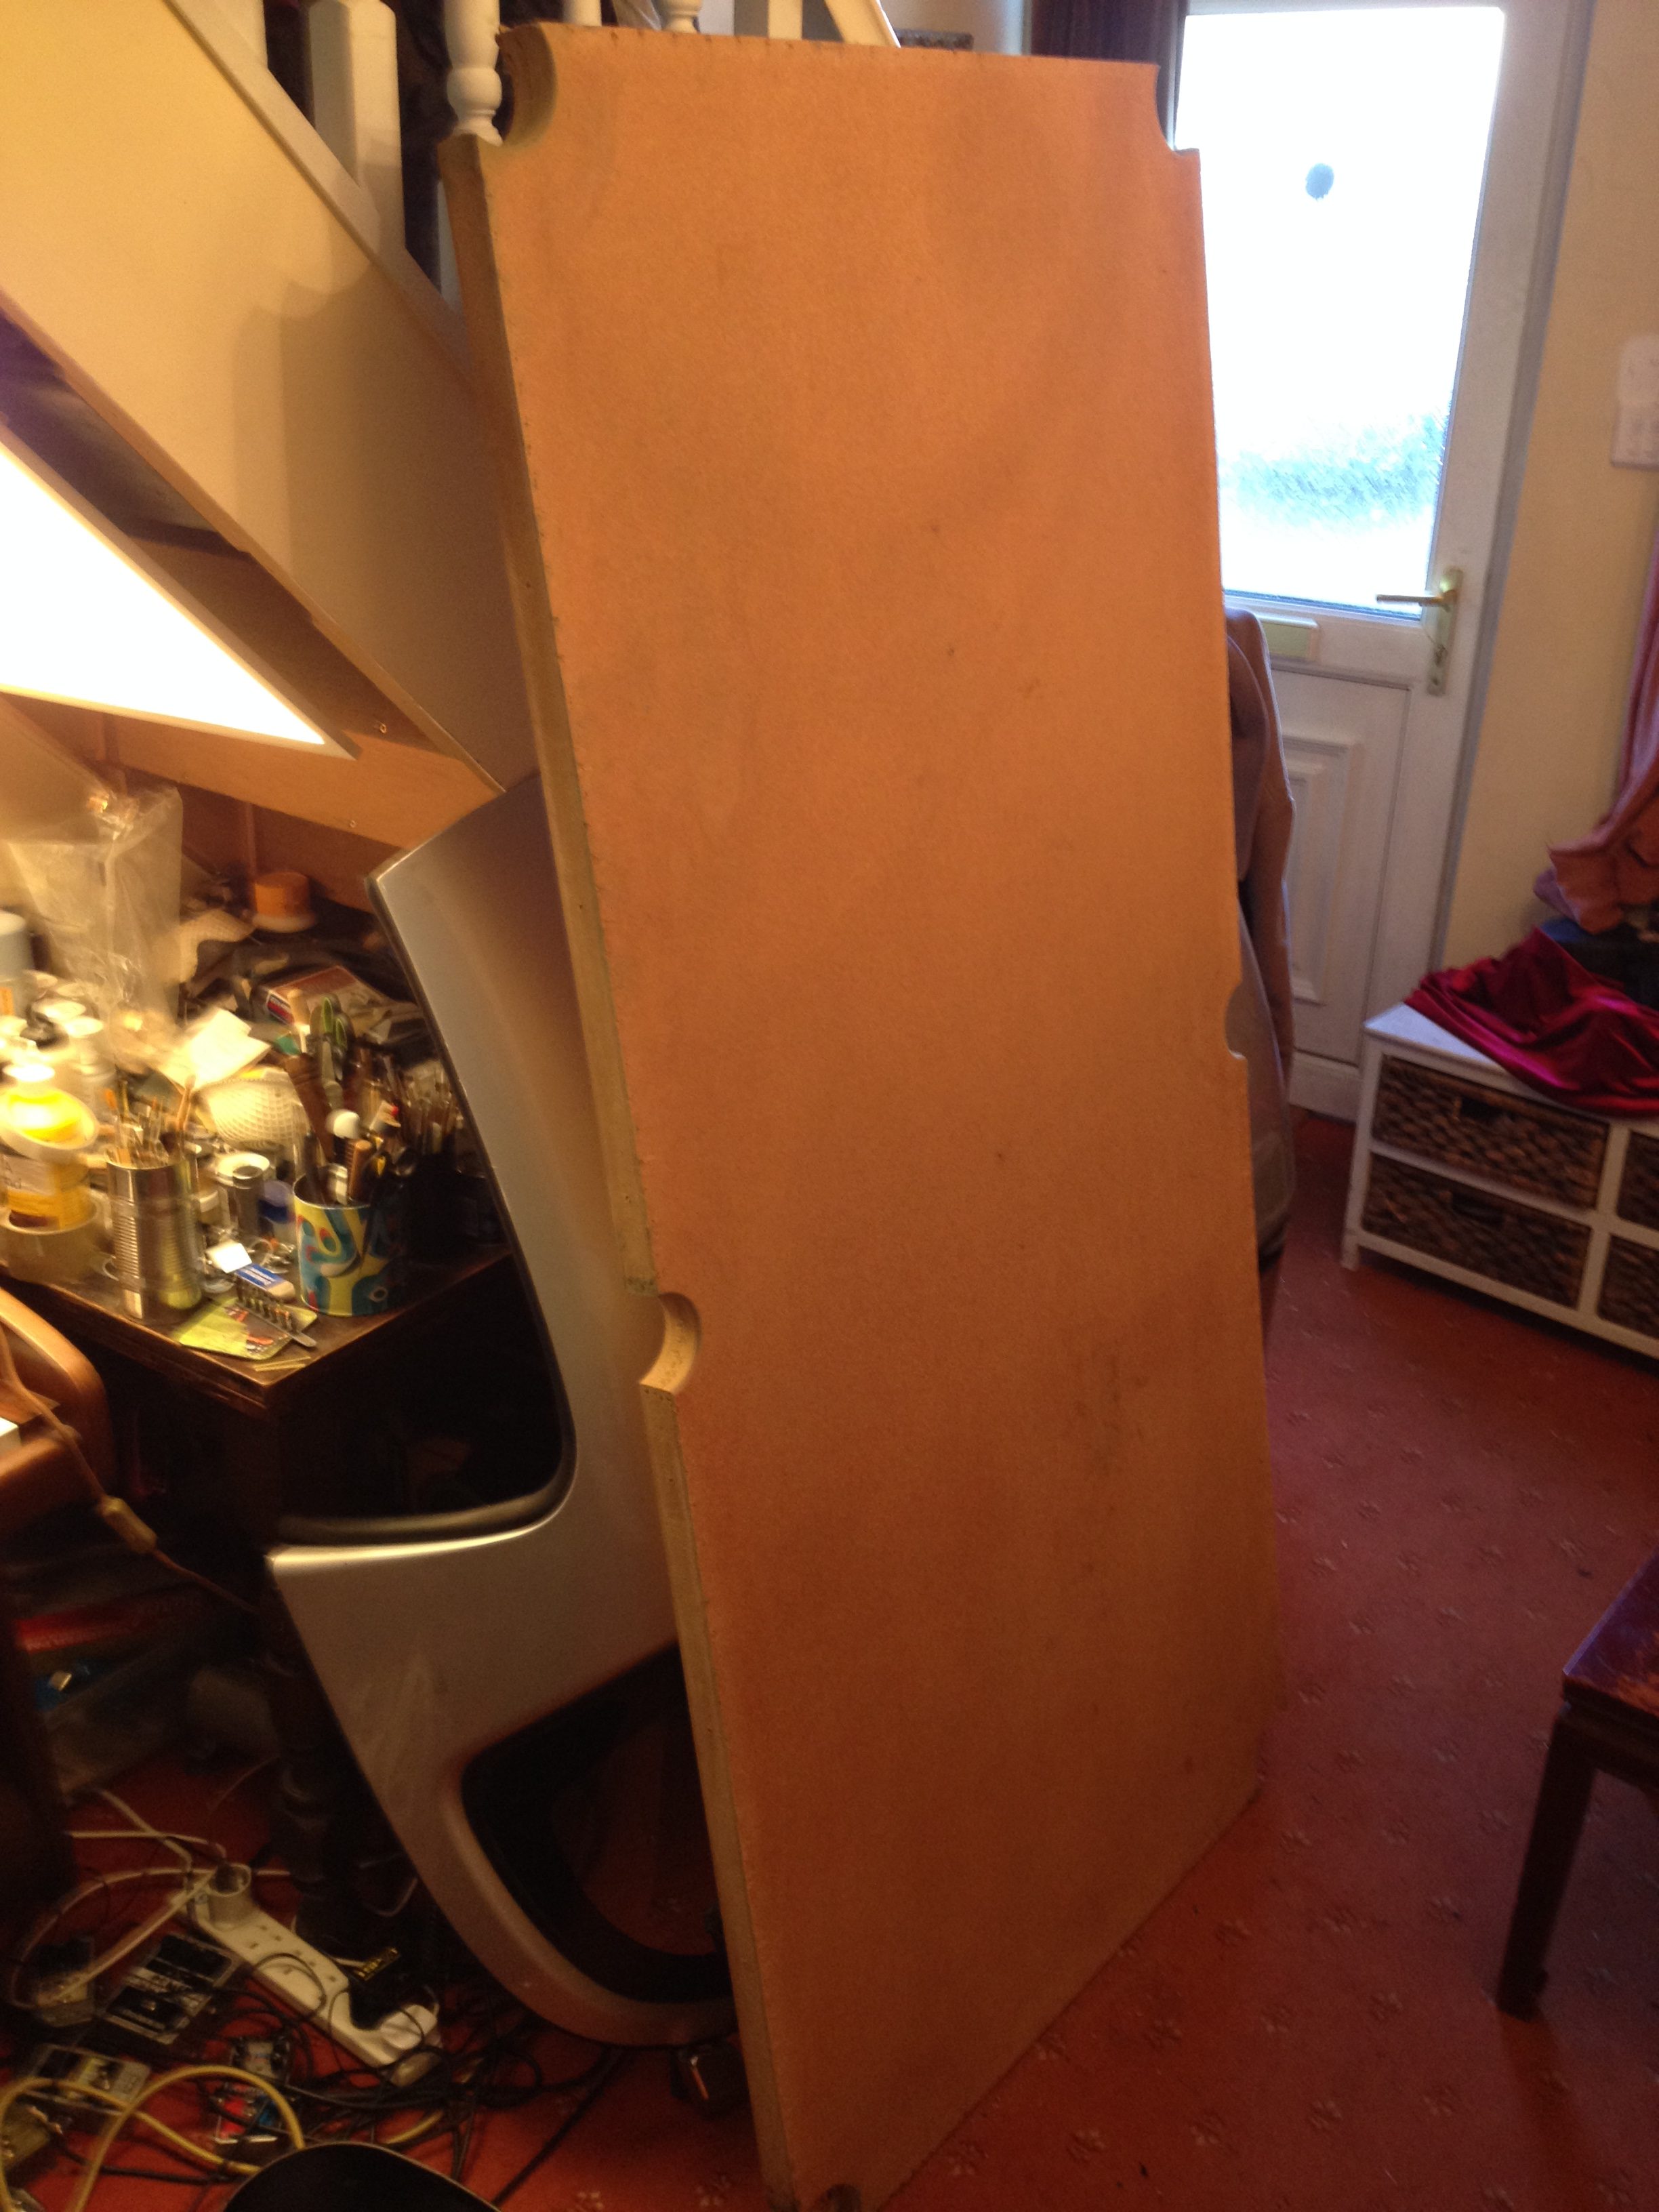 Felt and ten-zillion staples removed.
The table top surface then required some cleaning and sanding. Then it was time to find the new felt, and iron the creases out of it. This took a good while longer than anticipated. Partly, perhaps, due to ironing the felt under a protective layer of old towel.
 Ironing creases out of the felt.
In the pic above you can really see where I’ve ironed sufficiently, and where there’s more to be done.
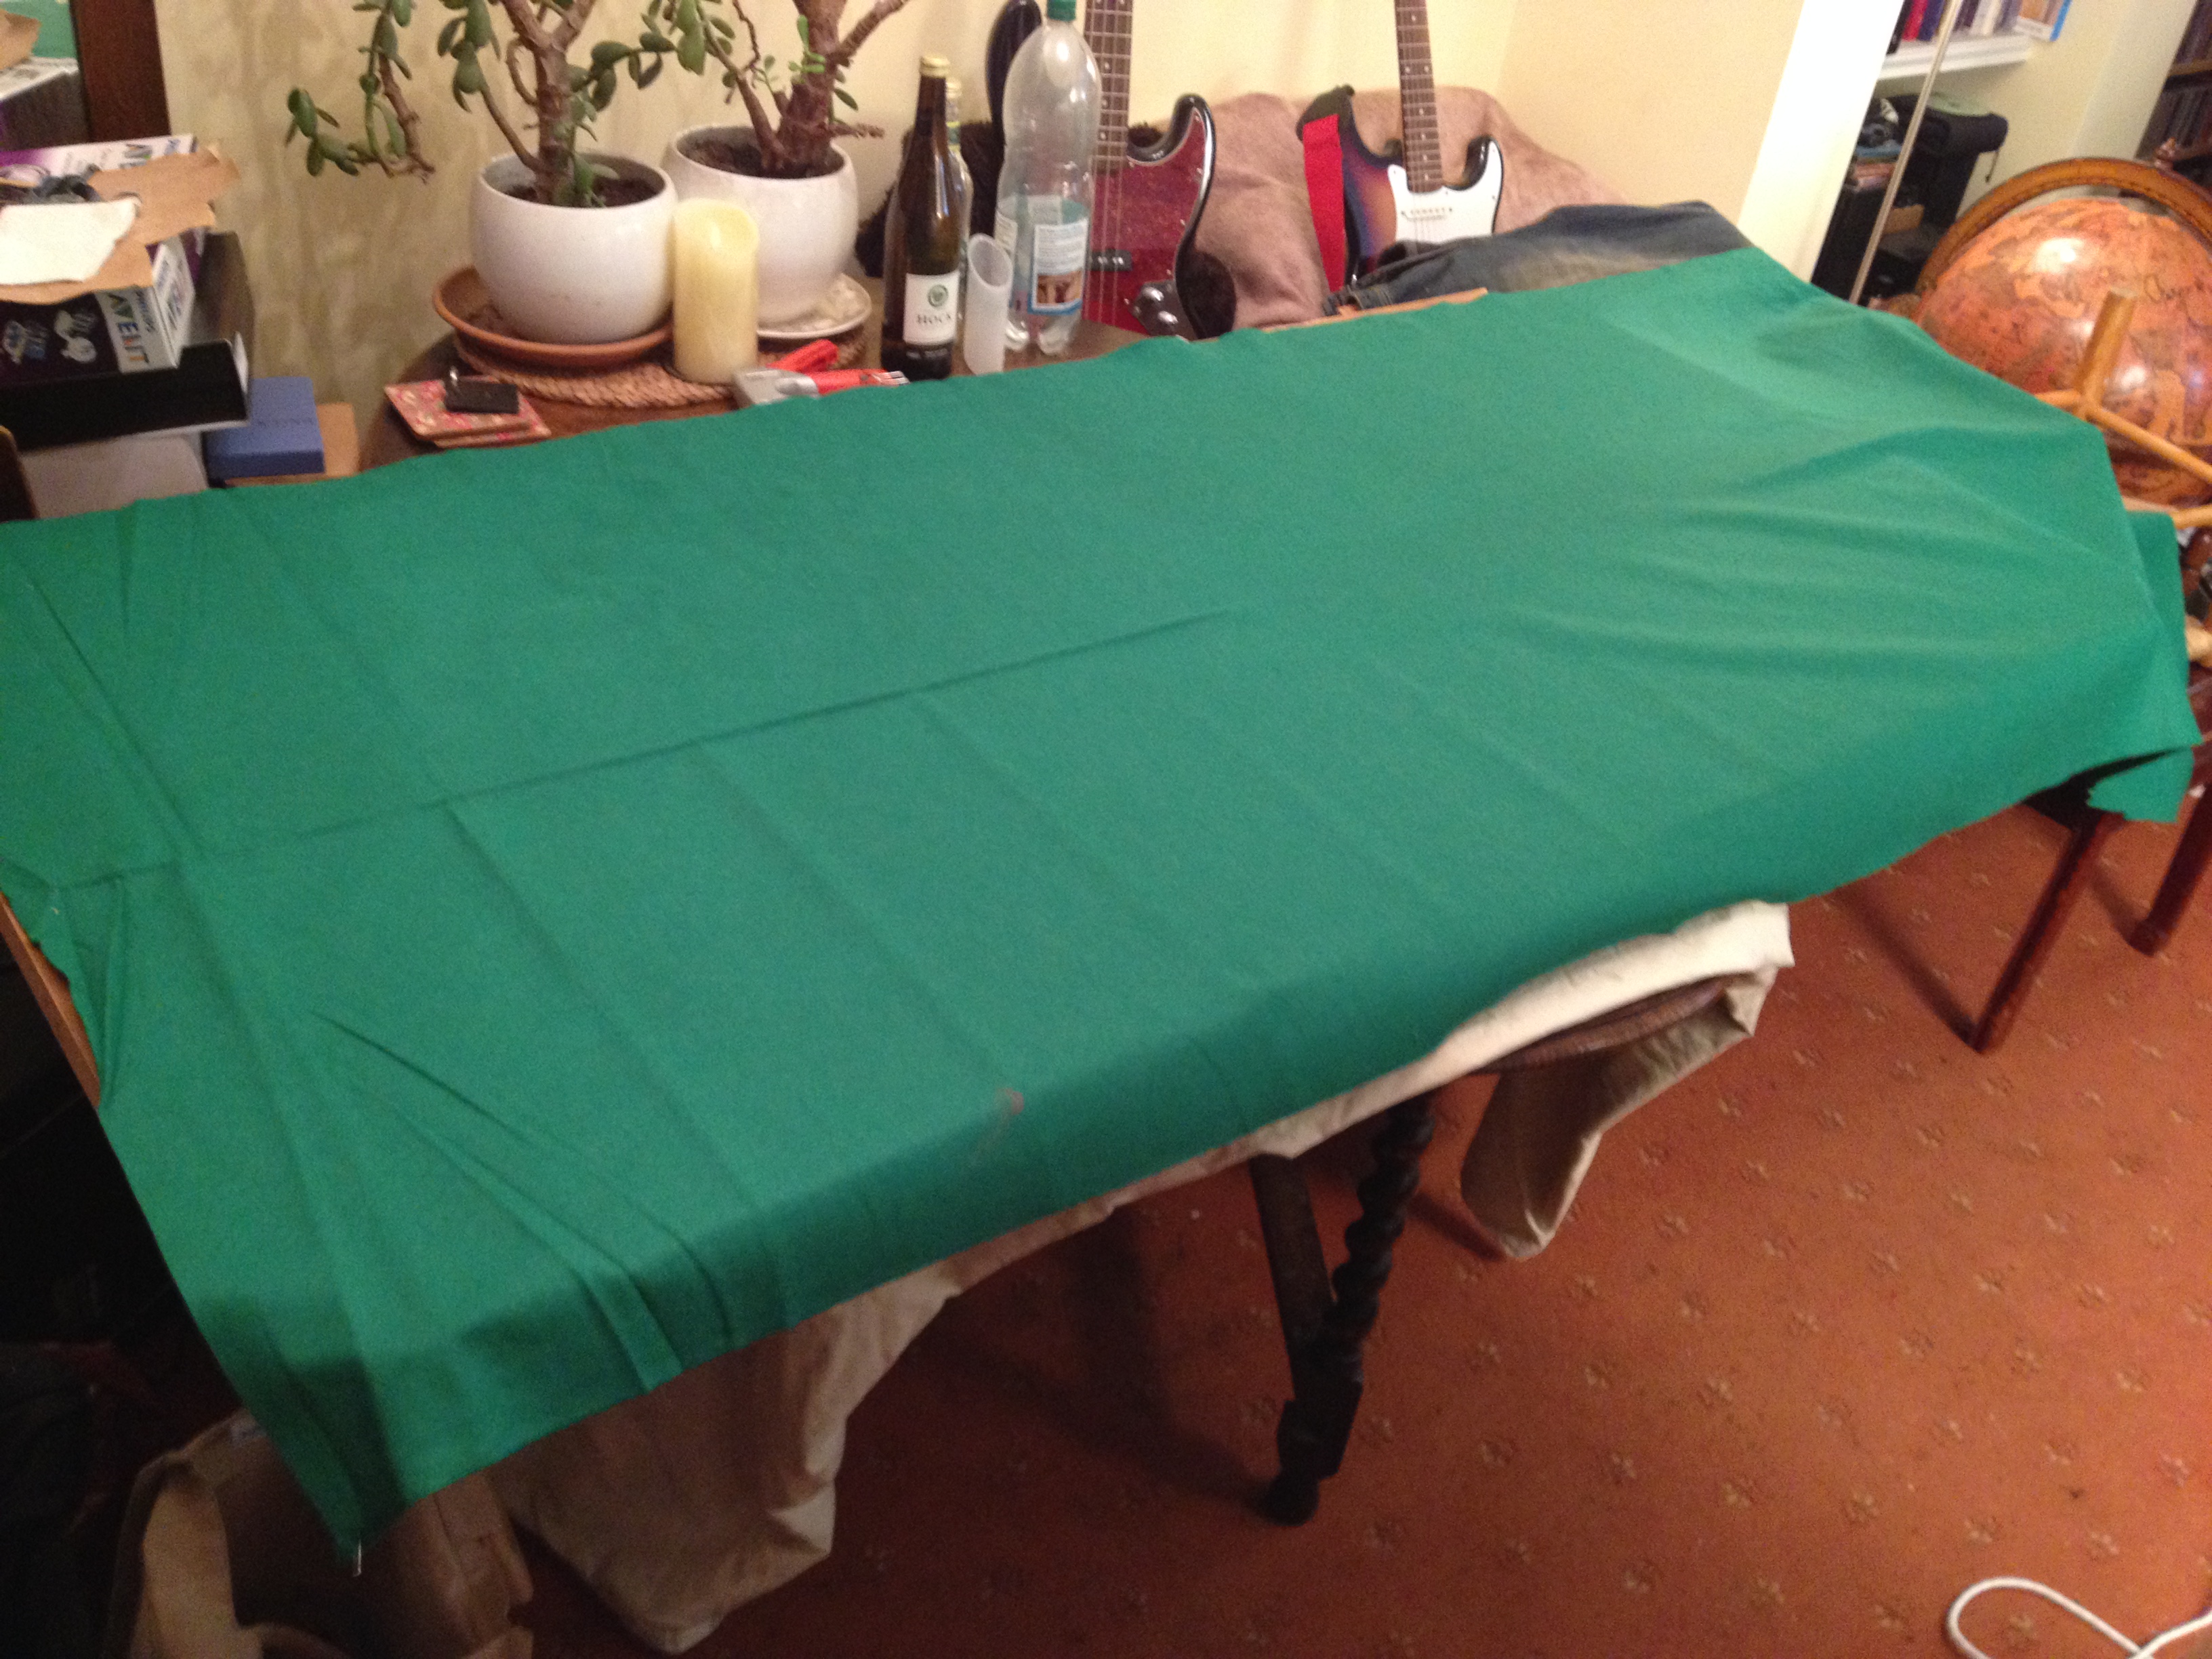 Getting the creases out took quite a while!
Annoyingly, whilst I took two pics during ironing, I didn’t take any during the attaching of the new felt. Having watched several YouTube vids on pool/snooker table re-covering, I’d learned that you work from the middle of the longer sides, pulling in two directions, to stretch the cloth out taught and flat. I had a few woodworking crocodile type clamps to help in this process. The fixing was done with a staple gun.
Whereas the original cloth was stapled to the very edges of the top, I had sufficient material on hand to staple around the sides, into which my cheap staple gun could easily punch. I then had enough left over to further secure the cloth to the undersides.
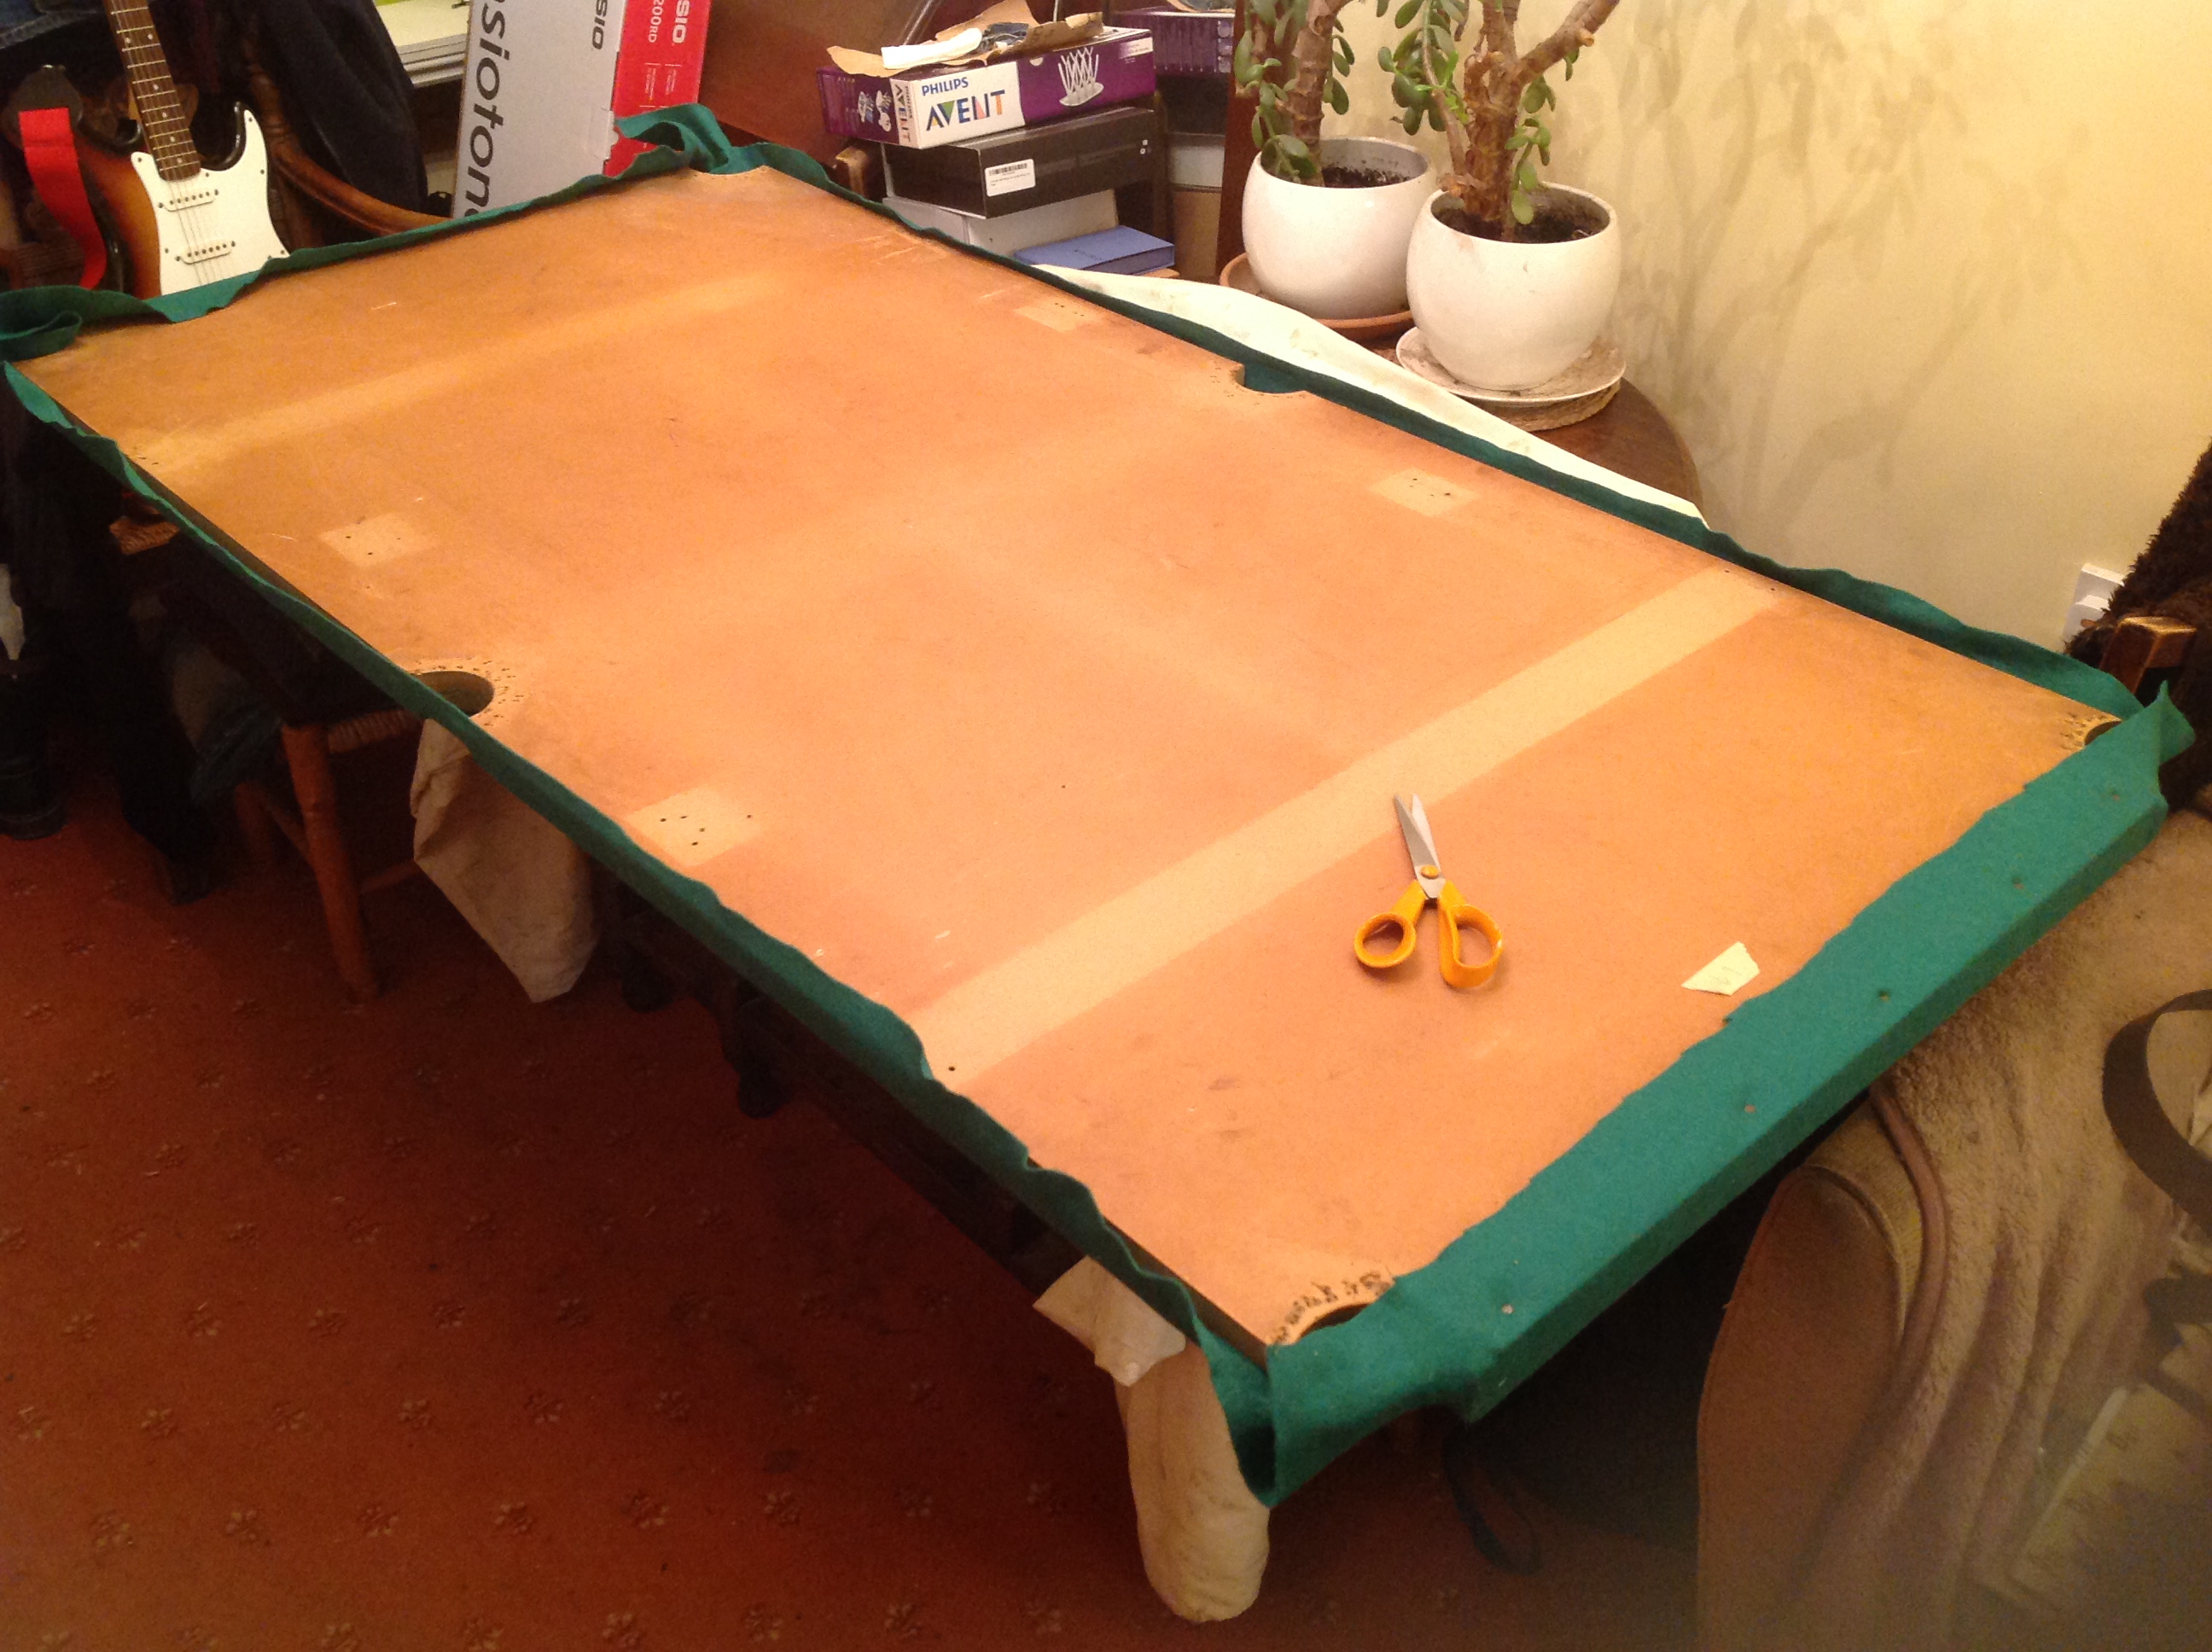 Time to stop… finish tacking tomorrow!
I tried the first shorter side with the staple-gun. But, as I’d feared, it wasn’t man enough to penetrate the tougher top/bottom surfaces (the whole table top seems to be a big laminated block made up of compressed layers). So I did the opposite end with small sharp tacks. It was about midnight by this time. So I had to stop banging the tacks in with a hammer! I’ll finish that job off tomorrow, or rather, later today.
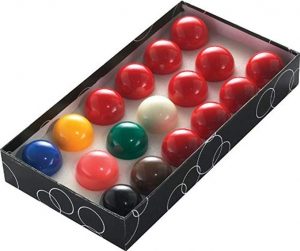
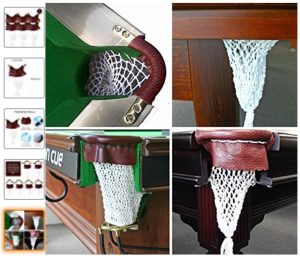
I also ordered a set of 1 & 7/8″ snooker balls, and six pockets, off Amazon. The old net bags were shot, the leather was gone, and the metal parts were rusty. So it’ll be nice to have shiny new pockets along with the pristine new felts. Sadly I don’t have enough felt left from the re-covering of the table to do the rails. So it’s another trip to Boyes or elsewhere for more felt tomorrow as well. I hope they have enough of the right shade of green!
I’m planning to rebuild the pool table without the collapsible frame or legs that it came with. We can just pop it over our gate-leg table when we want to play. This makes the re-build that bit less involved. All that then remains is to get a cue or two and start playing… can’t wait