
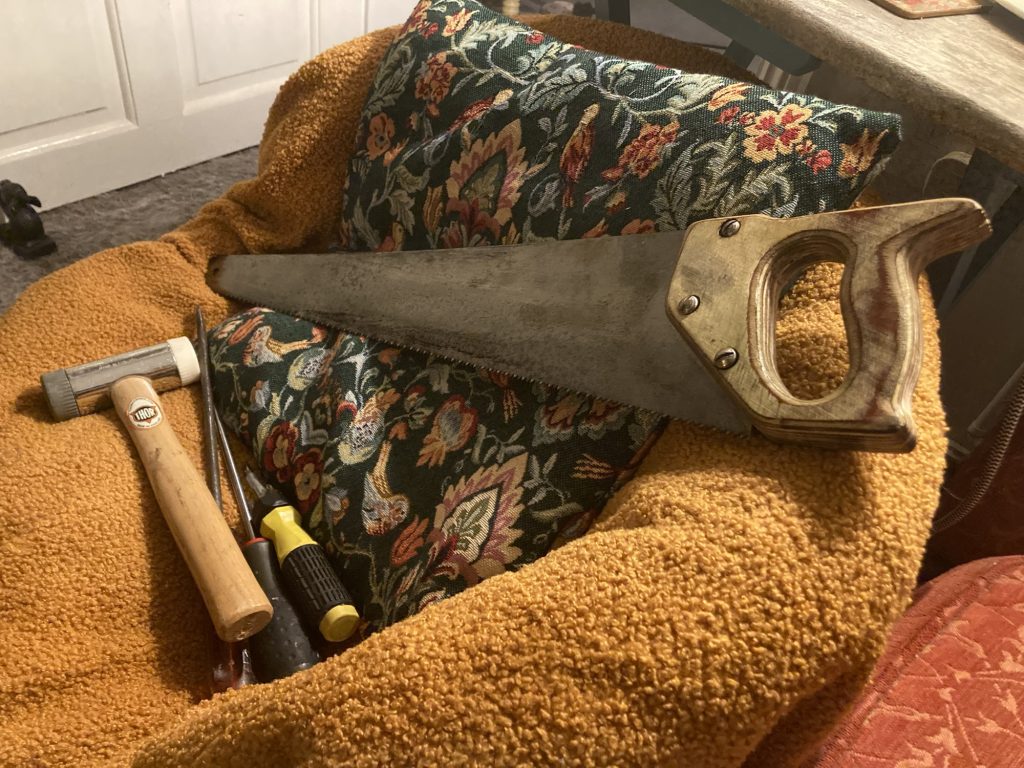
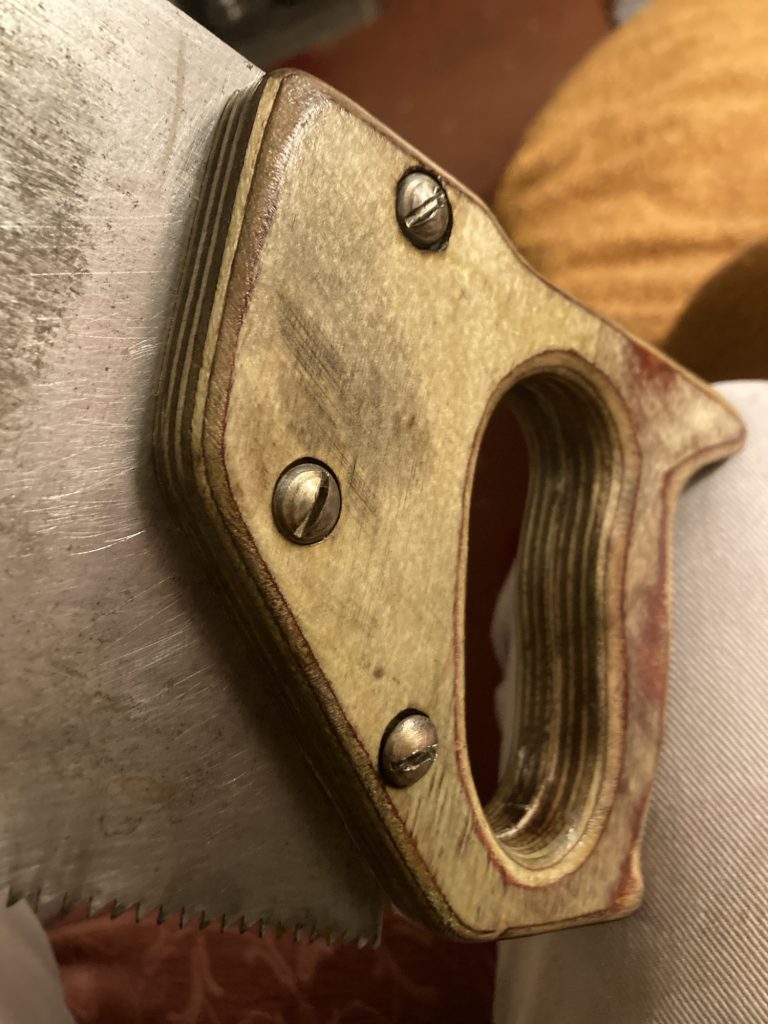
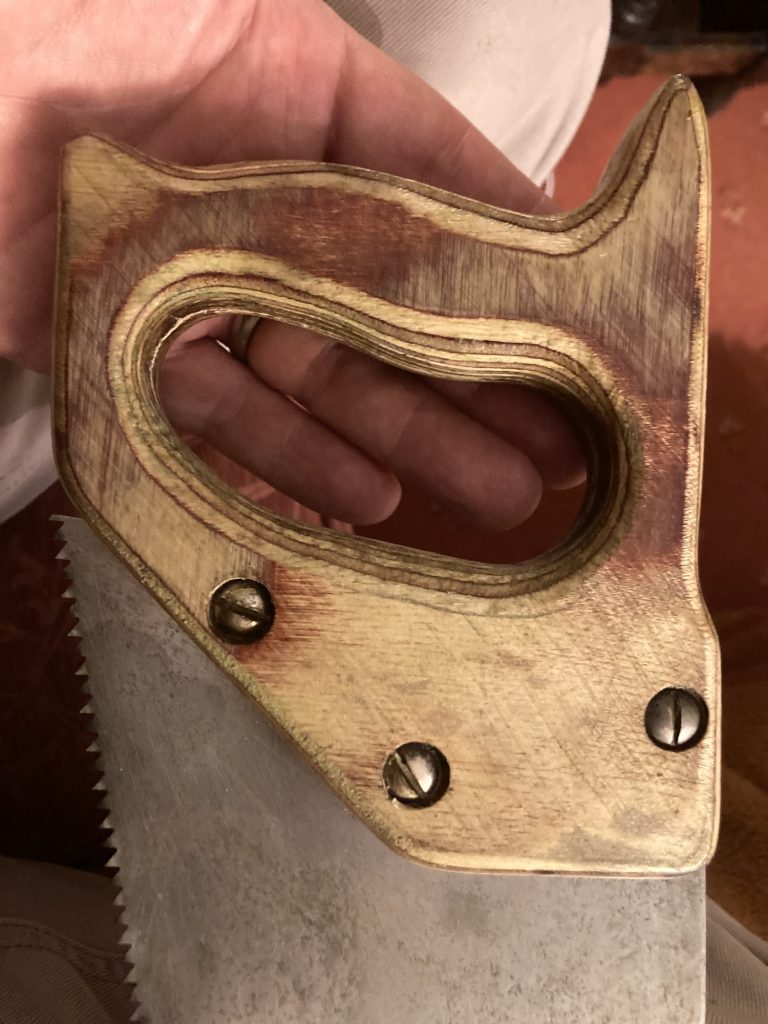
Some years ago the handle for this saw either broke, or I just plain didn’t like it (plastic?). So I made a new one, using marine ply.
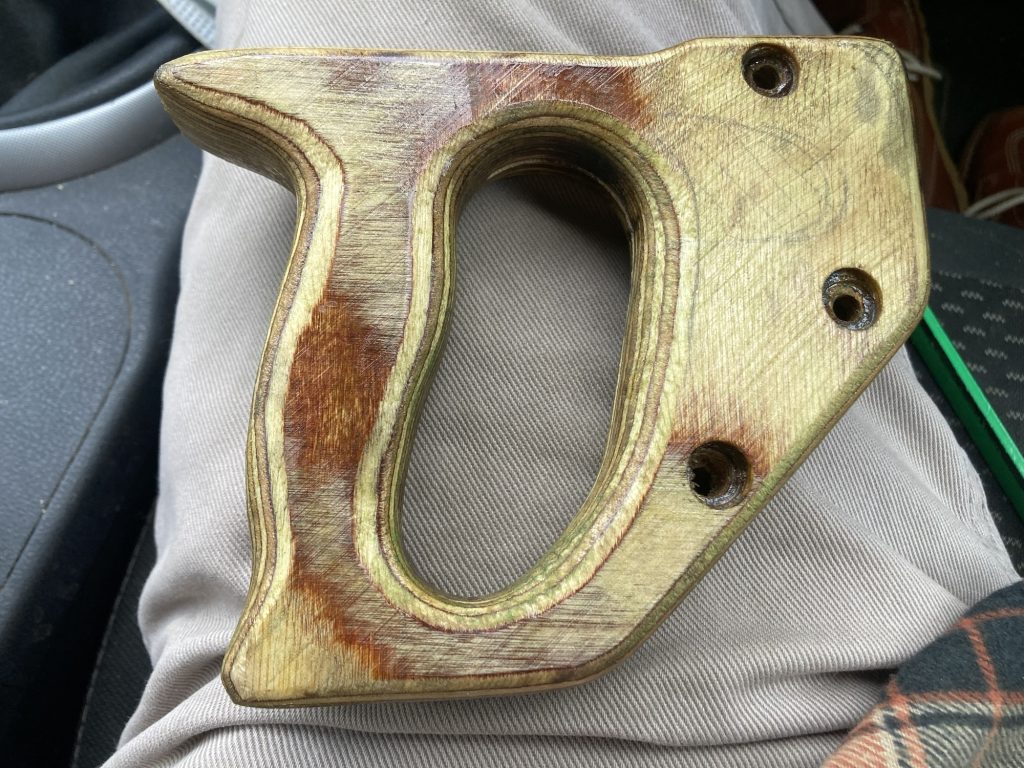
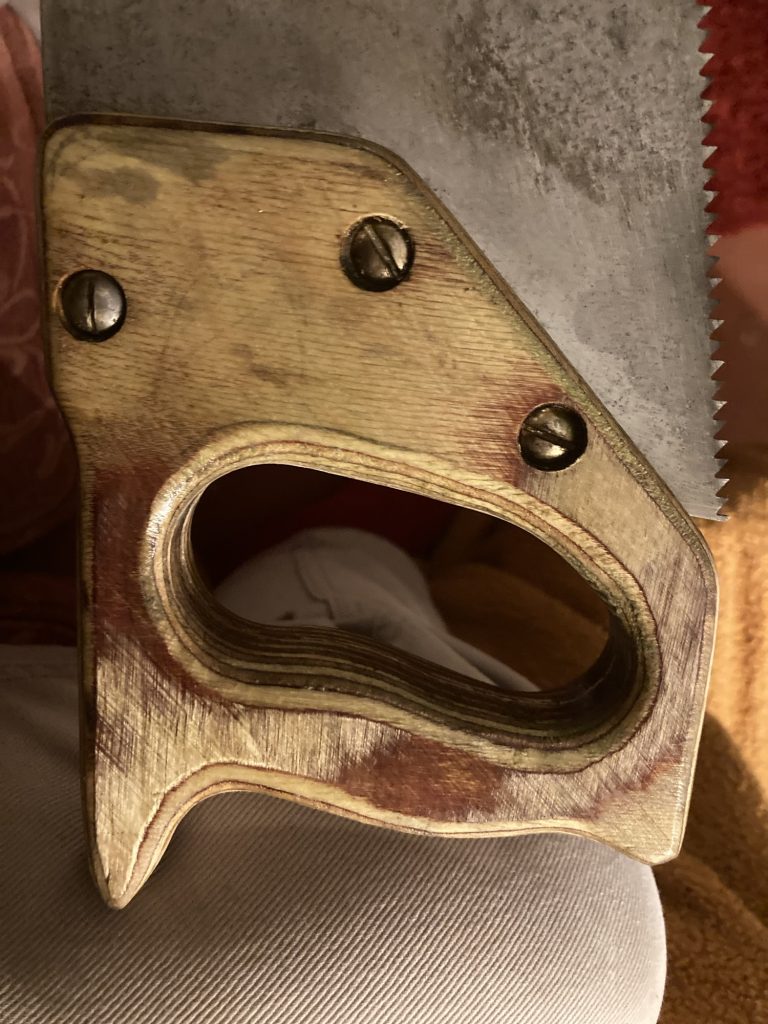
The new handle had several issues: it was way too thick; the groove I cut for the saw blade was way too wide (so much so the blade wasn’t properly secured in the handle); and it was plain ugly, shape wise.

I decided to: shape it a bit more, and thereby improve it aesthetically (even if only a little it!); cut it in half, sand it down, and re-glue it, so the saw blade groove was appropriately sized; and shellac it.
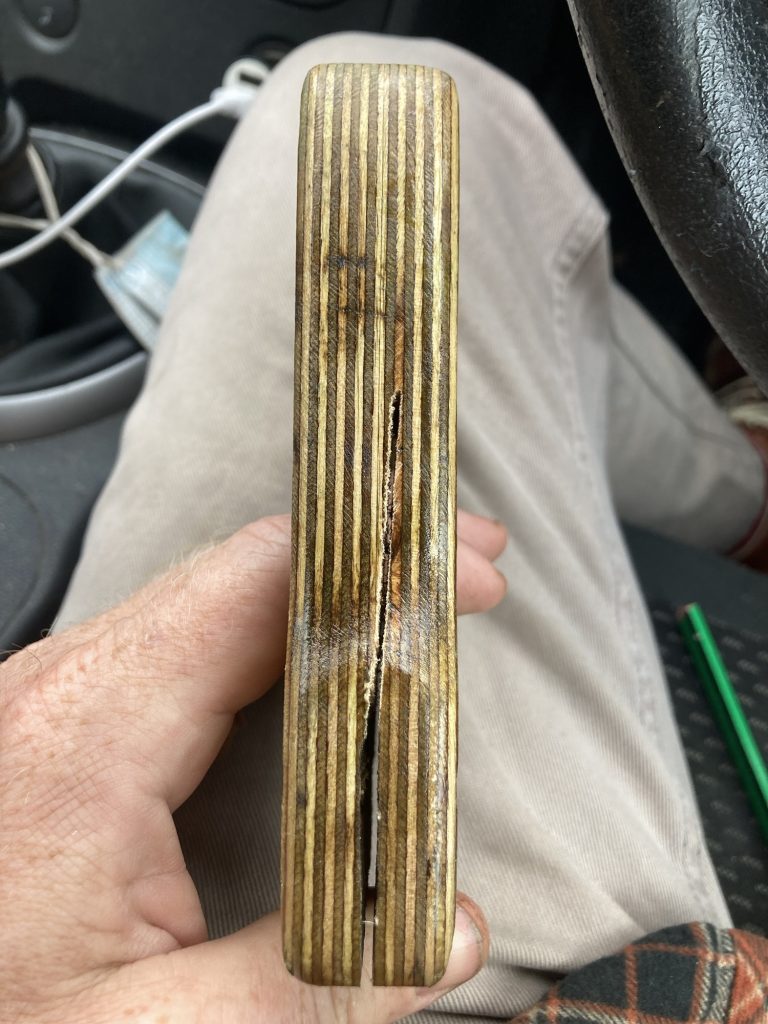
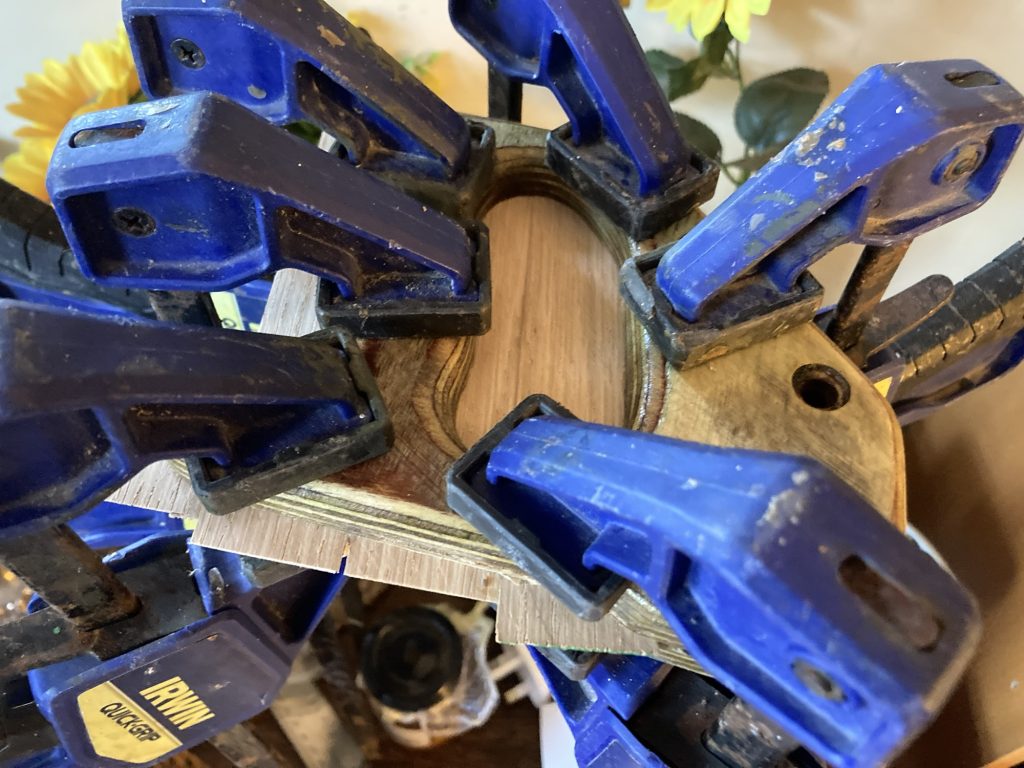
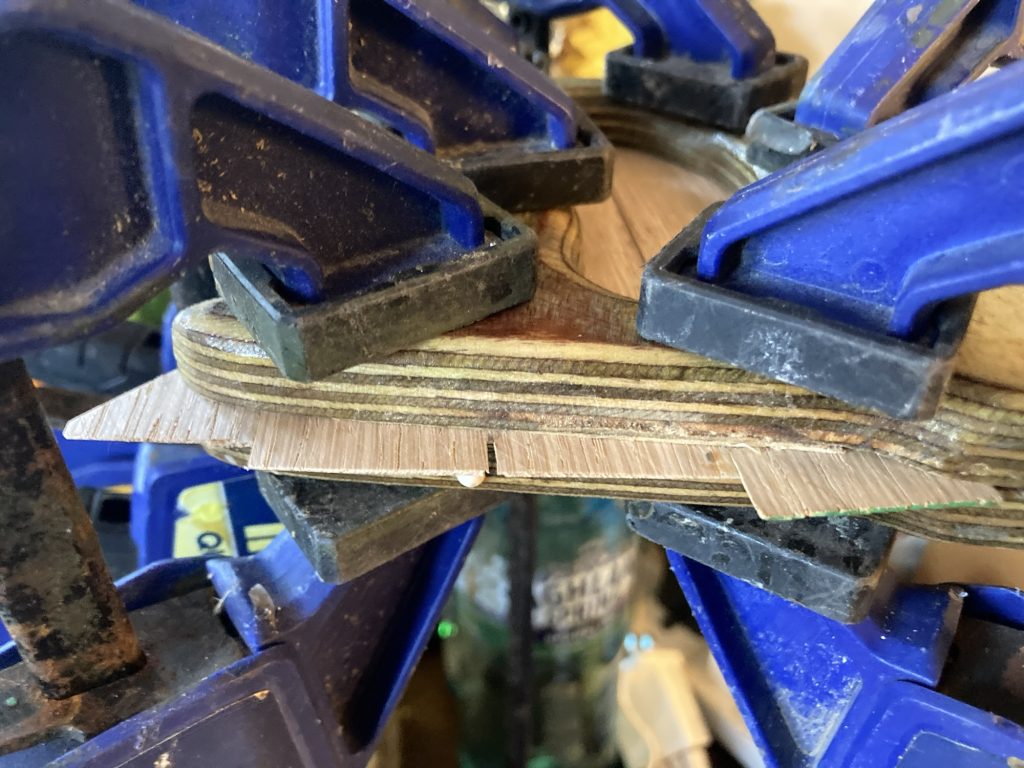
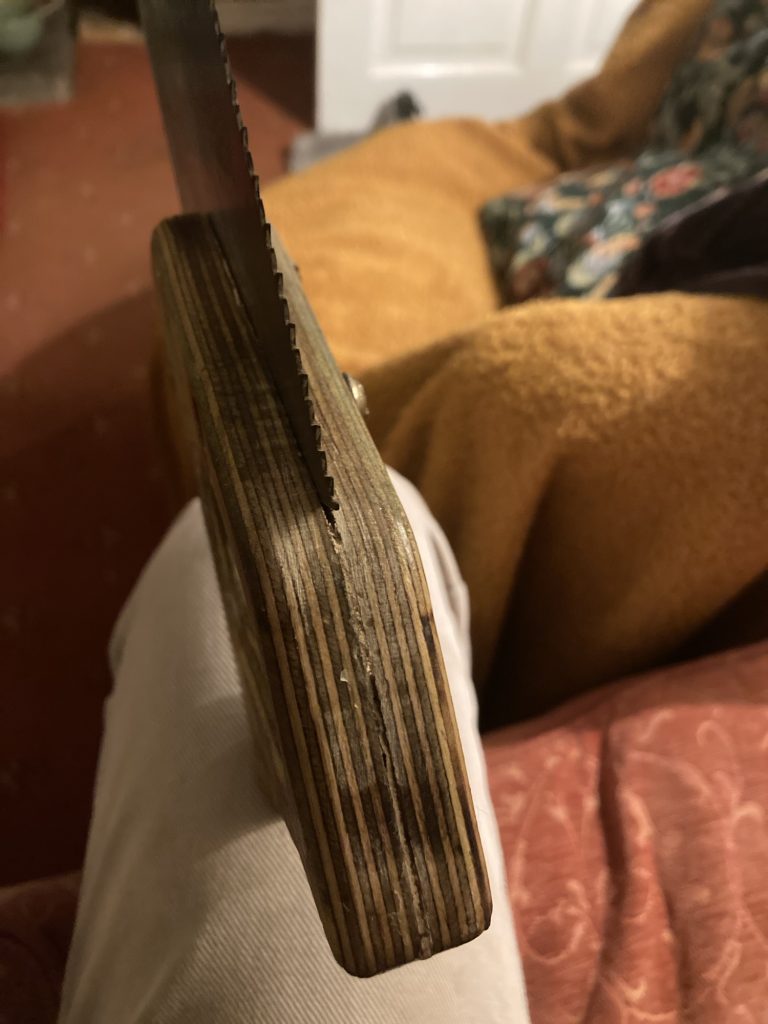
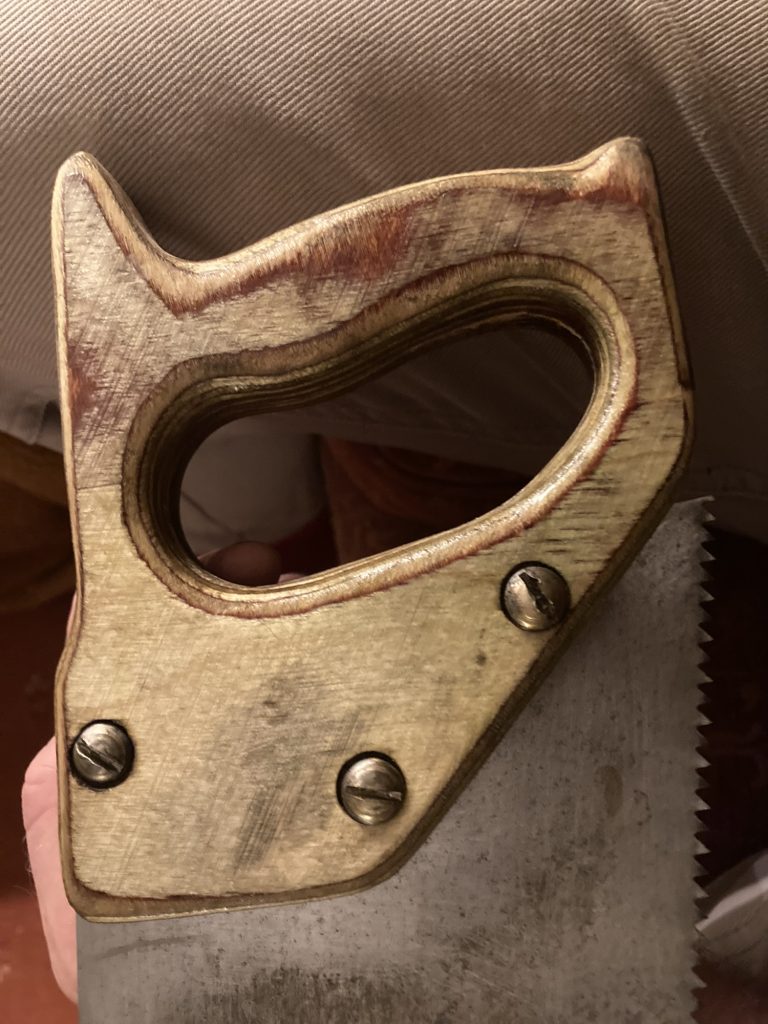
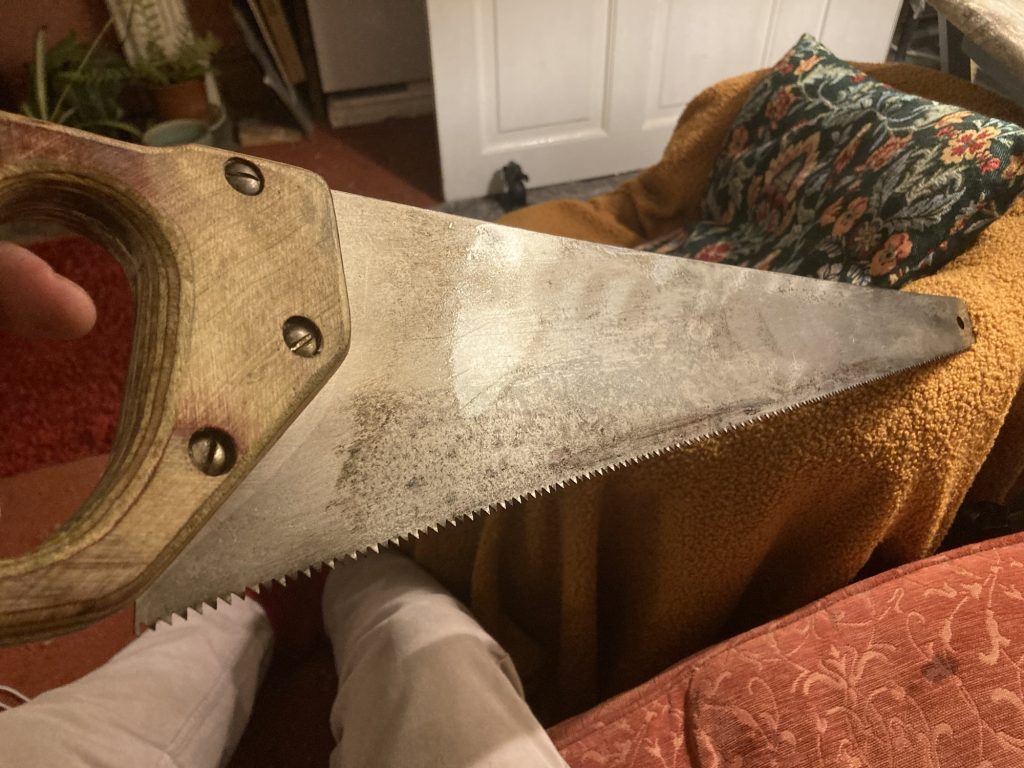
I did the last of these first. Fine. The next step – pics one and two above – went south very quickly. My Japanese pull-saw cut fine, but I wandered off course. So I took the handle to S&F, and cut it in half on their bandsaw.
Sanding the two internal faces brought the whole thing back into the realms of workability. I then had to fill in the wandering cut wound, which I did with a sawdust and wood glue mix.
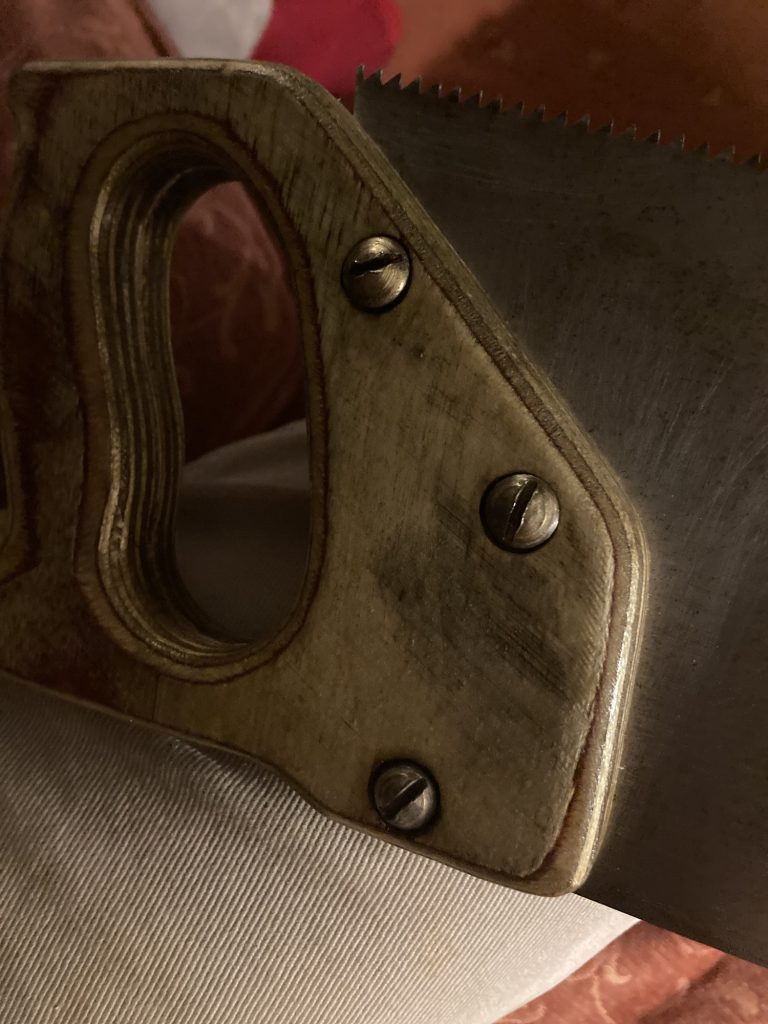
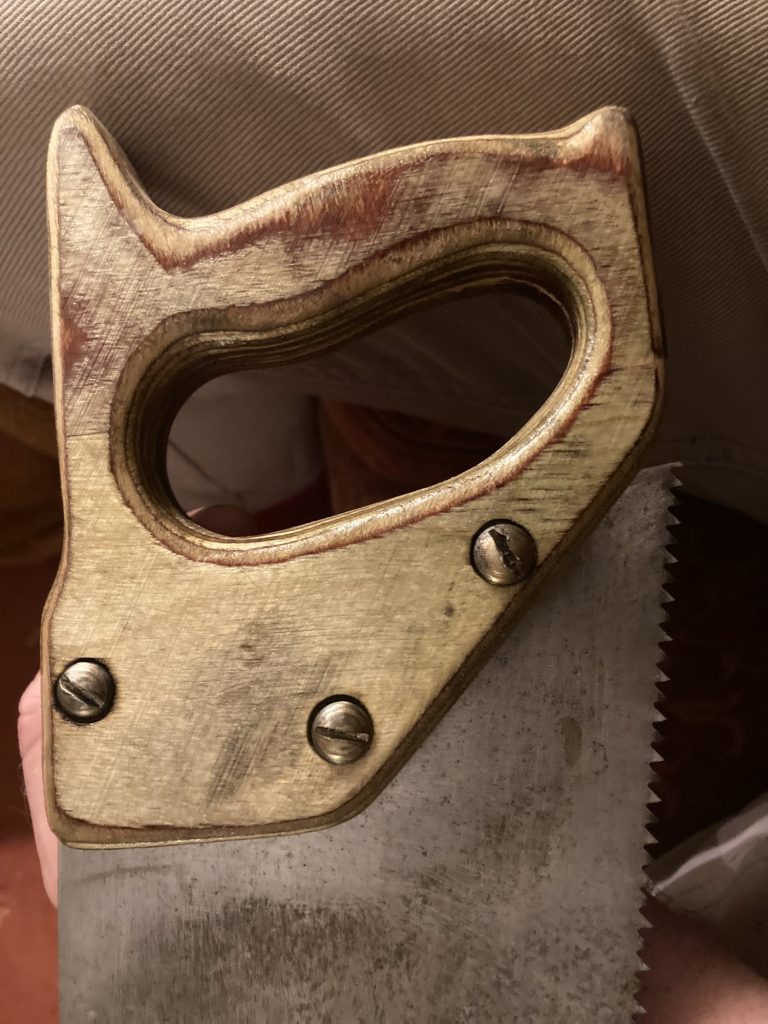
When it came time to glue the two halves of the handle back together, I needed to use a thin veneer – white oak scraps did the job – to re-establish a gap sufficient to re-insert the saw blade.
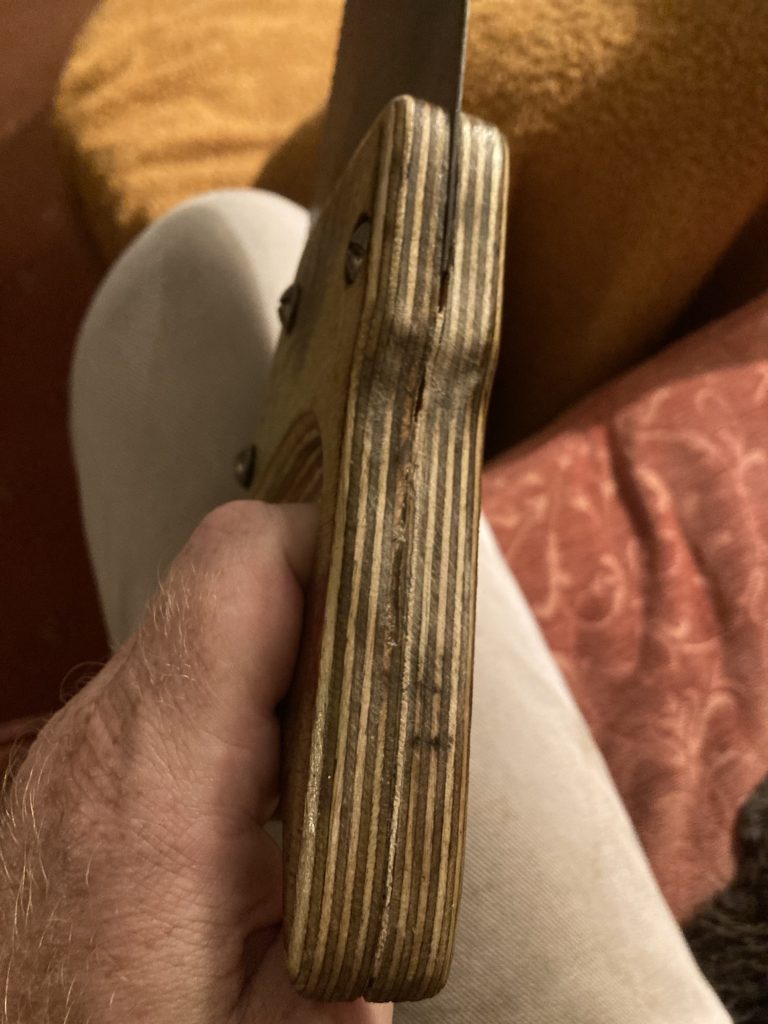
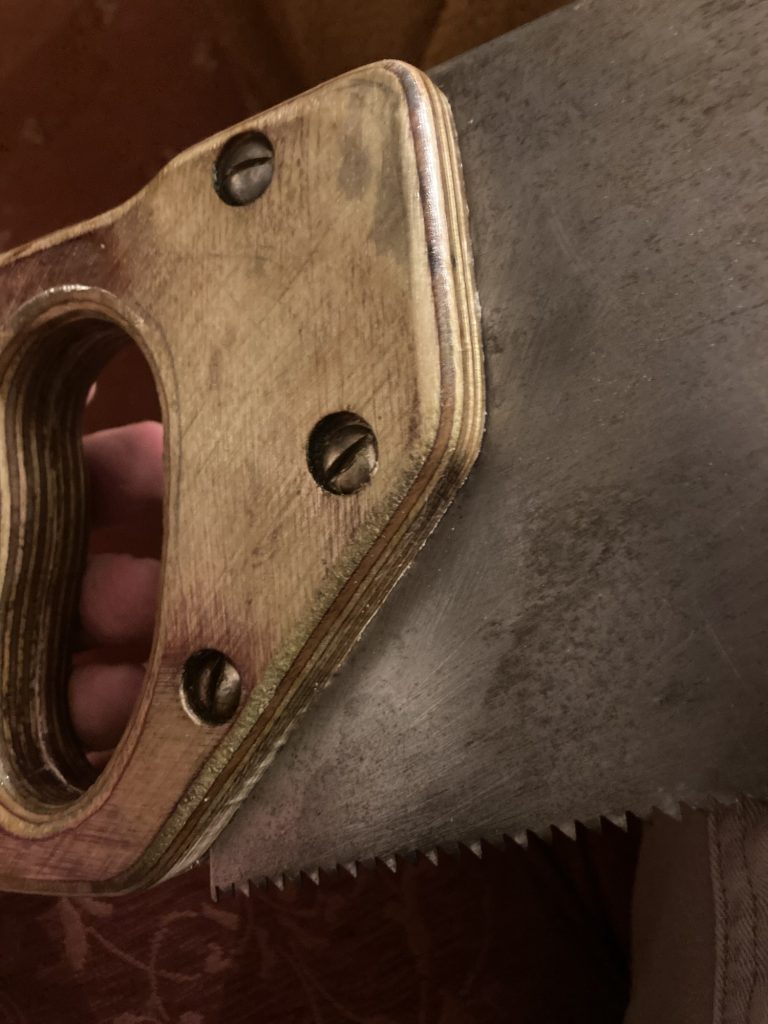
I also had to use a few different saws to clean out the blade insertion part of the handle, so I could slot it back in. I re-used the same fixtures to secure the blade. And it looks and feels a helluva lot better.
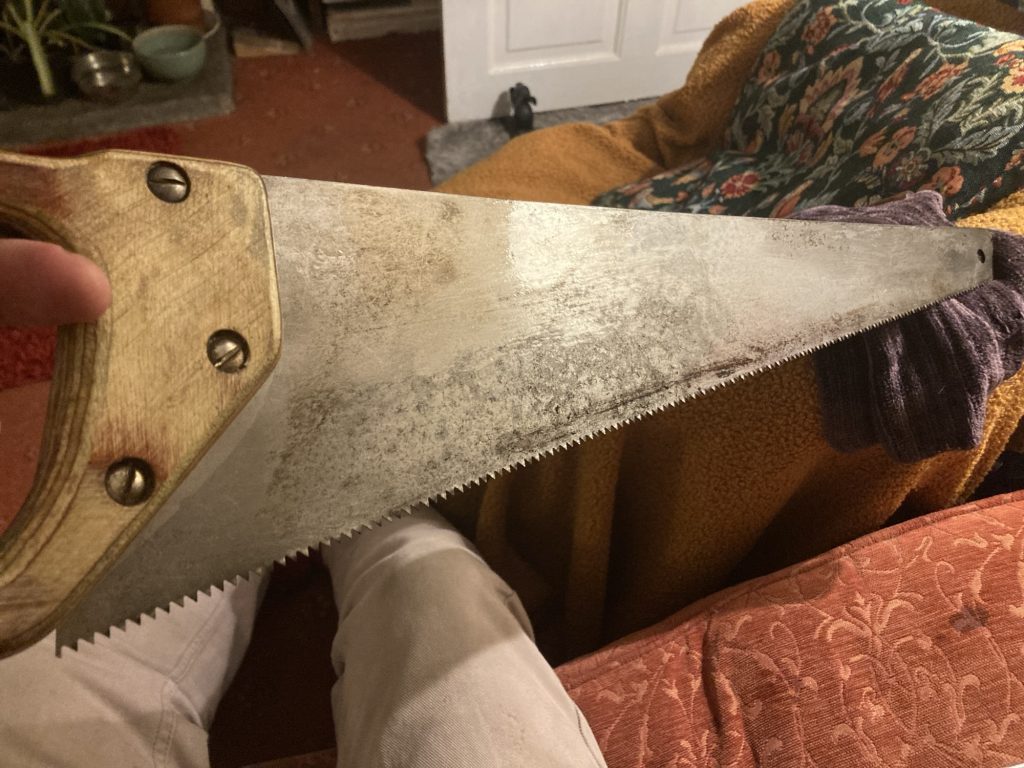
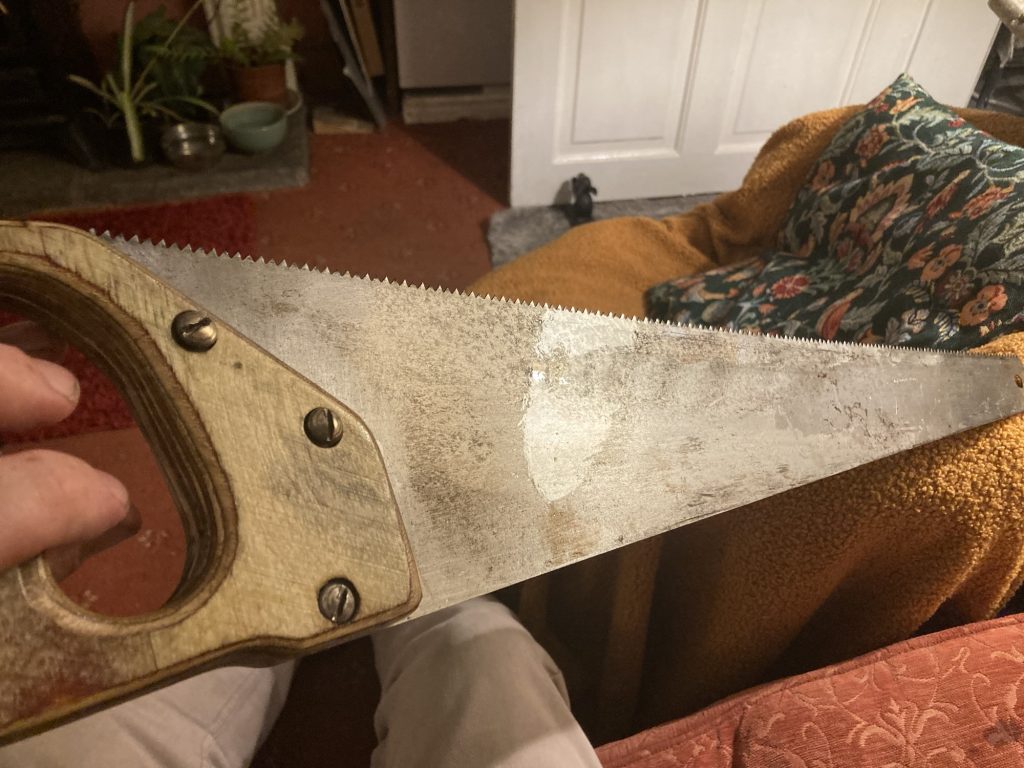
I oiled the screws in the handle, and the blade, with Teresa’s sewing machine oil. To combat rust encroachment.
Another little tool maintenance job done. I find these small tasks strangely satisfying!