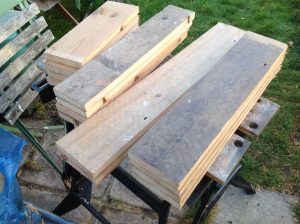
Yesterday, when I started this post, I rough cut the timber for my mini saw-bench. It’s all come from reclaimed floorboards. I think they’re pine? So that’s all ready and waiting to be cleaned up and dimensioned for the build. I’m planning to do this some time this week, as I’m on half-term.
I also recently picked up a few more items from Freecycle: a new front door and frame, a few days ago. And, on Sunday, parts of a wardrobe, and a chest of drawers.
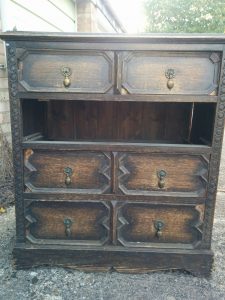
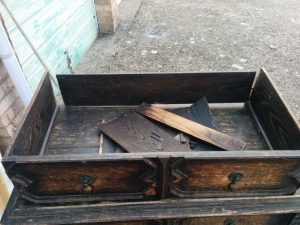
The front door is actually too big for our house. But it can probably be used either as the door to our art/music studio, whenever I get around to that, or simply as a source of decent quality hardwood. In the latter eventuality, the fixtures and fittings can be saved and recycled.
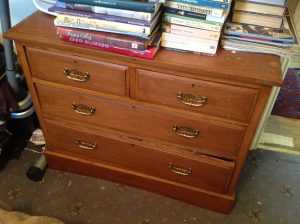
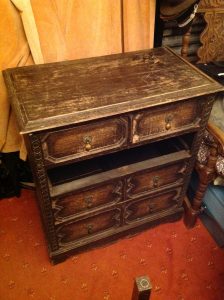
The funky old chest of drawers will be my fourth such renovation project. Pictured below are my first, completed about a year ago, second, done about six months back, and third, which is still unfinished.
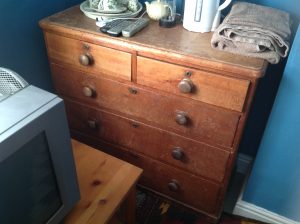
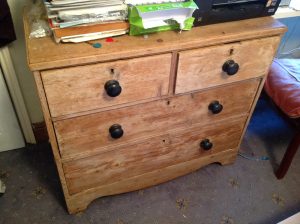
This latest one I plan to complete, structurally at any rate, during half-term. Almost all of what has broken or fallen off is actually present, and just needs reassembling. That said, there are one or two missing or irreparably damaged elements I’ll need to fabricate. But it should be both fun and feasible.
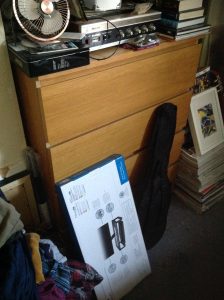
When it’s done I plan to trash my current Ikea chest o’drawers – veneered chipboard – keeping just the drawer-slide mechanisms for use in future build projects (such as our kitchen, which I plan to totally rebuild, custom stylee, at some not too distant point).
Returning to the saw-bench momentarily; having cut all the timber to width, and then sawing it to rough length – using my restored rip-saw, which is cutting beautifully – I realised I have no means, at present, of accurately achieving 90° ends.
Try as I might, I cant get decent square cuts from my chop saw. And my hand sawing skills are still too basic. Freehand planing? As things stand, forget it… more undulations than the Cotswolds!
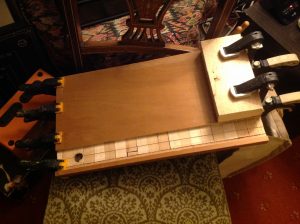
So I decided to make a shooting-board, from some scrap wood. The problem of my inability to achieve properly square cuts made this a challenge in itself. I decided to rout out a channel, as a guide track, for my larger Handyman plane, which may well become my dedicated shooting-board plane.
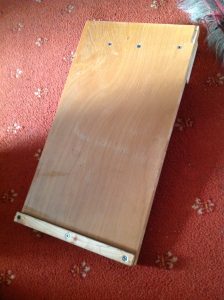
I recently dropped my router, and the cast-iron base fractured, which is a great pity. Annoyingly the depth-stop adjustments appear to have been affected as well, meaning that it’s nigh on impossible to prevent some movement on depth. This resulted in a channel that’s not uniformly flat … grrr! Can’t I get any tools to give me reliably accurate cuts?
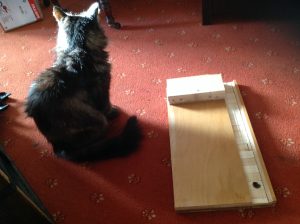
And then to top it all off, the wood I chose to use for the base of the shooting board, some former shelving, is super-laminated. Not just a laminate on the horizontal plane, but also, as the picture above shows, cross-wise; it’s made from a row of thicker internal sticks of timber. I wasn’t expecting that!
Still, it’s all a learning process. This is my first attempt at a shooting board. I imagine I’ll make another and hopefully better one at some point. But this one will probably allow me to do the saw-bench, which can be a fairly rustic affair anyway.
So, back to the chest of drawers…
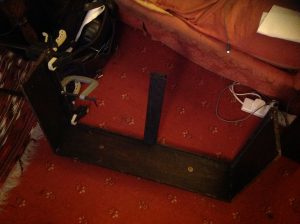
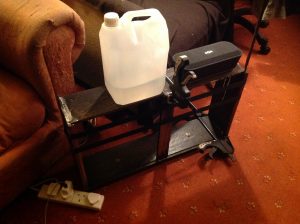
To help me wind down this evening (sound of trombone with plunger mute… ‘wah, wah, waaah’!) … I wrastled with the second drawer down, which is the most broken of the lot in our recently acquired chest o’drawers.
After spending ages fruitlessly trying to work with the ridiculously bowed original pieces (what had been the drawer bottoms) – inc. attempts to flatten them using moisture – I decided to simply glue up the framework, with a view to finding some suitable flat wood for the bottoms. Poss’ some of what I salvaged from the top part of the wardrobe will work?
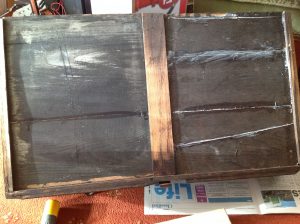
In the end, however, after a successful overnight glue-up of the drawer-frame, I was able to slide the original bowed bottoms back into their rightful places. With a little help from a block of wood and a hammer or two.
The panel on the left only split along the original (pre-dating my ownership) glue-line. Whereas the one on the right split into five separate pieces, requiring four glue-lines! Still, it’s great to be using the original wood.
The main body of the chest also needs some pretty serious attention, what with a major split across the top panel, and one side-panel split and partially coming adrift. Indeed, the whole ruddy thing needs quite a bit of, as the Freecycler who gave it to me said, ‘tlc’.
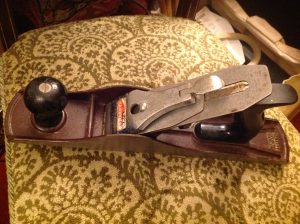
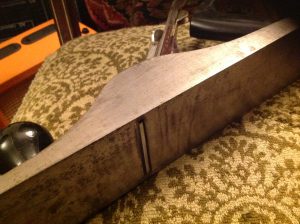
And last of all, as I let the drawer start gluing overnight, I decided to set up and hone the blade in my third and larger Handyman plane, ready for shooting-board shenanigans tomorrow. This done, I’ve now set up all three of my Handyman planes. Next I’ll start on the two Stanley no. 4s. I ought to make a rack for my planes. So much to be done!
