
Quite a while back, I decided to cut back the ivy growing up between our rear gate and the shed. I had done so once or twice before. But this time I wanted to be shot of it.
The consequence of this was that the gate post and the portions of the fence that had been encroached upon by the very rampant well developed ivy were utterly destroyed.
After a very long hiatus, over this summer of ‘21, I finally got around to dealing with this. I had hoped to hire a builder. And we had a few round to quote for the job. The job being getting the ivy roots and the hardcore/cement and remnants of the previous gate post dug out, and a new post put in.
The builder whose quote we were best pleased with, a chap named Tommy, never showed, nor returned any of my calls as to when he might deign to come and do the job. So the task reverted to me. Good job, really, as I hadn’t the money to pay him!
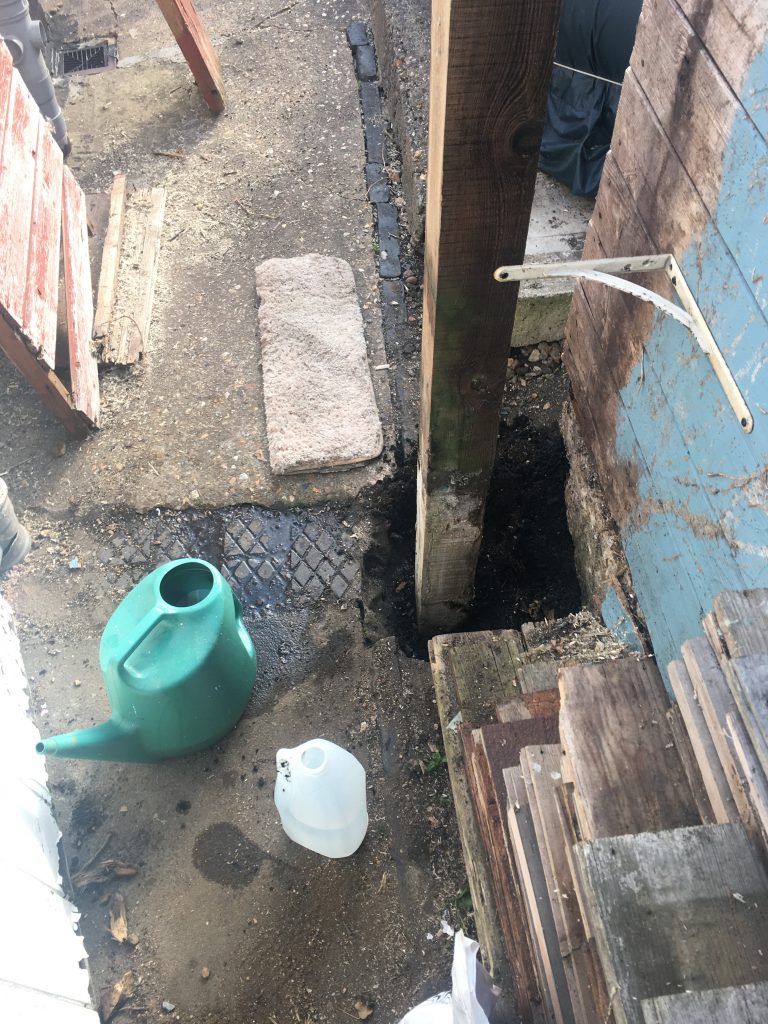
So, after a long hard go at removing the roots and concrete, etc, with a view to rehanging the old gate in the same spot, I eventually gave up. But it before I’d got about a foot down, removing earth, and then drilling into the cement/hardcore mix with a long masonry bit, in my larger hammer drill. But progress from that point on was torturously slow.
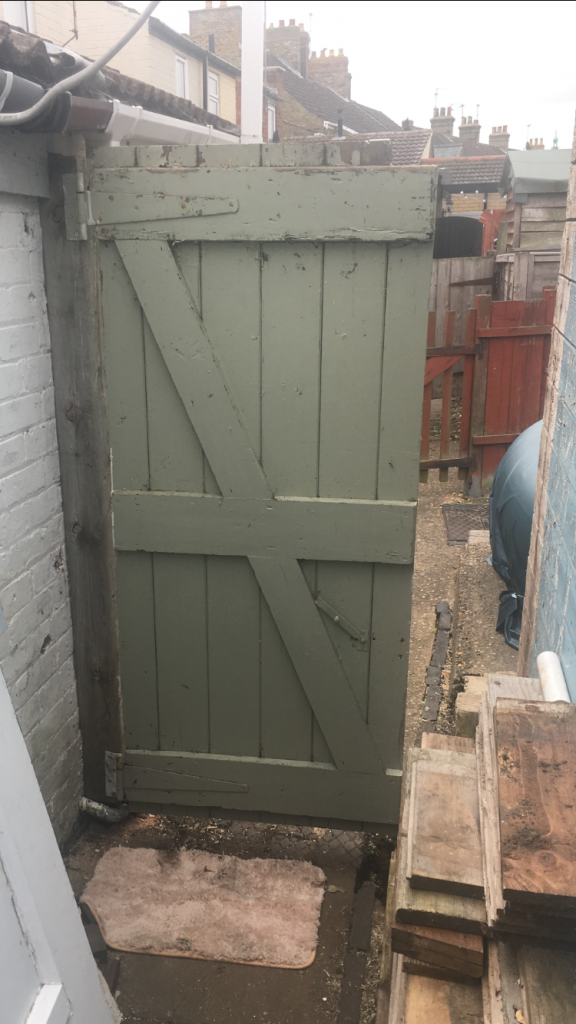
Having decided that this wasn’t really working, I had to go with plan B, and attach a post not down into the earth, but up against the rear wall of our property.
This meant drilling through a 4” post and into the brickwork. In the end I secured the post with five long screws, going into wall-plugs into the bricks. I also used a ‘no more mails’ type fixative – a whole tube – to help really bond this post to the wall.

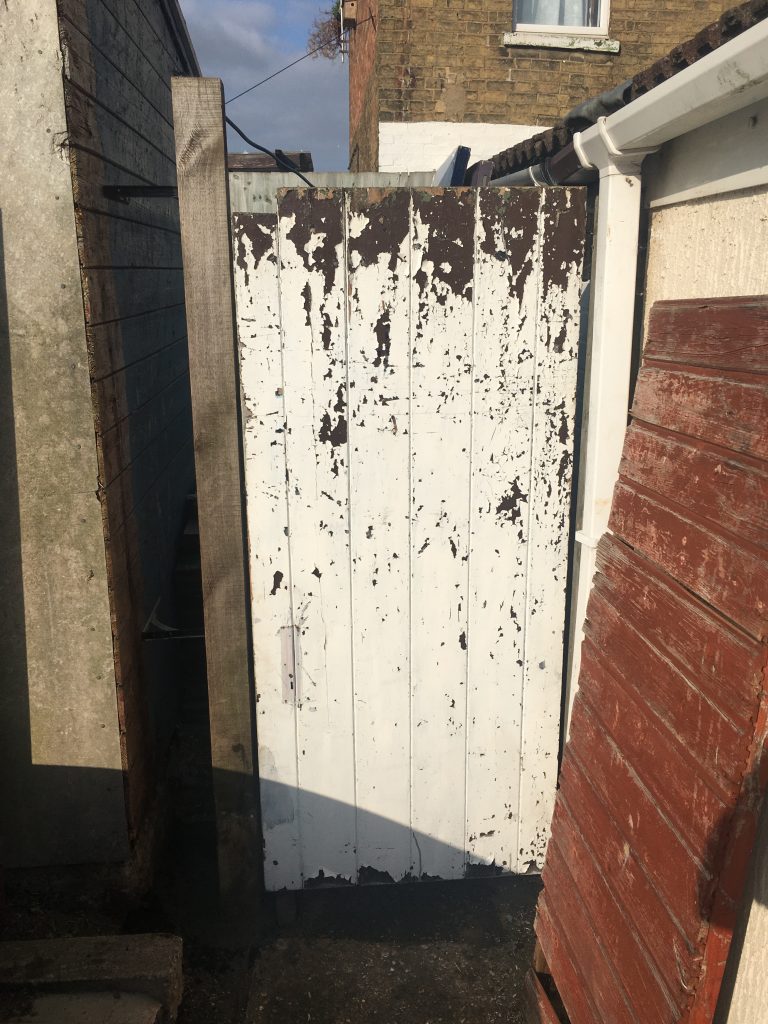
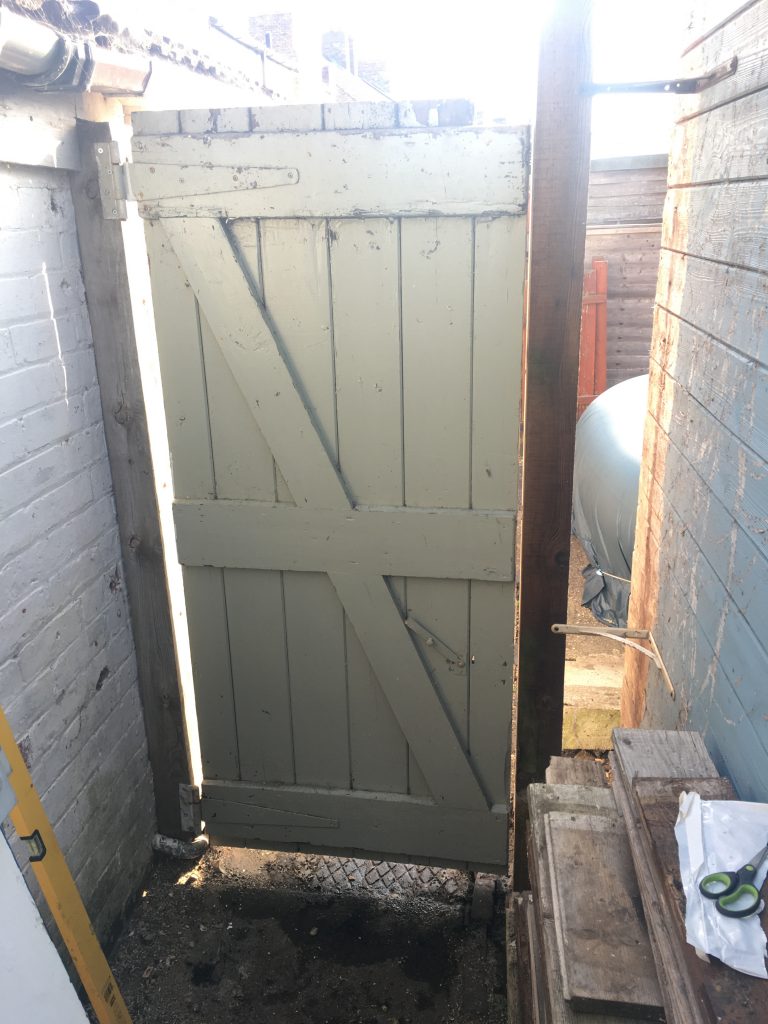
Having let that go off overnight, next step was to re-hang the gate. It had to be rotated through 180°, so it’s now upside-down! First attempt I screwed it into the wrong face of the post! Second attempt, success.
The vertical angles are none of them plumb. But I used a spirit level anyway, just to get a half-decent alignment.
Next it was time to return to the original post-hole. Ding-ding… seconds out, rounds three and four. Eventually, after working with a saw, chainsaw, axe, pry-bar, chisels and a skill-saw, I got as much of the ivy root system out as I could, without either going insane or mutilating myself.
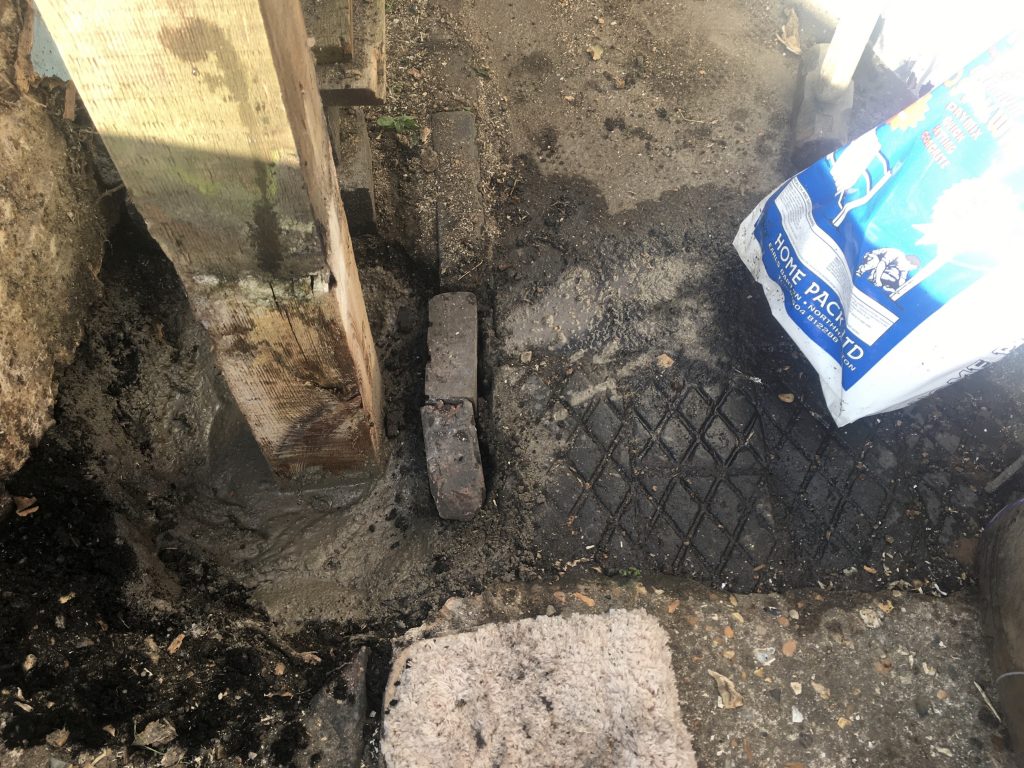
I could then proceed with putting in a new post (actually an old one, reclaimed from a local skip!), which would now be the one to receive only the latch fitting, rather than, as formerly, supporting the gate itself. I fixed this in situ using some old shelf-support brackets.
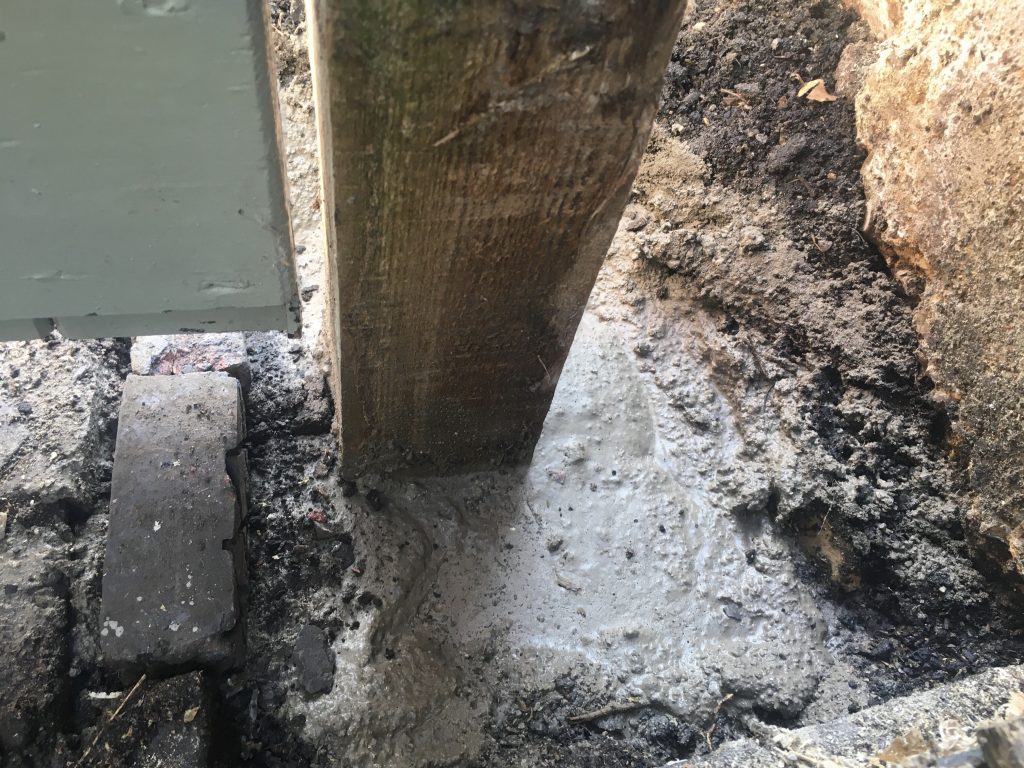
The post-hole on the right of the gate, seen from our side, needed back-filling with some of the soil I’d dug out. Once that was done, using moistened soil (aka mud) so it’d hold its shape, I poured water into the hole, to half way. Then I poured on some quick-setting post-crete.
As the photos here attest, this was a rough n’ ready type job. Not quite Robert Adam or Nostell Priory! But we will be tidying it all up, in ‘dew coarse’. It’s good to get these little jobs ticked off. And also to not be paying tradesmen to do ‘em.