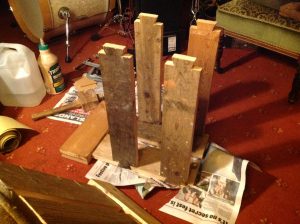
Yesterday I made one foot and two legs of my saw-bench. Pretty badly, truth be told. Today I made the other. Much better.
This time, instead of sawing down to depth and then chiselling out across the grain, I used my ‘quick’n’dirty’ table saw to hog out the half laps. This produced a much better more uniform finish, which just needed minor tweaking with (sharpened!) chisels.
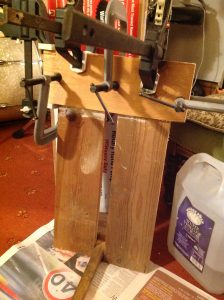
I then drew out and cut the dovetails on the stretchers, using my go to rip-saw. I cut the corresponding holes to receive them in the leg that’s glued up, whilst the second and better executed foot/legs glue. The stretchers are now also in place and gluing up.
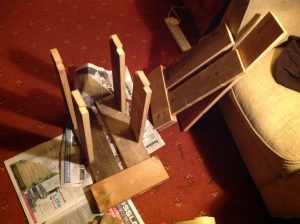
So it’s just a case of waiting for everything to set up, and the glue to harden, before combining the base elements. Once the feet, legs and stretchers are all in place, I can work on the top.
When I was planning this I thought it might make another one day project. But it’s alteady taken three days, and looks set to keep me busy into the week. It’s coming out rough and rustic. But I’m learning all the time.