

Well, an attack of insomnia is biting right now. It’s 2.40 a.m. and sleep, she jus’ don’t come. After an hour or so pottering around the lounge, gingerly tidying things up, I’m back upstairs. No nearer sleeping, it seems.
So I’ll start this wednesday’s post now… why not? I do hope I will get some kip in, as I’m hoping that today I might finish the saw-bench. Structurally, at any rate. Sanding, knocking corners back, and staining/finishing… perhaps thursday?
I also have the chest o’ drawers to complete. I’ve hit a bit of a block there, in the mouldings used as decoration; I can’t find the right profiles in local DIY suppliers or builders merchants. But I can at least make the body and drawers relatively structurally sound.
There are several other projects either on the go or in the offing: Teresa’s asked me to make a small bedside table, to perch her laptop and/or tablet on. I want to make a medicine cabinet for the bathroom. A set of small drawers for my model making and painting area would be handy. And there’s a knackered chest to fix for tool storage in the workshop.
I wonder how much of this lot I’ll get done today, or during the half-term? And then there’s the front door, the cold-frames, the greenhouse, the workshop roof, the guttering on the house. So much to do. And my sleep patterns are shot to hell at present. Not very helpful!
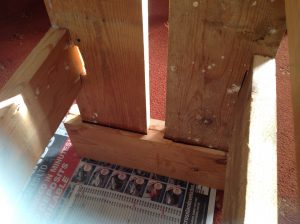
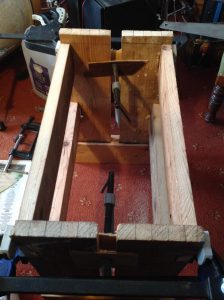
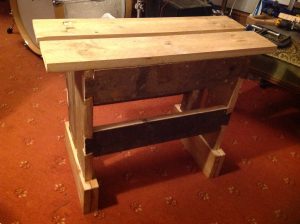
Anyhoo, accompanying this post are several pics taken throughout the day. In the one below, the far left leg board split. Hence all the clamps. Next I’ll be transferring the peg shapes to the top boards, and drilling and carving out the holes to receive them. So, I think basic assembly will be completed today.
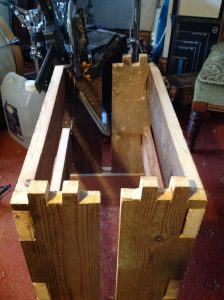
There are a few voids to be filled, in some of the less accurate joints. Then it’ll be a matter of knocking back some corners and edges, sanding, and finishing.
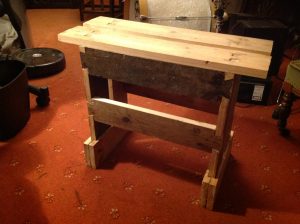
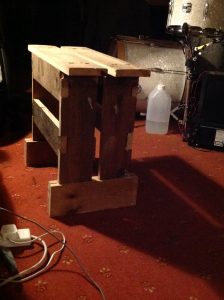
Well, I finally finished the basic build for my mini saw-bench. It’s very rough’n’ready. But it’s been worth doing: my first half-lap joints, my first dovetails, and my first mortice and tenons. And to make it required restoring several old saws, and overcoming numerous other issues, as the build progressed. So there’s been a lot of learning.
Tomorrow I’ll sand it, and poss try filling some of the bigger gaps. Teresa can use it as her laptop table until I make her a dedicated one! And in the meantime I can clear up in the workshop, and make some space for this new bit of equipment.
One little footnote: despite practically all the pics, and quite a bit of the work itself, being situated in our living room, the bulk of the work, e.g. the cutting and dimensioning, was done in the garden. The weather has been absolutely gorgeous.
I haven’t got any room in the shed workshop itself. Occasional bits are done in there, such as drilling out the holes that will accept the tenons, before chiselling them square. But it’s way too messy and cramped in there at present. It goes in cycles: I clear up, and then as I work it gets messier and messier. I clear up, and then as I work it gets messier and messier. And so on, round and round!