
At this point I’m starting to lose count of how many times I’ve taken stuff apart and put it all back together. But I guess it’s all good, in a way? As with repetition comes better facility.
I’m posting this in its proper timeline sequence, but retrospectively. And as a result I’m a bit sketchy on detail. But I think at this point I had the engine back to life, running. But it wasn’t sounding strong or healthy.
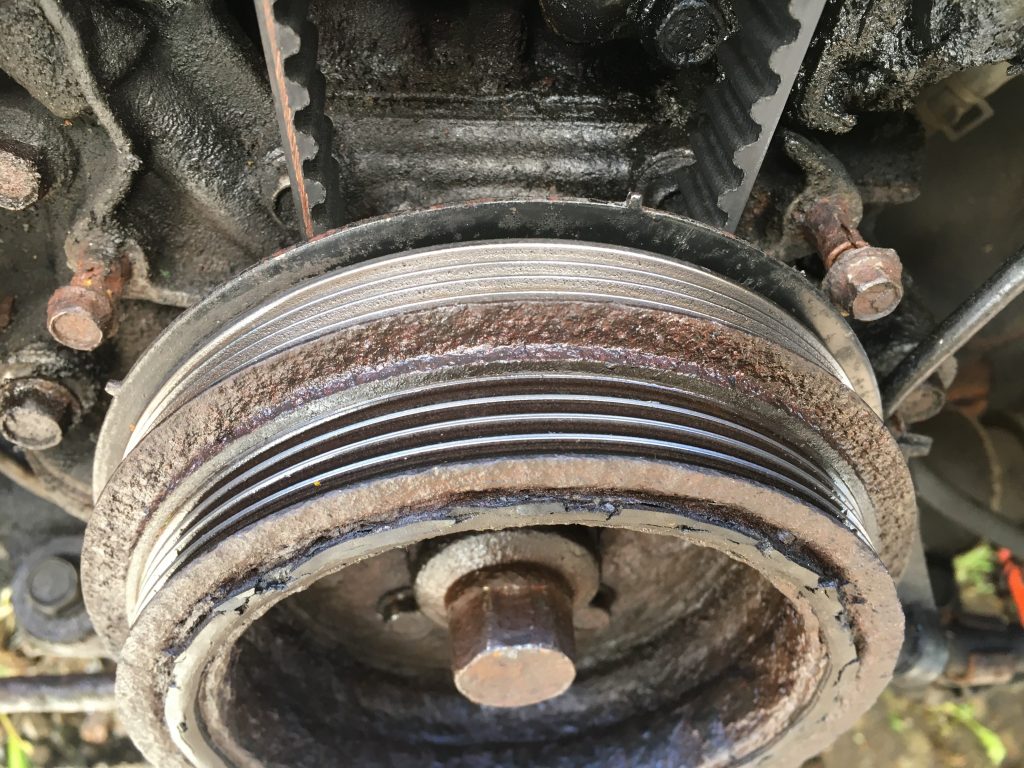
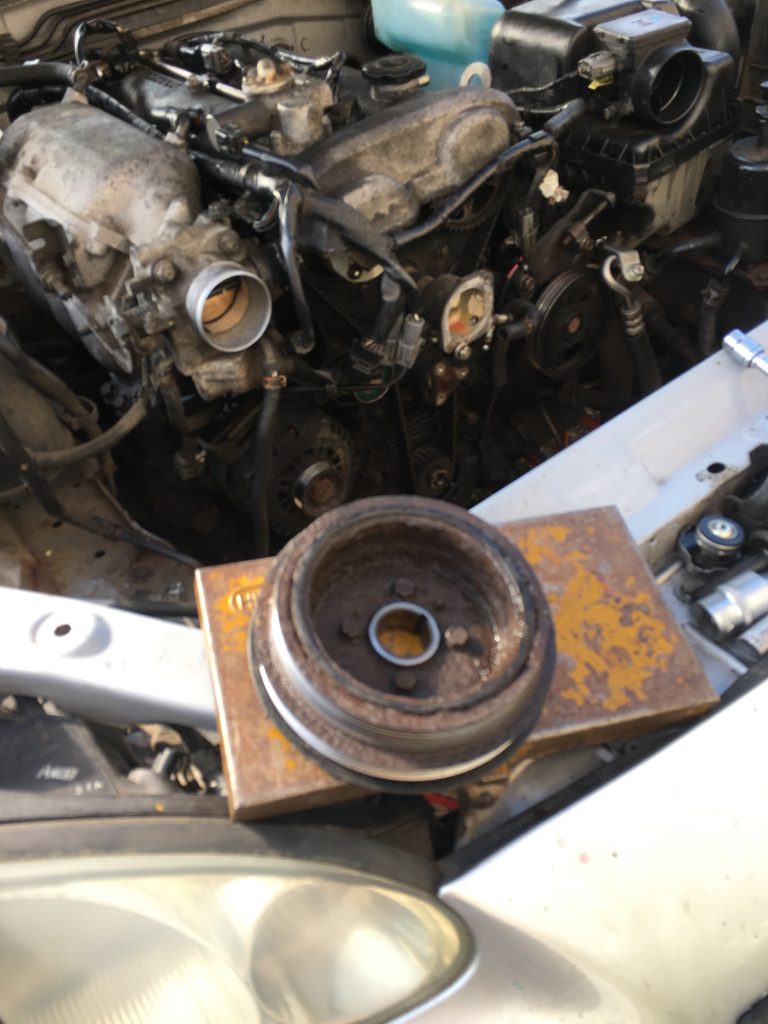
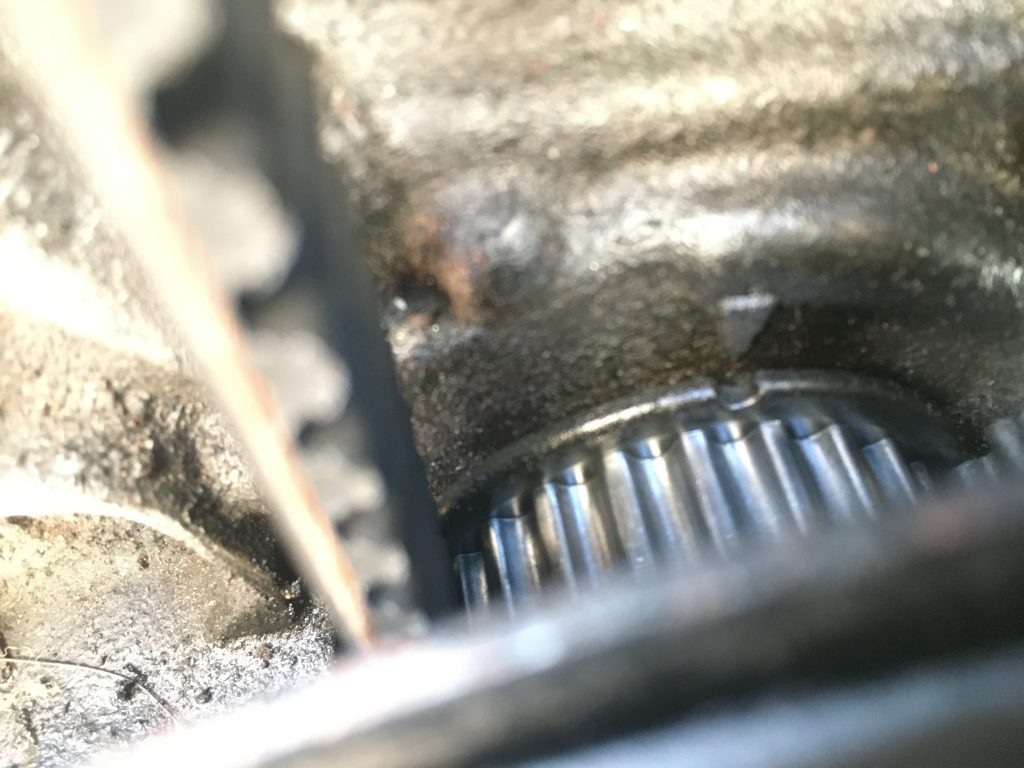
I.e. the timing was still out somehow. My intuition told me that it was probably the trigger wheel. which can be seen behind the harmonic damper in the above image. Just two of the teeth are visible in this shot.
In removing all of this stuff initially – trigger wheel, damper/pulleys, and central crankshaft wheel – I’d needed to use mucho persuasion! This lead to the trigger wheel getting somewhat deformed, by the time I’d banged/prised it orff…
I used numerous hammers, mainly large heavy soft-headed types, and some vice compression action, to flatten the bugger! And then I re-installed it, making sure it was properly aligned: concave face forward, convex rearward, locator pin in hole, and engine TDC, resulting in the top tooth (of just four!) being just past 12 o’clock.
With the trigger wheel replaced and hopefully now in its proper position, I had to once again set up the timing. By now I’m getting quite good at this. That said, it’s always hard work!
I didn’t super document any of this, given I’d done it all before. Instead I photographed the bits that were specific to the days’s work
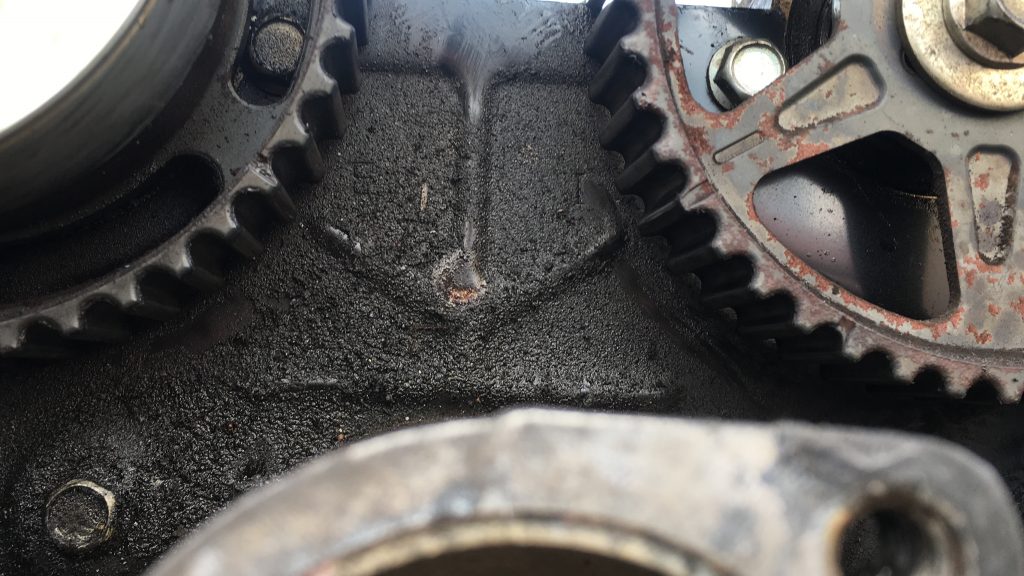
Pictured below was a bit of lower engine detail I’d missed before. The plastic clip and metal doodad I’m holding should be affixed to part of the three-part front engine cover, which protects the cam-belt and pulleys. but two thirds of that isn’t back on, due to it being k-nackered!
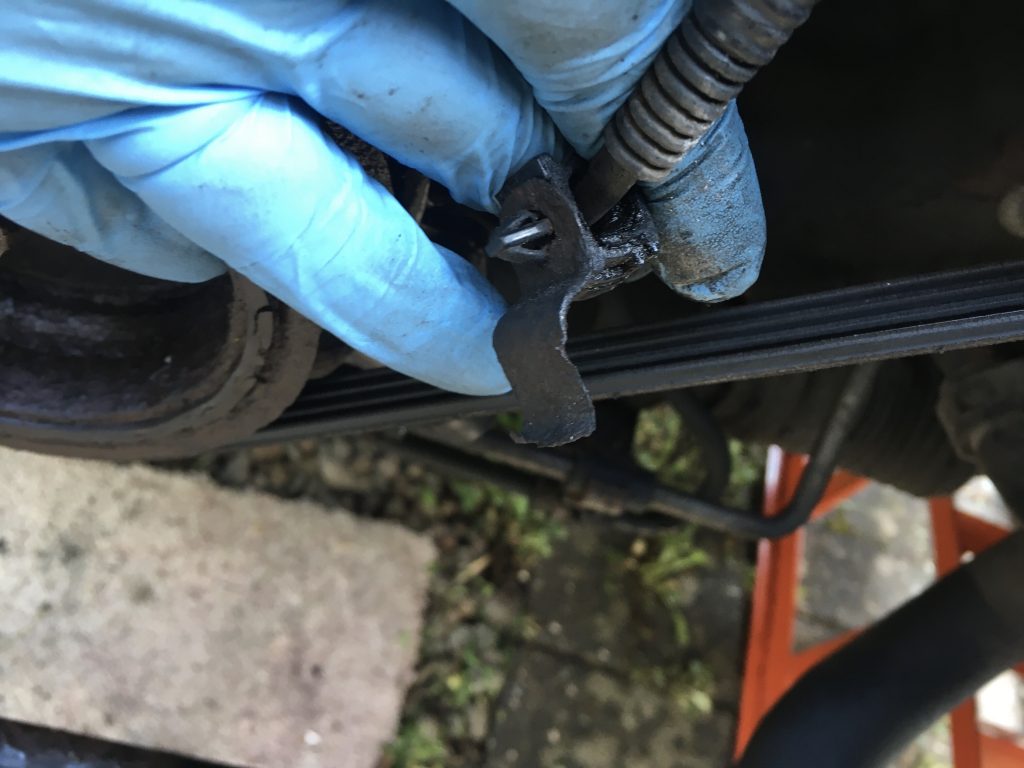
Once this fixture was removed I cable-tied the lead out of harms way. All of this business required, once again, the drainage and removal of the radiator and various pipes and hoses.
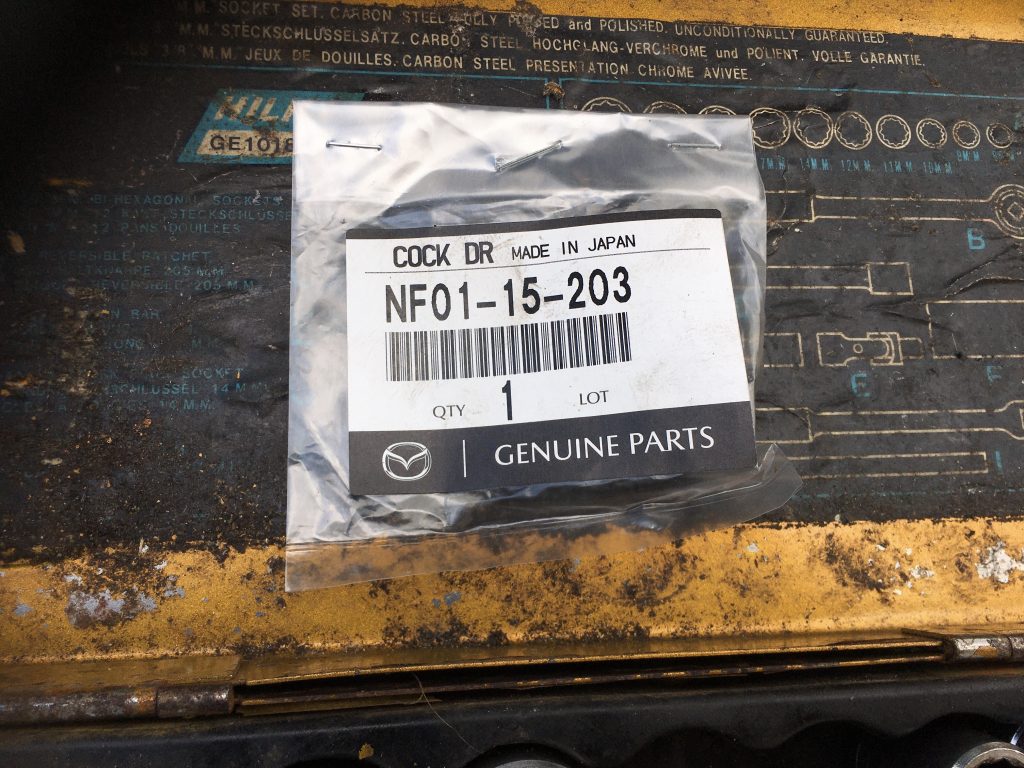
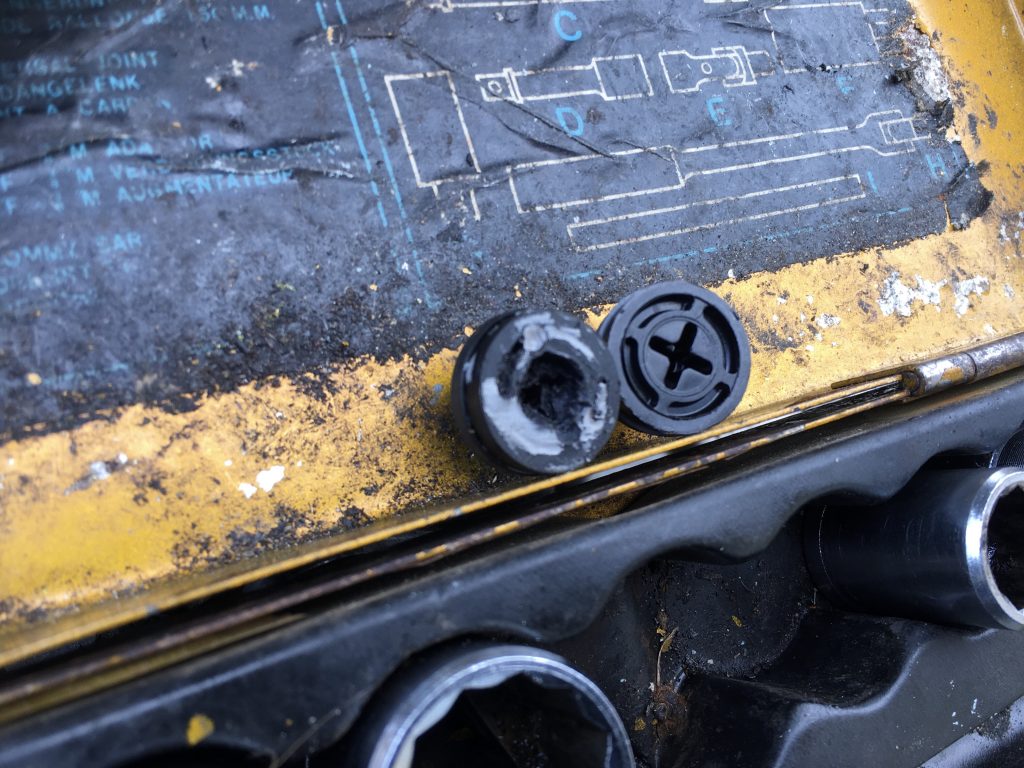
Having lived with a bodged radiator plug fix up till now, the arrival of a new genuine Mazda radiator plug was most welcome. There they are, directly below, and facing the same way. The old one is completely jiggered!
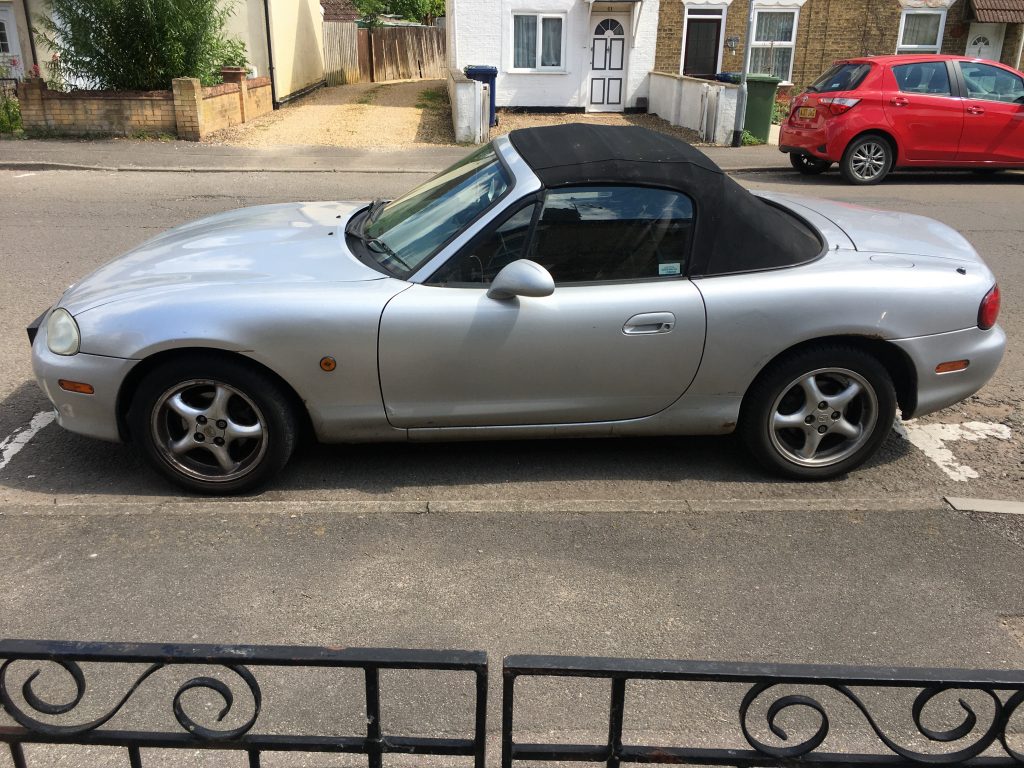
With the trigger wheel properly installed, and the new radiator plug allowing a coolant refill, I took her around the block, and then parked her up in her accustomed spot. And all was well! (Aside from the persistent coolant leak!)
By close of play today the engine was running much more smoothly. And where before she’d struggled as you increased revs, she was now sounding consistently healthy across the whole range. Result!