Looking after Hannah’s girls, Ali’ and Sofi’, my nieces, this weekend has been really good medicine for my troubled mind/soul!
The sun even made a welcome appearance.
The weather today alternated between gloomy grey overcast skies, with drizzling rain and bitterly cold winds, and rather pleasant sunshine! Luckily we got a bit of the latter whilst out.
We need a hammock!
I tried out a rather robust netting hammock, of which there are two. It’s fab! We need something like this in our back garden. Sooo relaxing!
Teresa and Sofi.
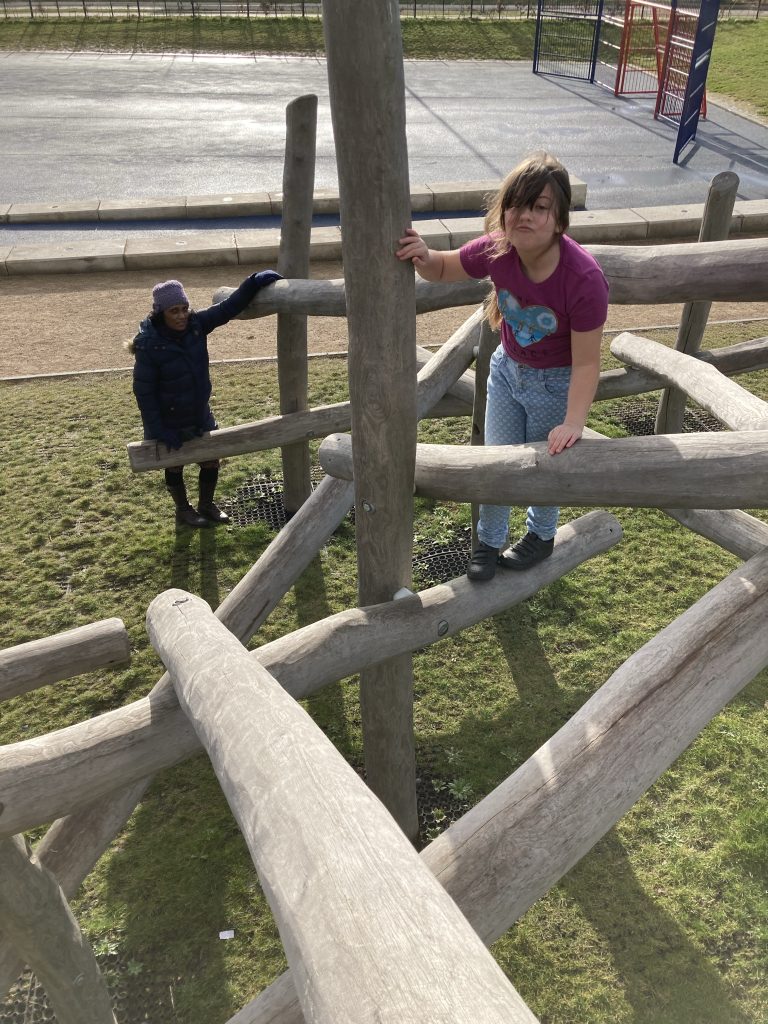
The Northstowe park we went to has a kind of open-air public gym. I think all human habitations should have such municipal amenities.
Ali, atop the the rather nice timber climbing frame.
If you sh*t your pants, you don’t wear them over your trousers. That’s one of my mental images re why people tend to try and hide depression.
After a good long spell of, dare I say it, genuine contentment and happiness, or at least some of that, plus plenty of more everyday equilibrium, ye olde Black Dog has returned, as a drooling ravenous and cacophonous wolf-pack.
Over the years I’ve called the Samaritans a number of times. When I’m at my wit’s end, and feel I have nowhere else to turn. I don’t want to further burden Teresa, or family, or friends. Everyone has enough troubles of their own. And besides, I don’t want to be that depressing baleful broken record nobody wants to hear.
Most times I called The Samaritans in the past I’d hang up in disgust part way through the call. Feeling that it was not helping at all. Maybe even making things worse? But recently I’ve called them in a spate of desperate moments, including twice in quick succession yesterday.
And this time I was just venting. Maybe I was simply just much worse? So much so that their service did actually work for me. Thank goodness they are there to listen. I really don’t know what might’ve transpired without that safety valve.
Well… ‘least said soonest mended’! As several of the ‘downstairs’ characters in You Rang, M’Lord were always saying.
Without giving too much away, I hit some sort of crunch or crisis point this evening. Not a pretty sight.
Thankfully some things were in place to minister to a mind in turmoil. And I appear – for the moment at least – to have weathered this latest storm.
It’s been brewing a while. I kind of knew it was coming. I’m hoping it was like a pressure valve releasing. Fervently and devoutly wishing for better days ahead!
The two R. Crumb pics illustrating this post are chosen purely for their ‘poetic truth’; they aptly get across where my head was at today. Melt-downs and explosions!
I’d kind of like to get into some of the nitty-gritty. But I’m too close to it right now!
Some while ago I posted excitedly about ordering a bunch of groovy green tops. Well, turns out the company in question are Chinese bandits. They pinch pics of expensive fashion-wear from genuine makers/sellers, and pretend they’ll sell you it for peanuts. Should’ve known it was too good to be true.
The only upside is that I filed a complaint and a request for a refund. And, somewhat to my surprise, they did refund me. Now I’m worried they might be flogging my card/account details! This and another recent and similar farce have taught me to NEVER EVER buy clothes off FB marketing links!
I’ve been enjoying a relatively prolonged spell of happiness. Or rather I was enjoying same, up until very recently. Witness my post of 8/11/‘21.
A few times recently I’ve had distinct wobbles. See the recent Nick Drake referencing post on poetry and depression. But tonight – or maybe today/this afternoon? – it, depression that is, hit me really hard. Like being squished by an elephant (with red painted toenails, perhaps?) who’s fallen or leapt from a very high tree!
It can feel like having been psychically streamrolled. One feels flat, dead, dull. A bit like the depressive painter from The Fast Show, everything turns to black. Sheer Dread is the dominant hue.
Staying with the road-building vehicles metaphor, it’s rather like being bulldozed, or, to reference a Black Metal act of yesteryear, Killdozed. (Not the sort-of famous band Killdozer, out of Madison, Wisconsin.)
I actually found myself ringing The Samaritans, as Teresa prepared our dinner. I hung up on the poor volunteer when Teresa came in to announce that dinner was ready, and asked who I was speaking to. I told her who it was; when she asked why, I replied ‘I’m feeling a little down.’
That’s a bit of an understatement! I don’t know about other folk. But I’ve had numerous depressive episodes over my lifetime. I’ve found that one reaches the depths quicker with each visit: at first it’s a gradual (and over time) deepening descent. Later down the line you can teleport from apparently fine/normal directly to stupefied zombie instantaneously.
Anyway, I had a bath, ate my dinner, watched a bit of snooker, and Teresa made us pancakes. It is, after all, Greasy Tuesday! I tried to still myself, and silence the looped mantras of hopelessness that are the usual internal monologue at such times. And, much to my surprise, the pitch black waves of the Ocean of Doom gradually receded.
One characteristic of depression – one I don’t always suffer from – can be that literally nothing is interesting or pleasurable. I was veering that way today. Indeed, I was careering off a cliff of nihilistic oblivion. I’m very surprised I’ve pulled through, to be honest.
Wallowing in sh*t!?
Being still and quiet, when profoundly depressed, sometimes simply means stewing in melancholy. Luckily today I was, after a while floundering, able to clamber out of that particular whirlpool, or sidestep that ‘twister’?
One of the things that helped, I think, was trying to recall what’s good in life for me at present (despite the pitch black tsunami of emotion!): I’ve just been given a car! I have a loving wife, who’s come home from work and cooked us dinner and pancakes. And so on.
I’m also thinking (yet again!) that perhaps I should go tee-total. Either just until I’m out of this funk, or perhaps longer term? I have definitely been leaning into the sauce as a self-soothing or self-medicating crutch, or distraction. And, whilst it can be pleasurable in the short term, on balance I think it’s more harmful than helpful.
There are some other issues, but I’ll leave it at this for now. That’s enough candid confessional stuff for the time being, methinks. I just hope I can win the fight against my own demons, and/or the slings and arrows of this ol’ life.
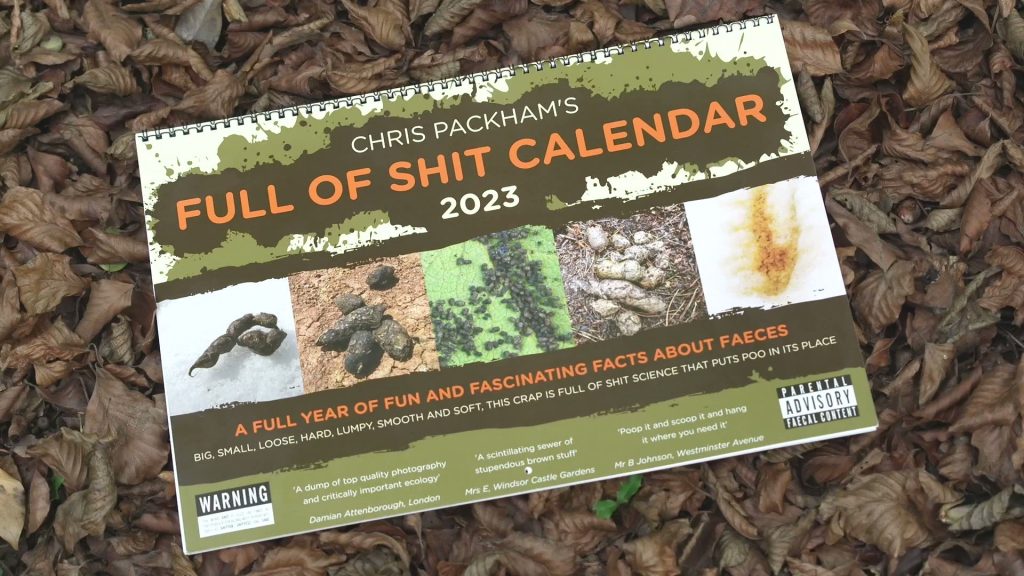
*On a much cheerier shit-themed note, I do love Chris Packham’s crappy calendar!
I recently got back in touch with a friend, Melanie de Smith, who I hadn’t seen for several decades. We found each other via another mutual friend, on Facebook, How they know each other I’m yet to find out.
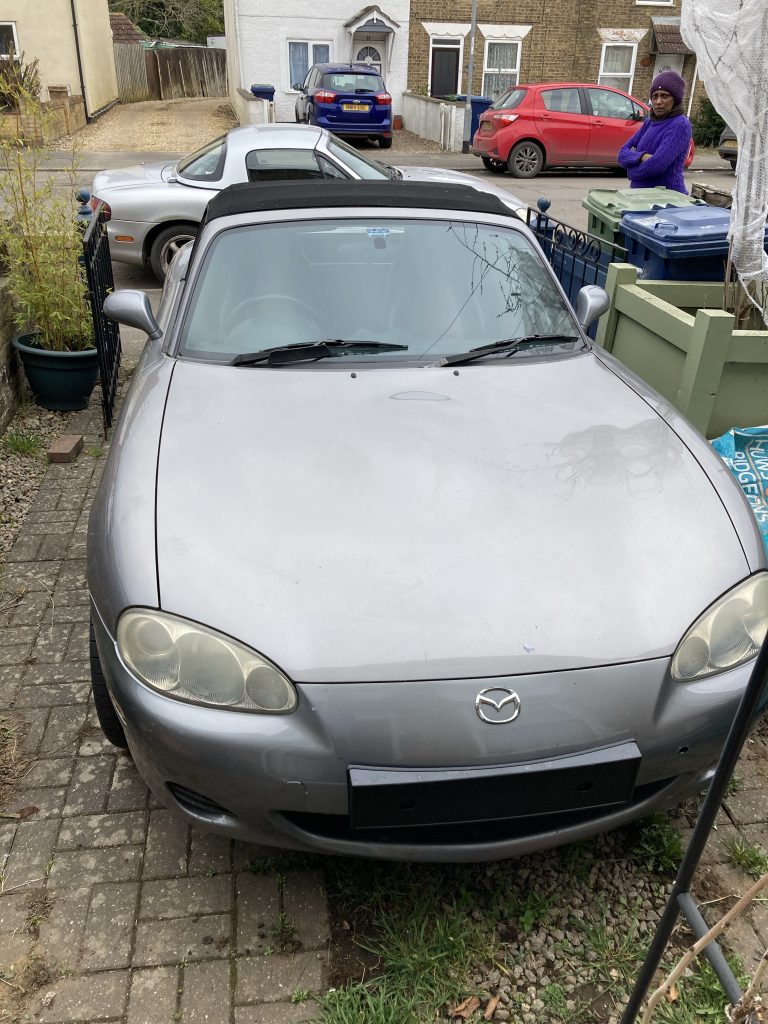
Mel and I have now met a few times. The first time was at Amy Ellis’ last birthday party. And it there that we discovered we both have MX5s, of similar style and vintage. Hers is 19 years old, and has done about 110k, mine is 20, and has clocked up over 190k!
They’re neither of them in tip-top shape. Mine has the ubiquitous rust issues. Hers has those as well, although (poss’?) to a lesser degree, and, she tells me, needs a new clutch soon. Judging from how it drives, she probably needs rear brake callipers as well.
And, rather tragically, both our cars have had the CATs stolen in the last 6-12 months! I only just had mine (and most of the exhaust) replaced! The idea is, with the two MX5s, I might just get one that’s a runner. And keep the other for spares. Or poss even a project re-build?
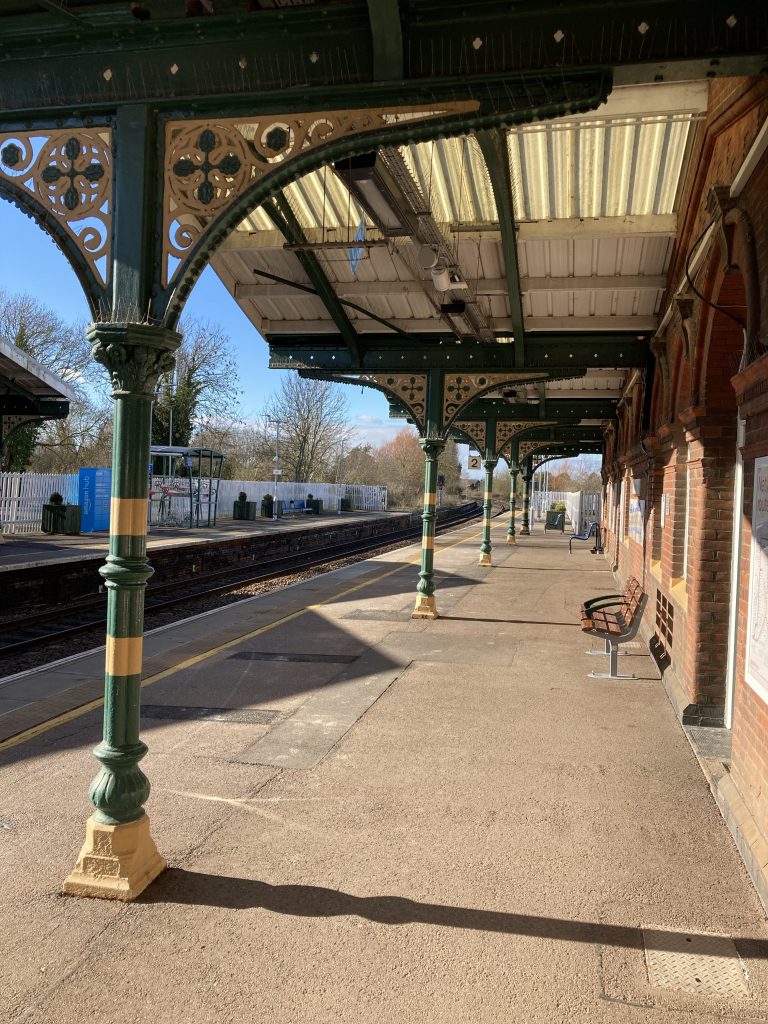
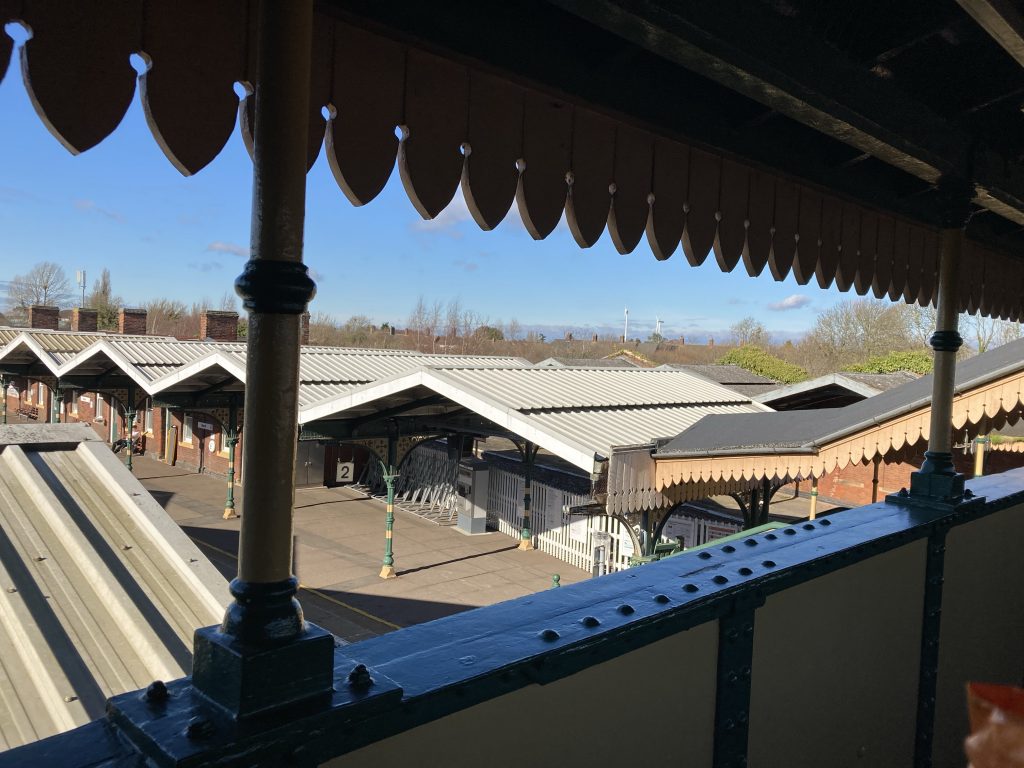
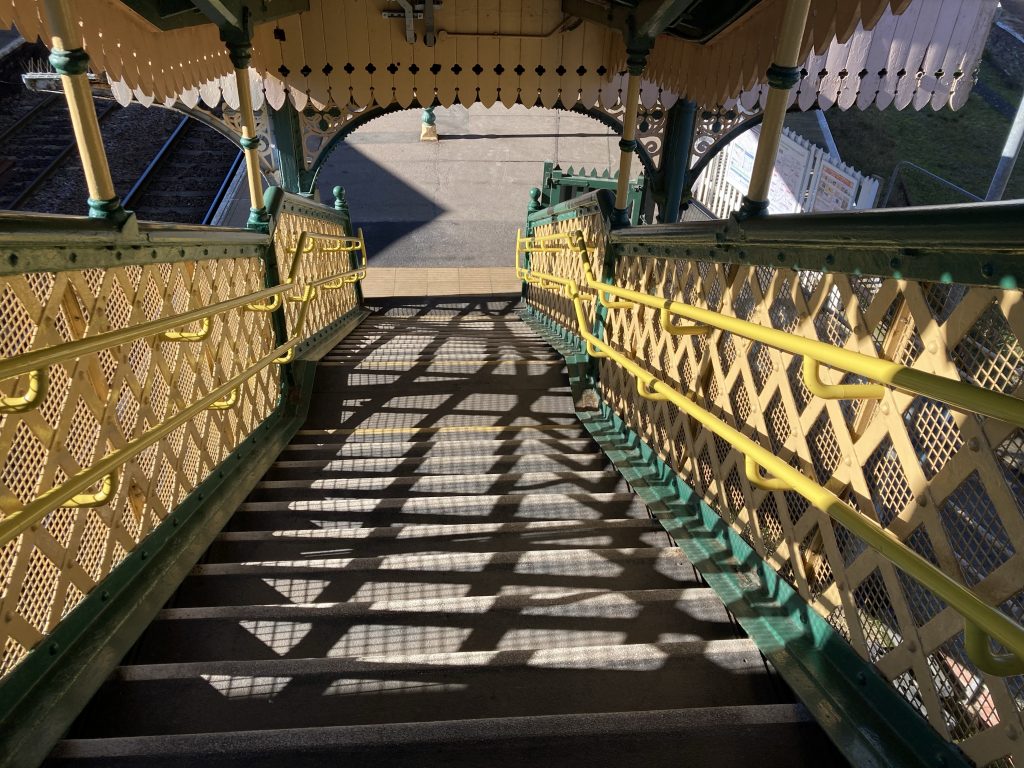
Southbound platform at March Station.
I took the train from March to Cambridge, and then a bus, from the rail station to Cavendish Avenue, where Mel and her car are/were. I always feel a bit like tourist when I’m on public transport!
View from March rail station foot-bridge.Nice shadows!
That was all yesterday. Today I fitted a new number plate holder. Mel had broken the old one, in a bump. I also gave the car a light partial wash, in the muckiest areas. Just to spruce her up a bit! Need to get her declared SORN now.
It’s Sunday, and I got up very late. Midday! I sold a couple of 200W LED lights to a guy calling himself ‘Danny Fury’. I didn’t get anything like their real full value. But we need to thin down our clutter. I got £60 for the pair.
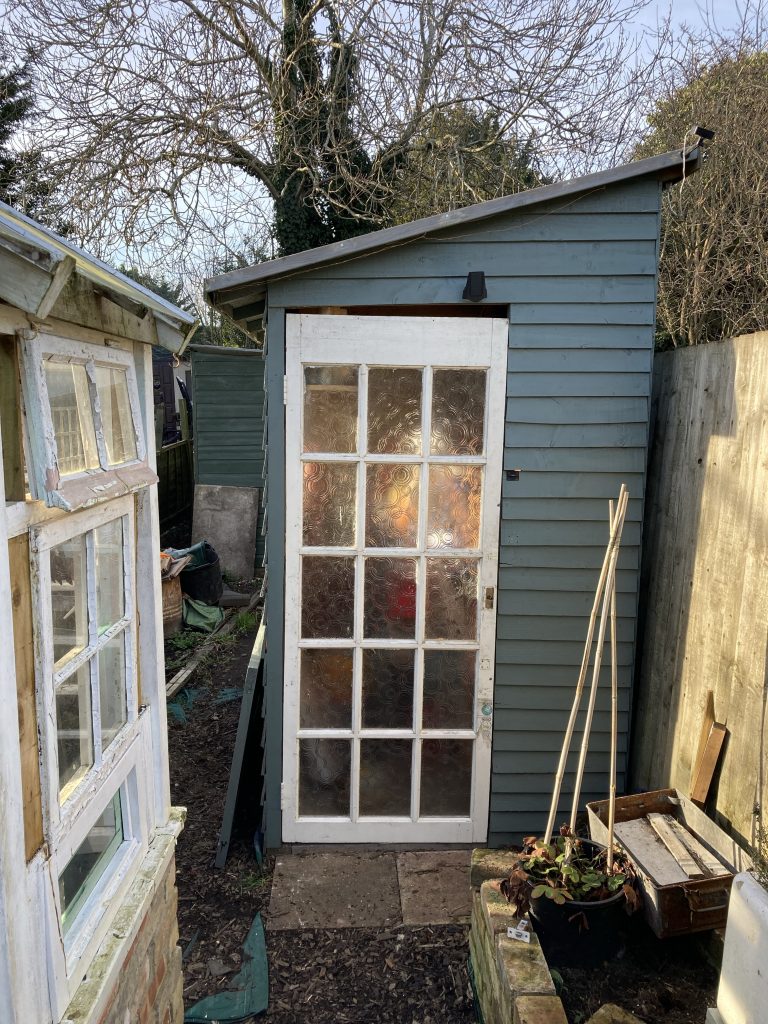
I’ve also been moving stuff from the grey shed (shed #3!) into the big green shed (#4!). And then I finally got around to what is, I think, my third (or poss even fourth?) attempt at hanging a door on shed #3. I’ve come to realise that this entire shed must be a leaning-to-the-right parallelogram!
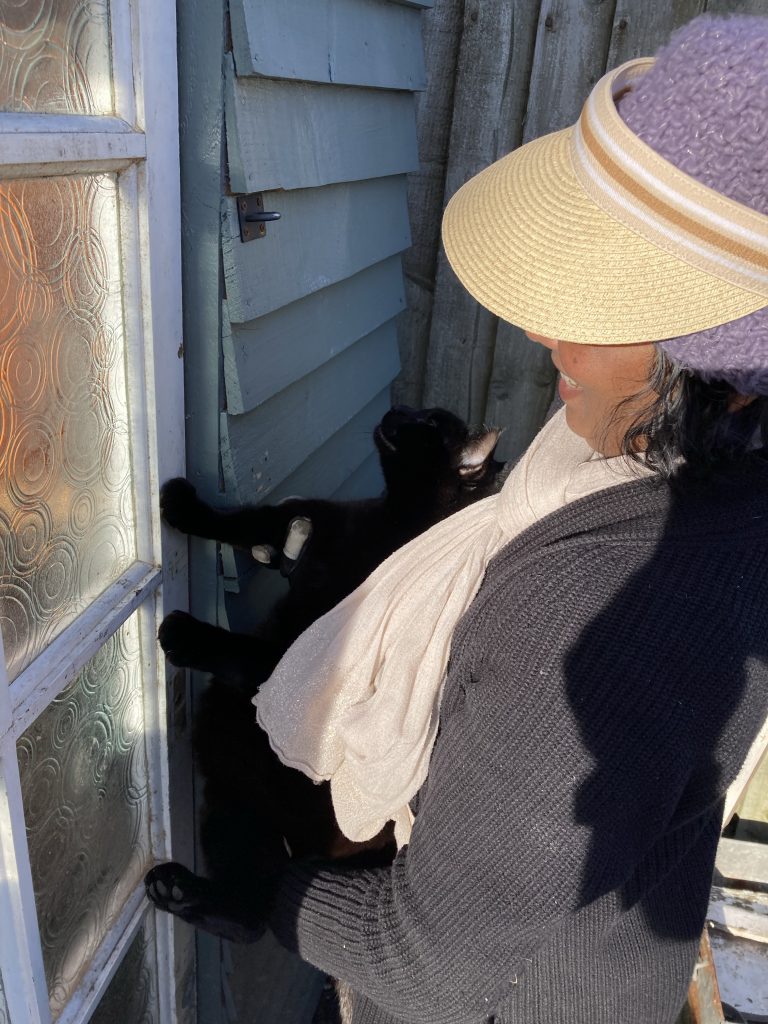
Head foreman Chester checks my work!
The door itself is cut pretty durn square. And the horizontal cladding is pretty durn horizontal. And yet the door seems to lean right, which is most evident at the top and bottom. What this should teach me is to take more care when erecting such structures, to keep all the main members running as straight, true and square as I possibly can.
Anyway, with a much more satisfactory door in place than heretofore (the previous door just kept failing to pieces!), next I’ll be adding a door-handle and locks.
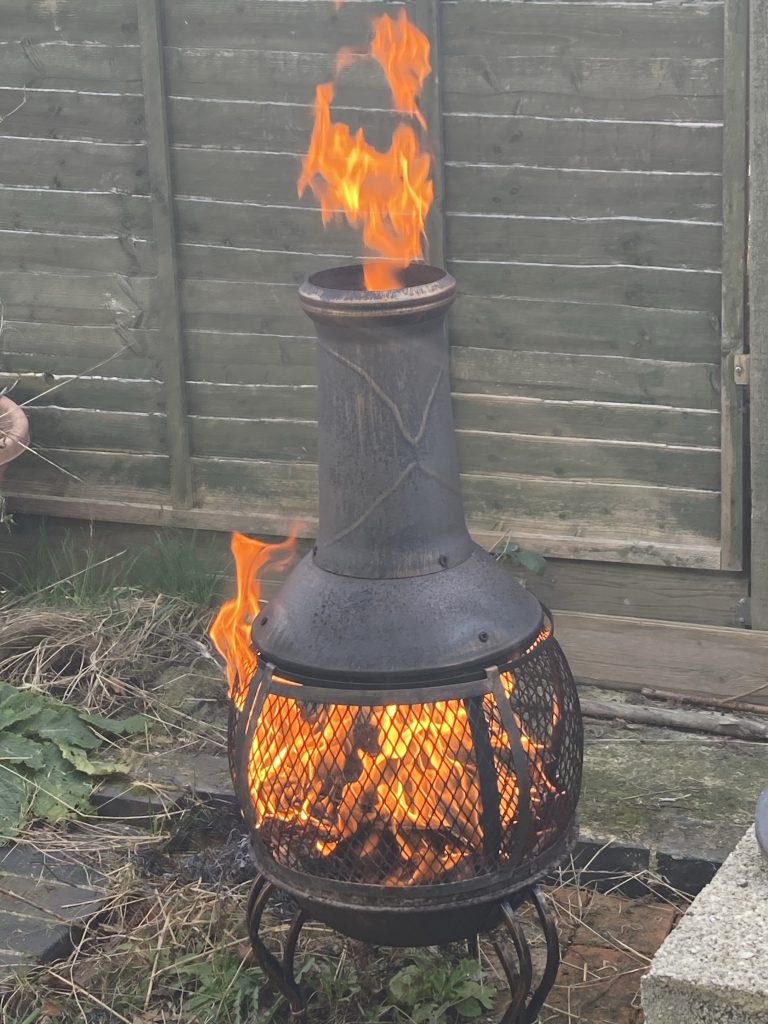
A lovely blaze!
Today was nice enough to eat our lunch outside. Which we did. Plus we had our first fire of the year. Something about fire is so primal! As Tom Waits once sang, ‘all Hallowe’en orange and chim-e-ny red’!
Well, several days ago now – ‘twas ‘pon the Sunday last, I do believe? – I finally finished the loft flooring work.
I first put a middle section of board up there three, four, or poss’ more years ago. That was a chequerboard affair of small tile like boards.
Pic
And then, ages later, I did what I’ll call the right or back side, roughly doubling the available floor space. This latest bout has seen me do the left or front side, tripling the original floor area.
There’s still loads to be done up there: partitioning us off from the neighbours (at present) contiguous loft space; fitting electrics, so there’s proper lighting up there; poss’ even turning the resultant space into a proper walled (& insulated room)?
Pic
And quite apart from any of those further shenanigans, there’s the by no means small matter of tidying up all the crap that we have up there, so as we know what we have, and, if need be, can get at it. At present, like everywhere else in our home, it’s a godawful mess!
From the riff-mongous original and opener, Whole Lotta Love, to the closing blues cover Bring It On Home, it’s a tour de force of dynamics, group interplay, and just damned fine music.
The linked YouTube video, above, is the entire album, and allegedly a remaster (2014?), from the official Led Zeppelin YouTube channel. Listening to it on Bluetooth headphones on an iPhone, I’m not sure I can hear much of a sonic improvement over past iterations. I’d need to do an A/B comparison, and haven’t done so.
But it’s always sounded great. Despite it’s having been composed, performed, recorded and mixed in a very fragmentary way. Something engineer/producer Eddie Kramer attributes to Jimmy Page’s guiding hands (and ears!).
There’s not one bad track. The weakest is Livin’, Lovin’ Maid (She’s Just A Woman), which the group never performed live, reflecting their opinion of it. It’s the most dated sounding track, both musically and lyrically. But personally I still love it. I’ve read that it was about a groupie!
What struck me the most on listening to this album today was manifold: they don’t make ‘em like they used to! Like much music of the era, this poops all over modern pop from Olympian heights, most decidedly not in terms of hi-fi gloss, but rather in terms of soulful art.
The chemistry or synergy of the group is just incredible. Also, the range, breadth and depth, of dynamics and intensity, is truly astonishing; ranging from the lightest of touches to a heaviness that constantly causes people to cite/credit them as forbears of metal, often in the same song!
Often, as with Heartbreaker or Ramble On, this range is within the one track! It’s even true if Whole Lotta Love, albeit that everything about that number is dialled up to eleven!
Another thing that struck me is the virtuosity. It’s a different kind or order of skill to later prog monsters like ELP, or the stick in trade fluency of many jazzbos, but it really is astonishing. Each and every individual in the group has that level of skill on their instrument, from Plant’s incredibly distinctive vocals, via Jimmy’s guitar, to Bonham’s legendary drumming, and never ever forgetting the ridiculous multi-instrumentalist abilities of bassist extraordinaire, John Paul Jones.
Cream wore their much lauded – and self-trumpeted (mostly by drummer and founder Ginger Baker) – musical chops rather heavily and way too self-consciously. Led Zeppelin, on the other hand, just ooze class, pegs is in spite of the bombastic mythologising that has surrounded them. They loved to play, and they played brilliantly, making it sound easy and effortless, but they really were each of them absolute mothers! Never was the epithet super-group more apt, in the rock context.
Something else – something Van Halen were to pick up on later and make even more of a feature of – and that sometimes goes by unremarked, is that on the first few Zep records, and perhaps this one most of all, the whole group provide backing vocals. To great effect, in my opinion.
Ginger Baker is a foundational influence for me, but he was a bitter and snarky man, capable of being great artist and musician, and total and utter dick. His views on his own abilities versus Bonham, most especially his allegation that Bonham couldn’t swing, are beyond laughable or even contemptible. They’re so surreally far off the mark as to bring Baker’s perception and/or mental acuity/health into question. But that’s another topic. Dave Grohl was much closer to the mark when he said of Bonzo, ‘he… coming out of his ass!’ [find quote. Drummer mag!?]
Talking of Bonham, if I were being utterly merciless (not to mention very unhip!) I might say that Moby Dick was next, after Livin’ Lovin’, in terms of weaker cuts. But first off, I’m a drummer myself, and secondly, I love – no, I adore – both the riff and the guitar breaks, as well as Bonzo’s incredible solo. And, as a jazznik, instrumental skills and solos are not anathema to me, as I hear they are for some peculiar folk.
Talking of jazz, I believe I’ve read somewhere that it was seeing or hearing Joe Morello, Dave Brubeck’s stellar drummer, drum with his bare hands, that inspired Bonham to do likewise. Morello is, like Bonham, one of the great drummers of all time. And soloing on drum kit with your bare hands? It’s not for the faint-hearted.
As a rather bonkers footnote, here’s the CCS (or TOTP Orchestra!?) version of Whole Lotta Love:
With flute instead of lead vocal, and lots of horns (inc. a bit mimicking the famous guitar break), this is a surreal take on Zep’s most famous and indeed signature riff-based Leviathan. Mush all this oddity has some nostalgic vintage charm, as it was used as the TOTP them music for about a decade. But compared to the Zep original? It’s like popcorn or tinsel.
But one reason I include it in this post is because of the Alexis Korner connection. I’ll leave it at that for now, however, as it’s late, and sleep hygiene demands that I turn in.
Footnote to the footnote: Korner and Plant were recording together, until Jimmy Page, himself a former Korner acolyte, pinched Plant for his ‘New Yardbirds’. This is one of two recordings from that unfinished project. Plant’s voice is fab. The rest of the track less so! It helps emphasise how great musicians sound so much better with other great musicians.
Aaaargh!!! After sleeping like a log at my sister’s last night, I’m back home, and unable to catch those lovely ZZZs… dang it! Have come downstairs, so my huffing and puffing and tossing and turning don’t wake the Mrs. She could sleep for England! She’s an Olympian sleeper. I’m very jealous!