
I’ve taken a Stanley Handyman #4 from my new stash of planes, and, following advice and info gleaned from several sources, primarily Paul Sellers and James Wright, I’ve turned it into a scrub plane.
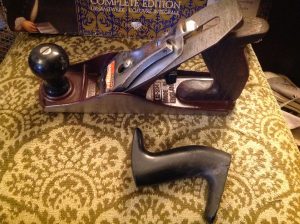
Previously I had just one plane, also a Stanley Handyman #4. It’s because I already had one, and because they’re not top of the line planes, that I chose to make my second Handyman #4 into a scrub plane.
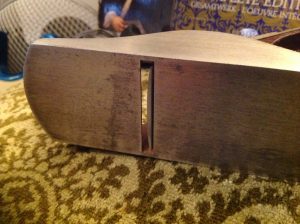
I set my home-made workshop compass to a radius of six inches, and made a paper template, and then inked in the radius on the plane iron, a la Paul Sellers. I ground the blade to remove the inked in areas and produce a curved iron, and a suitable 30°-ish bevel, using my Bosch belt-sander, and a pot of water to keep the iron from overheating.
That part proved to be the easy bit. While dismantling the plane to inspect it, the plastic handle broke. I’ve superglued it back together. But I was going to replace it with a wooden one anyway, at some point. This rending asunder brought that point into the immediate present!
This particular part of the plane renovation wound up taking ages. I’m not sure what wood it is I’m using – sapele, perhaps? – but it’s very dark, very dense, and gives off a strange smell when being machine-tooled. I spent hours shaping the handle, with a rasp, file, and sandpaper. But, I’m not too happy with it; it still looks, and to some extent also feels, very… erm… well… rustic?
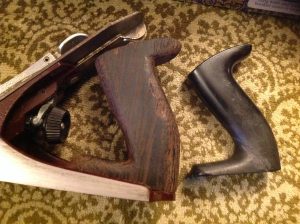
As well as spending way too long shaping the new handle, I made a pigs ear of drilling the hole through it, so as to pass the long screw through it, and attach it to the plane body. Next time I make a plane handle – and I plan to replace all/any plastic plane handles with good ol’ wood – I’m going to have to be a lot more efficient.
Anyway, I finally finished a round 12.30. As in half-past midnight. I’ll have to be patient and wait till this evening, after I’m done teaching, to try it out. I’m a little concerned that the iron protrudes too much, but it’s wound back in as far as I can get it.
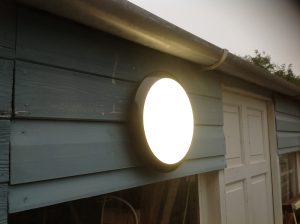
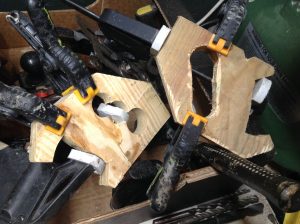
Other things I did in the workshop today included hooking up a sensor activated light, for illuminating our very dark back passage (snicker), when walking to and from the shed. I roughed out two more wooden saw handles, both of which split and required gluing. And I also made a pen/pencil holder, from scraps of circular plywood, to go on the side of the new saw rack.
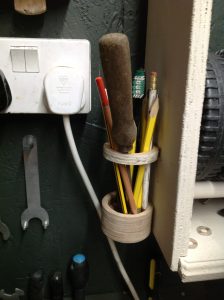
Not sure whether to paint the pencil holder in ‘elk antler’, like my saw till, or just use some oil or varnish to bring out the laminated layers. Hmmm!?
Well, it’s a long working day tomorrow. Or, I should say, later today. And it’s coming up to 1a.m. Time to crash out!