
Once again I’ve been trying to create some order in my tiny workshop.
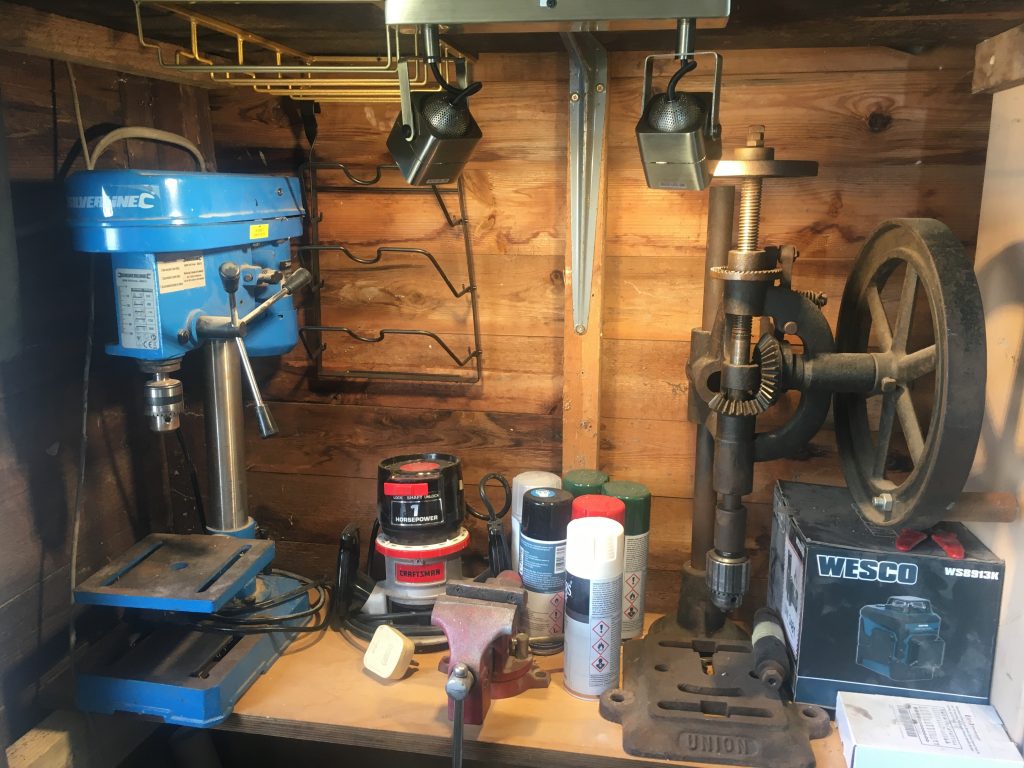
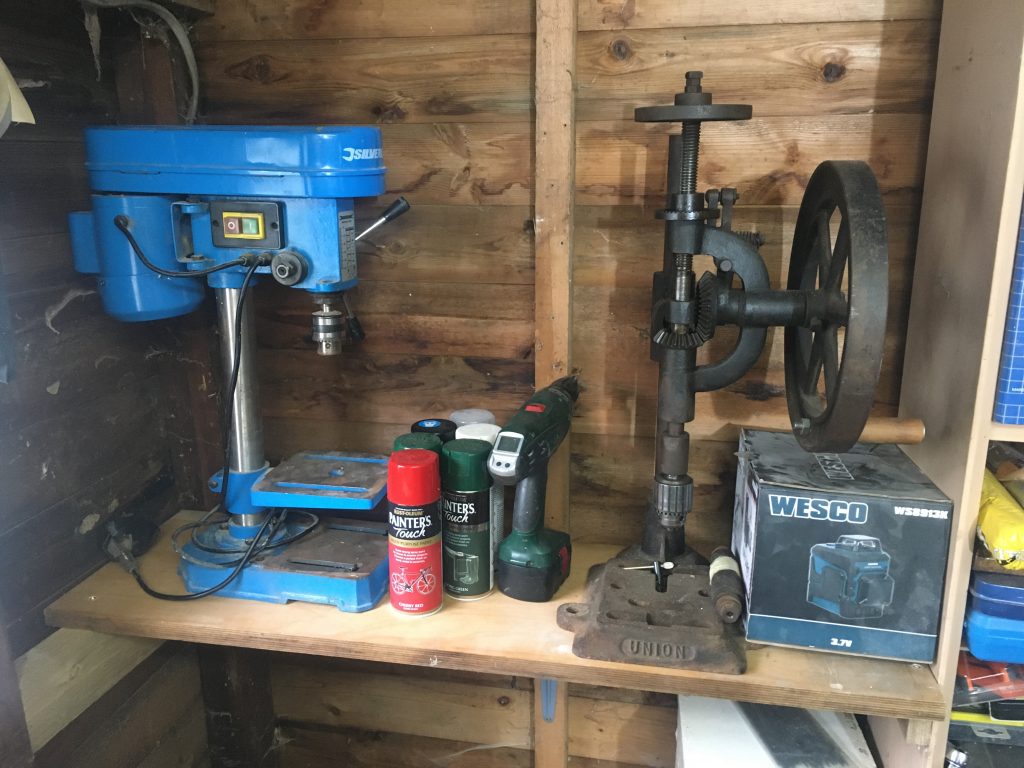
I put up two marine ply shelves (very strong!), along the left hand wall, attached in part to the shed frame itself, at one end (and in the middle), and the shelving unit at the other. I’ve put my two drill presses on the lower shelf, and all my sundry electric tools, or near enough, on the upper shelf. They’ll need proper homes in the fullness of time. But at least they’re out of the way, for now.
Sundry other fixtures, hooks and little shelves and whatnot, have gone up as well, providing homes for various items. I’m also going to make a portable tool caddy in the style of one Patrick Sullivan shares on his YouTube channel. But that’s a project for later. (See YT Link at bottom)
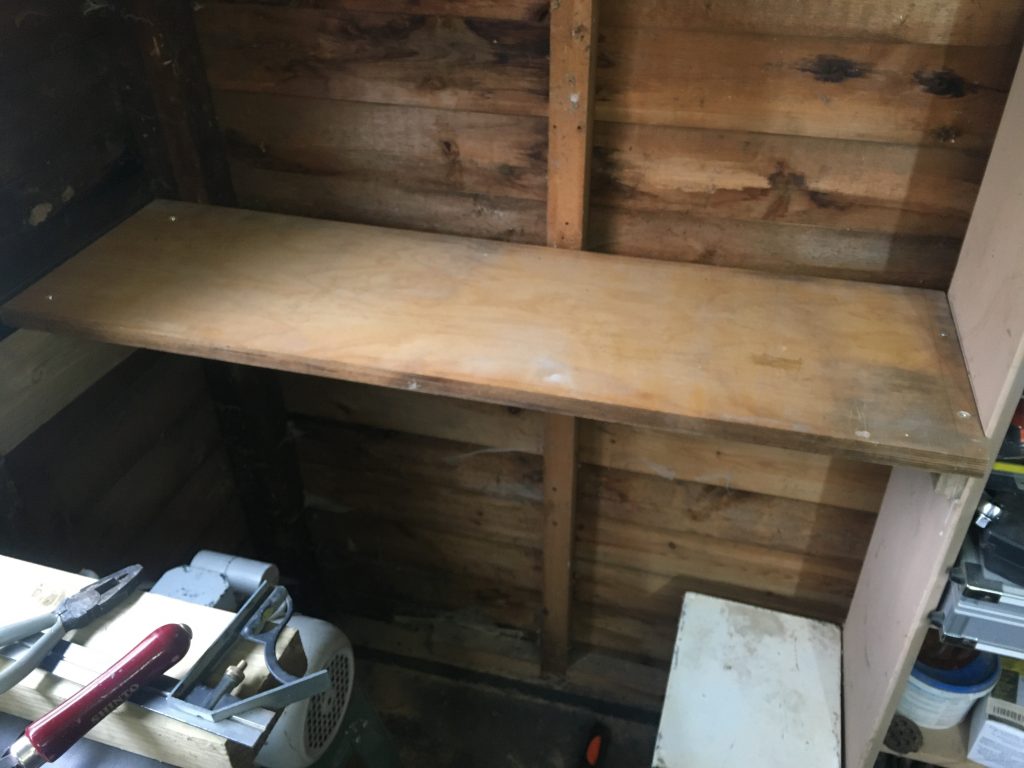
But the major job I’ve done, yesterday and today, is to finally insert a basal shelf on my workbench. Again, I’m using some marine ply I got off a Cambridge area FreeCycler, many moons ago. Top quality lumber! Expensive stuff. Very glad I’ve got a stash of it for jobs like this.
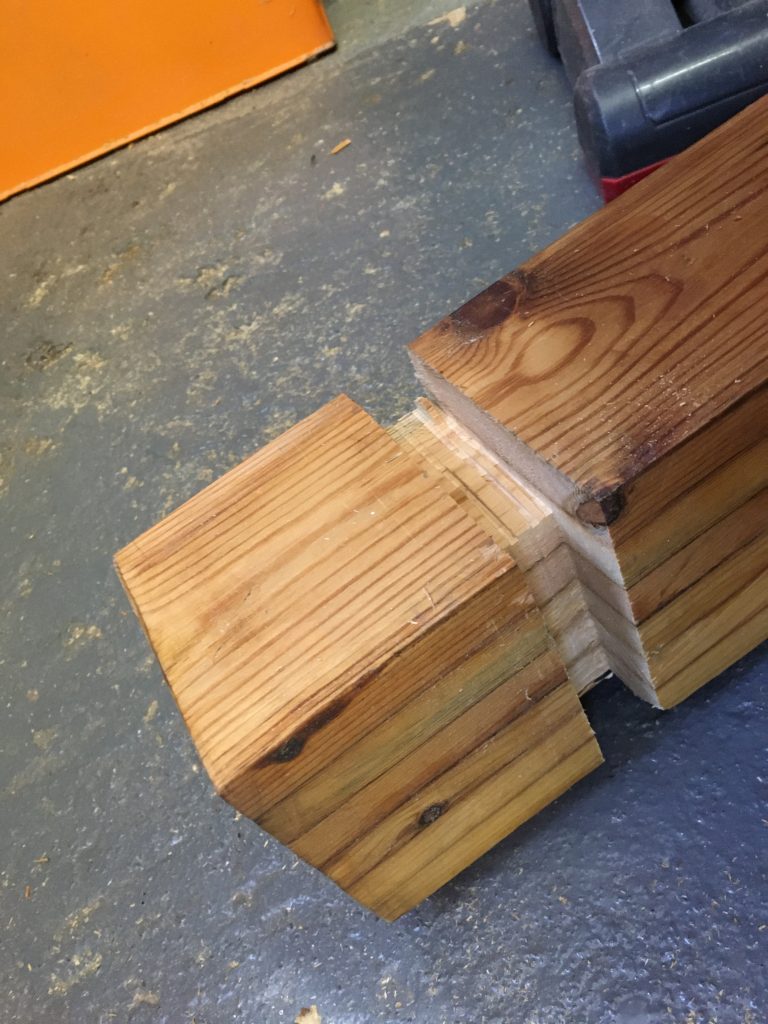
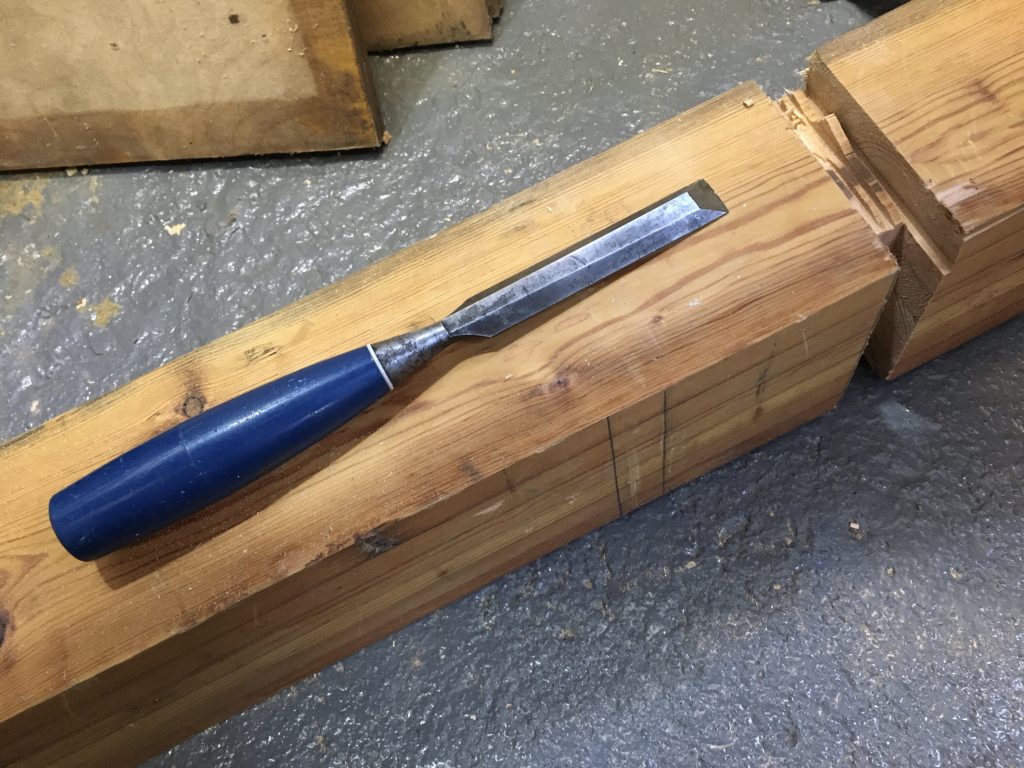
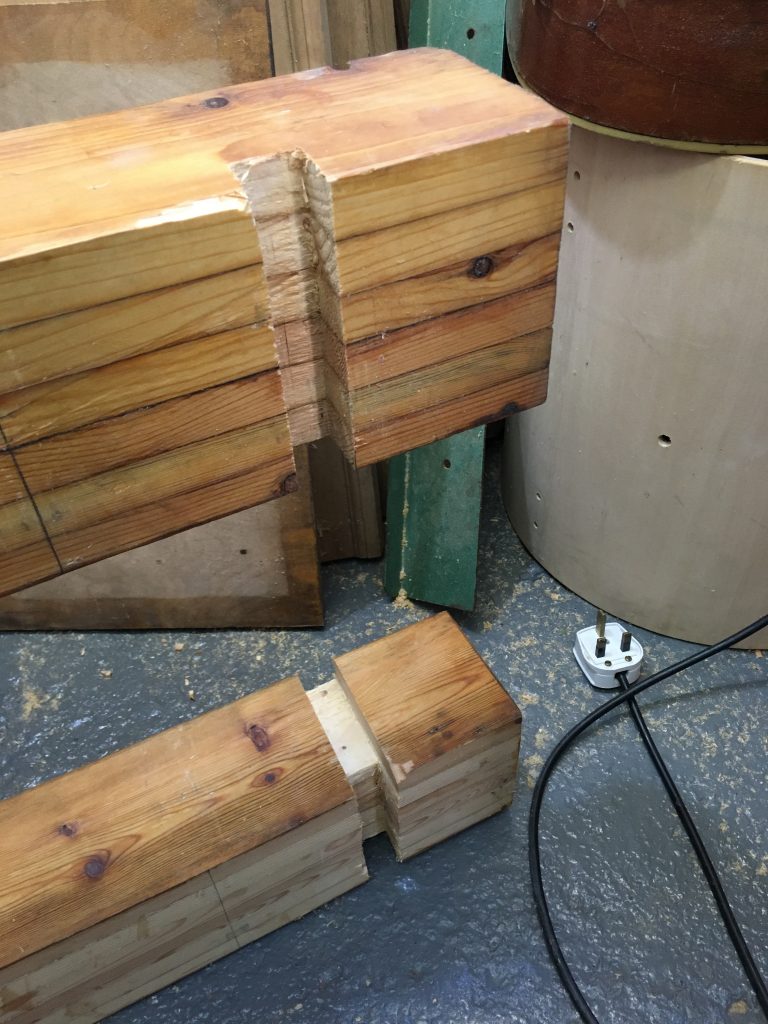
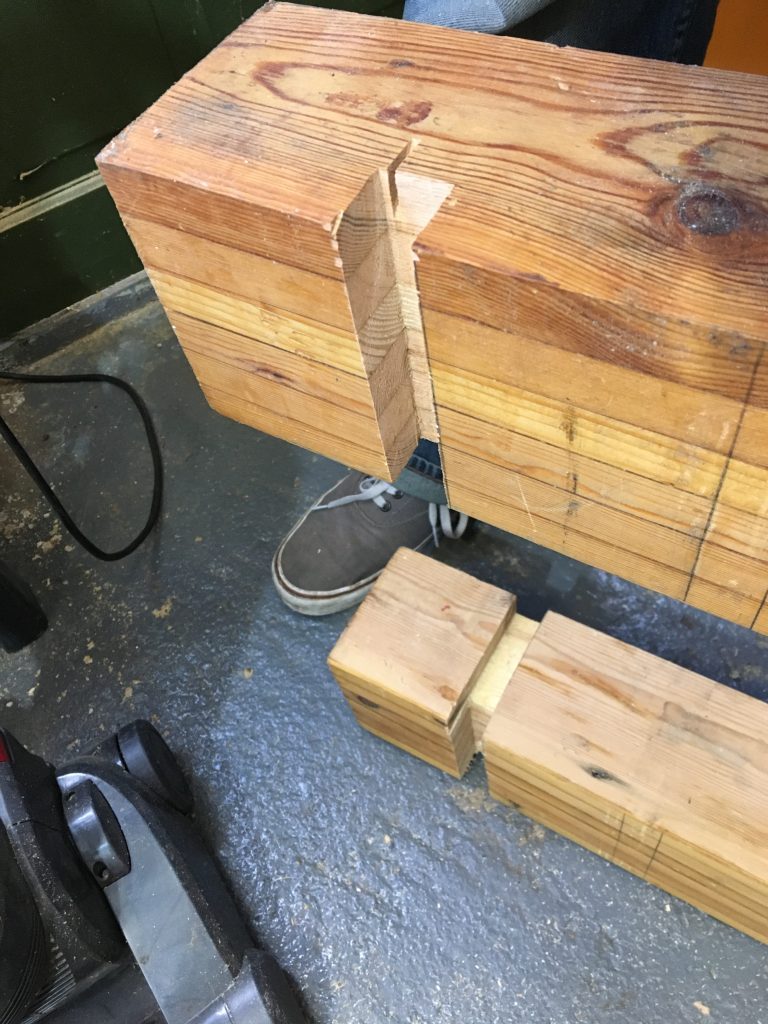
I cut the channels in the legs using a skill saw or plunge saw, set to an one inch depth. Making a series of cuts, the outer and innermost first, and the clearing a bit more wood with more passes. Then I snapped of the ‘fins’, leaving behind a little wood that needed chiselling away to make a nice flat base.
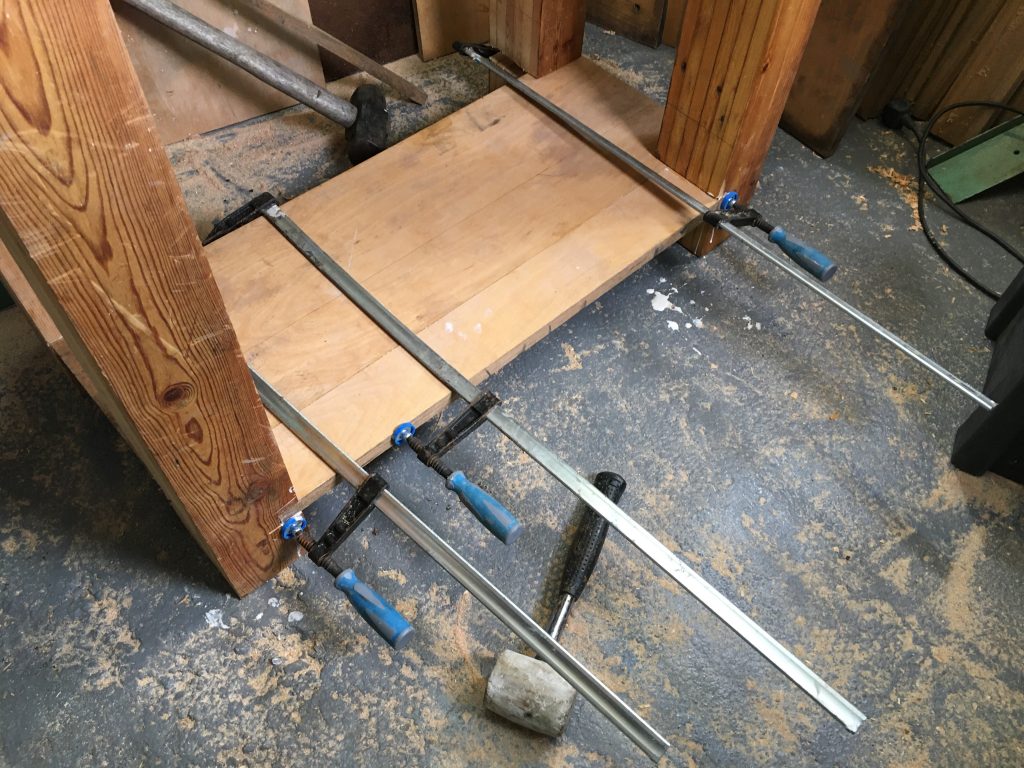
Having got the first piece in, with some glue, and a soft rubber-headed mallet to encourage it into place. I started with the central plank, which goes all the way through to the outer edges of the legs. After that, I had to cut two pieces to bring the width, or perhaps rather the depth, to it’s proper size.

The central board reaches all the way across the bench to the outer edges of the legs. It required serious whacking with a mallet, and even a sledgehammer, to get the board fully in place. I suspect everything’s a tad off, as I generally busk this stuff. I do measure. But I’m not hyper accurate.
The final two boards span a shorter width, between the channels on the inner sides of the legs. The boards are all glued in place. Clamps and a ratchet strap are helping get everything sold and reasonably well aligned.

I’m thinking that I might add another similar board nearer the top, and put in two drawers. For the time being I’ll probably use the bottom shelf as a lumber storage and/or a place for one or two oddments, equipment wise.
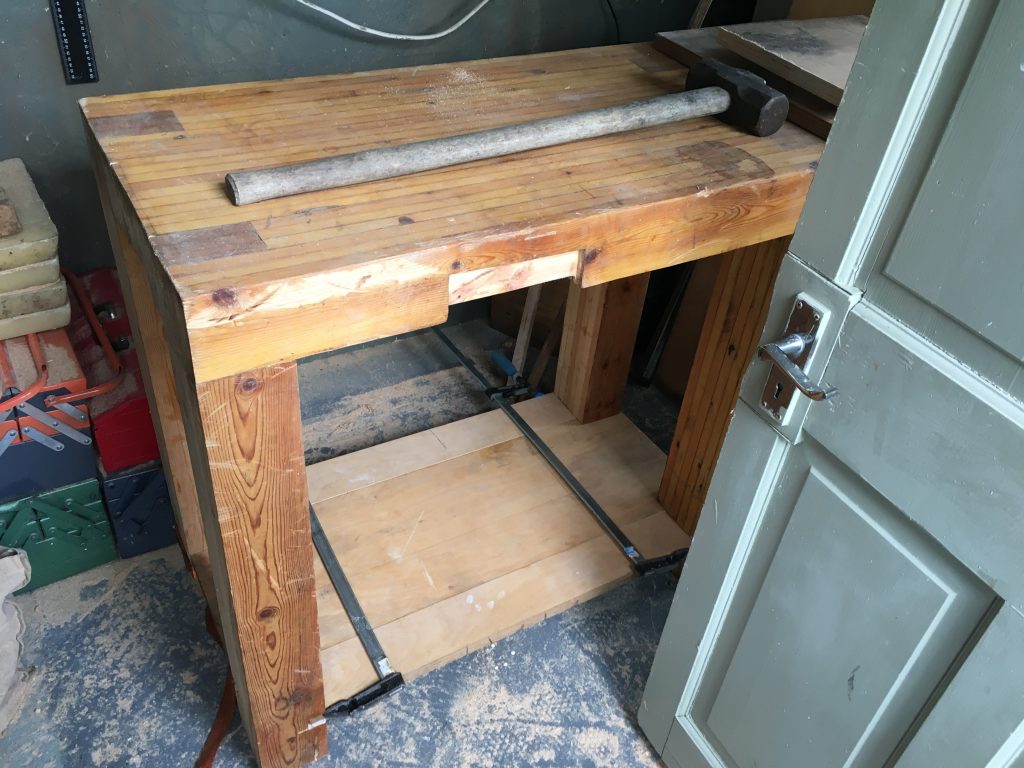
The final pic, above, shows the whole thing, albeit a bit obscured by the open door. I removed the vice, as I wasn’t happy with how I had installed it. I’m going to re-fit it, probably at the left end of the bench. I also have another vice that I might add. But I’m not sure where? On the bench, or elsewhere in the shop?
I’m also planning to add dog/holdfast holes. Although I might install a hard-wood top to the bench. My laminated pine top is neither perfectly flat nor very resilient. It’s easily damaged.
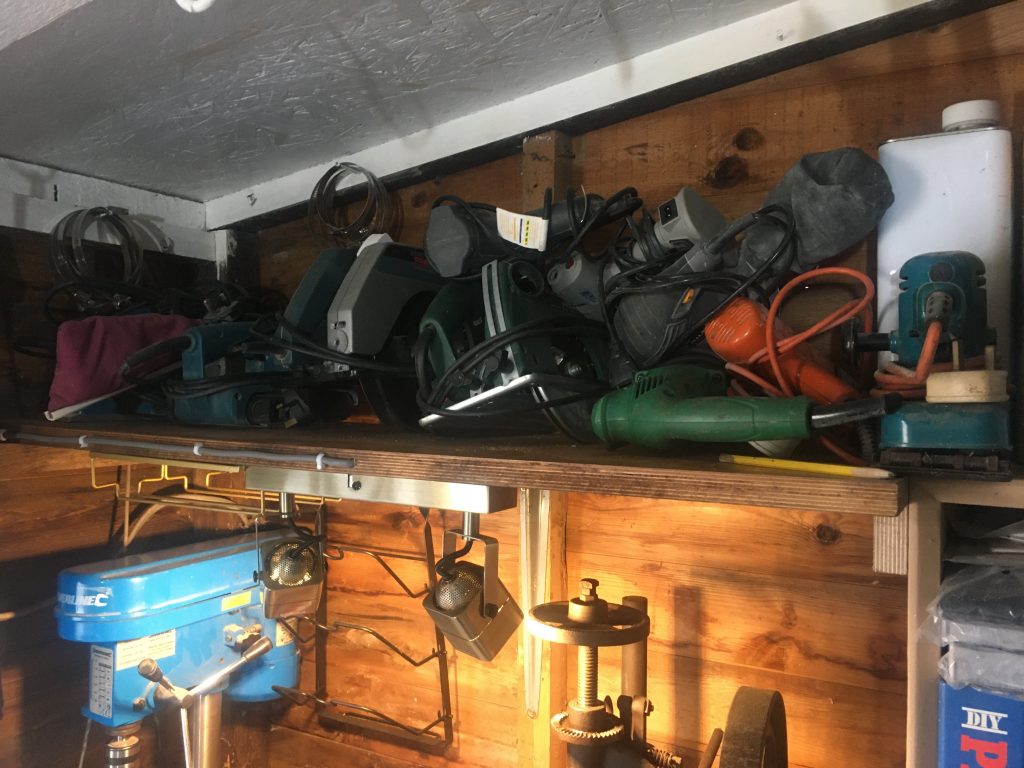
The two lamps pictured above, and at the top of this post, were Amazon Vine freebies, for review. Quite nice, although not really to my tastes. But a strip light would ultimately be better (takes up less space!). Observant viewers may spot that I ran the power to the light up and out the front of the ply shelf, so as to avoid any tools damaging it.