
I started making a tool caddy today, along the lines of the Patrick Sullivan one I mentioned in another recent post. I actually tried before, earlier in the week. My first attempt was a disaster!
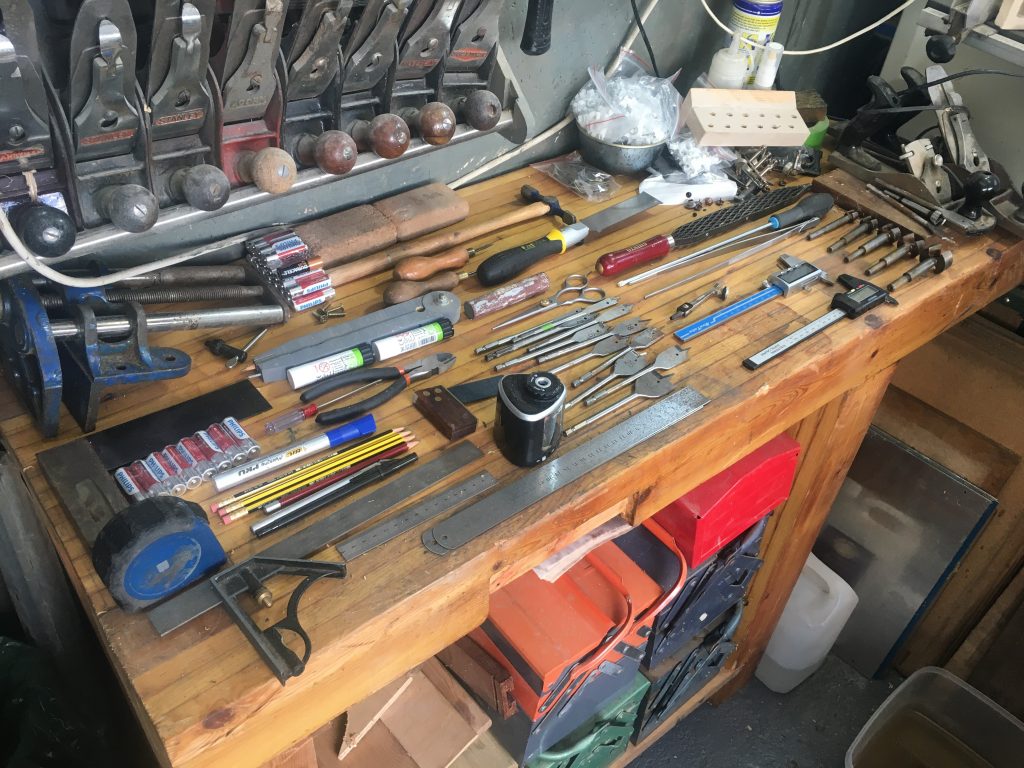
But I learned from my mistakes, and approached the task a little differently second time around. But before I get to that, pictured above are most of the tools I’m planning to accommodate in my tool caddy, laid out, so I can think and plan things.
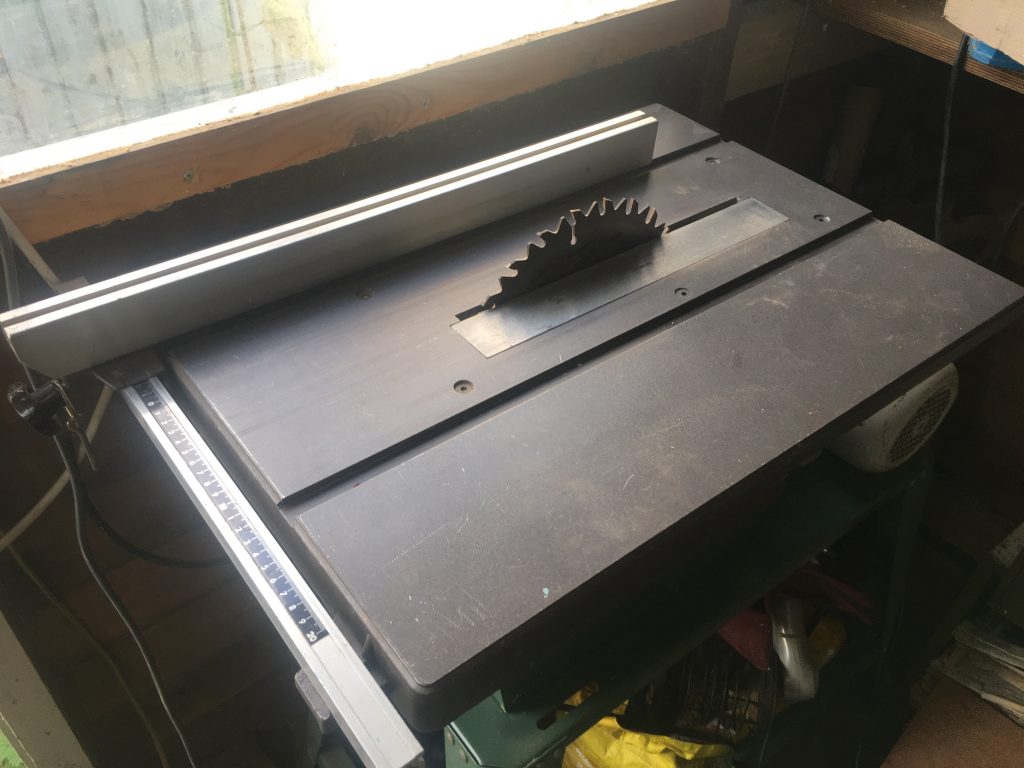
After clearing the crap off my table saw, I checked it, to ensure both blade and fence are totally square. And they are! Cool. I also cleaned as much crud and sawdust from inside it as I could. And I dug out an old table-saw sled I made ages ago, for a different saw, which needed some adjusting to fit this more recently acquired Kity table saw.
I needed the table saw to cut the back block of wood in half, as trying to drill deep holes in the uncut block was where I went wrong before. Not having long enough drill bits, or drill press type tools that would reach deep enough, the first attempts at drilling holes for certain items went very badly.
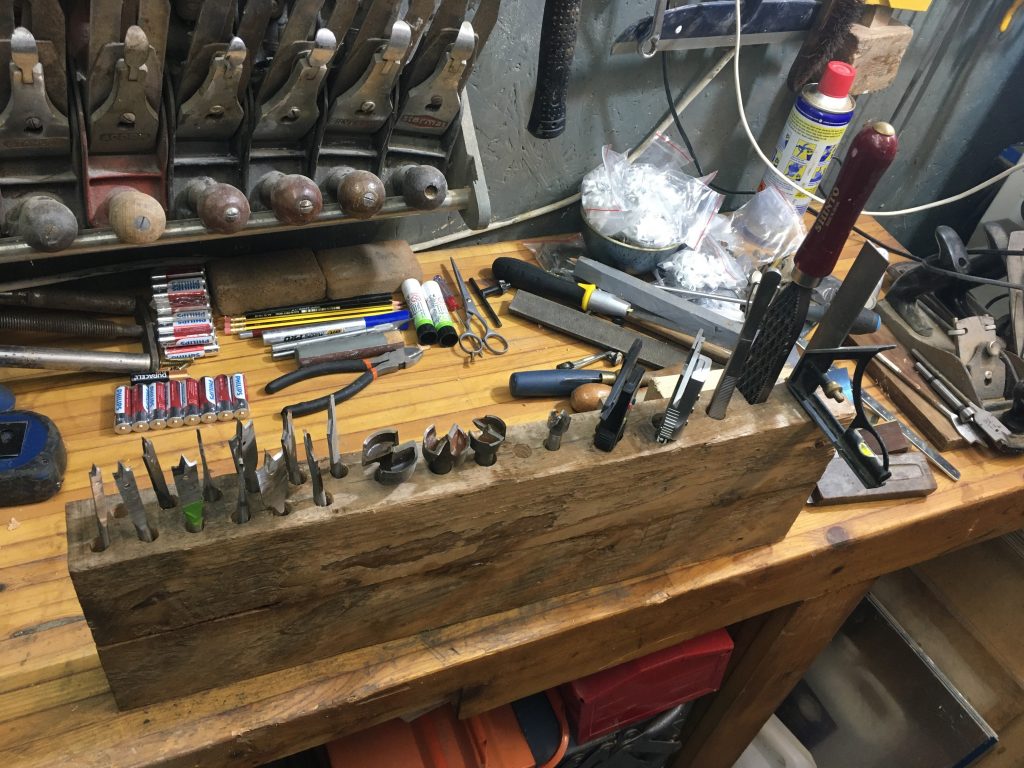
With the back block cut in half, the wood was much more manageable, and I was able to drill the holes I wanted much more easily and neatly. Once holes were drilled – some of which had to be drilled from opposite ends – I also had to cut channels for rectangular recesses, to take certain other items.
Doing this with the table-saw sled was great. I felt like a proper YouTube type maker! Next I glued the upper and lower halves of the back block back together, having drilled some of the holes and recesses all the way through the second half of the block as well.
Step two will be putting a back on this first section, for stuff like the rulers, saws, and other taller and flatter bits and bats. I’m hoping I can do that tomorrow. But for now, I’m very happy to have got stage one done successfully.
Steps three and four will be adding similar but progressively shorter blocks, in front of this back block. But that’s for later this week…