
Today I had my current fullest teaching day. Which I’m currently doing remotely, using Teams. I’m not mad keen on remote lessons, to be honest. But more about that elsewhere!
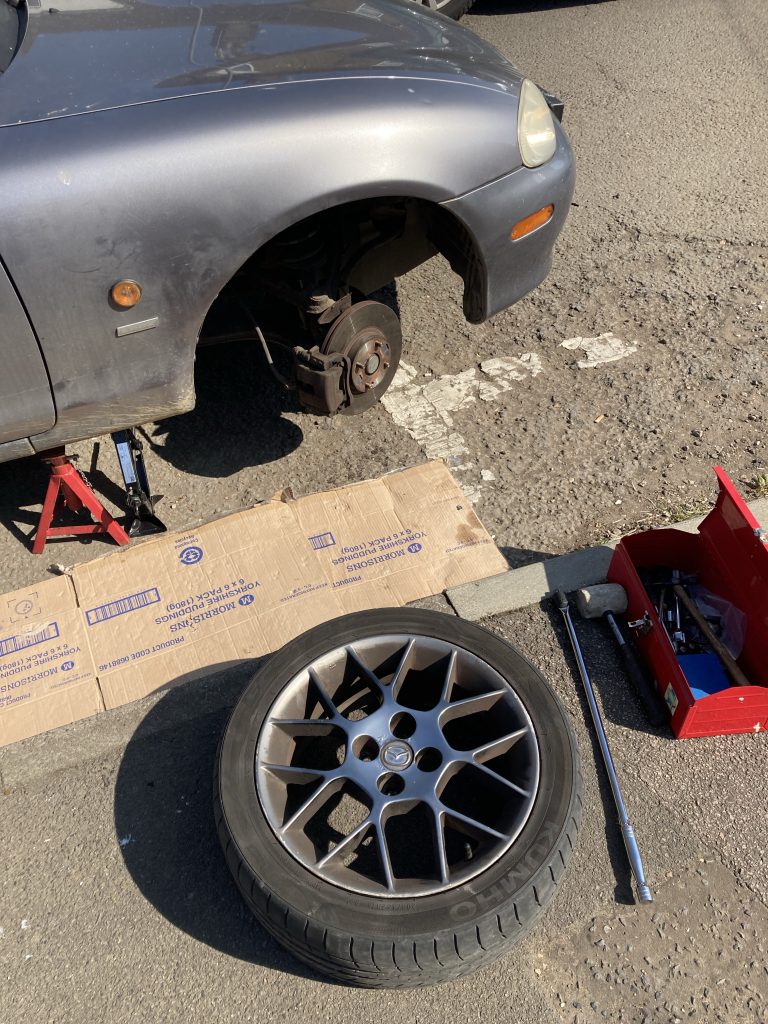
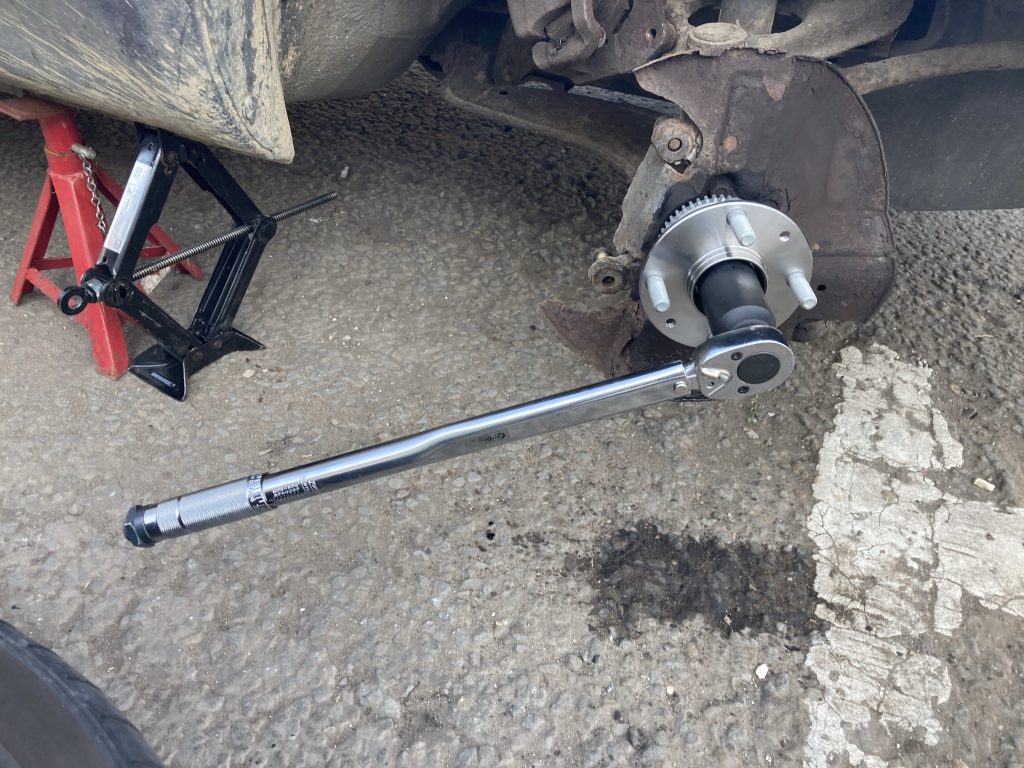
During my teaching some stuff arrived from Amazon, for a job I’ve meaning to do for ages. A breaker bar, and some larger sized nut attachments for various tools. I only ordered them yesterday. They arrived today. Amazon Prime is pretty cool.
Four Paw Racing, who replaced both stolen CATs, on my old and new Mazdas, gave a me a long list of other recommended jobs/faults, etc. One of those was replacing the driver’s side front wheel bearing. Which they said was damaged, and very noisy.
Until I successfully replaced said wheel-bearing, I wasn’t sure exactly how much noise it was causing. Turns out it was indeed really making a racket!
With the new wheel-bearing in place, it’s abundantly clear the old one was very, very, very noisy. It’s soooo much better now. The car is still a bit noisy (some exhaust blow and rattle, etc.). But it is quieter. Much quieter. And, very importantly, it feels a heck of a lot safer to drive.
Prior to this I wasn’t really too happy going over 45 mph. The noise was outrageous. I had to wear ear plugs! And the car just felt awful. Dangerous, even. Now she’s much quieter and smoother. And feels fine, and safe, all the way to 70 mph plus.
The job of changing the wheel-bearing was nowhere near as easy as some YouTube videos I watched made it appear. For starters I needed some new tools; hence the breaker-bar and large socket set.
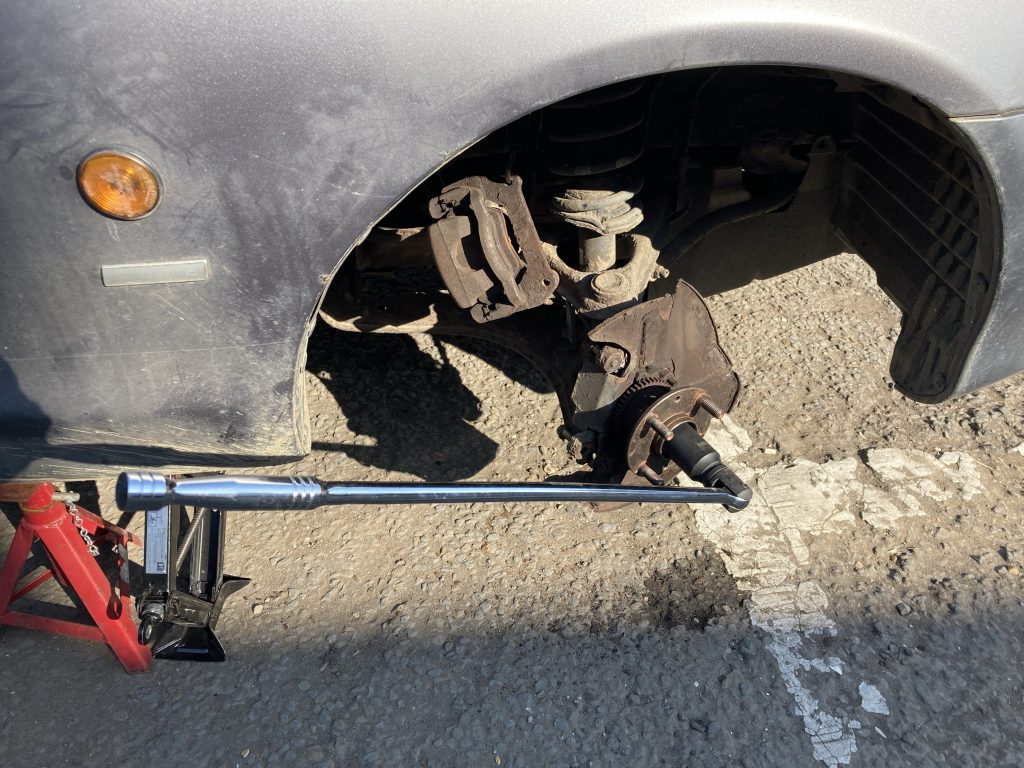
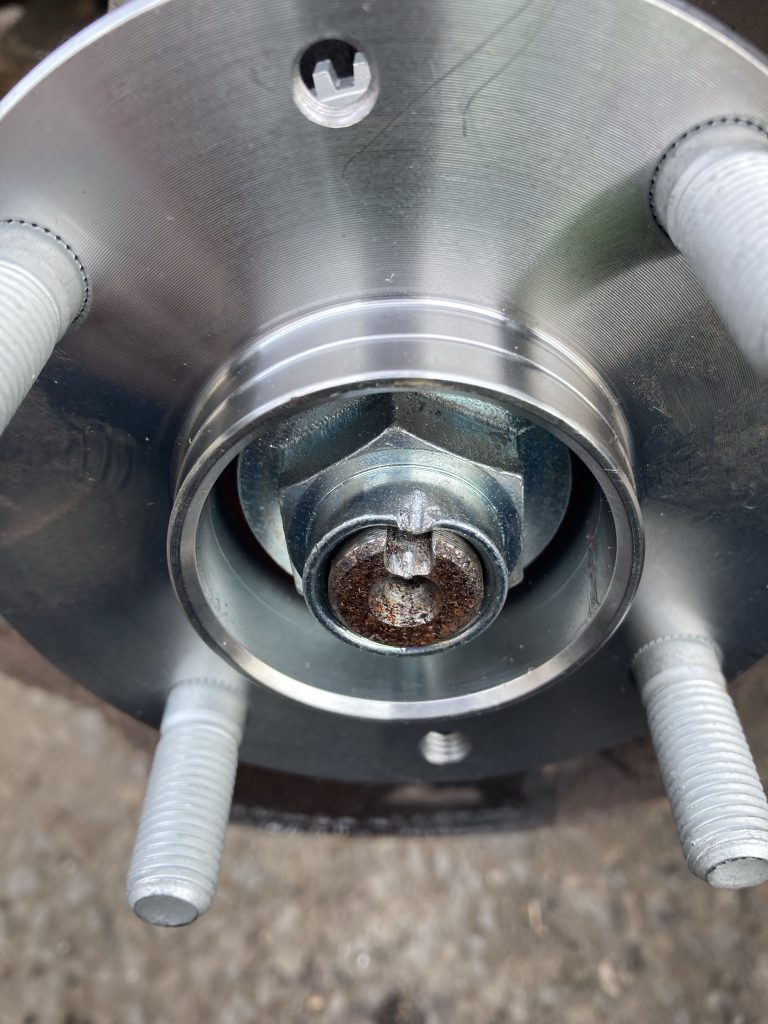
Sadly I broke my smaller torque wrench, undoing the bolts that hold the front calliper in place. Bummer! I was actually really worried I’d break the new breaker-bar, trying to remove the large 29mm nut that holds the wheel bearing assembly in place.
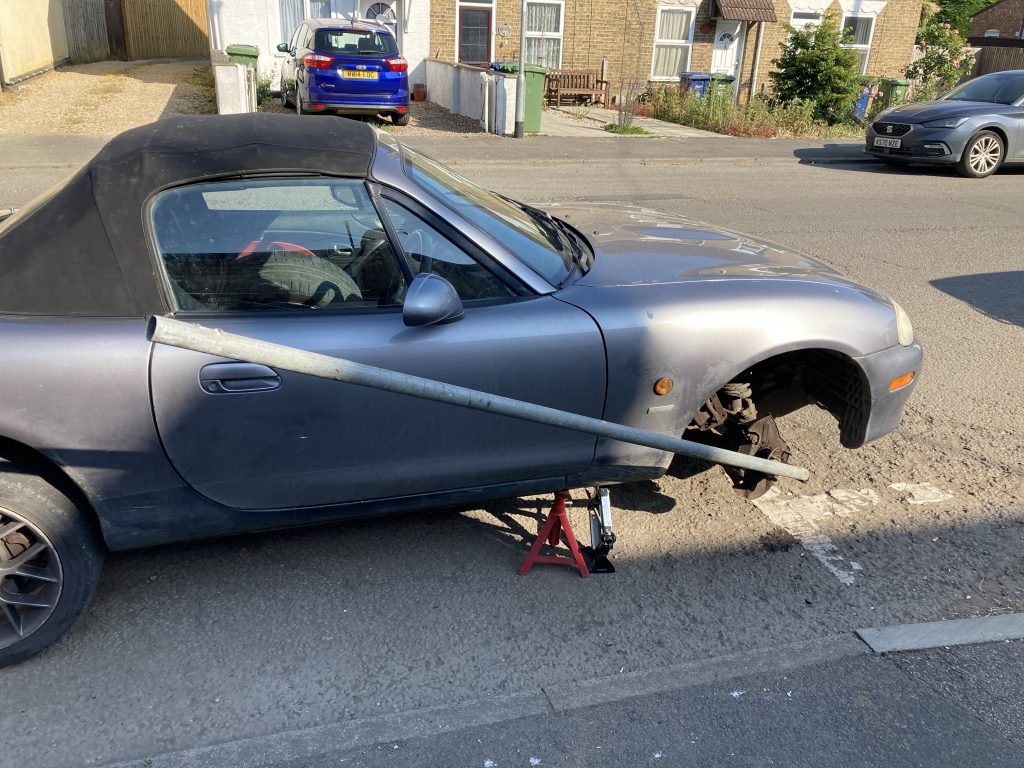
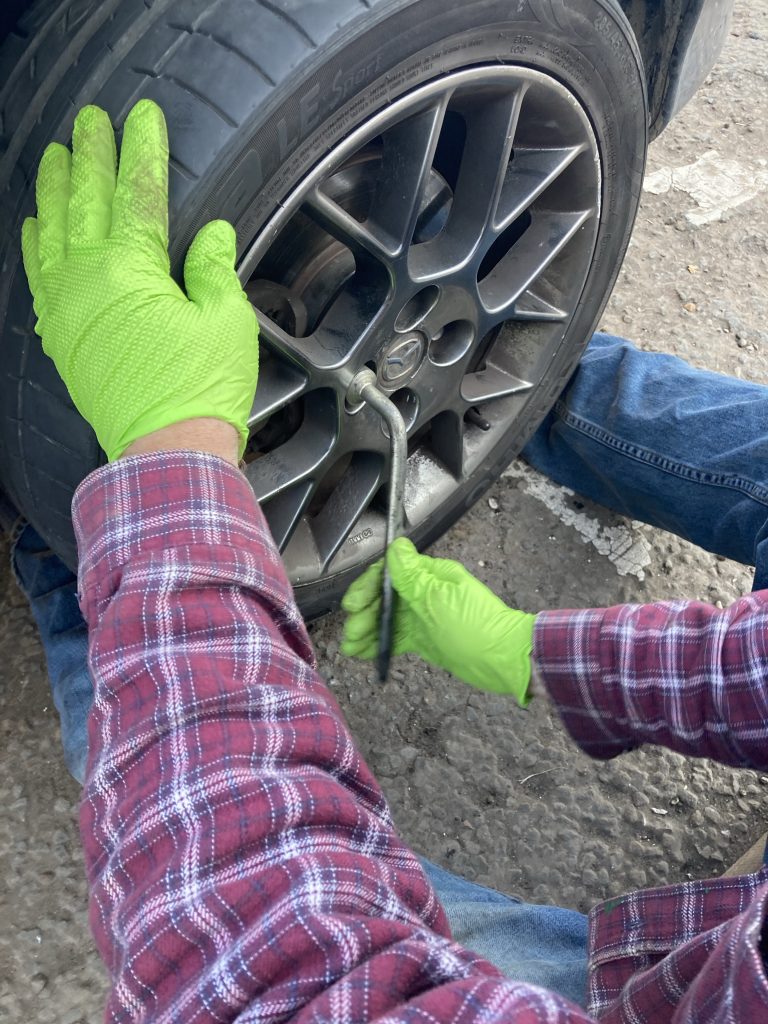
I had to cadge a length of scaffolding type pipe, from a neighbour (which I must return!), slather the nut in WD40, and let that soak in. And just persist in working on it. And, lo and behold, after many attempts (and a short spell of despondency, during which I figured I was doomed to fail), the nut moved a micron.
Once it had moved at all, I knew I was onto a winner. But getting that nut off was a real mother, no mistake! Going back a bit, so was removing the cap that allows one to get to the nut. As also was removing the calliper bolts. Almost nothing, esp’ on the dis-assembly side, was easy!
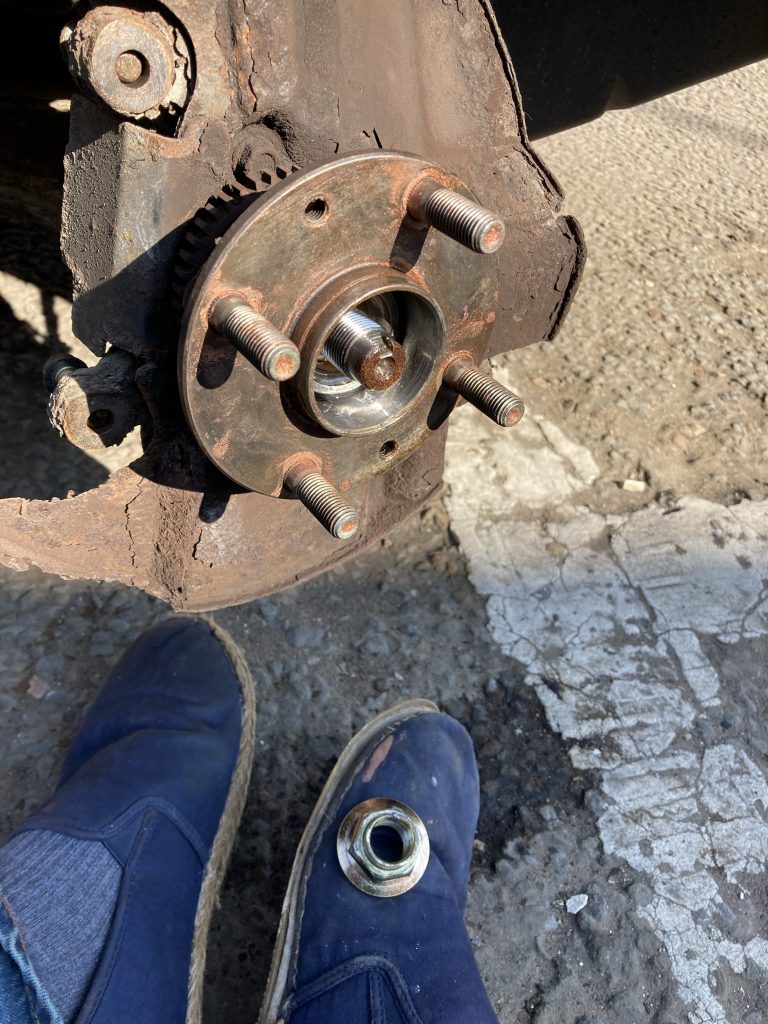
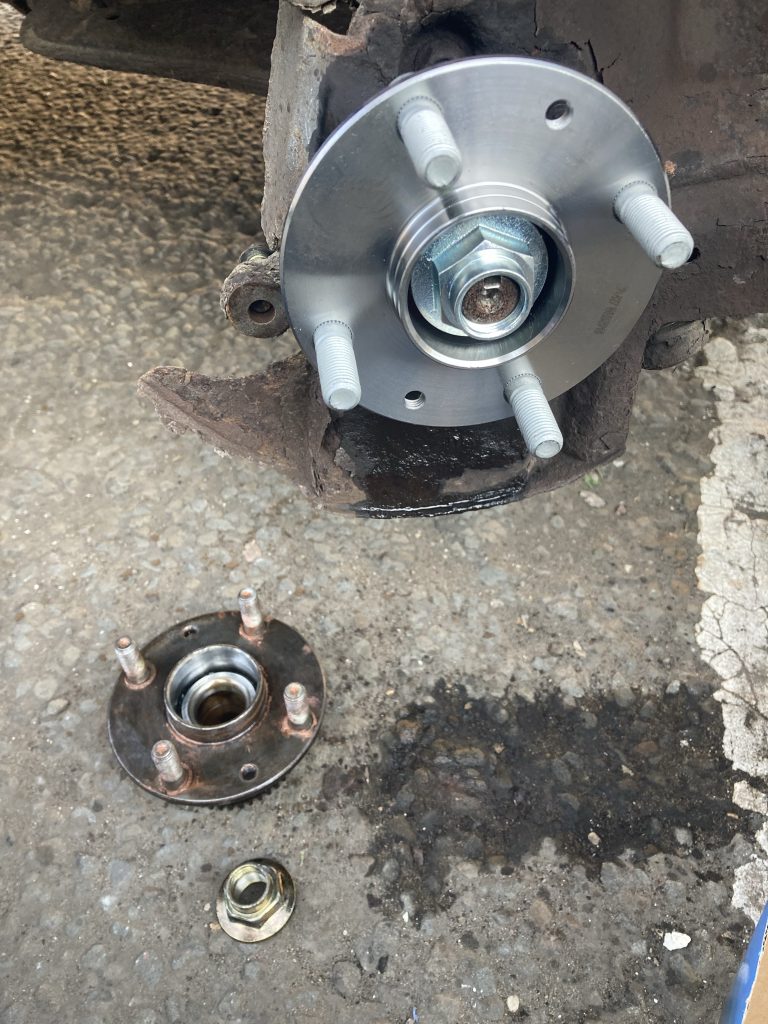
So, finally, I was down to the wheel bearing assembly itself. And that was stuck fast as well. So, a copious application of WD40, half an hour to let that do it’s work, and lots of gentle hammering, to unseat it. And once again, persistence bore fruit.
So, long before day’s end, I’d not only done a full days teaching. I’d also successfully replaced the faulty wheel-bearing. And boy does the car sound and feel sooo much better. Very gratifying.
Putting everything back together was a lot easier than taking it apart. And was achieved relatively quickly and smoothly. I now have another area of newly acquired car maintenance skills, and a few useful tools. Not to mention a better running motor.
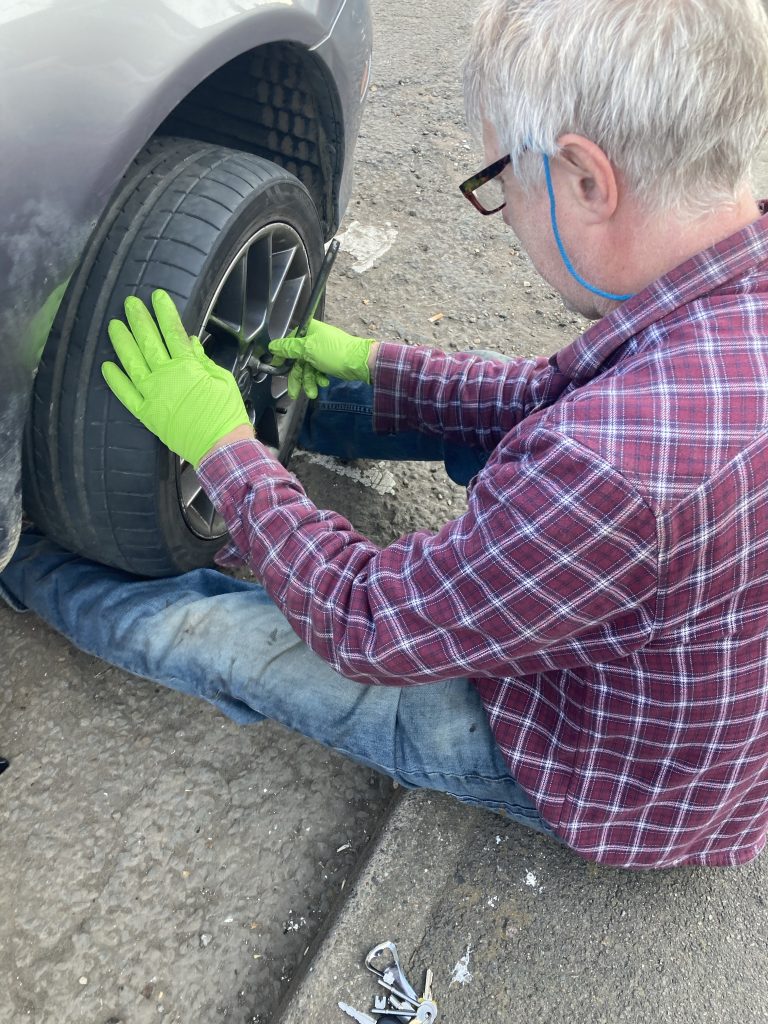
I took her – the car, that is – out for a ten mile or so test drive. And baby, she was singin’! Very satisfying.